

After months and months of troubleshooting problems, changing chain and anchors, and replacing electrical components, I finally have an anchoring system that I feel very confident in. The journey to get here, though, was not quick or easy.
Rendezvous came with a 44 pound Bruce-style anchor which I used for the first few months. I am not directly opposed to a Bruce-style anchor, but having had Rocna anchors for the last 5+ years on two different boats, I preferred a more modern style that sets easily and holds in more conditions. In addition, I felt that a 44 pound anchor was a bit too small for a 27,000 pound dry weight boat.
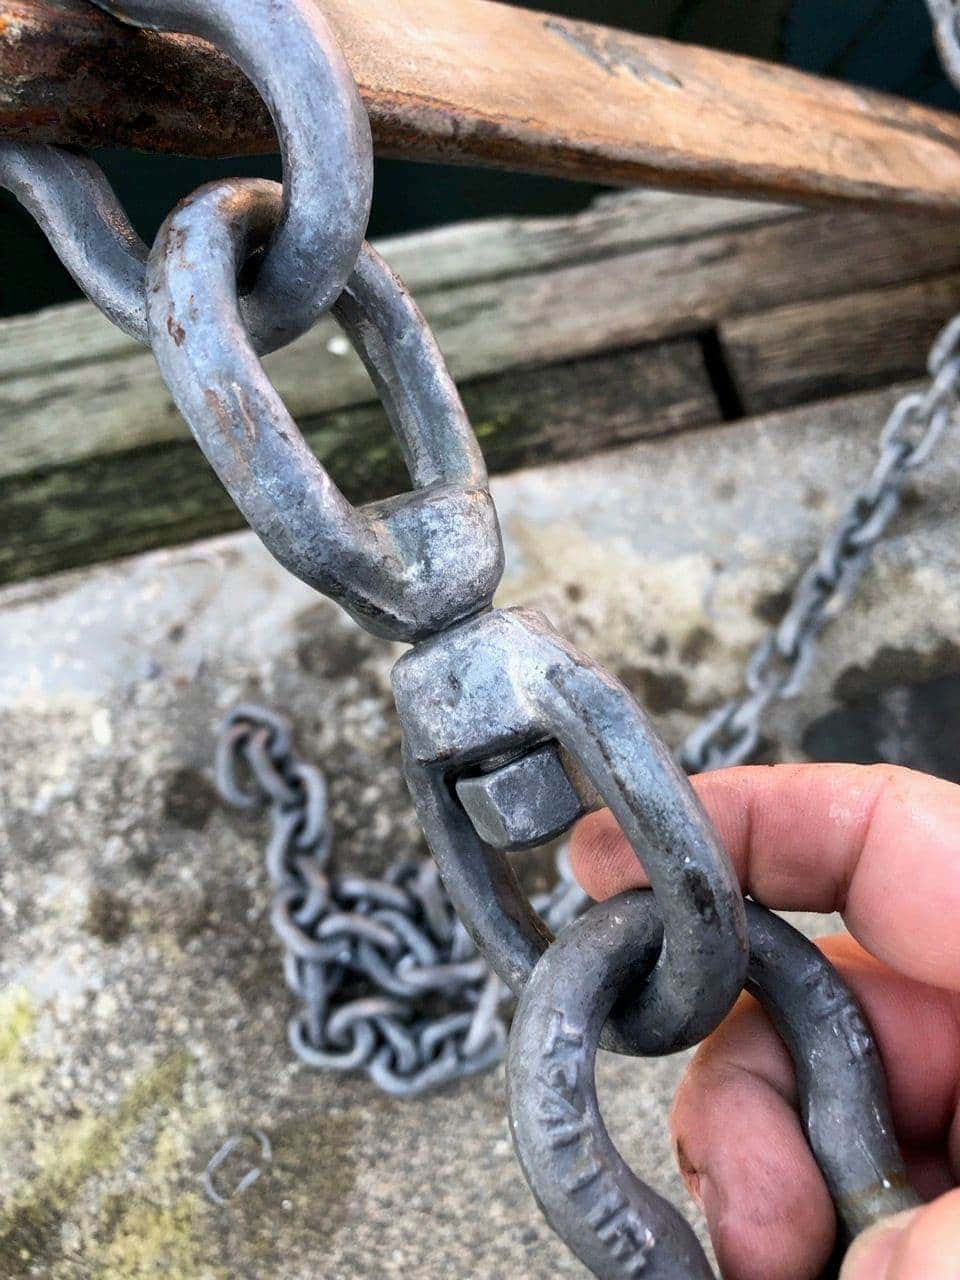
The swivel was also not to the level of quality or strength that I would want to rely on. The boat also did not have a bridle of any kind, which was odd. We intended on anchoring out as much as possible, so having reliable ground tackle all around was important.
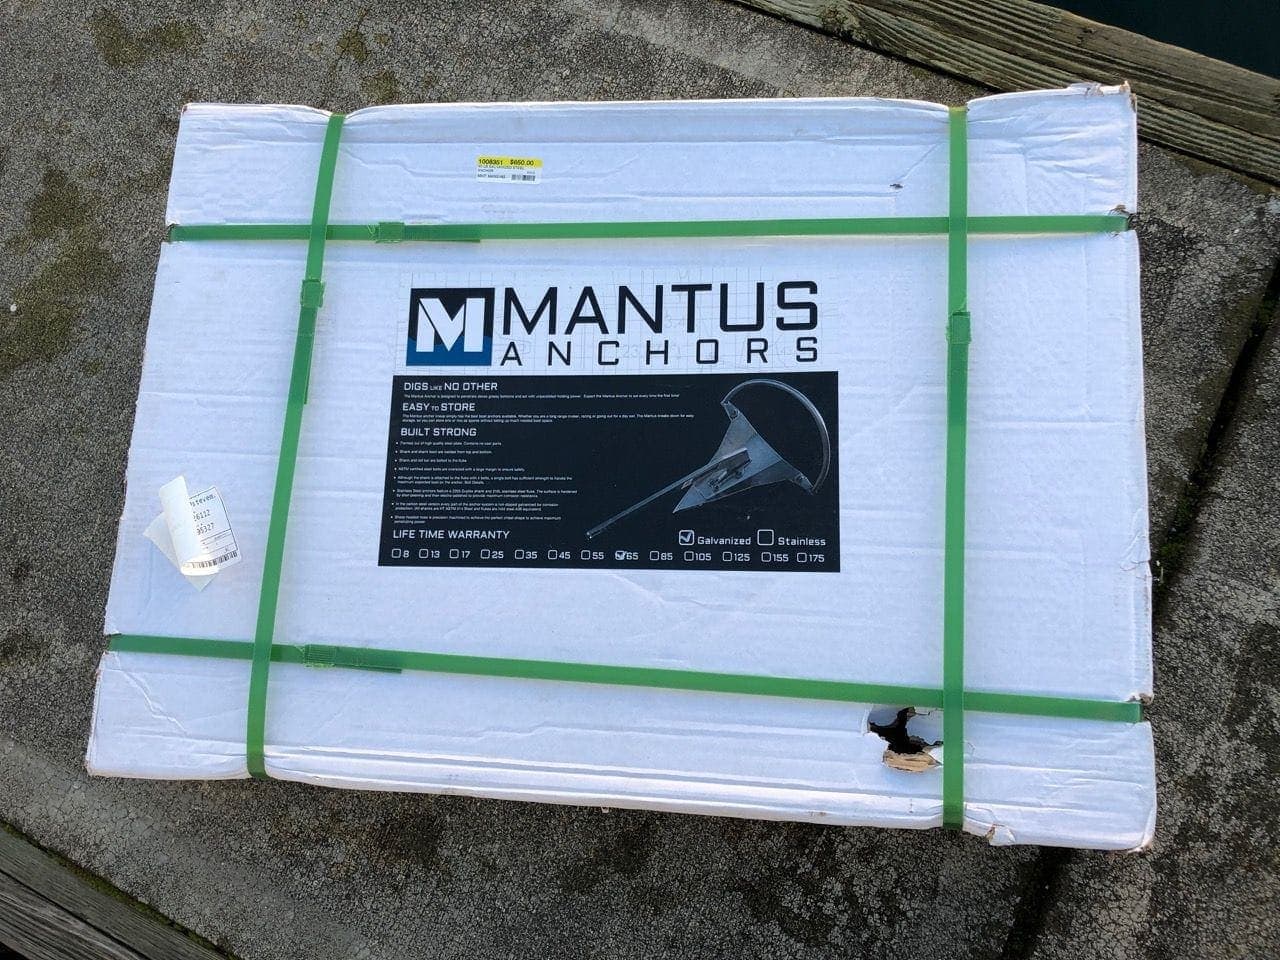
After some investigation, I decided to try a Mantus anchor this time around, and ordered the 65 pound version. It came in a rather heavy, flat box.
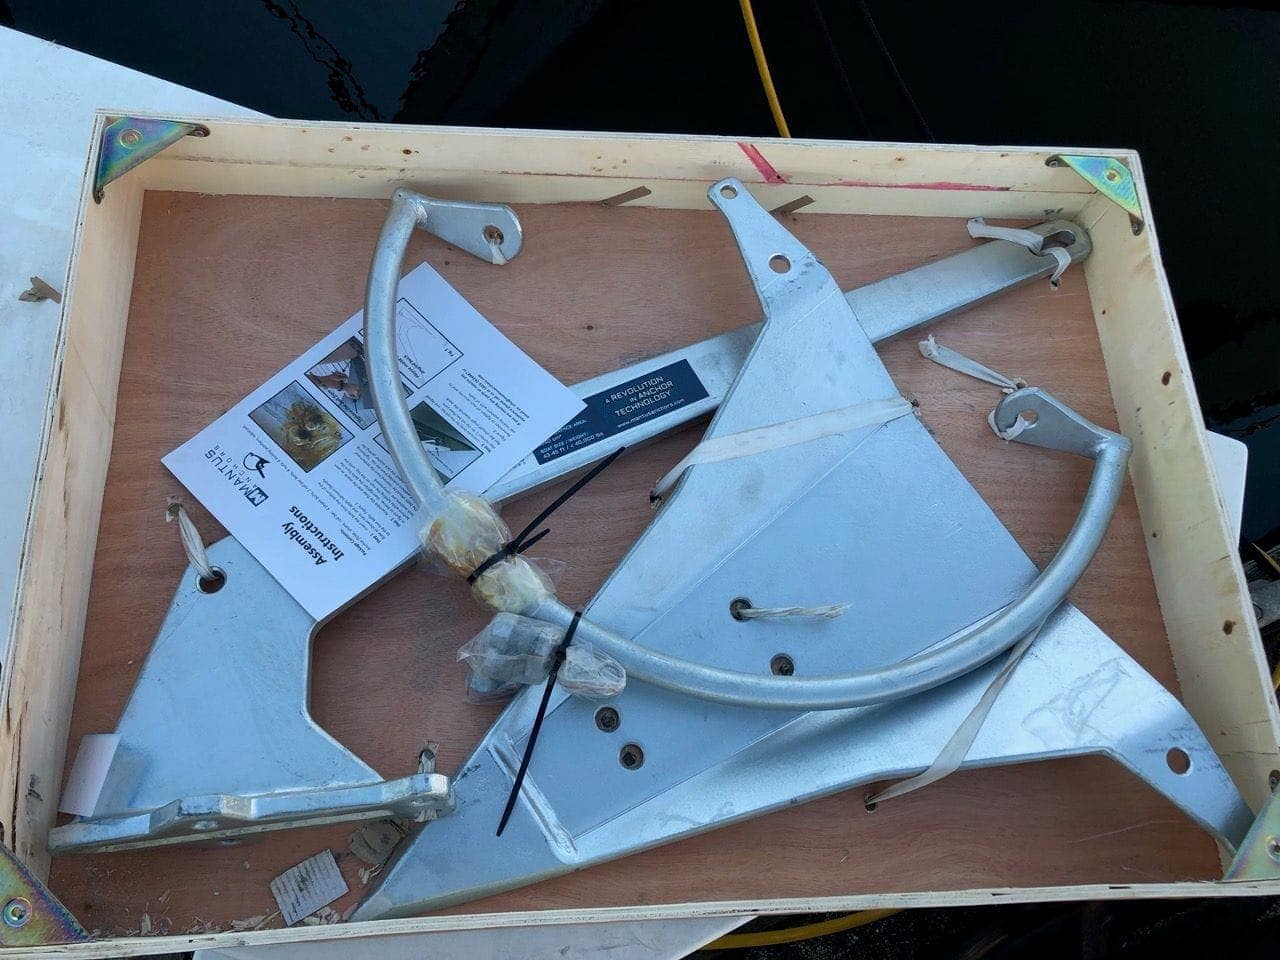
I chose Mantus this time around as they have gotten even better reviews than the Rocna in recent years, and I always like trying something new if it can improve my safety. Assembly was pretty quick – you have to warm up the provided sticky grease substance to put on the bolts before you tighten them which was the only challenge.
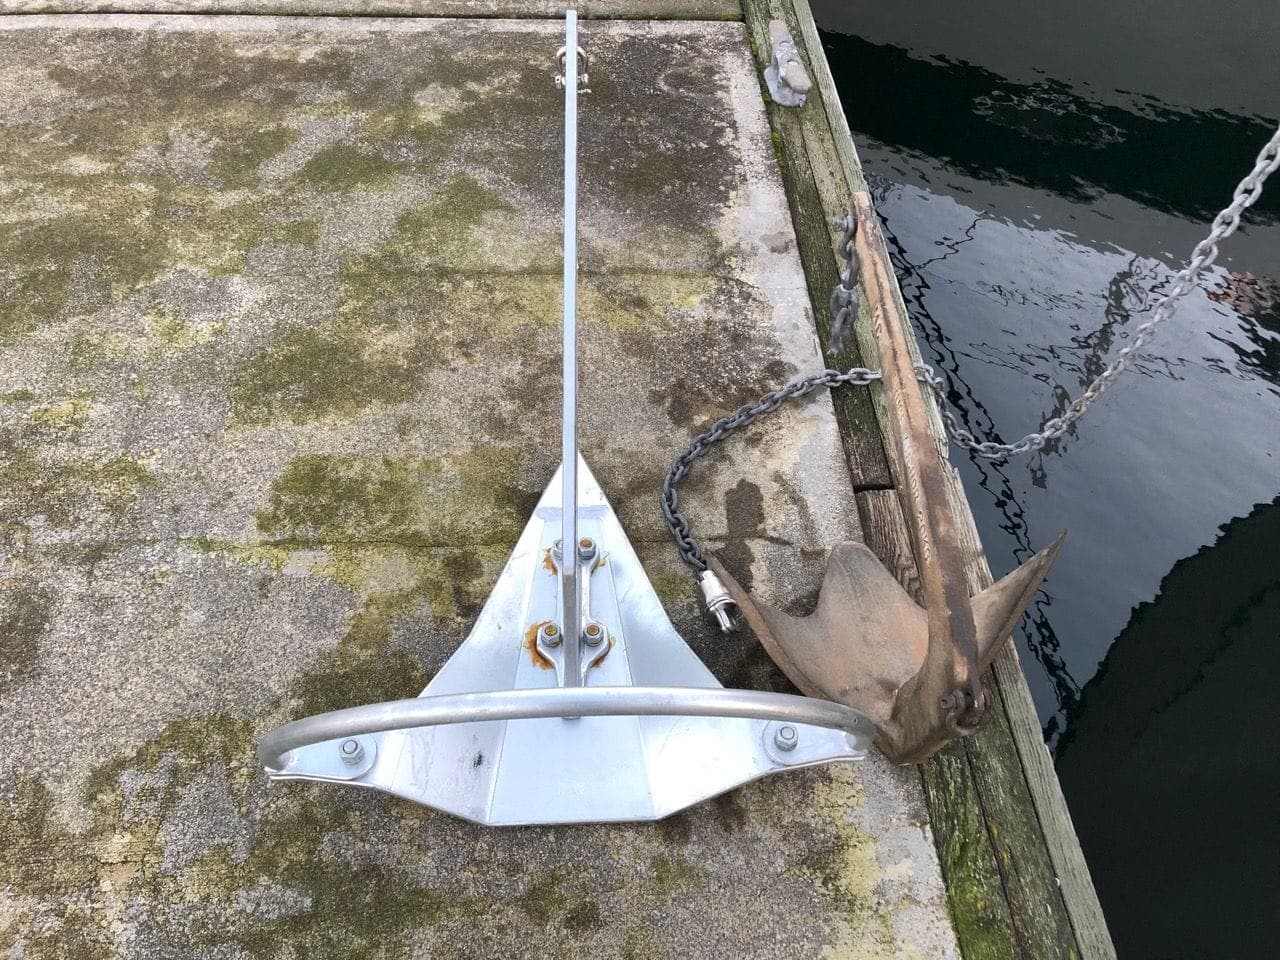
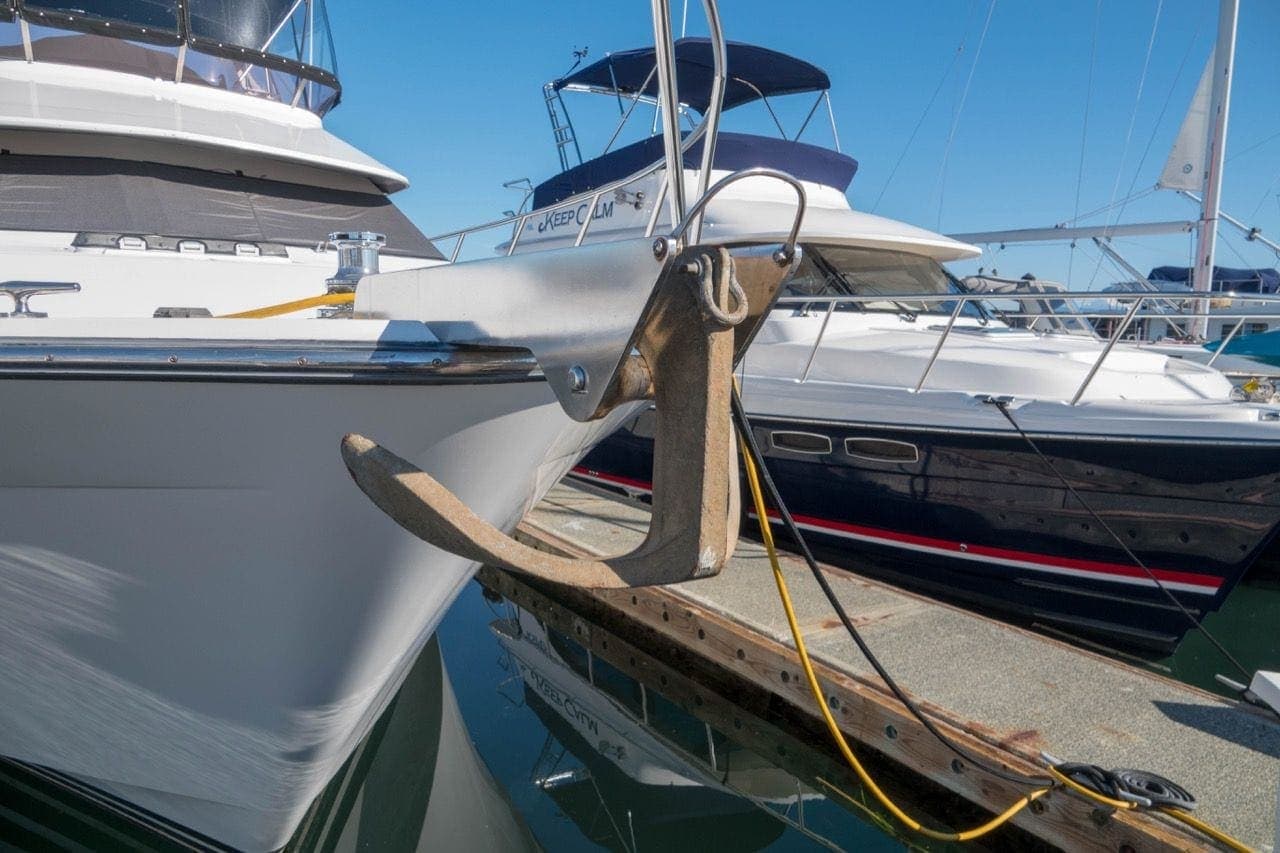
The anchor looked great, and I paired it with a Mantus swivel which I had on Grace and loved. You can see the sheer size difference between the Bruce and Mantus above. On one hand this was great to get a heavier anchor, but little did I know there was a problem lurking.
The anchor sat very securely on the bow roller and looked really good. It definitely was quite a bit larger than the Bruce it replaced.
I installed this anchor in November 2018, and we used it on several trips in the winter, including Boat exploration, shock and a fire, Poulsbo and Bainbridge snow adventure (where we were in some pretty terrible weather/wind/waves), and Friday Harbor round trip. The picture above was after the snow adventure with massive waves, and being stuck in anchorages with 30-40 knot winds.
In every case, the anchor set the first time, and held throughout our adventures without any issues.
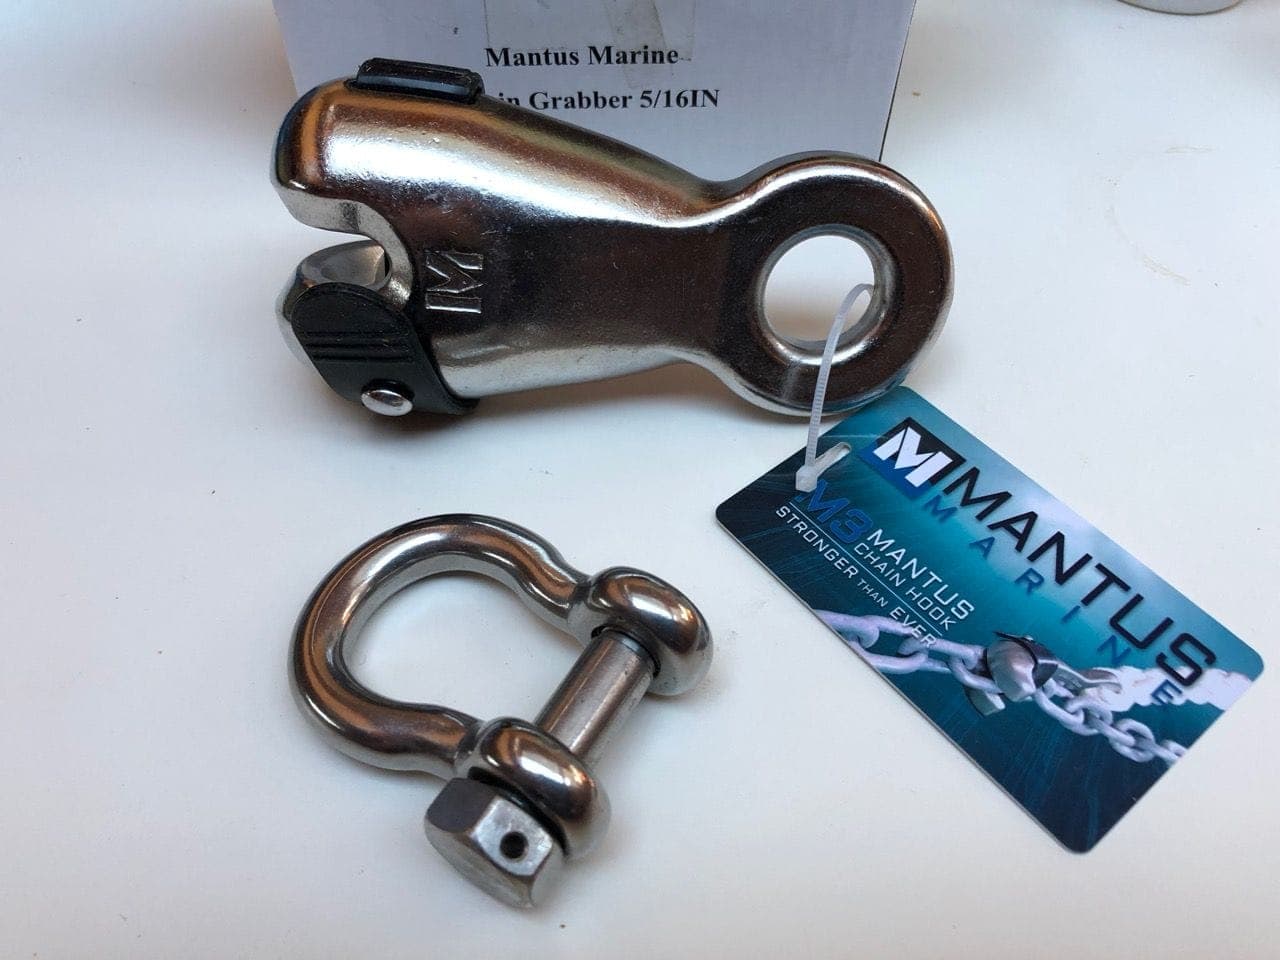
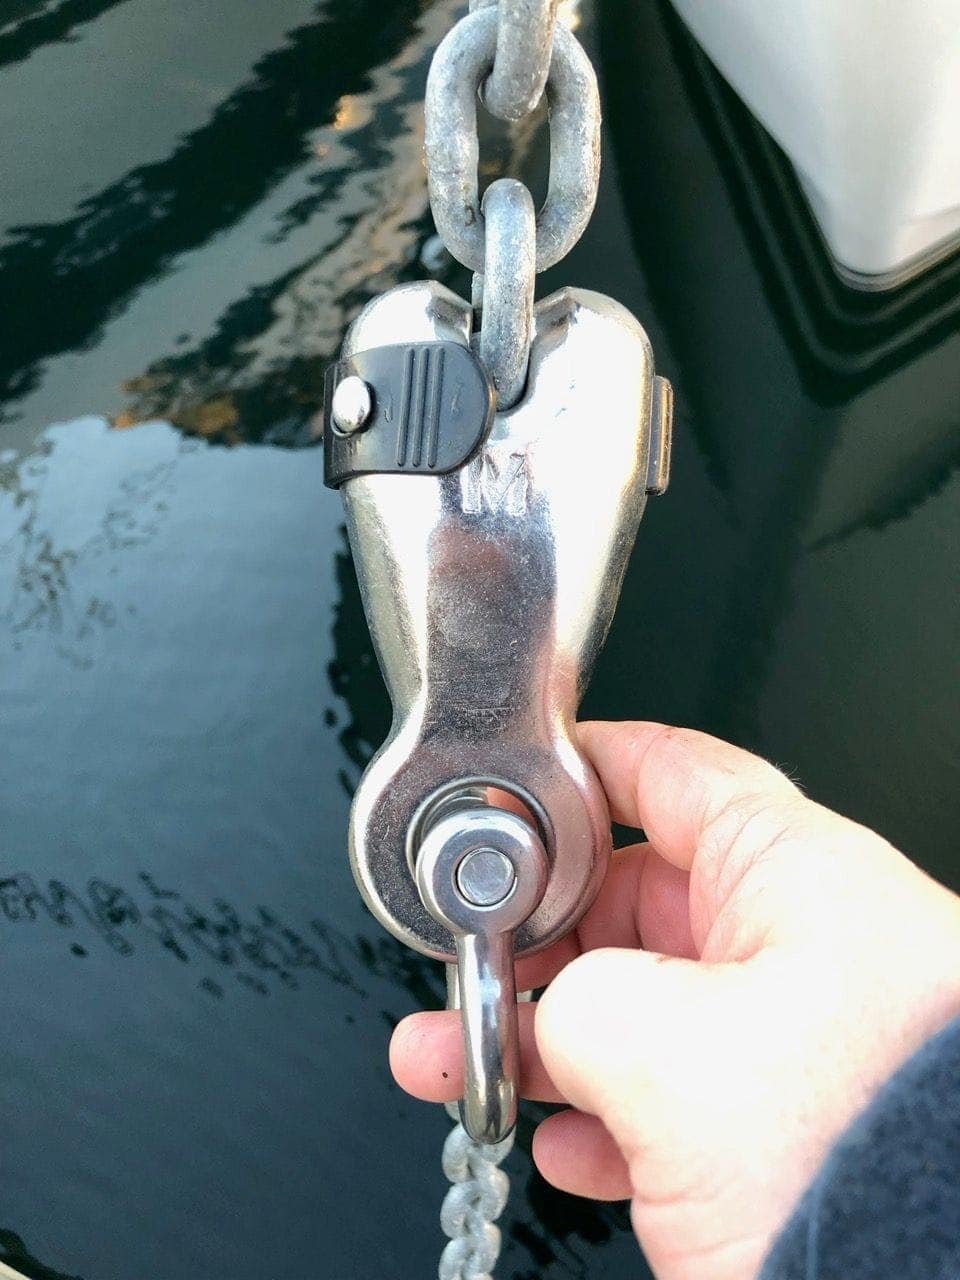
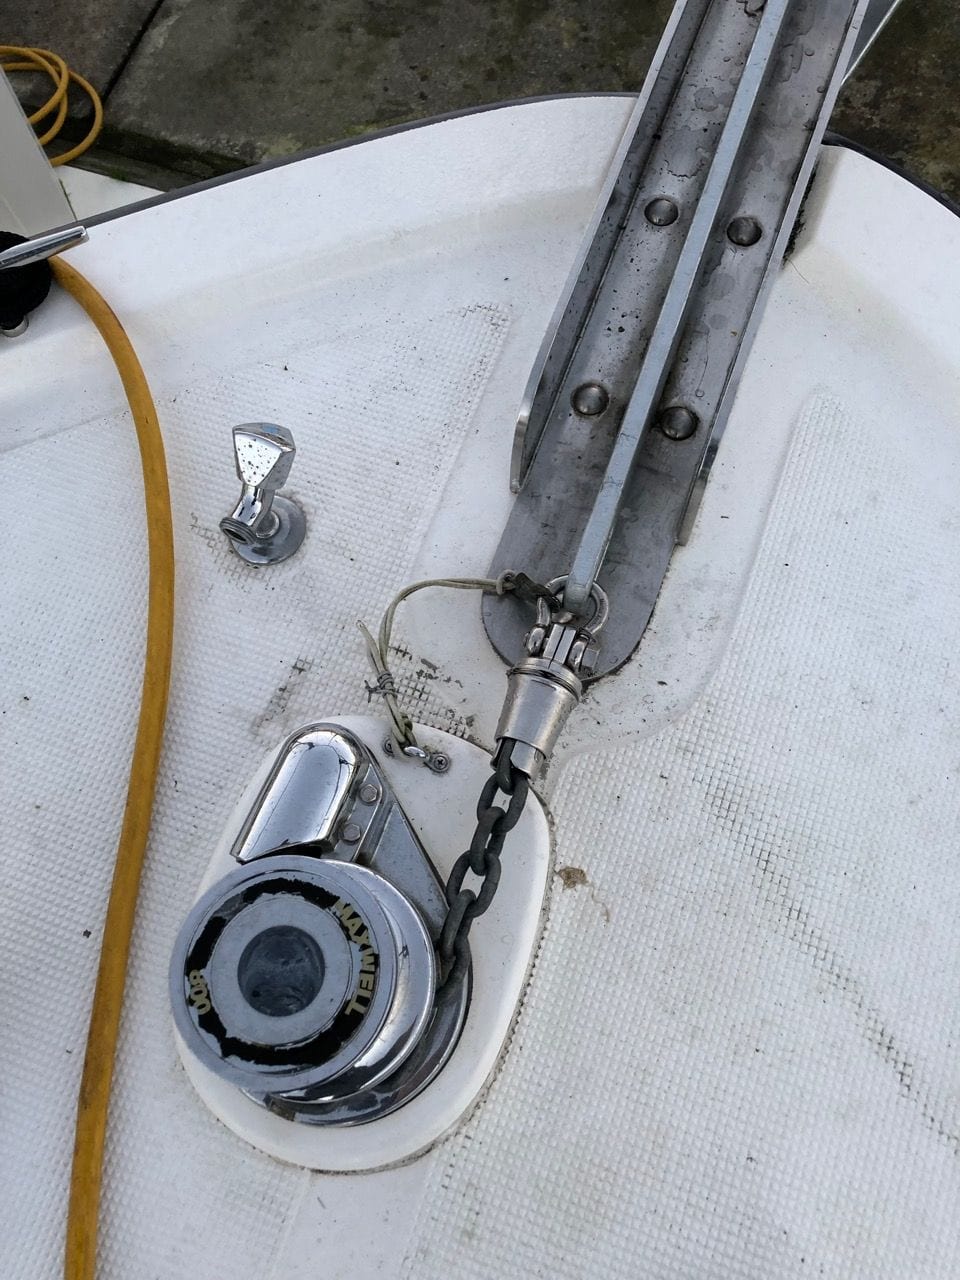
I also needed a good bridle and chain hook setup, and chose the Mantus v2 chain hook. I had the v1 version on Grace and really liked it, but it had a funky way of attaching to the chain that meant it was always at an angle. This new version looked better.
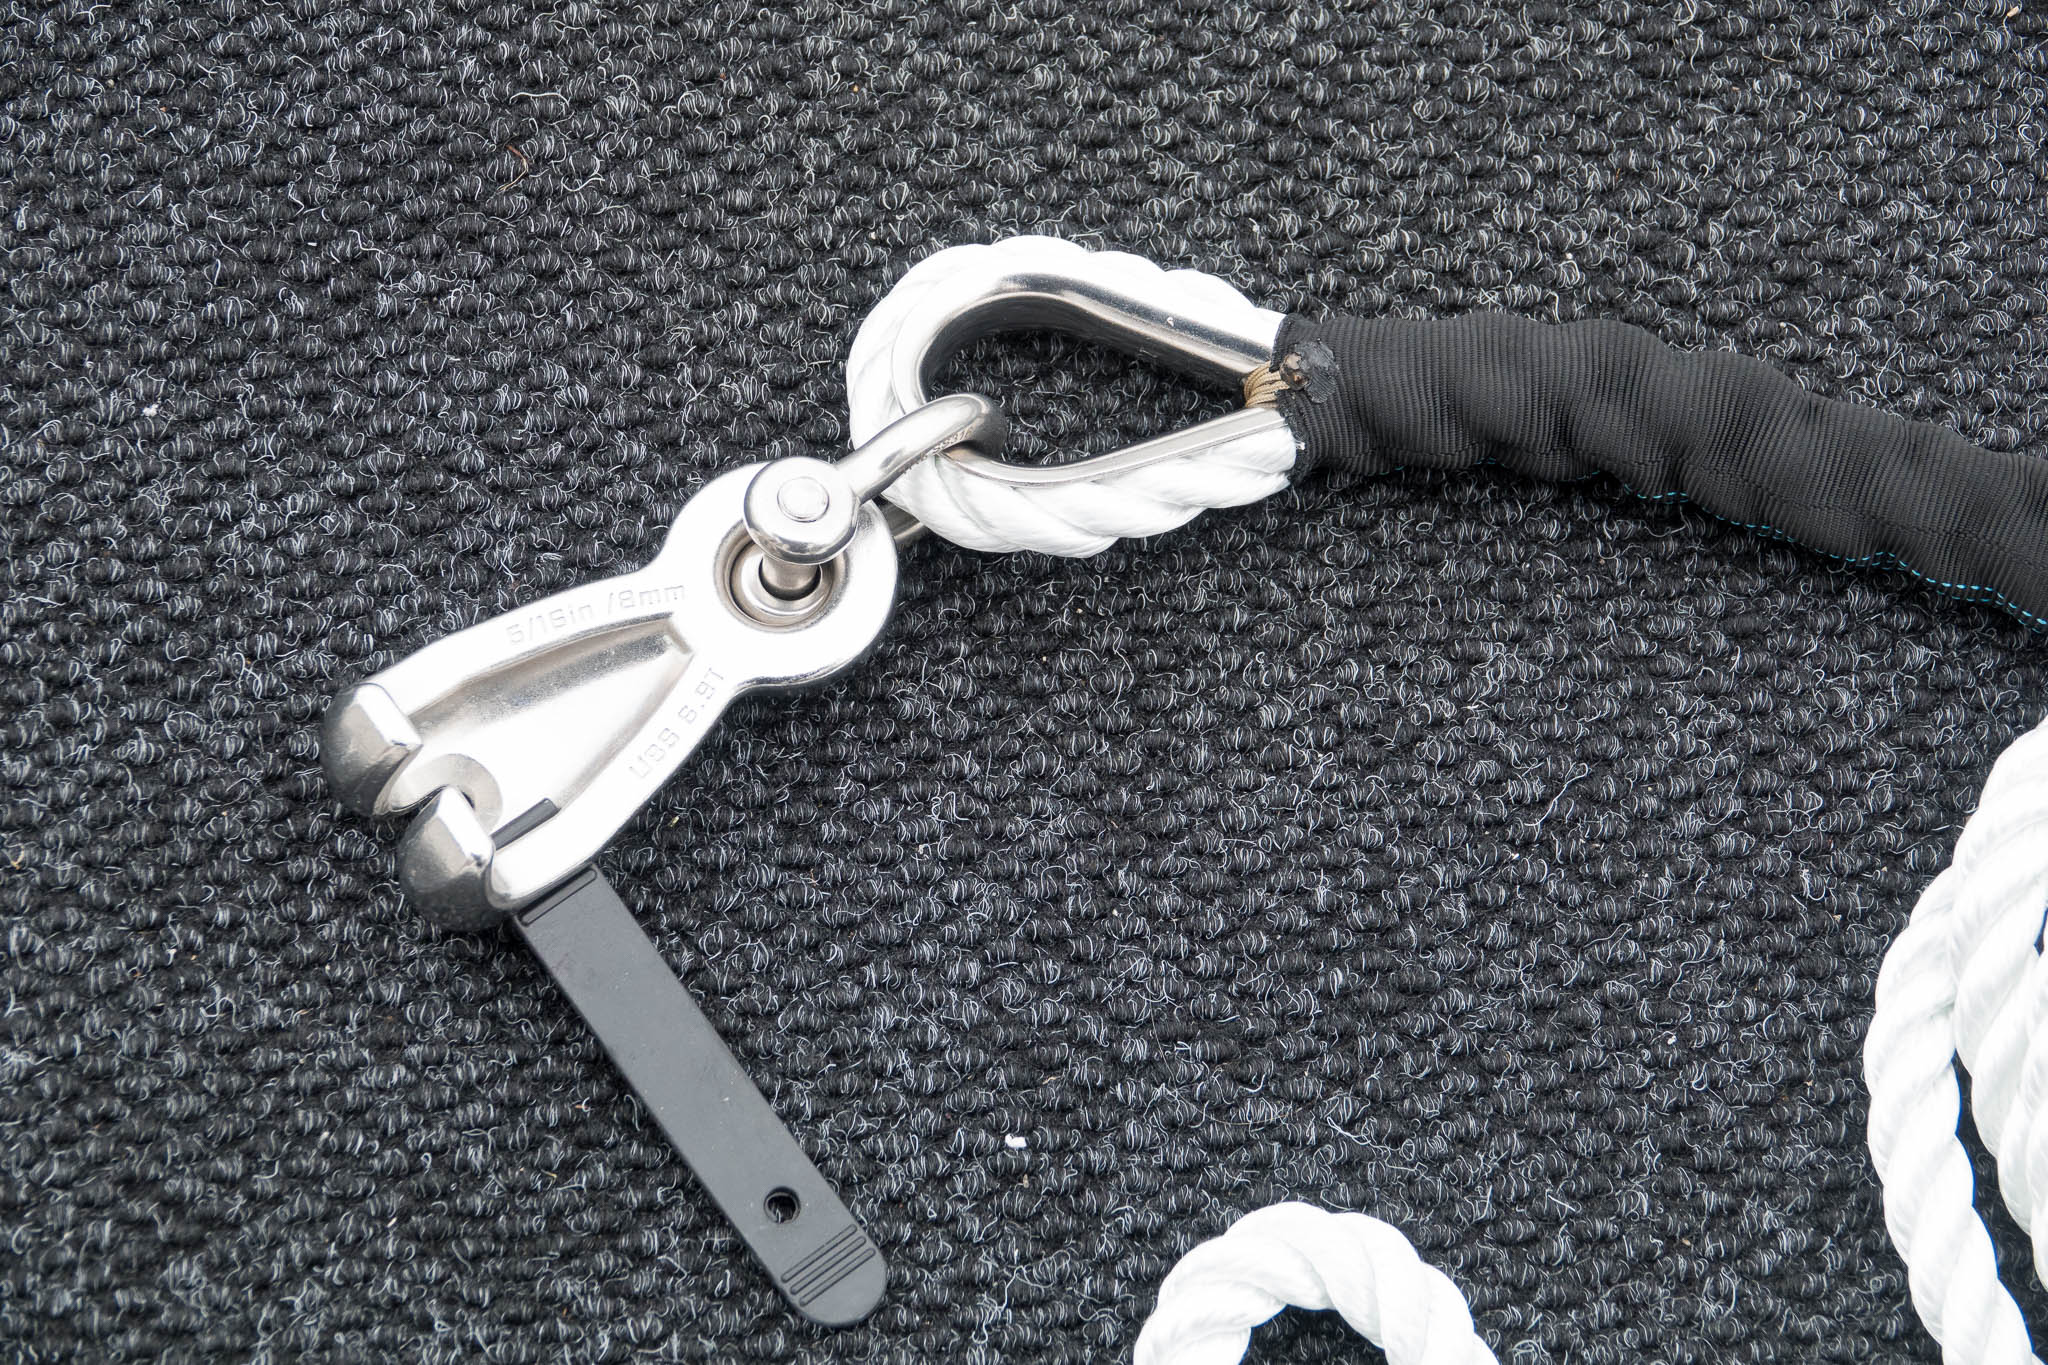
The v2 version looks like a buck toothed beaver, sort of, and essentially grabs onto a single link of chain that you slide into the gap between the teeth.
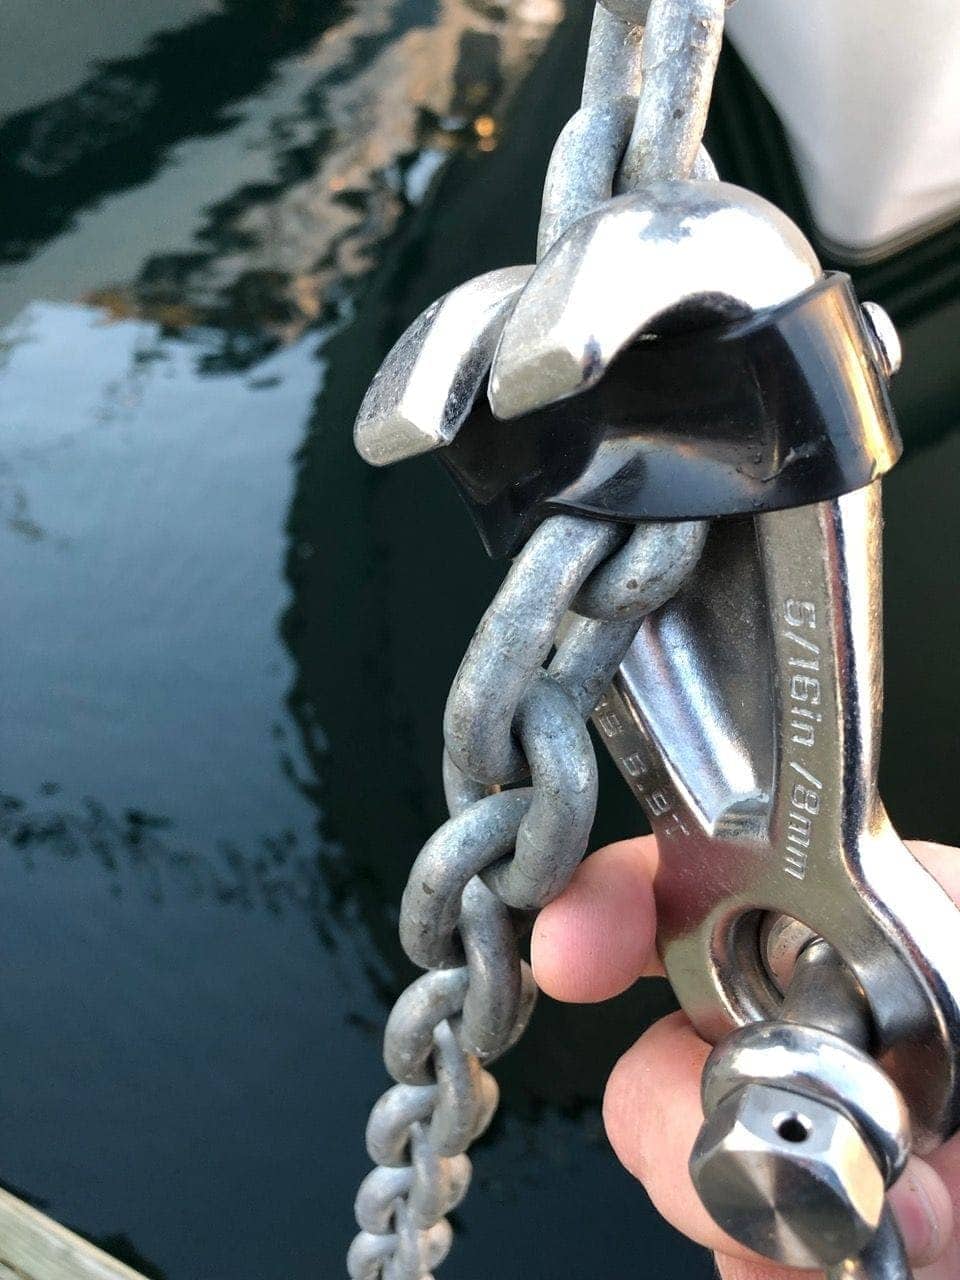
To keep the hook from popping off, there is a rubber strap that goes across the gap and keeps things tight. Unfortunately, this has broken many times, and caused some concern about reliability. Mantus has been very helpful and sent me replacement versions, and even recently a modified strap that has chafe protection, but the long term results are not in yet. I love the way the chain hook grabs and holds the chain – I’ve never seen a more secure version, but the strap needs some improvement.
Mantus has a bridle as well, and I had that on Grace and did not like it for a couple reasons – excessive chafe protection and length. They only have a couple of choices for the sizing of a bridle, and the size I wanted (3/4″ line) ended up with a 25′ long bridle, which is way too long to manage. They also sew in chafe protection near the eyes, which is great to provide that protection, but ends up preventing you from shortening the bridle in that section, and is really too close to the eyes.
I think these bridles were meant more for permanent mooring or in parts of the world where the anchoring depths were shallower/different.
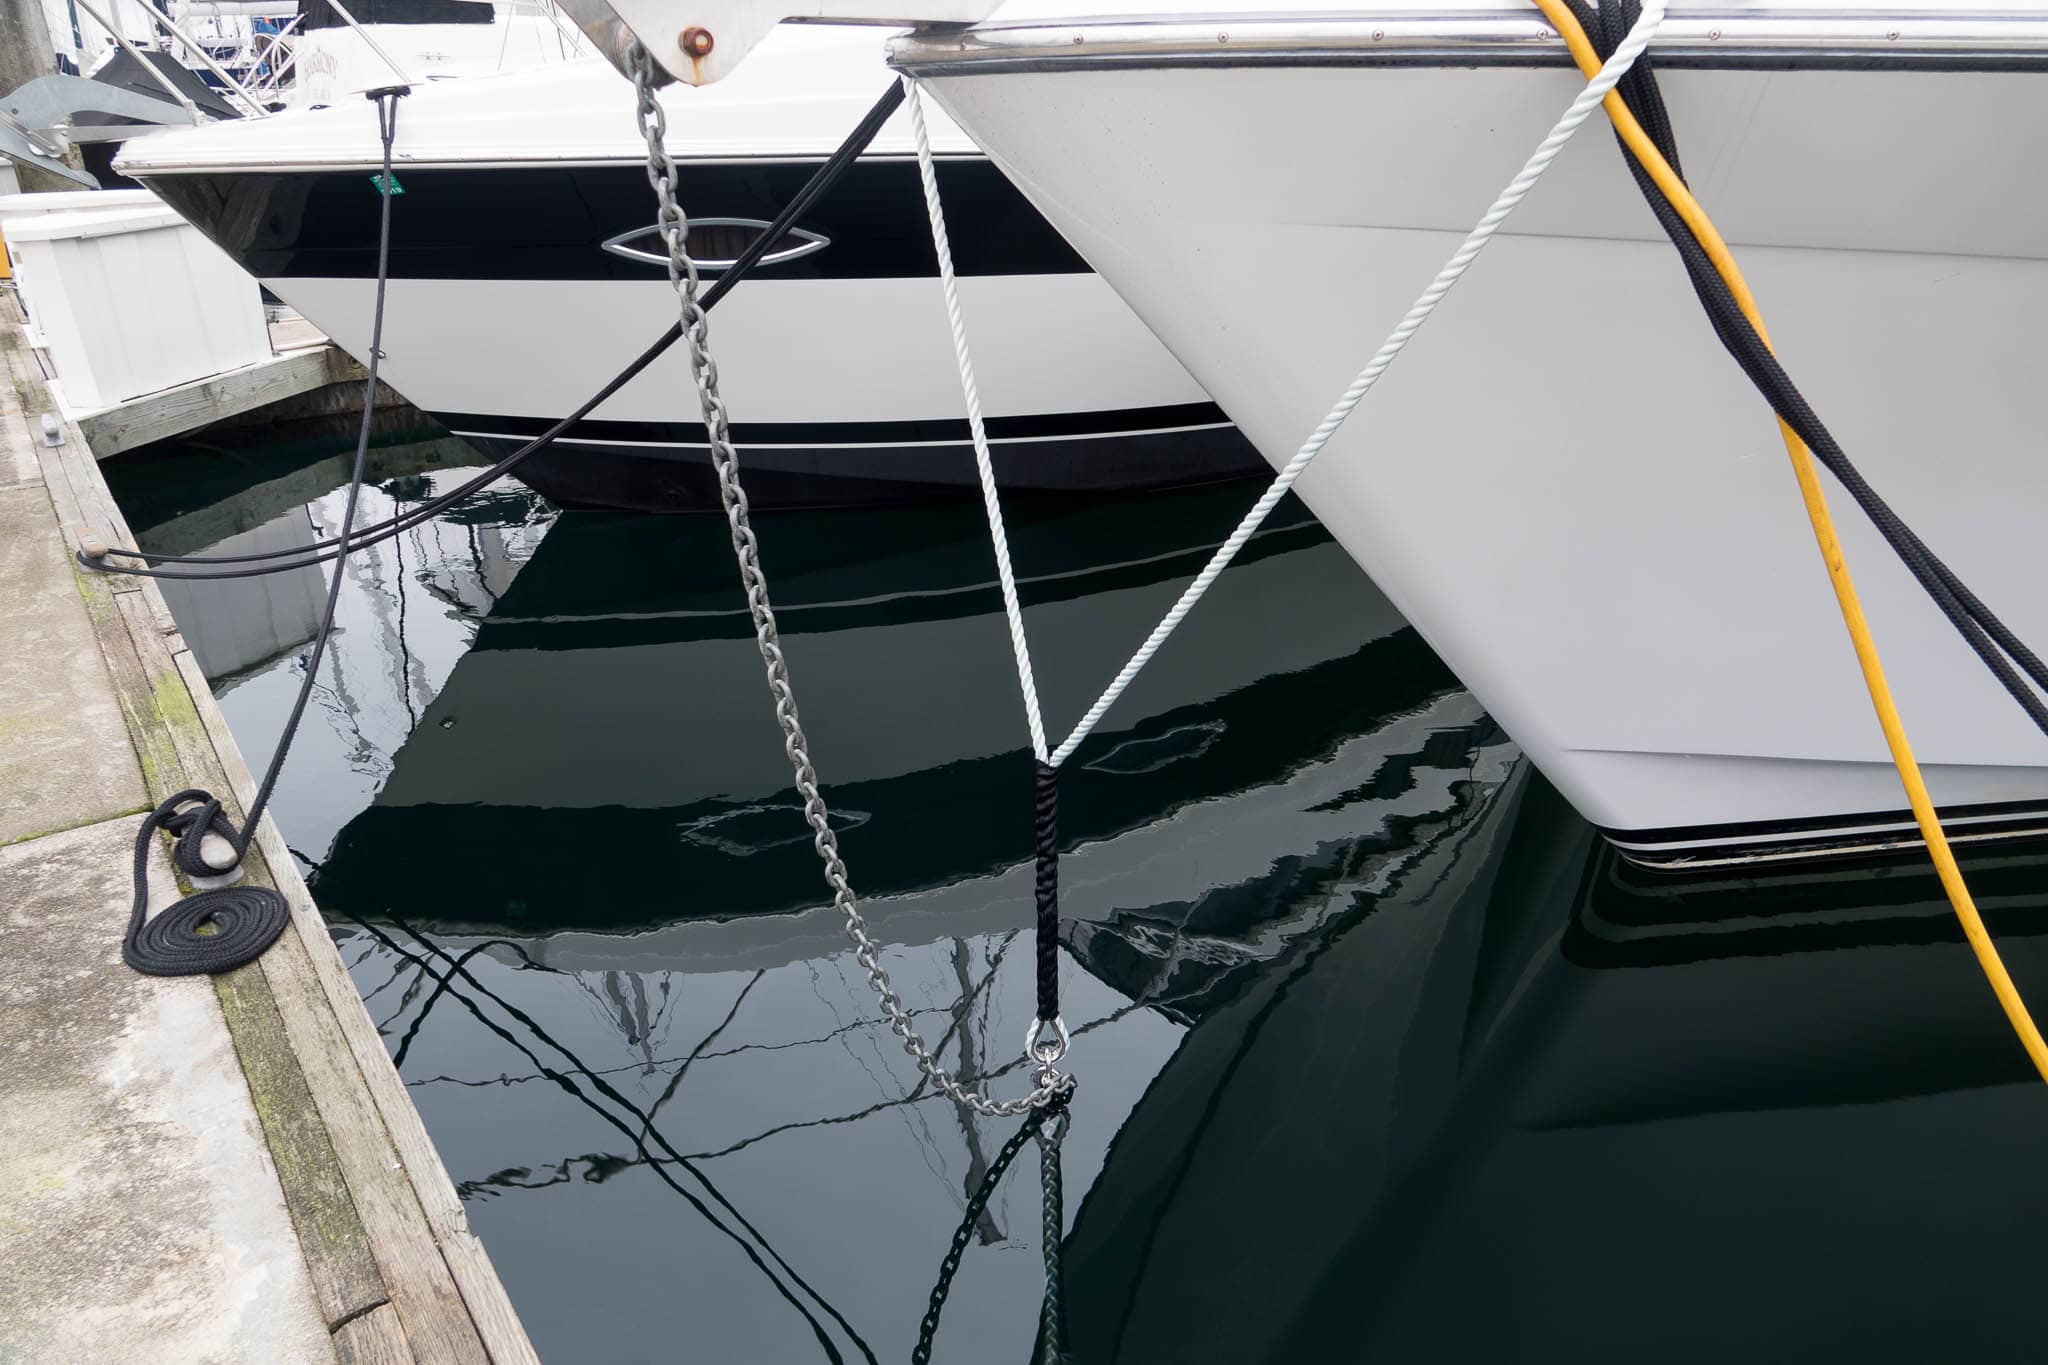
I had a wonderful custom bridle made by dbRopes. I wanted 3 strand nylon, 3/4″ size, about 12′ long with a stainless steel thimble and chafe protection near where the chain hook would be. I wasn’t worried about chafe protection at the cleats, as my boat has that built in.
It’s rare to still find online vendors that have excellent, personalized customer service like dbRopes. I sent a couple of emails with questions, and they responded very quickly and thoroughly. The length I wanted wasn’t available in their store, and I wanted black chafe protection. A few hours later, I got a link to my custom bridle, placed the order, and had it a week later! You can find their whole line of anchor snubbers here.
The quality of the workmanship is excellent, the rope is very easy to handle and stretches an appropriate amount, and it fits my boat perfectly. It also wasn’t atrociously overpriced, and I would recommend anyone needing a bridle to check out their site.
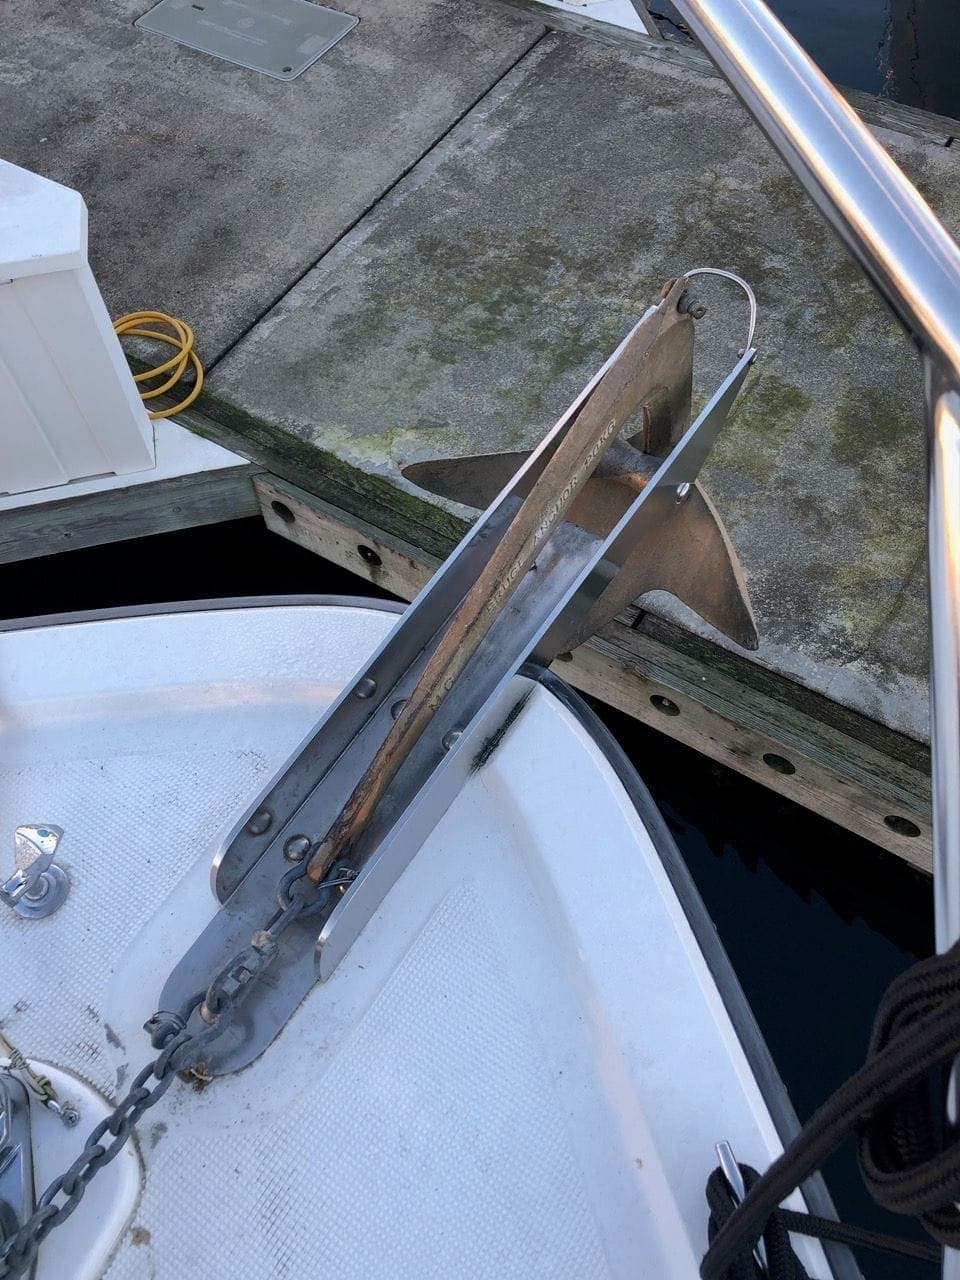
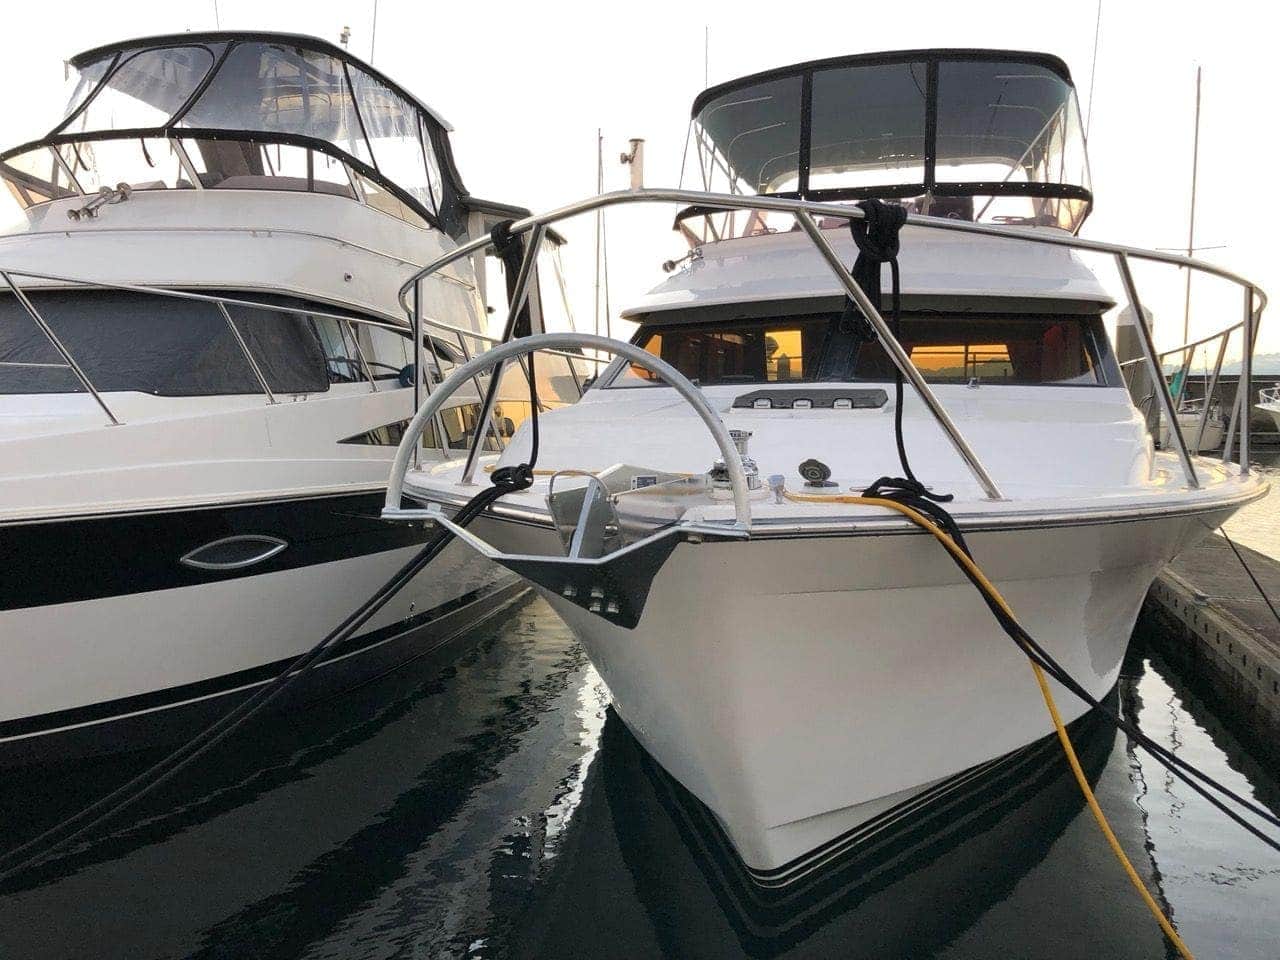
Even with the new anchor, bridle, and chain hook, there was a problem, as I mentioned earlier. Above you can see the old Bruce anchor – notice the amount of chain you can still see between the end of the shank on the anchor, and the windlass behind it.
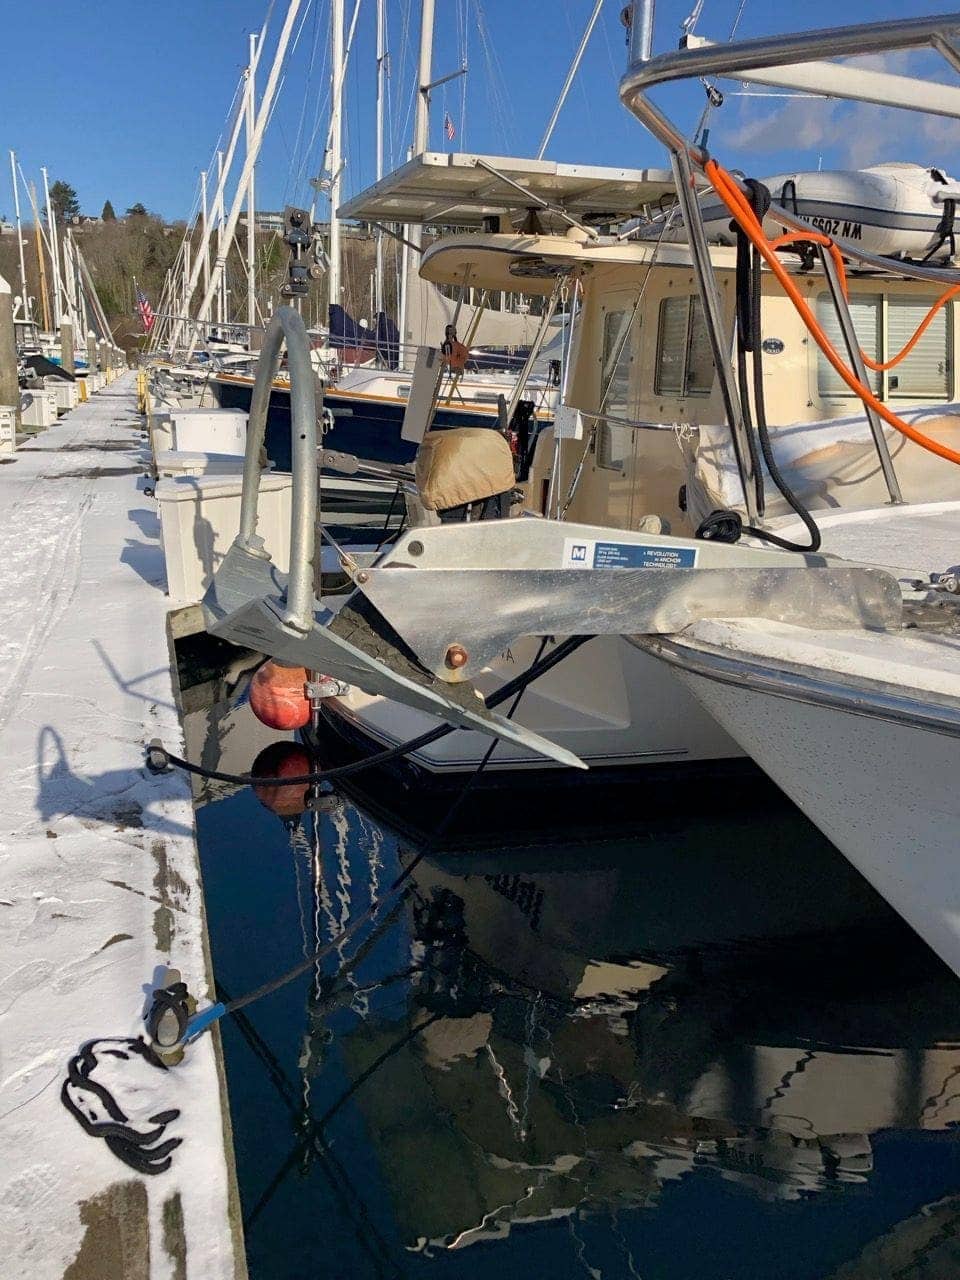
Here’s what that looks like with the bigger Mantus anchor. I’ve created a problem…. While retrieving the anchor about 50% of the time, because the shank on the Mantus is enormously long (31″ compared to the Bruce 20″), when the anchor pivots up onto the bow roller, it has the tendency to yank the chain up and out of the gypsy, and onto the capstan of the windlass. Now you have 65 pounds of anchor and a decent amount of chain (however deep it is) rushing out of the boat, making a terrible racket, treating the capstan badly, and generally becoming a hazard.
This happened enough times that I developed a touchy way using the windlass to get the anchor aboard, but I didn’t like it at all, and obviously made a mistake in sizing the Mantus anchor. I think I might need a different anchor solution…
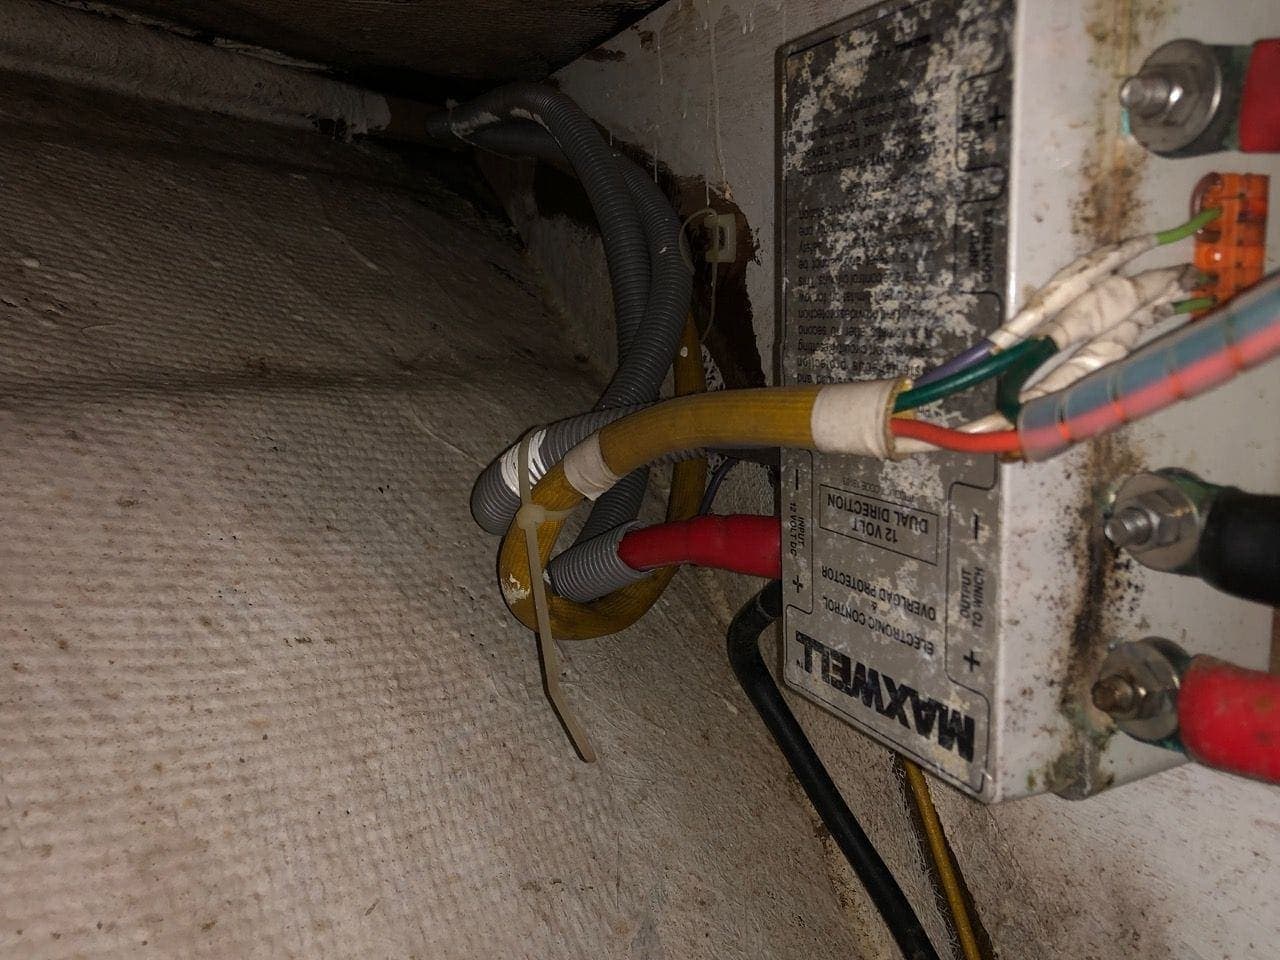
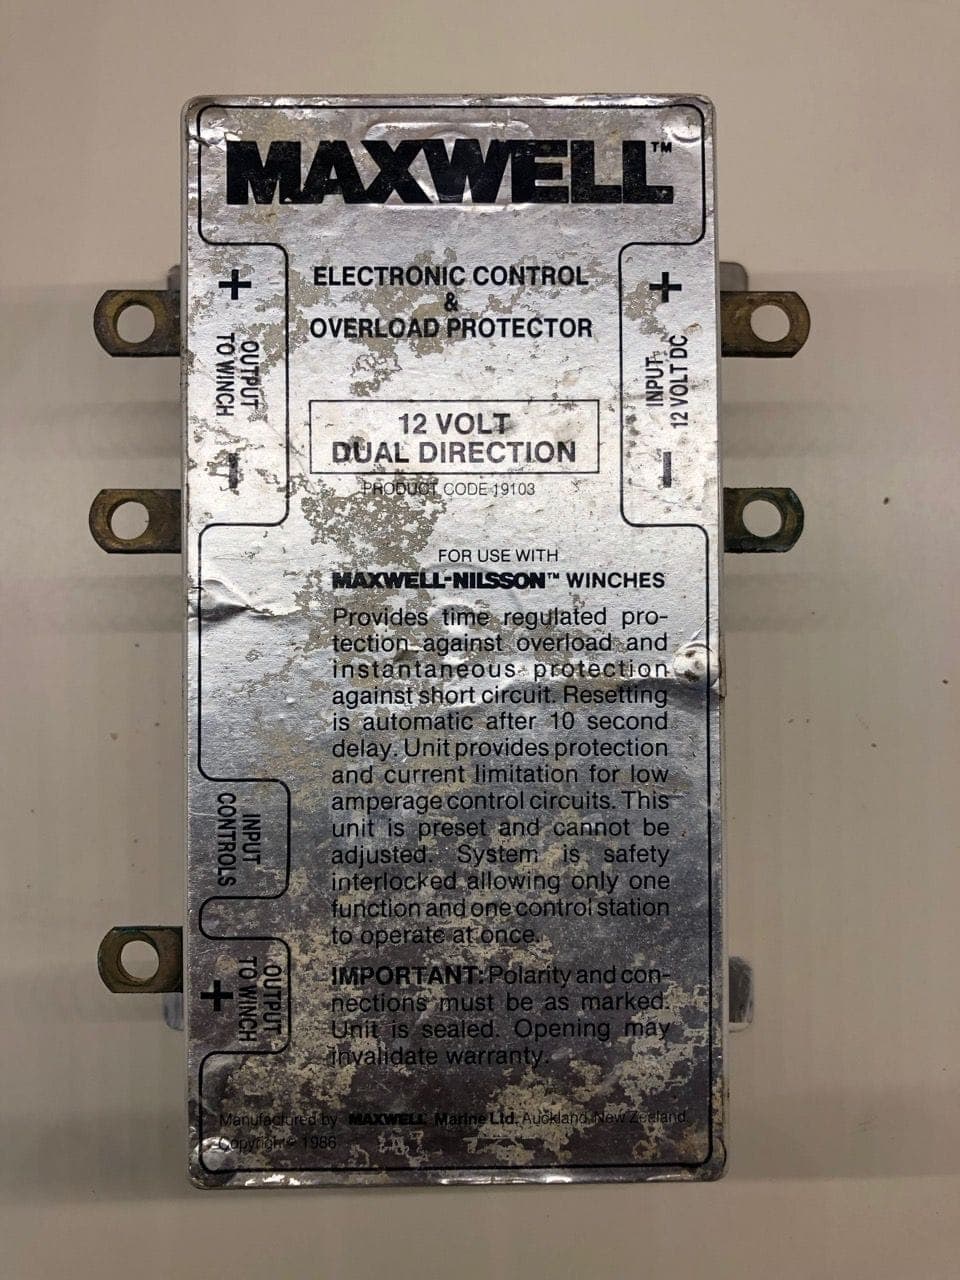
What really pushed this project into “must fix immediately” was the windlass. Since purchasing Rendezvous, the windlass had always been finicky. You had to wait between reversing directions 10 seconds or more, and even when going the same direction, you had to pause quite a bit. On a recent trip, I couldn’t even get the windlass to work in one direction longer than about 10 seconds, and then had to wait a minute. I found out after working with Bob and Will @ Maxwell/Vetus that I had a very, very old automatic solenoid and overload protection system that they had not seen in a long while.
In fact, Will recommended it be removed immediately due to previous failures many years ago. Part of what this advanced solenoid provided was “overload” protection, which I heard tripping constantly even when there was no overload condition, hence the delays and cut outs while using the windlass.
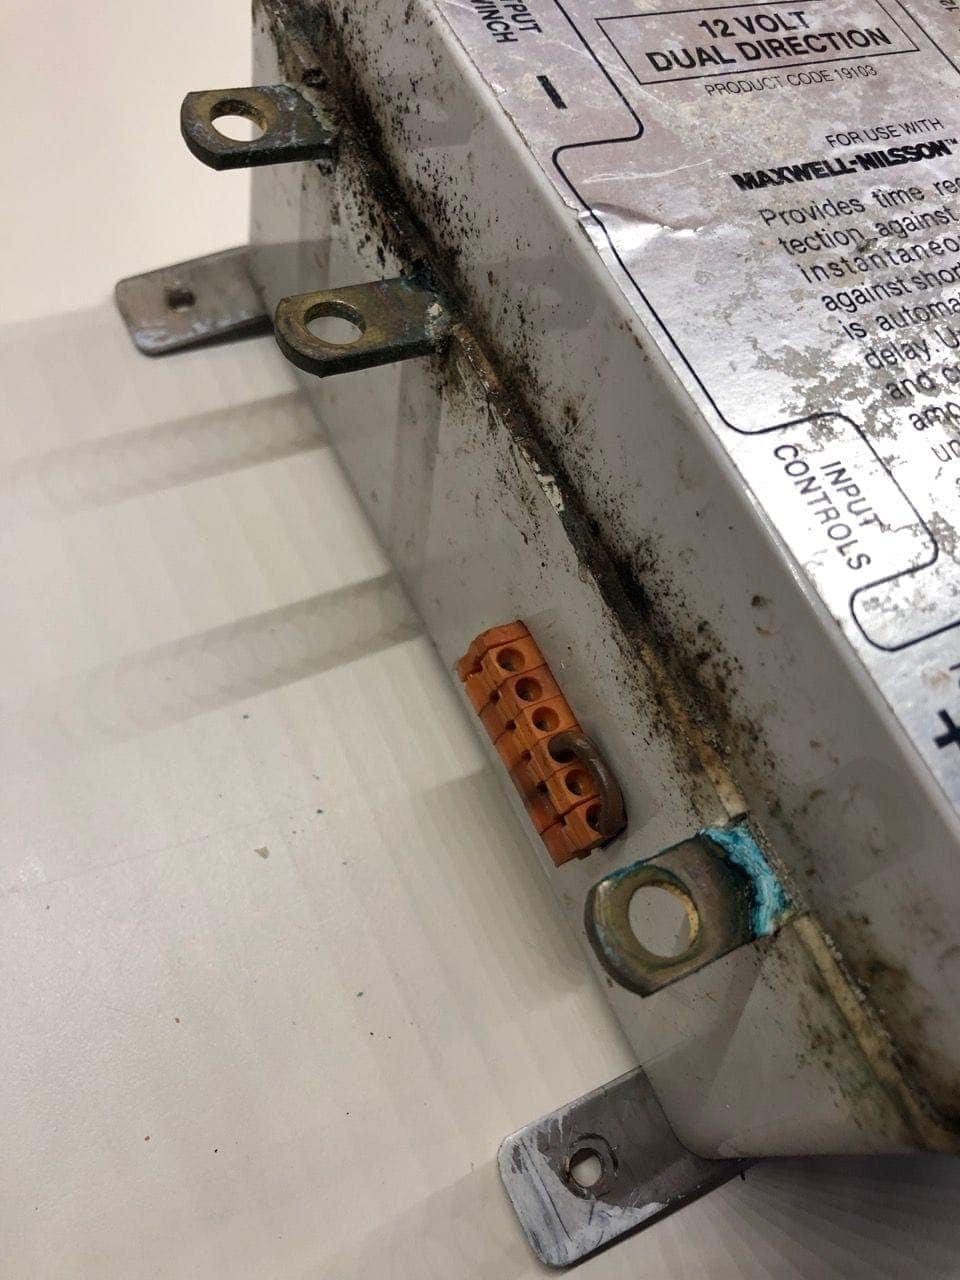
It did look like a bit of moisture got into the box, but 30 years of service is pretty good.

Somewhere down in the bottom of the box encased in epoxy are some electronics that deal with the overload side of things. That’s probably what stopped working reliably and caused my problems. There’s a bit of corrosion in here too, but not too bad.
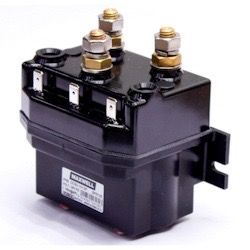
I replaced it with a standard Maxwell reversing solenoid and was able to re-use most of the existing wiring, which is good because I have three different stations to control this from, and didn’t want it to be a wholesale replacement.
Even in the first few weeks since this change, I have seen a complete turnaround in the performance and control of the windlass. The motor sounds better (I have an ear for these types of things) and I am able to exert far better control when using the windlass.

At the same time, I took the opportunity to replace my windlass master circuit breaker.
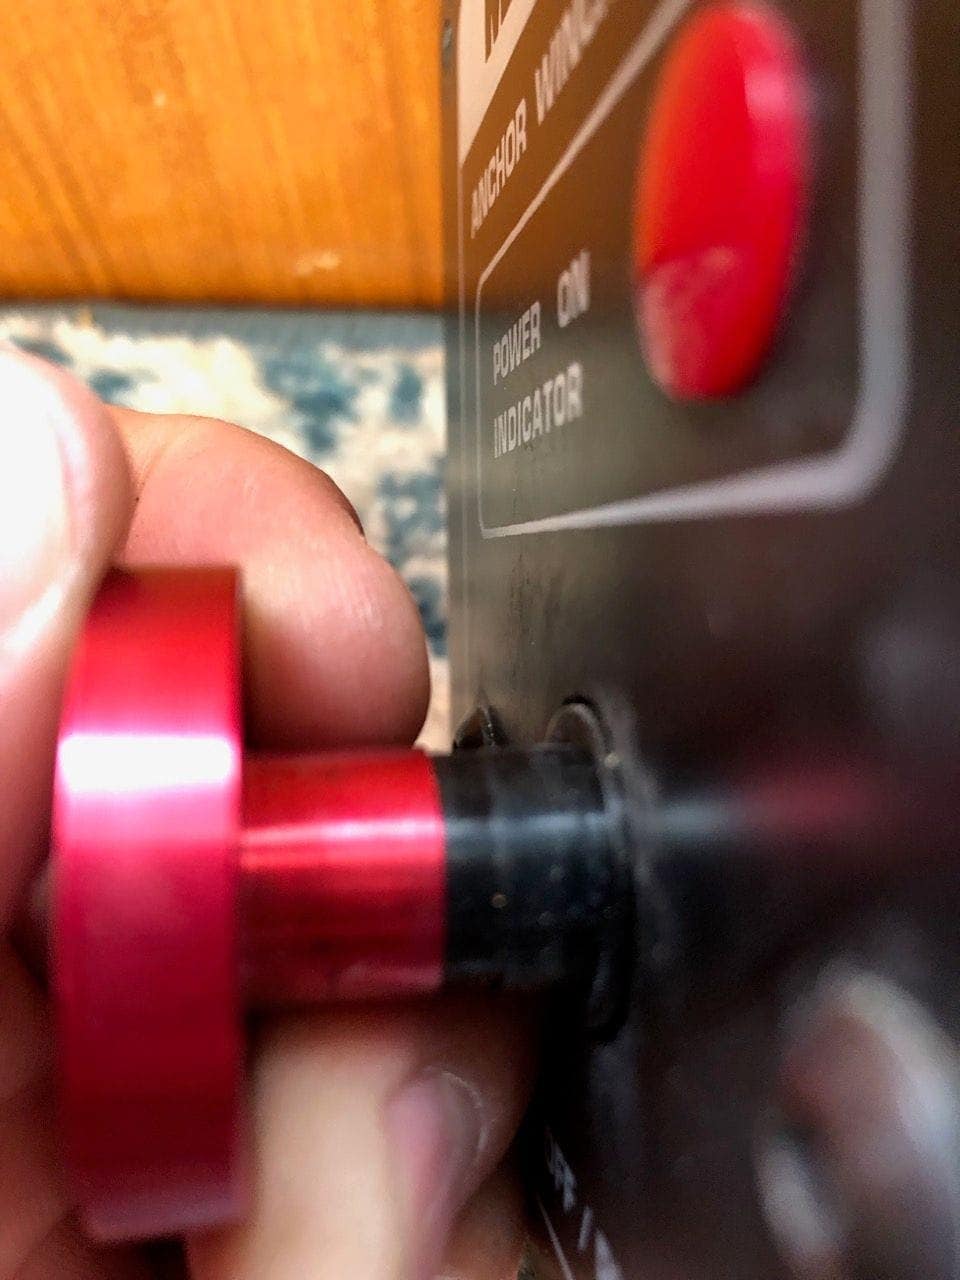
I loved the look and feel of this breaker, with the big machined aluminum plunger, but the guys at Maxwell said it would wear out at some point soon, given how long it had been in service. The throw distance for the breaker itself is pretty short, so you do have to reef on it a bit.
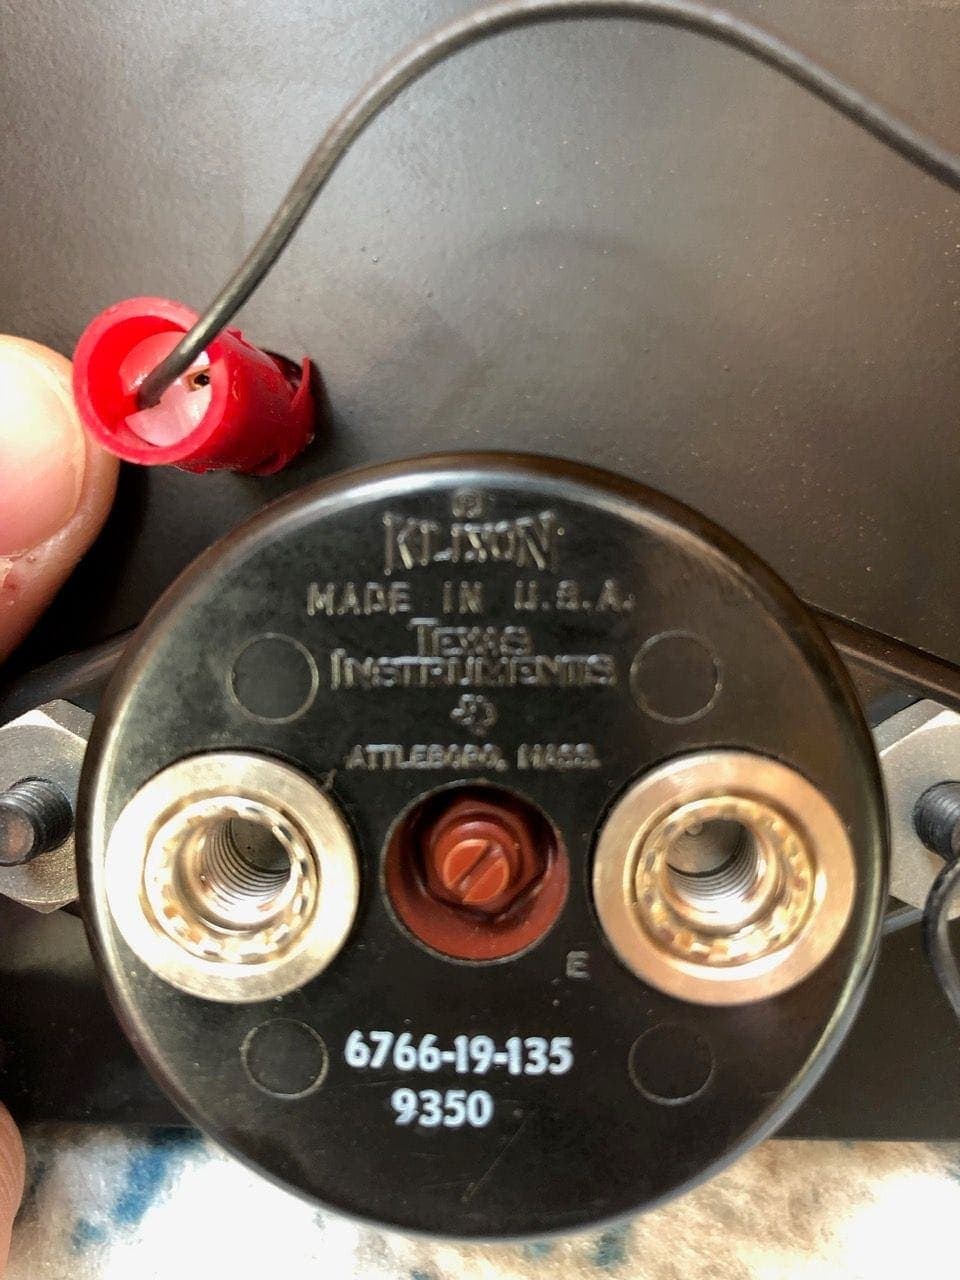
I was surprised when I removed the breaker that it was made by Texas Instruments, and was marketed as a Klixon brand breaker. I didn’t know TI did electrical components of this type. I replaced this breaker with the Maxwell updated equivalent 135A push button breaker which just so happened to fit in the same nice box/mounting hole that the old one came out of.
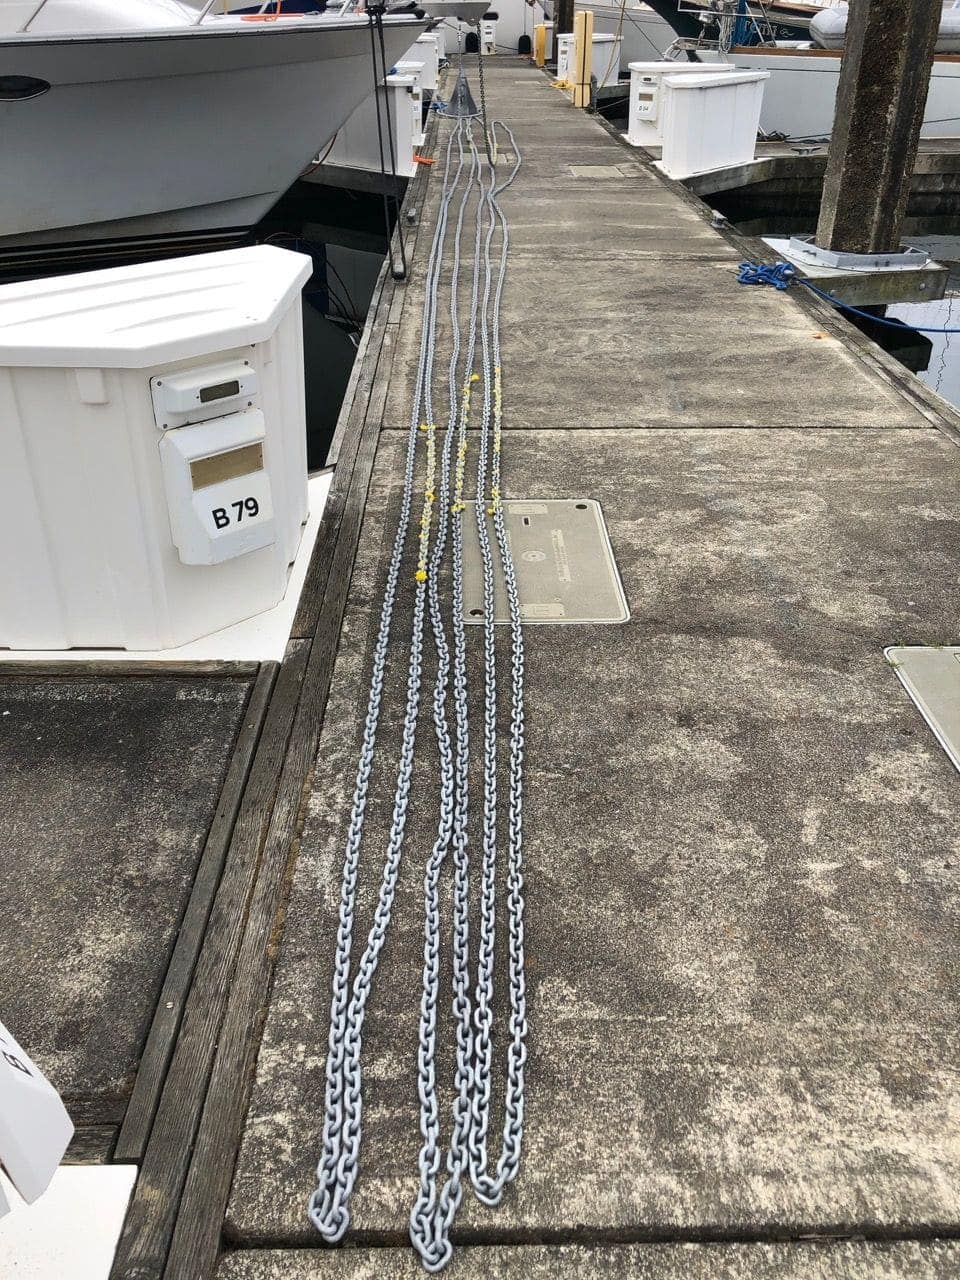
Part of this project included upgrading the chain length from about 195 feet to 300 and looking at higher test chain, as the existing stuff was BBB. Most of the places I wanted to anchor require a decent length rode, especially Desolation Sound and similar areas in British Columbia. I wanted to have at least 300 feet of chain so I had as many options as possible. I bought three lengths of chain from Fisheries, all 5/16″ but from different manufacturers, and different grades. I tried Acco BBB and G43, and Titan G43. The Titan seemed to move through the gypsy the best.
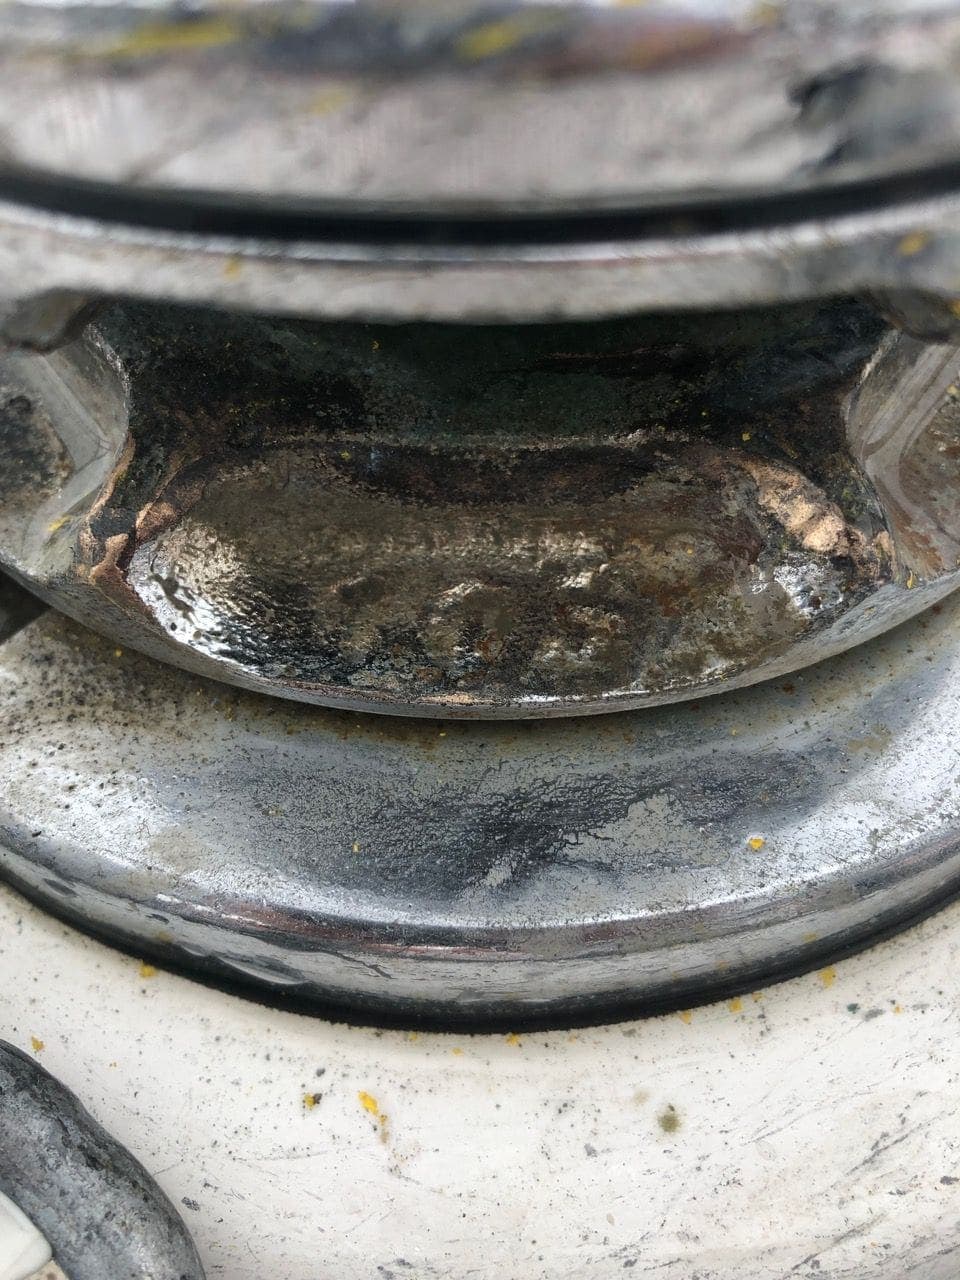
Maxwell stamped their gypsy’s with numbers to indicate what type of chain they can handle. Mine said 105 (hard to read in the pic above) and they confirmed it would work with 5/16″ short link windlass chain. It is definitely a good idea to check with your windlass manufacturer before switching chain, and even go as far as I did and order some test lengths.

Now begins another chapter in the anchor drama – marking the chain. Being tech-focused, I read a lot in forums about how people mark their chain, and decided to try a new approach.

Imtra makes a rubber chain marker insert in different colors, and I bought enough to mark things every 50 feet. This seems like a really good way to mark your chain, but even during testing, I saw that it was a complete failure. Several of these rubber inserts popped out.
So we went out on a day trip and dropped the hook in a nearby bay. My crew on the bow couldn’t even see the colors going by, so that was a bit concerning. I went down to the anchor locker and found about half of the rubber inserts sitting in the bottom of the anchor. It was almost impossible to see the colors at any point, even when retrieving the anchor at a slower speed. Maybe on a very slow, old windlass, or when managing your rode by hand, these would work, but in general, they are not worth the money in my opinion.

Enter idea #2, which involves threading a single strand of poly rope in the chain links which makes it very visible when retrieving. Many people swear by this method, and I tried a number of different sizes of poly to see how it would work.
I didn’t even have to leave the dock to know this was a complete failure as well. Every time the poly got near the windlass gypsy, something jammed or popped off. No matter the size of the rope or the way I threaded it mattered – my gypsy was just too tight for this method.
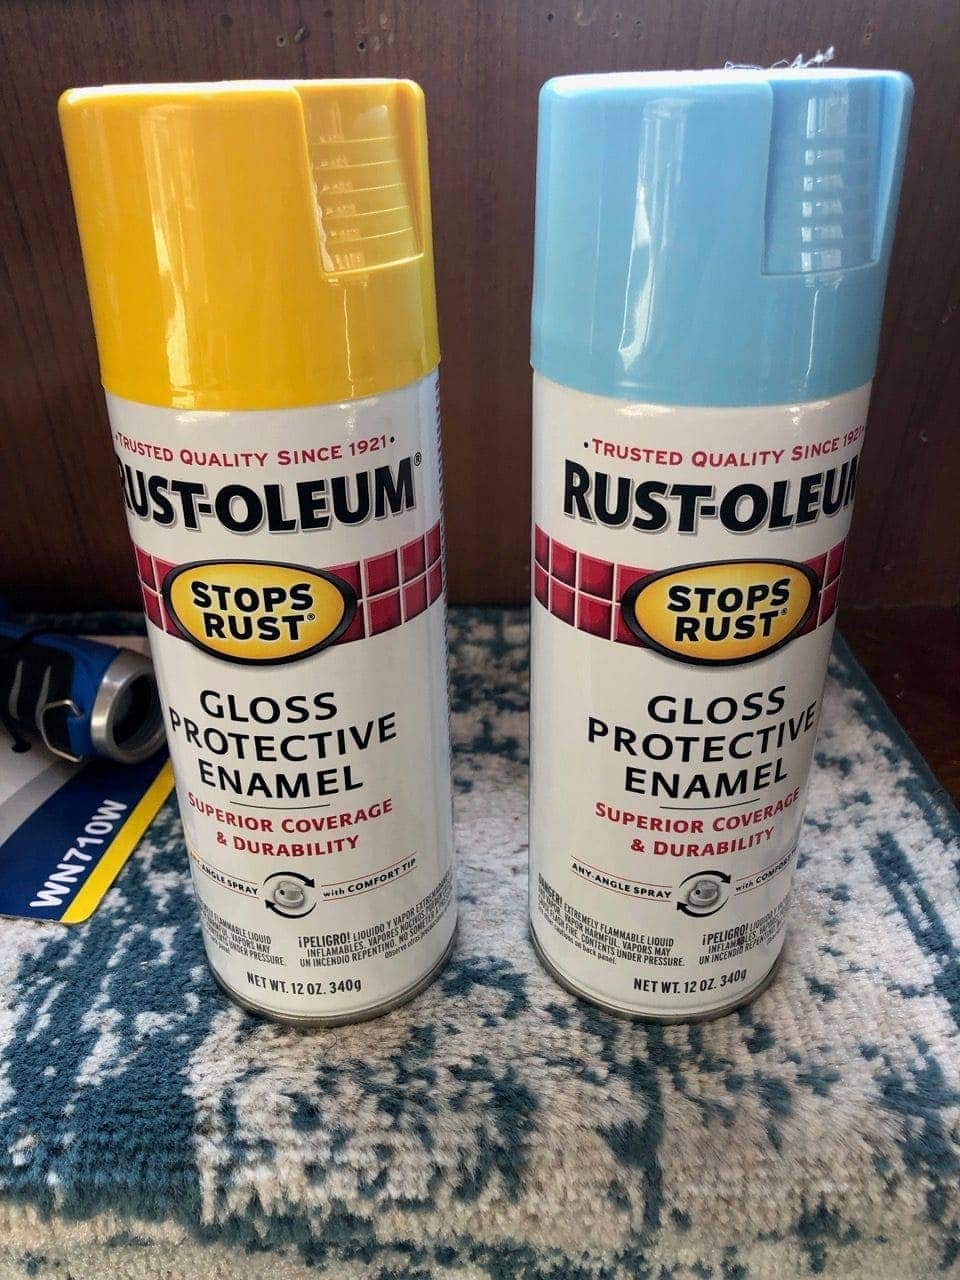
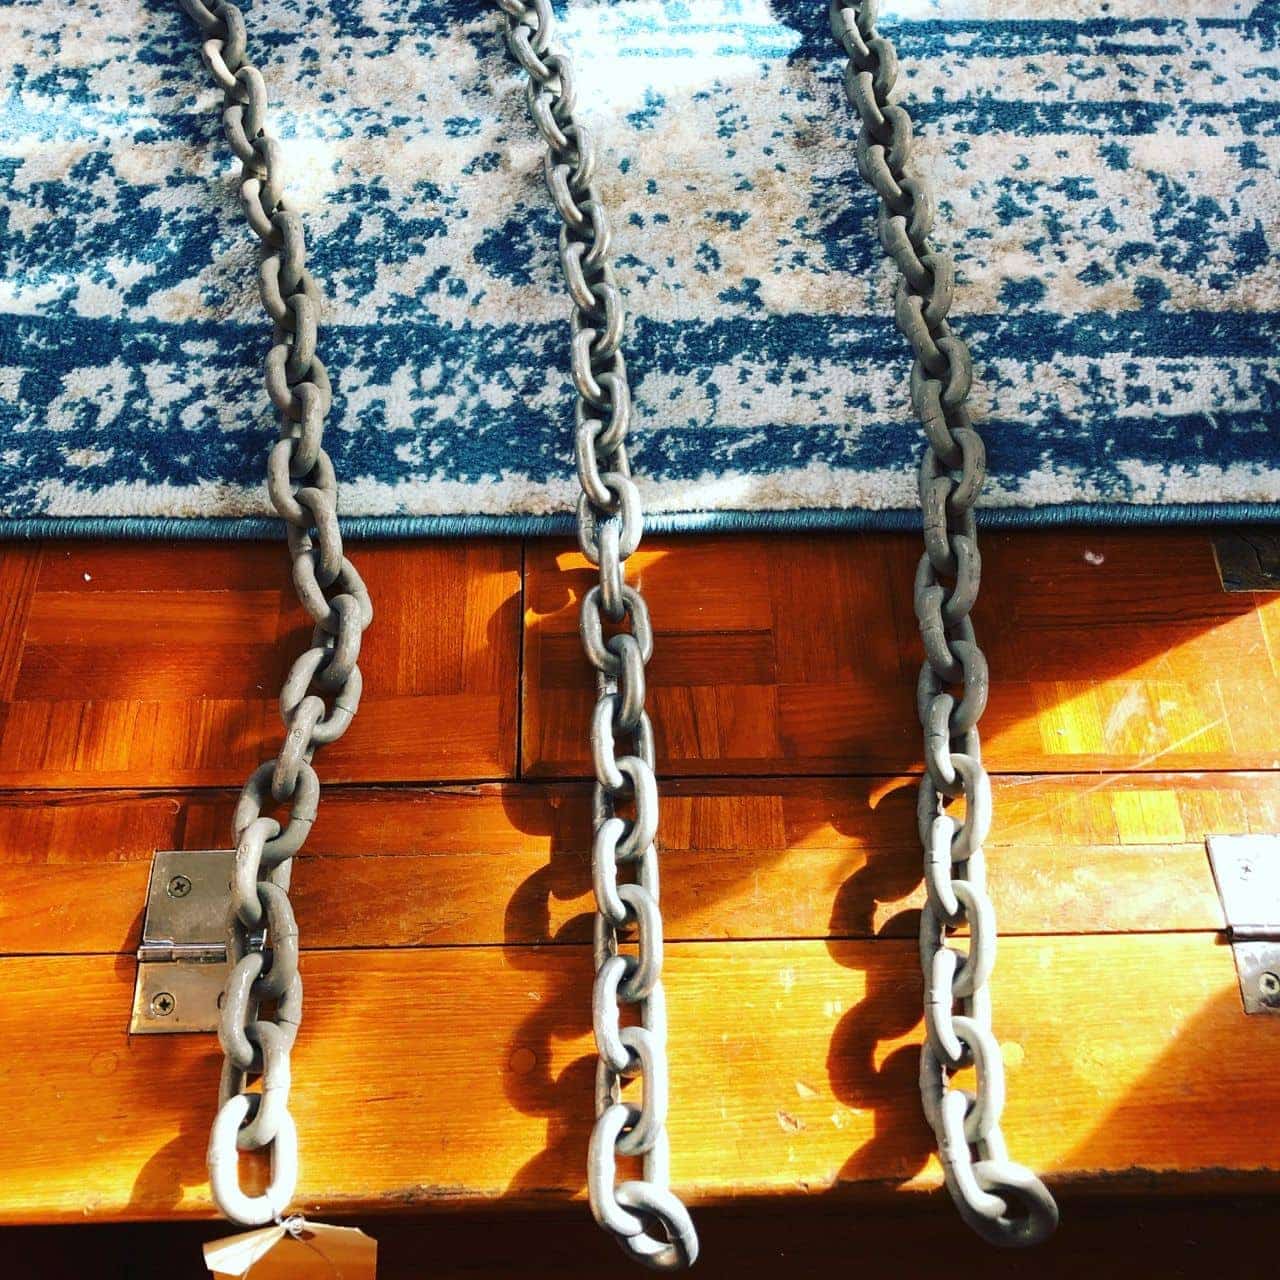
So after several weeks of frustrating experimentation, and annoying my dock neighbors by spewing in and out 300′ of chain to change things, I decided to go back to the rather normal method of painting the chain. Since I am red/green/other color blind, I decided to keep it simple and use two colors – one for 50′ and one for 100′ increments.
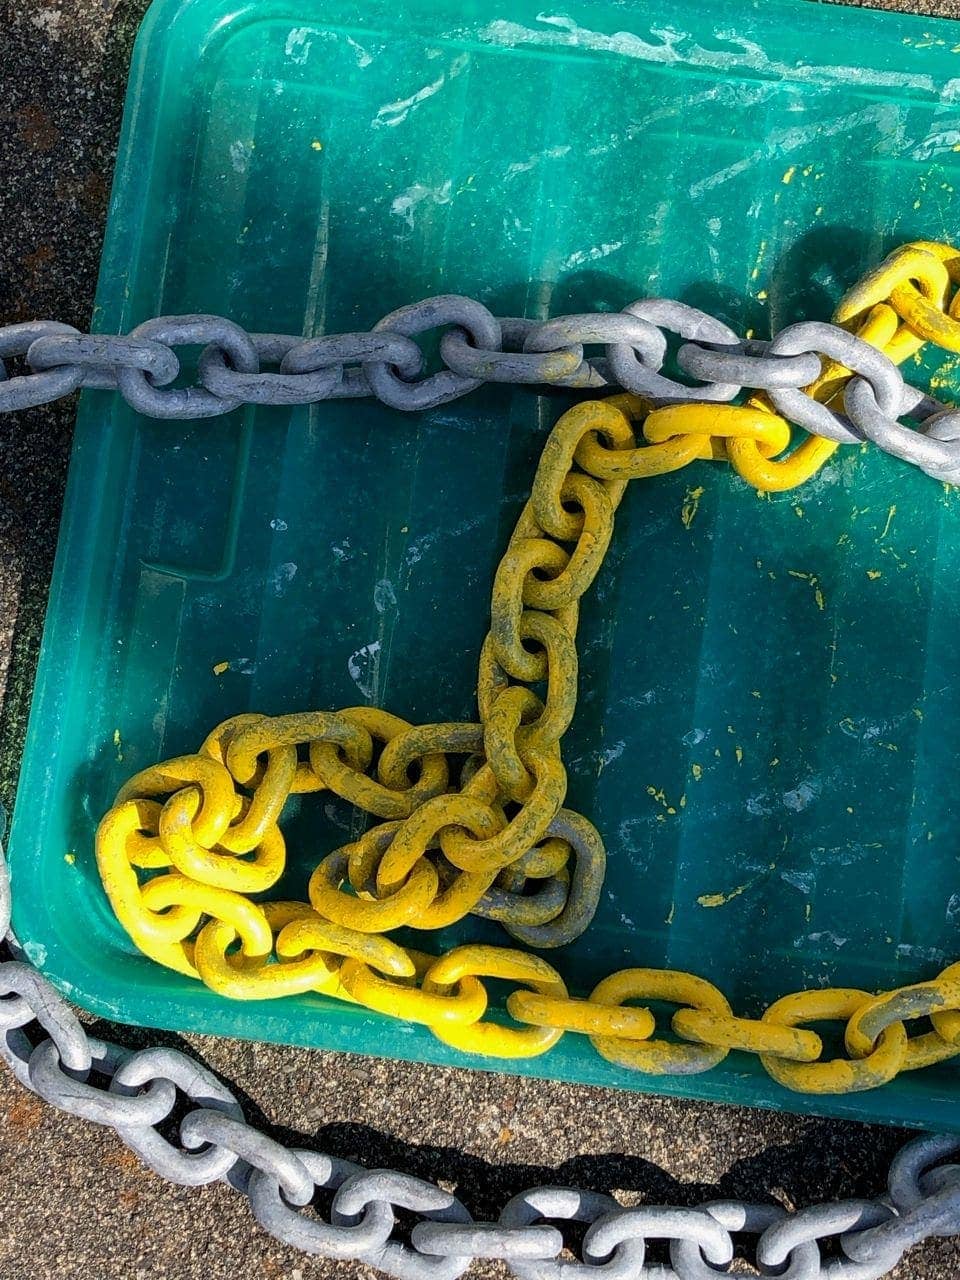
Using the garbage bag/cardboard method and spraying inside the bag, shaking, and spraying again, I ended up with very visible colors that I can see clearly from the flybridge or salon, and my crew can see easily as well.
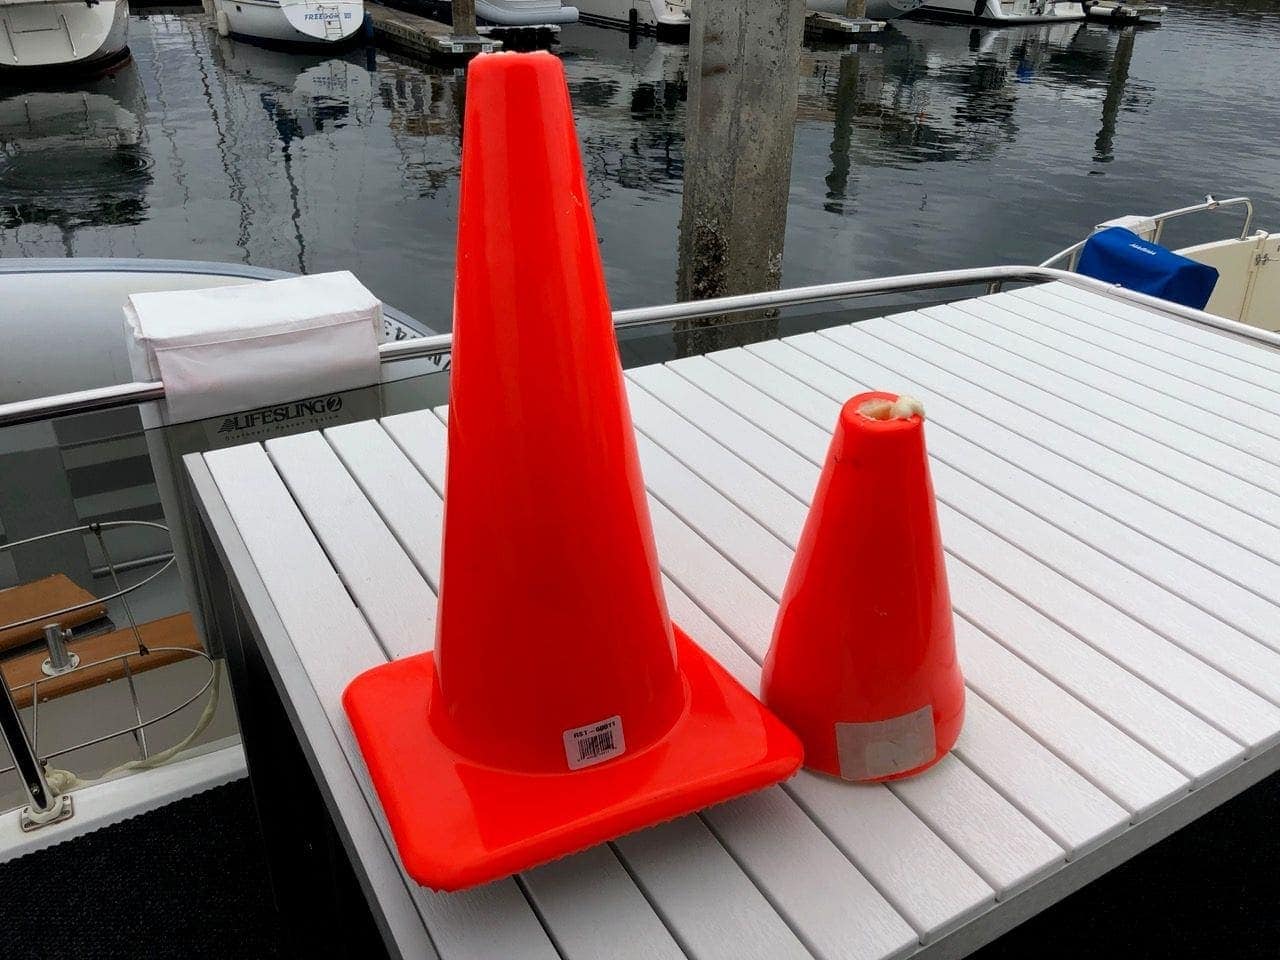
I have also been trying to solve a problem with the chain castling or piling up under the windlass when retrieving the anchor. Of course, like many boats, my anchor locker is a strange shape and chain tends to not slide down into the deeper parts. There is plenty of room overall for 300′ of chain (or even more) but it just won’t get out of the way from underneath the windlass. I’ve tried a StarBoard structure, poles, boards, and most recently, construction cones filled with expanding foam to give them structure.
Nothing seems to work that well, so every 50-75′ someone has to go down and knock down the pile. My next idea is to use Delrin or similar very slippery products to see if I can make the angled walls underneath the windlass area slippery enough to send the chain further down into the locker.
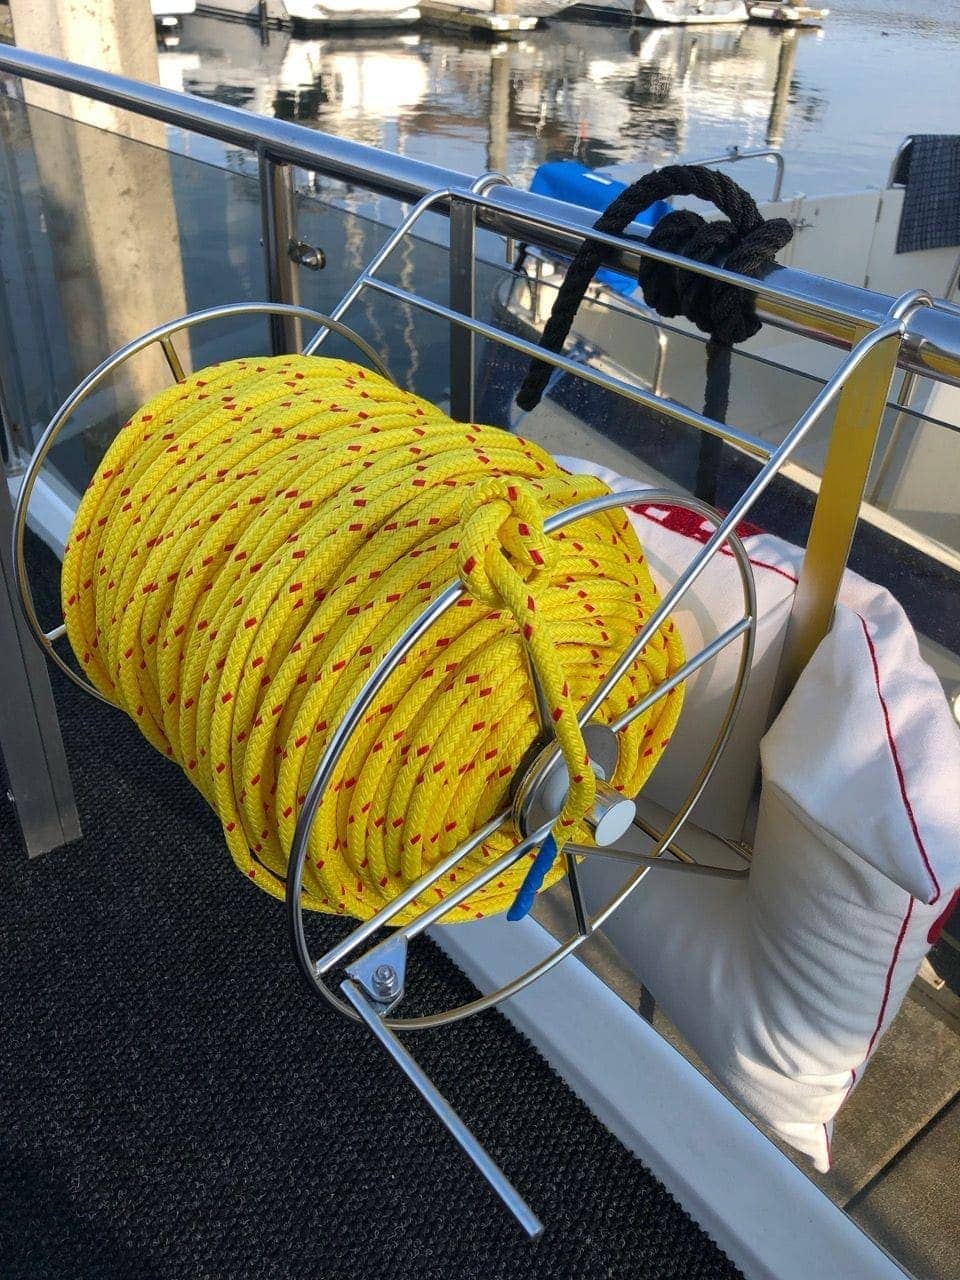
While I was improving the ground tackle at the bow of the boat, I also took the opportunity to get a stern tie setup in place. I really wanted an Ultraline Flat Rope Wheel setup that I’ve seen on many boats, but at $2000 for 300′, it seemed way overpriced and limiting in length.
Instead, I purchased a ShoreLine reel for $349, and added 600 feet of 3/8″ floating Samson line for $240, for a total cost of $589. Double the length for about 1/4 the price. I may end up replacing this line with something larger, but only 400′, if I find that this is too light for stern ties, but I think it will be OK, as the previous owner had a hose reel of poly line that was about this size.
I also like how this is removable, and can be stowed out of the way when not in use.
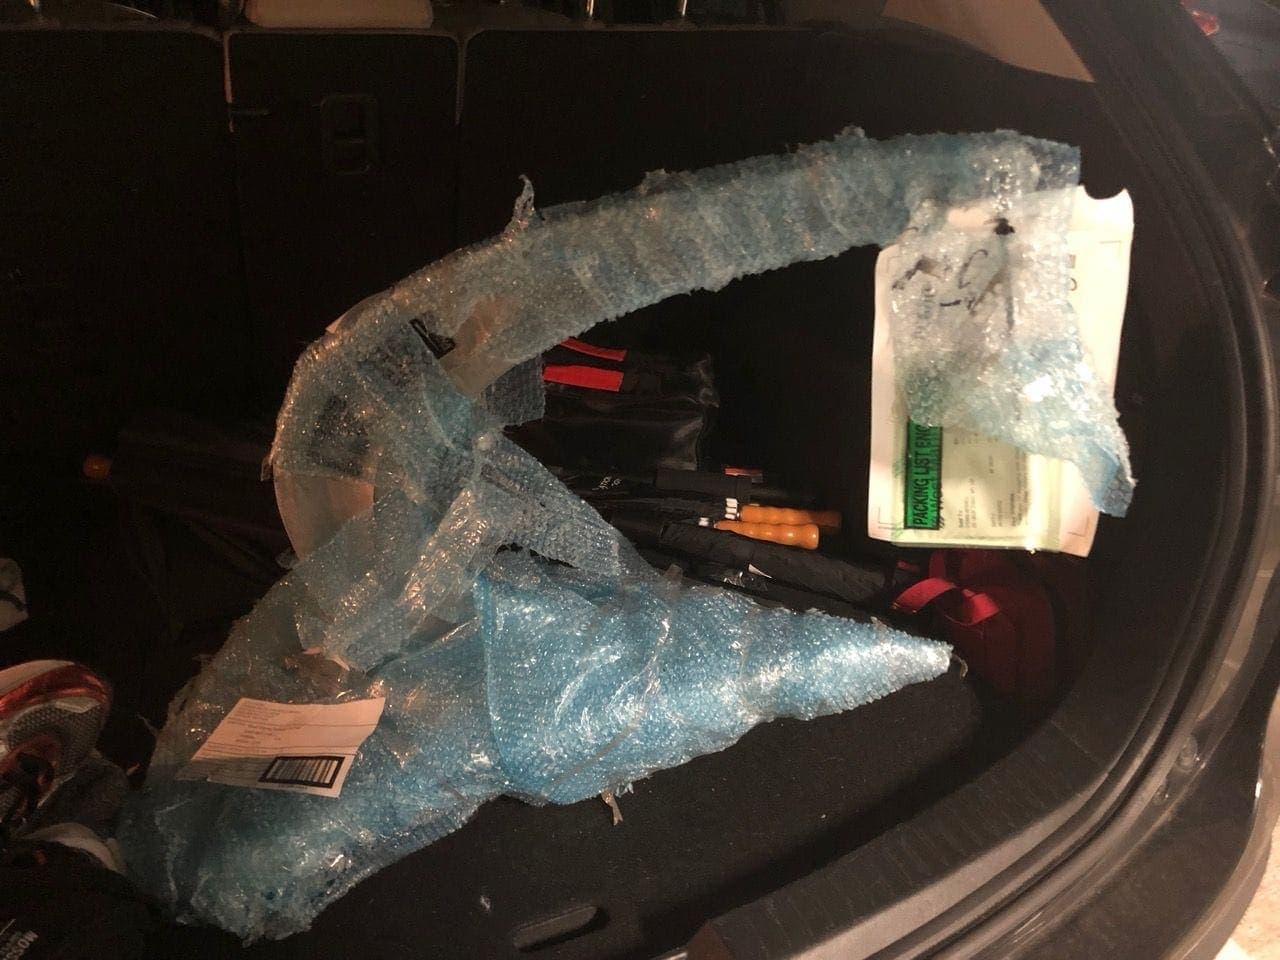
Even with all of these improvements, solving the anchor shank length issue was a priority. After far too much investigation, emails, and talking to vendors, I determined that the Rocna Vulcan was likely the best and only choice for my short bow roller situation.
Once I identified that the 55 pound version was a great size for my boat, even more frustration was waiting for me. Fisheries tried to order it for me, but couldn’t get Rocna to get them the right size. 2 weeks of wasted time and updates were spent there.
West Marine had it available for slightly more, and would ship it very quickly – I’m getting closer now to leaving on a 30 day trip and really didn’t want a brand new untested anchor without some time to spare. The first anchor was lost by UPS (how in the hell do you lose a 55 pound anchor!) and they were extremely unhelpful, as usual. Any time I ship something, I avoid UPS at all costs as their customer service and quality is the absolute bottom of the barrel. West Marine was super nice and shipped a second one, even while UPS and them were arguing about finding the lost one.

The first time I pulled the new Rocna Vulcan up on to the bow roller, I could see how much better it was size and shape wise. Almost no noise, smooth retrieval, and fit like a glove. It was even better than the old Bruce anchor. You can see above not only how much more chain is exposed with the Vulcan, but it is also angled down a bit so that the chain should never jump off the gypsy during retrieval again.
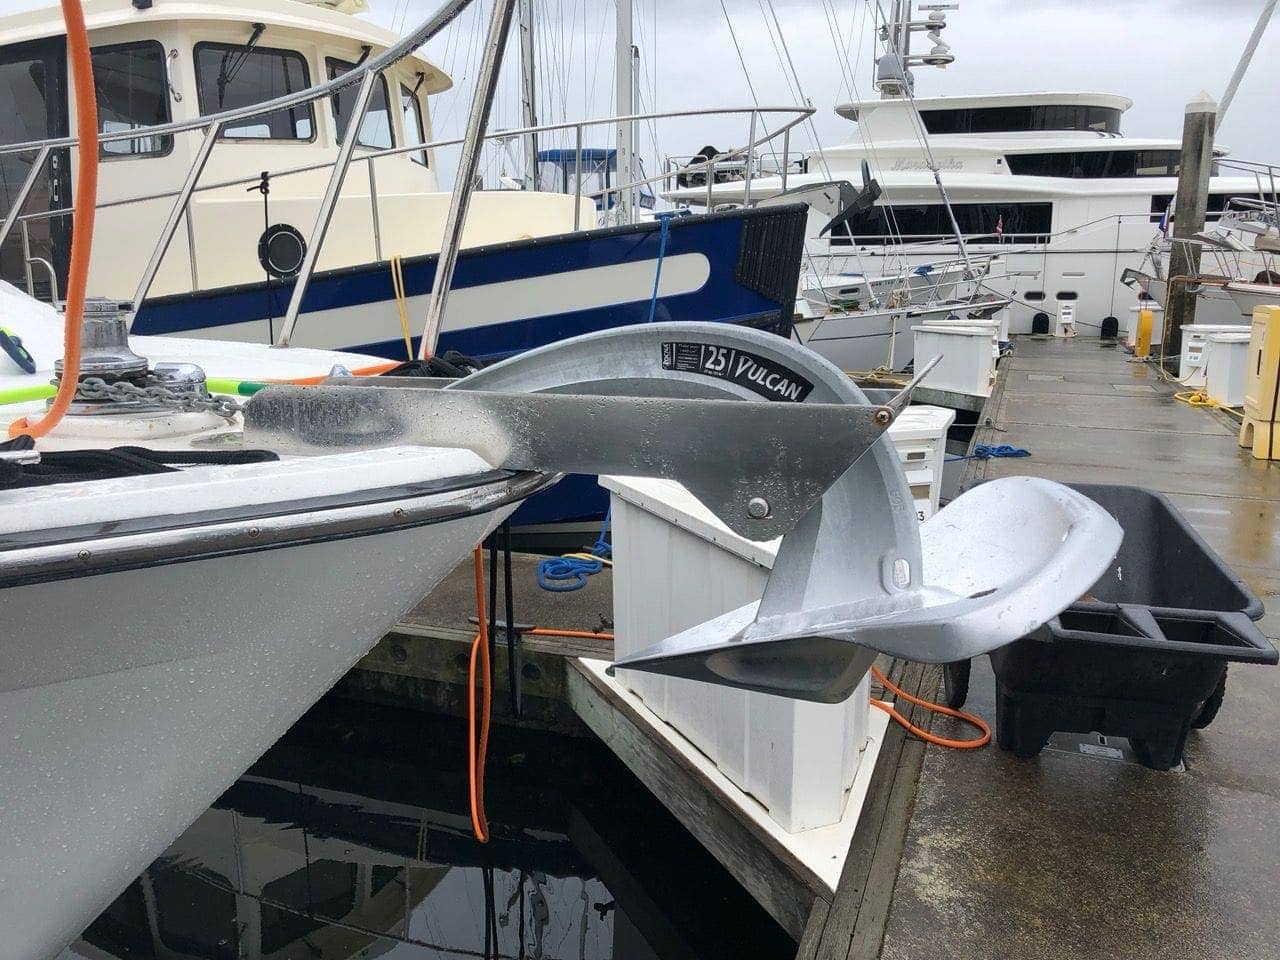
The anchor sits very snug in the bow roller, and never gets close to the bow of the boat. That curved shank is the key – the anchor just slides up the roller quietly and quickly.

I’ve heard from others who have used the Vulcan that it is just as good as the standard Rocna in terms of setting every time. It is a bit different design with the big bulb underneath, and the flared sides. I am very happy with how this turned out, although I wish I had just purchased this one first.
I was so happy with how smooth it was, I even took a video, which you can enjoy above.
Later in the season, I was diving my ROV and came across the anchor buried in the seabed. The video above shows how well it set off of Blake Island in the sandy bottom.
This whole project was one of those that drags on and on. I started it in November 2018, and just finished the most critical things in June of 2019. I’m still fussing with the anchor locker and chain castling situation, but that I do not expect to solve for a long time, if ever. However, I am glad I persisted with the project, and continued to try to find the right solution at every step.
Having a reliable and safe to use ground tackle system is very important. We intend on anchoring almost exclusively when we are on trips, and being able to deploy and retrieve things safely and reliably, and know that we are safe on the hook is the reason all this work was worth it!
Archived Comments
These are read only comments from the old system. Scroll down to participate in SeaBits Discussions, our new interactive forum attached to each article.
David Geller
July 5, 2019 at 4:34 am
Another awesome post. Brings back memories of my rode painting (https://pnwboating.blog/2015/08/17/a-rode-well-traveled-marking-your-ground-tackle/). I marked off 30′ sections. This reminds me of the story about the US and NASA going to great lengths to create a writing instrument for zero gravity only to see that the Russians simply used pencils. Don’t know if it’s true, but it’s like the tags, poly-line and paint choices.
I don’t own a bridle yet but plan to buy one. Thanks for your recommendation of dbRopes.
- Steve Mitchell
July 4, 2019 at 5:47 am
Rode painting is always a challenge in some way – getting the space to do it on the boat and/or dock, not getting paint on anything but the chain (impossible), and seeing it wear off pretty quickly throughout the year.
I’ve always had a bridle for my boats with all chain or mostly chain rode. Most of them have had chain stoppers, but I hate putting that type of load on a single point on the boat, and one that is not flexible at all in waves or wind. The bridle is an essential piece of kit I always add early on if there isn’t one from the previous owner (hardly any boat has had one which surprises me).
Wyatt Camp
July 15, 2019 at 11:11 pm
Informative as always. We’ve been super happy with our Rocna 20. I tried those little plastic bits as well and they’re worthless. I’ll be breaking out the rustoleum this season. We made our own snubber/bridle (included a couple of pics) and has worked well for the past four years. I’m not particularly handy, so if I can do it…
Thoughts on the swivel? We don’t have one and have never missed it. Seems like a single point of failure and I’m not clear what the benefits are.
Mic
April 10, 2021 at 1:41 pm
Hi Steve,
I’m planning to tweak my anchor set up soon and was reading through your great post on the topic. And I thought I’d pass on a idea for you and other readers regarding what I’ve found to be an easy, inexpensive, successful method of anchor chain marking.
I have tried the spray paint on chain approach. But found that our gravely bottoms here in the PNW quickly eroded the paint, markings were hard to see and messy to apply.
Now I use zip-ties. I’m sure I got this idea from someone but can’t reminder. I picked up a package of 8″ fluorescent colored zip ties at Harbor Freight.
https://www.harborfreight.com/100-piece-8-inch-fluorescent-cable-tie-assortment-98727.html
I tie a set on every 25 feet. They run through the gypsy without a problem, and I find that they are very visible from the cockpit. They have surprised me with how durable they are. I may lose a couple couple in the course of season, but are very quick and easy to replace as I’m out cruising. I wanted to pass it on as this has worked well for me for 10+ years.
My method of marking is to use one color for every 100 feet; so 0-100′ is yellow, 125-200′ is pink, and so forth. 1 zip-tie marks 25′, 125′ and 225′, 2 for 50′, 150′ and 250, 3 for the 75’s, and 4 for the 100’s. I leave the tails on the zip-ties for visibility.
Also, I was at the Deer Harbor Marina recently where they were doing refurb on some of their docks. And I scored a scrap of plastic dock grating they were throwing away. Yay-free! That’s going to be cut to fit the bottom of the anchor locker to provide better drainage and to keep the chain and rode out of the muck that builds up in the bottom.
- Steve Mitchell
July 17, 2021 at 1:46 pm
Sorry for not responding sooner – a bunch of comments got flagged as spam accidentally!
This is excellent advice! I just switched to zip ties this year myself after having to re-paint my chain last year TWICE due to the amount of anchoring I do. The zip ties are far easier to see, and go through my gypsy as well after they’ve been run through once or twice.
I decided to use a number of zip ties depending on the amount, and mark at every 50′. One zip tie at 50, 2 at 100, and so on. I can’t see colors that well, so just using white ones works well for me.
Bob
June 22, 2021 at 9:29 am
Thanks for this very informative blog posting. I recently purchased a Helmsman Trawler 38. The previous owner had swapped out the original Bruce 44# anchor for a Mantus M1 65#, which impressed me when I first looked at the boat. But it turns out it has EXACTLY the same problem you experienced–the short distance between the end of the shank and the windlass means that the anchor often pulls the chain off the gypsy as it comes up over the bowroller. I considered various modifications to the roller to allow me to keep the Mantus, but in the end decided to go with a different anchor, and am now considering the Vulcan. My boat is similar to yours–mine is 30,000 pound dry displacement, and about 40′ LOA, and same cruising grounds. But I am considering the 73# Vulcan, rather than the 55#. Did you consider the larger size, or do you think this is overkill?
- Steve Mitchell
July 9, 2021 at 9:29 am
Hi Bob,
I’m about 31,000 pounds fully loaded with all tanks and my junk aboard. The 55# was well within the range of that weight and boat size/length (windage) for the calculations I did, if not a bit on the top end. I’ve been out in 45 knot wind storms and not moved an inch, so I’m very happy with the choice. I think the 73# would be too much in terms of weight for my windlass to deal with, and just sheer size in the bow roller.
Jamie
August 17, 2021 at 4:37 pm
Nice blog post. I am swapping the same old Maxwell solenoid overload box you had with a their new one. I also have a remote control.
In the post you said you were able to reuse most of the old wiring. What wiring needed to be replaced? Any advice on the rewiring would be appreciated.
- Steve Mitchell
August 19, 2021 at 7:18 pm
Hi Jamie,
The large gauge wires coming from the battery to the solenoid, and the control wires from remote stations were the only wiring I re-used. The large gauge wires from the solenoid to the motor and all of the control wires from the solenoid to the foot switches, which are just nearby, I replaced.