

Adding more ambient light in the main salon and stateroom has been a priority since replacing the halogen lights with CREE LEDs a few months ago. Having had extensive experience at home and work with LED strip lighting, I knew that I could find an elegant solution that would not break the bank.
I started the research at my favorite LED site, SuperBrightLEDs, and settled on a simple configuration that I’m very happy with.
Here are the high level goals with the project:
- Provide ambient lighting in stateroom and salon
- Must be LED and relatively low power
- Must be dimmable
- Each room should have separate controls
- Must run off of 12V and usable while away from dock power
- Slim controllers required due to install space
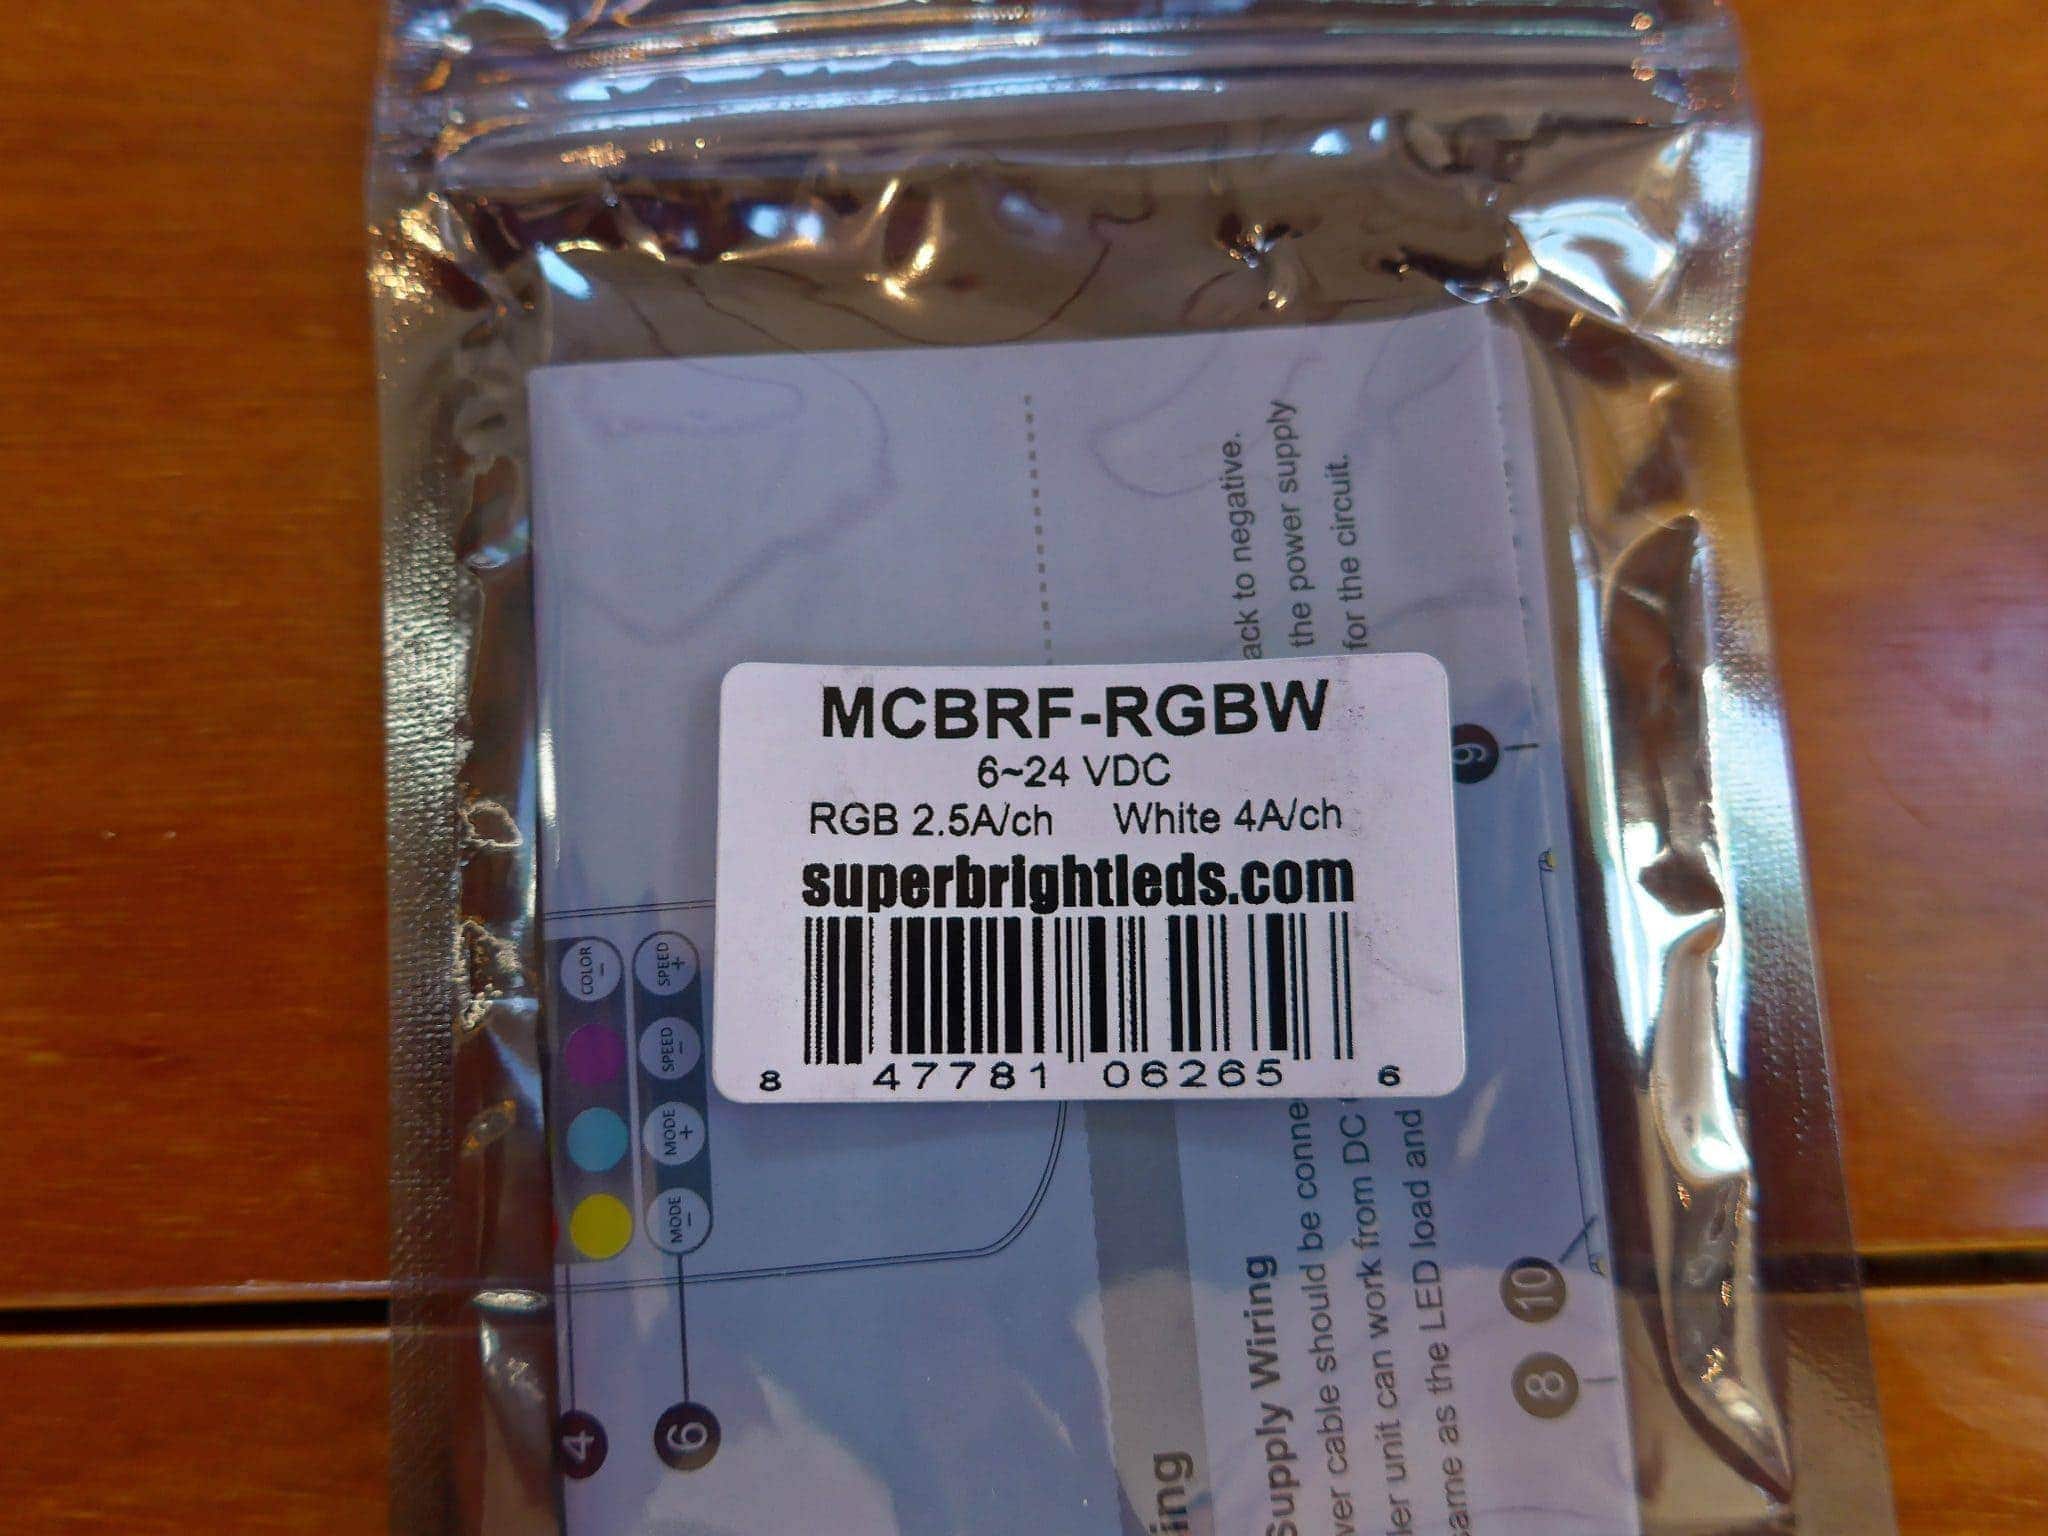
After a bit of research, I settled on the MCBRF-RGBW remote and controller bundle for $35 each. For the salon, I needed four of these because I intended on having four separate strips of lighting. For the stateroom, only one was required.
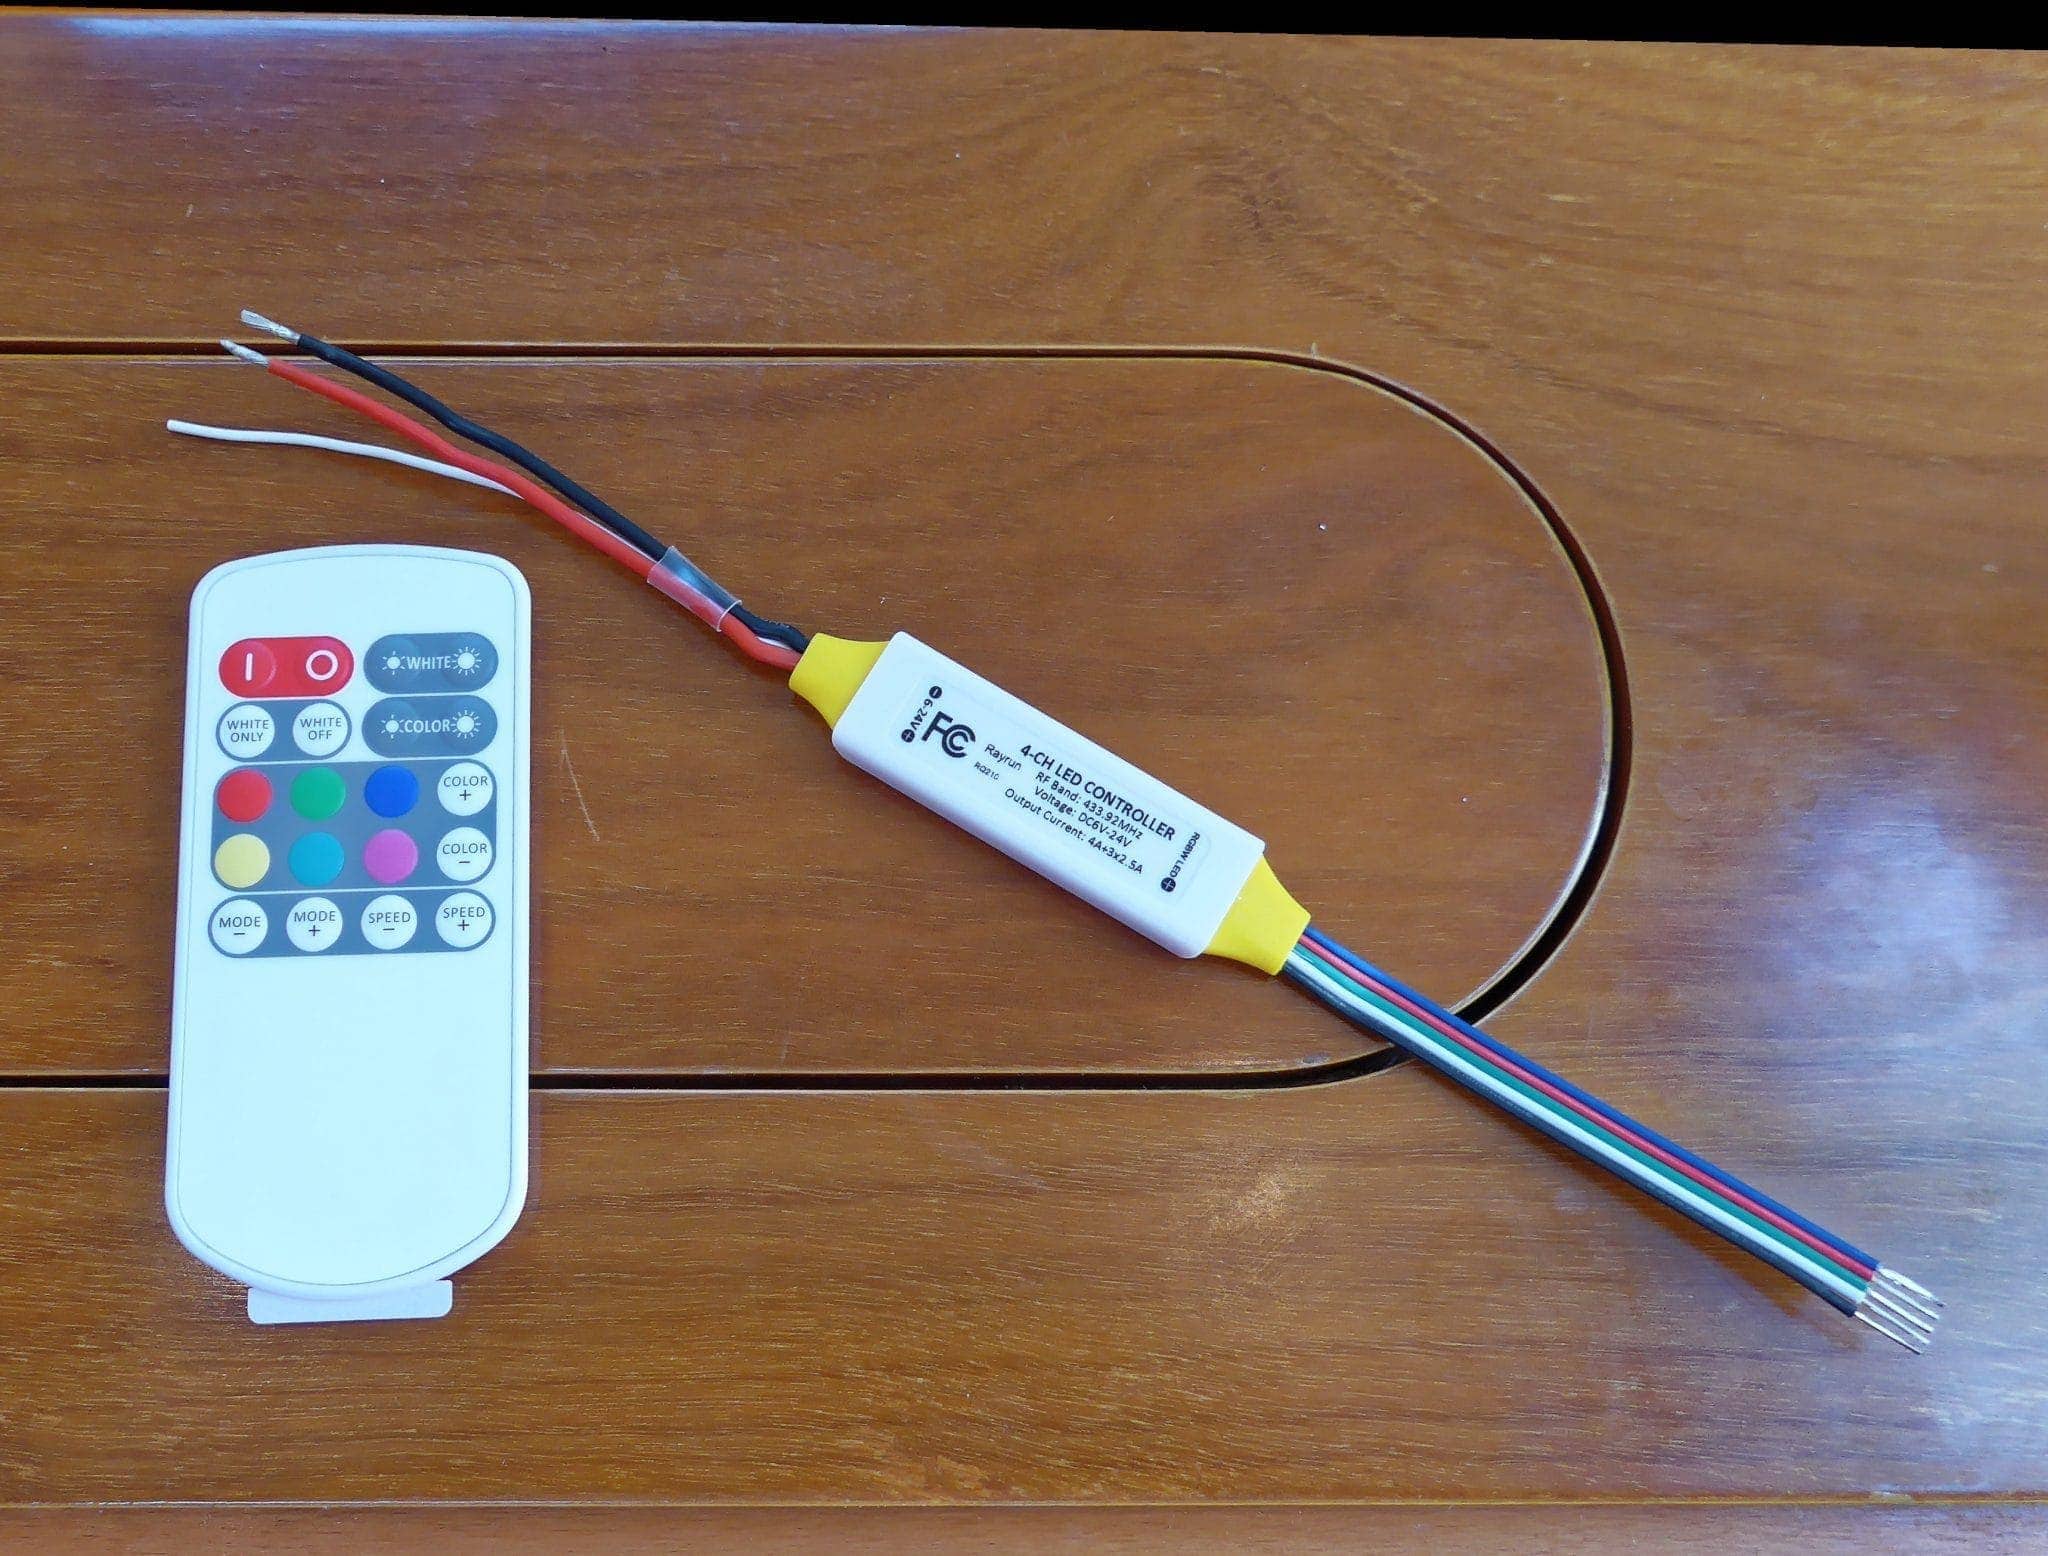
This unit came with a remote and controller as pictured above. The controller is capable of being paired with up to 5 other remotes, or one remote can control up to 5 controllers – perfect for my use case in the salon where I will have 4 strips/controllers.
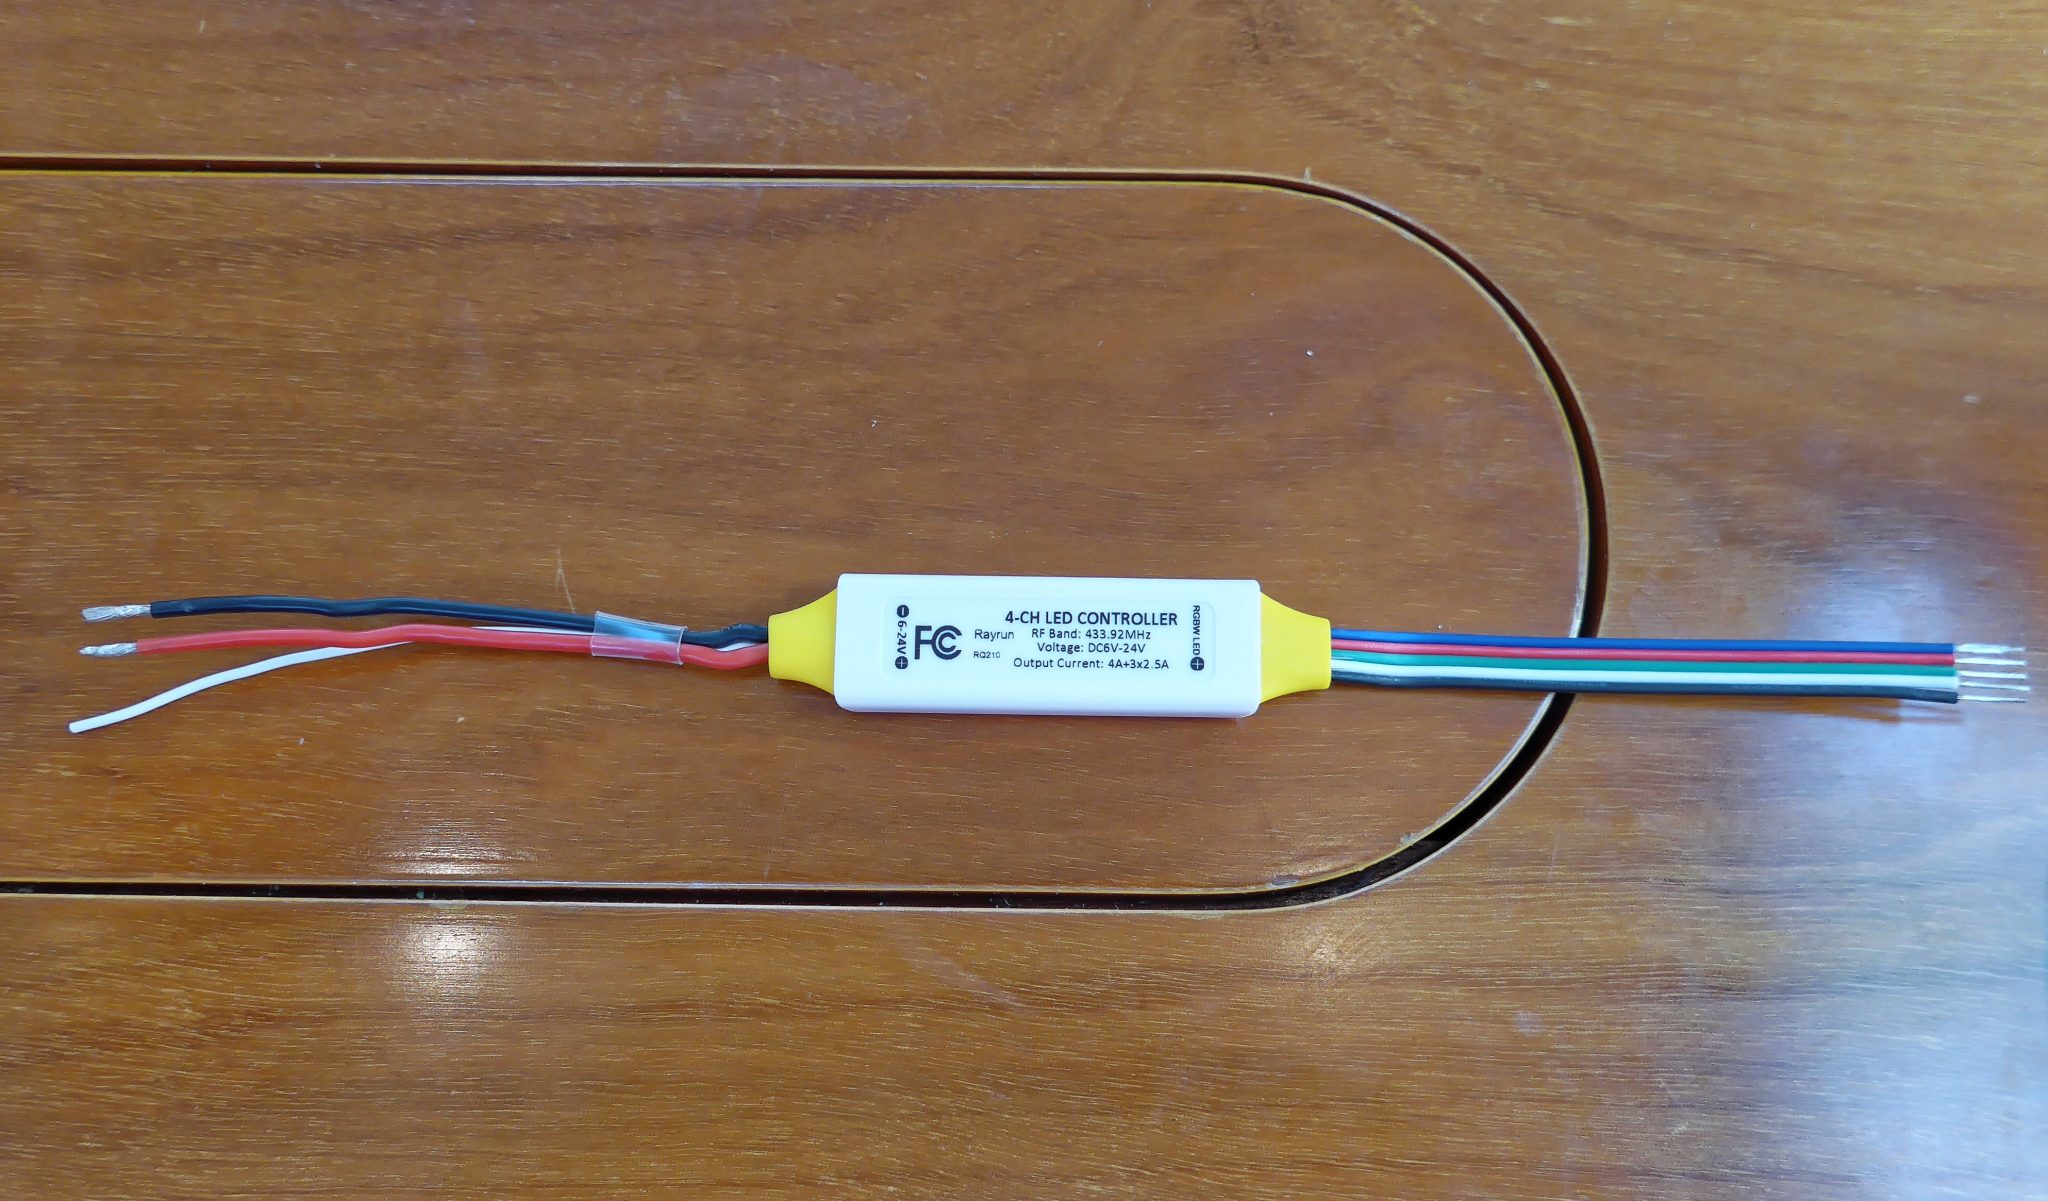
The controller itself can handle between 6-24VDC and is extremely small. It is capable of controlling RGBW strips which stands for Red, Green, Blue and White. That last piece is very important as I will discuss below.
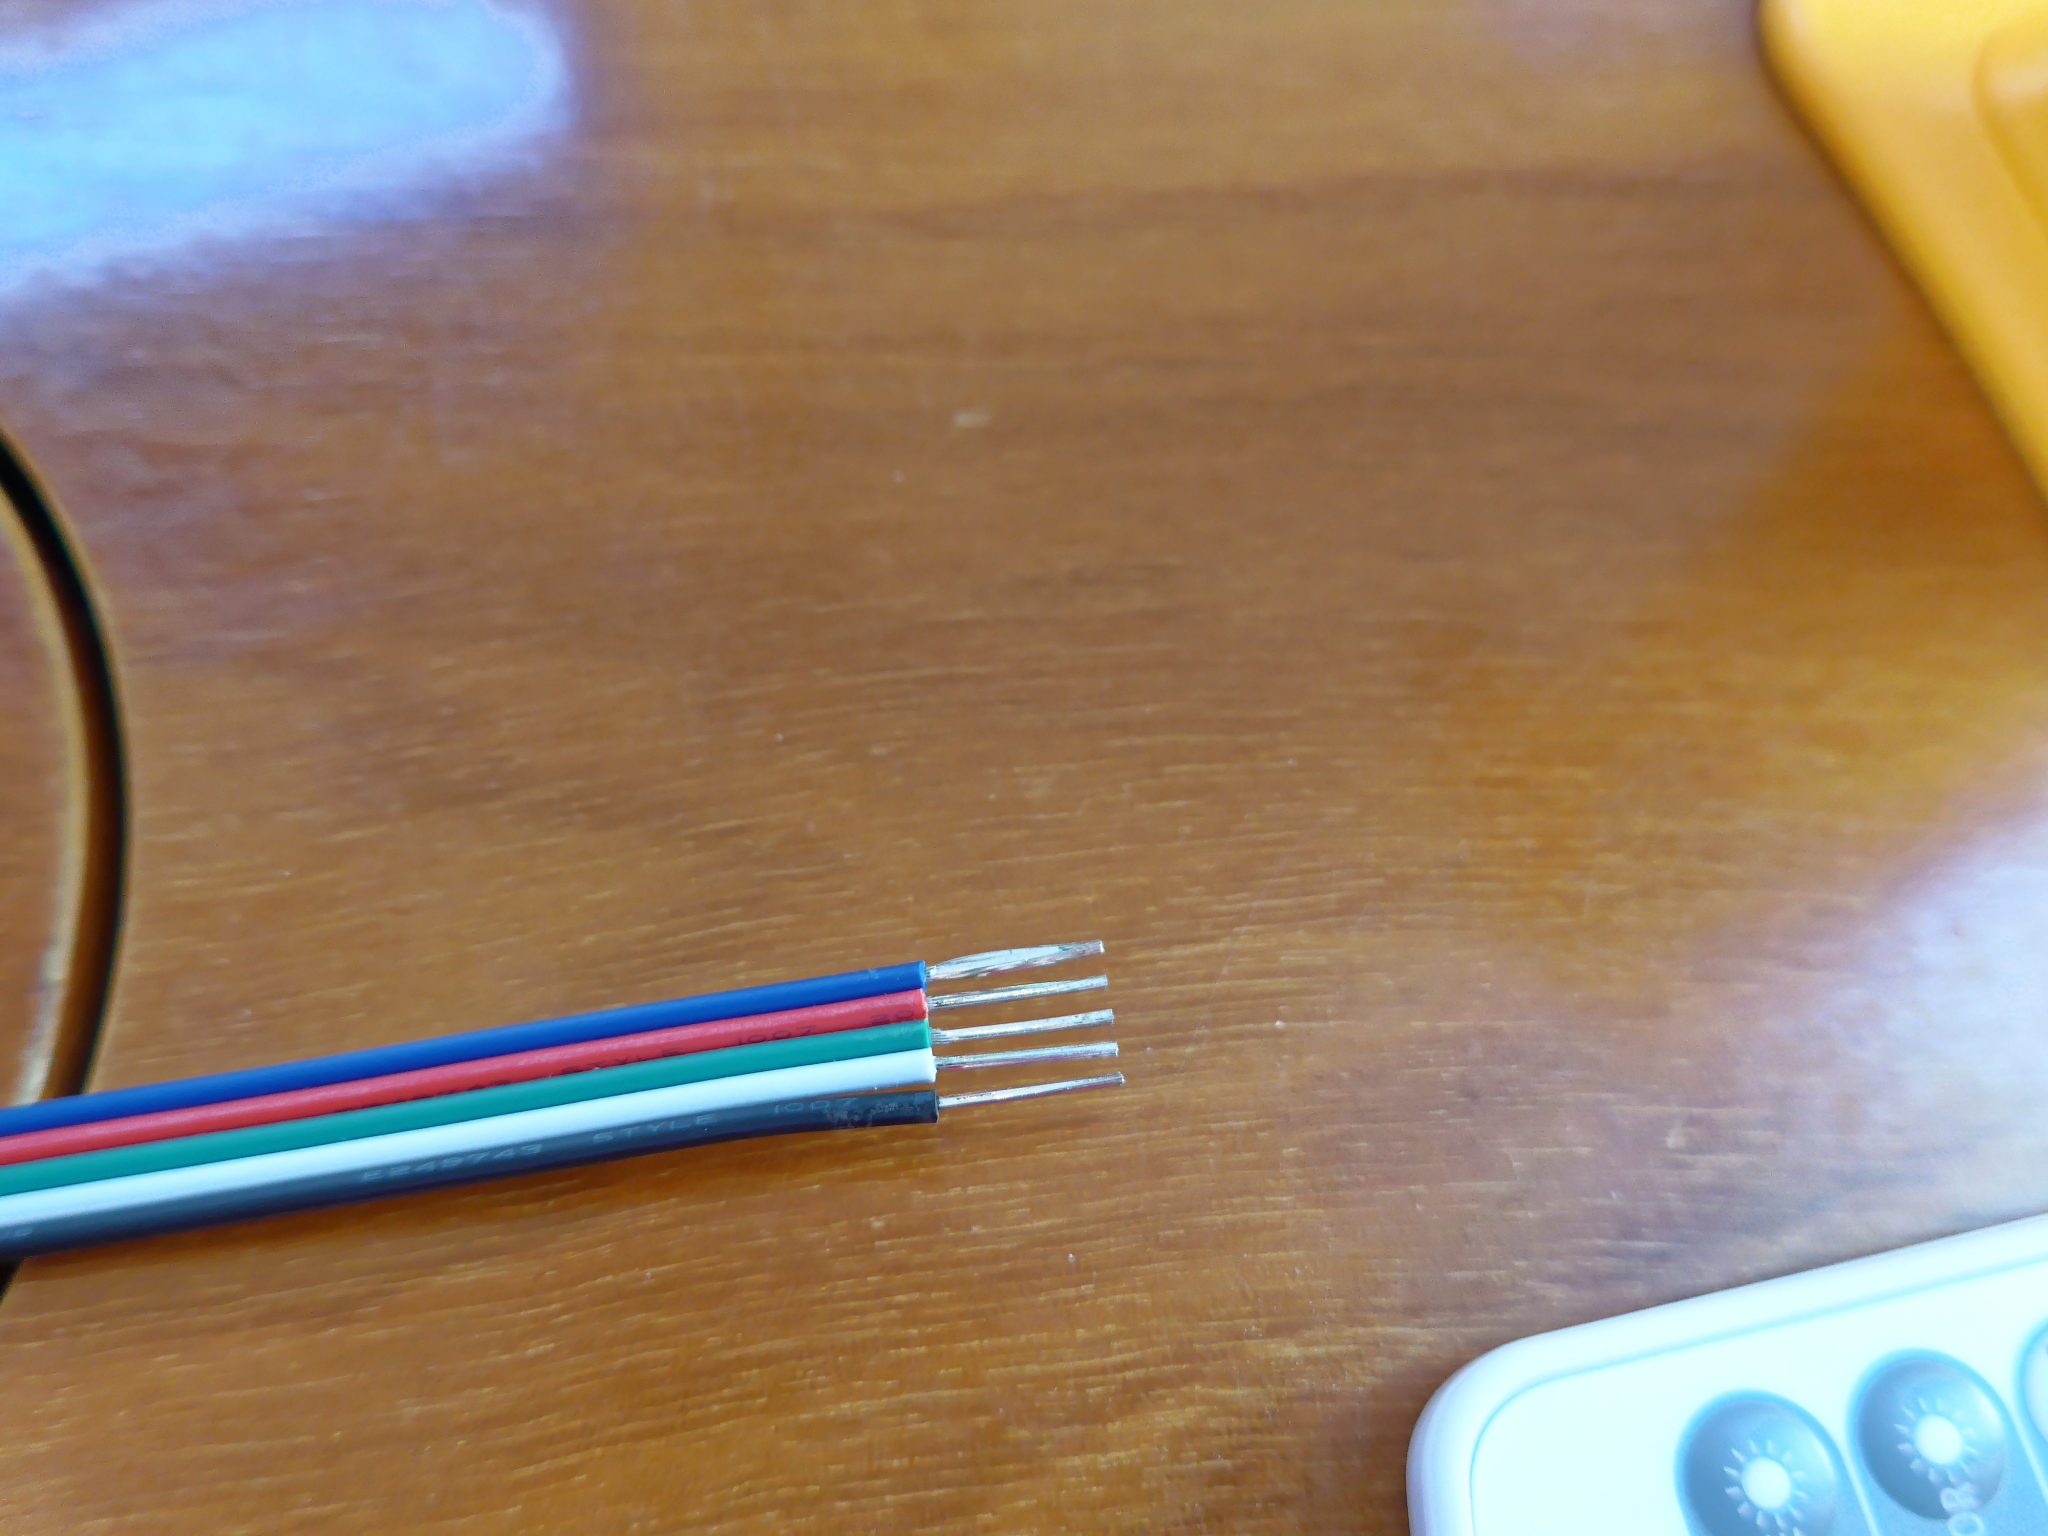
Part of the challenge with install was connecting all of these tiny wires in tight spaces, but 3M scotchlok connectors and a good set of wire crimping tools are your friend.
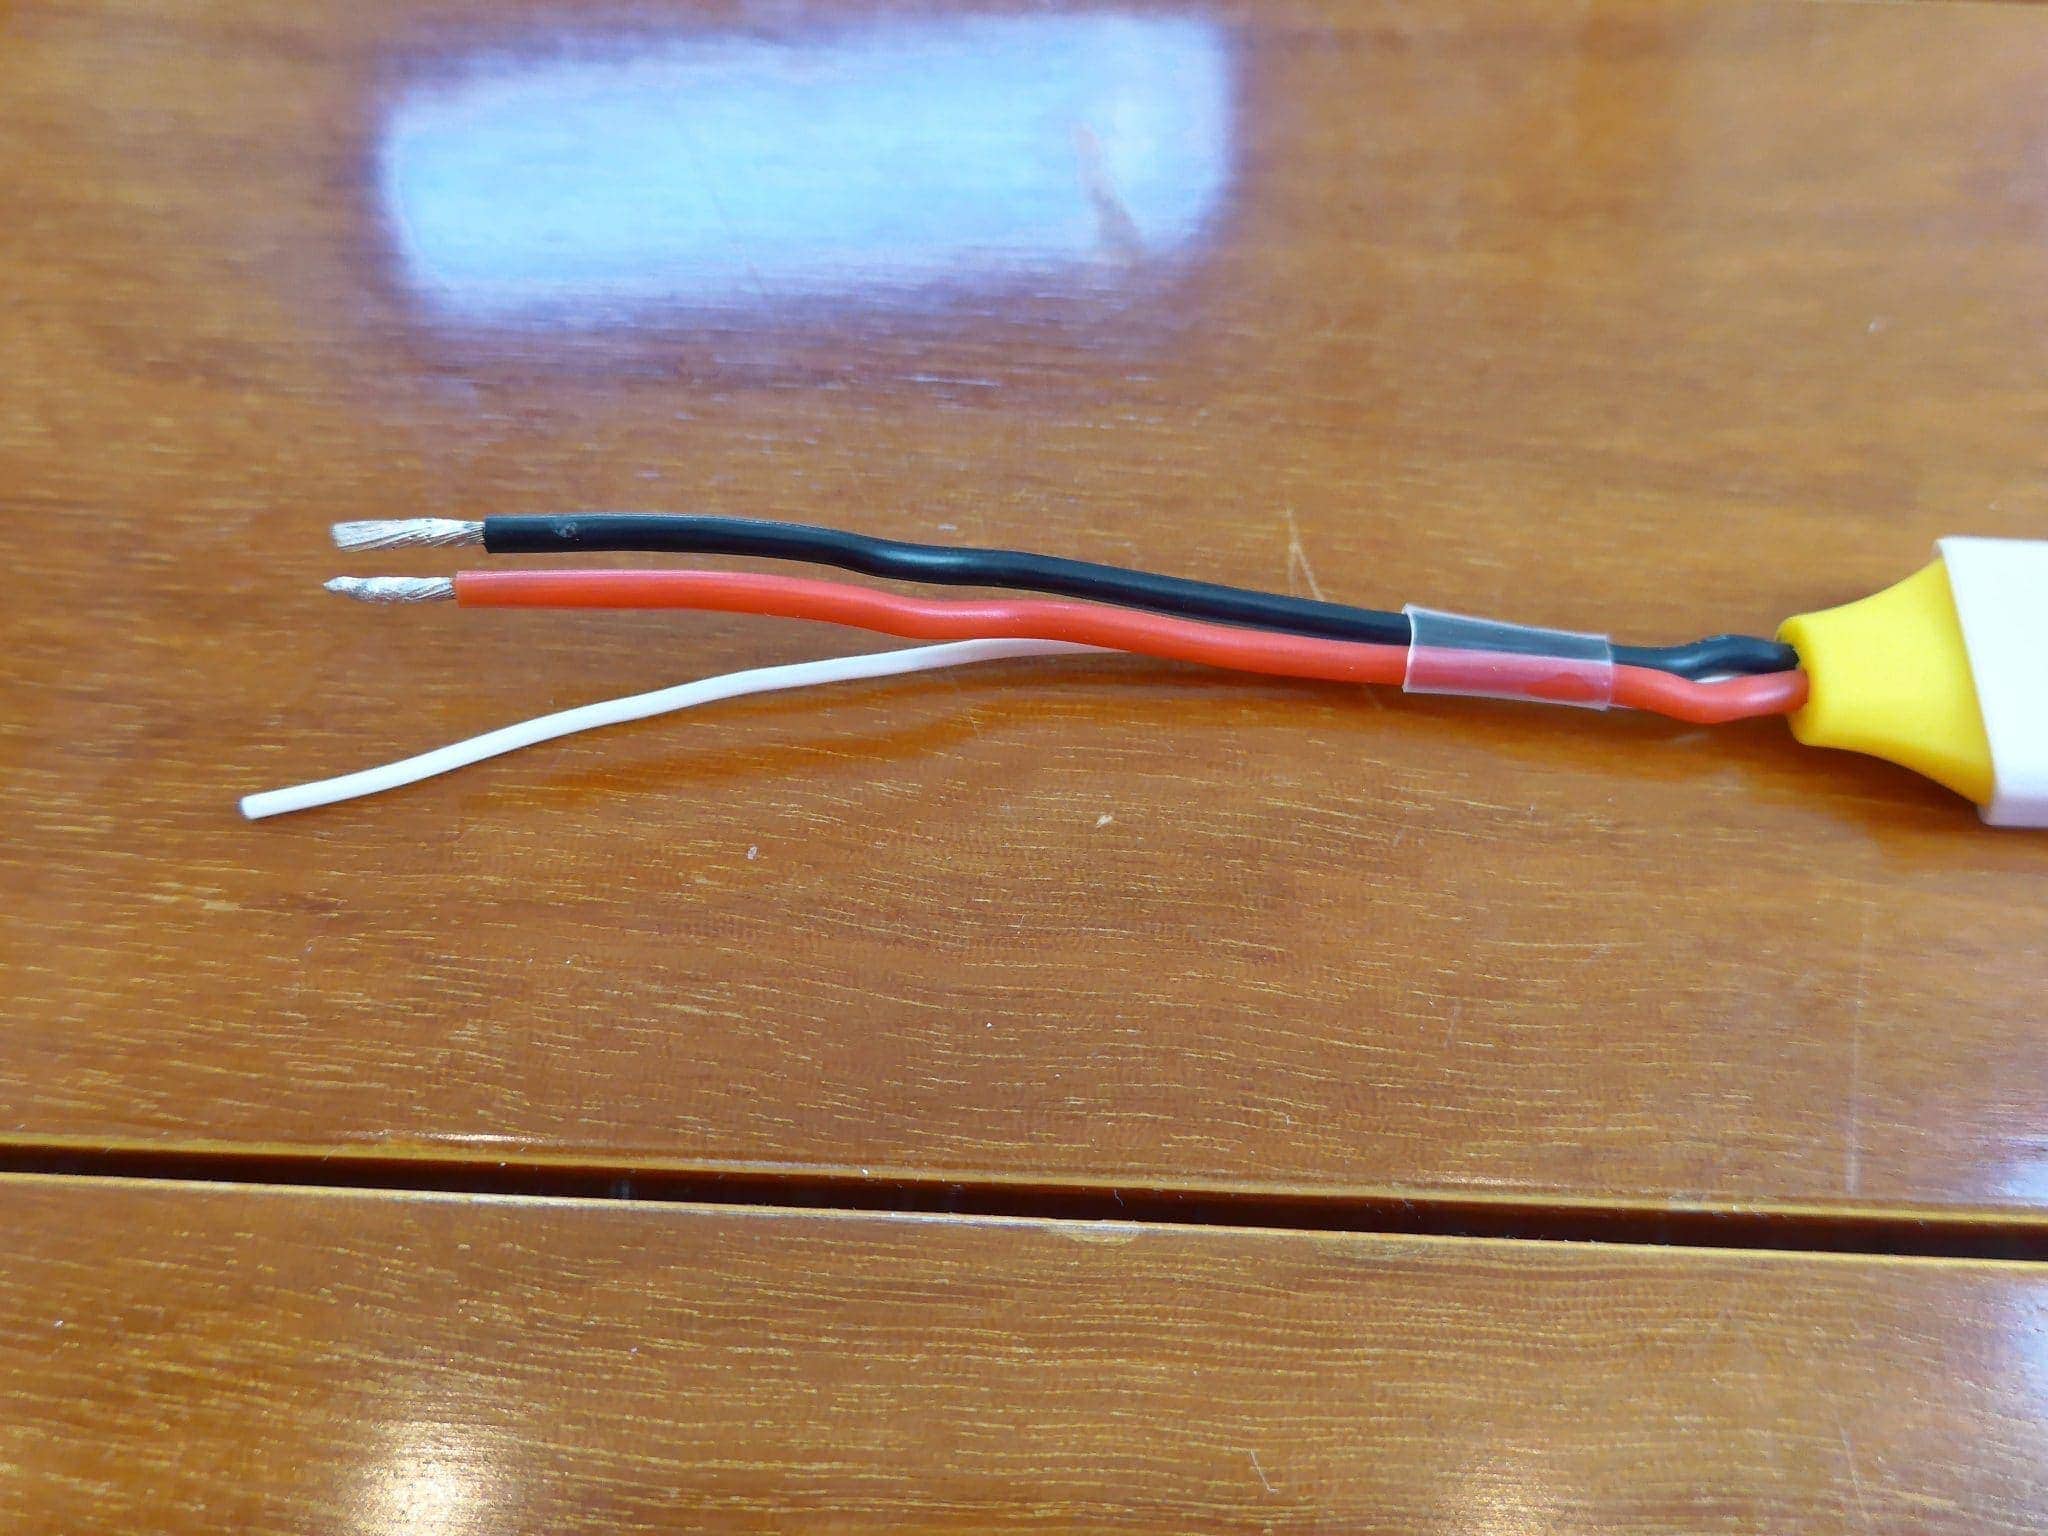
On the other end of the controller are the power wires and an antenna for the remote.

The remote itself has pretty simple controls and allows you to have command of the different temperatures, brightnesses, and types of light (white or RGB) and even programs. I appreciate the White Only button which can quickly get you back to reasonable light, away from crazy club-scene flashy colors.
I put a single remote in the salon, and another in the stateroom. I labeled them and stuck them to a prominent wall location with velcro so they can be used without taking them down. This also prevents them from floating around and being unavailable when you most need them.
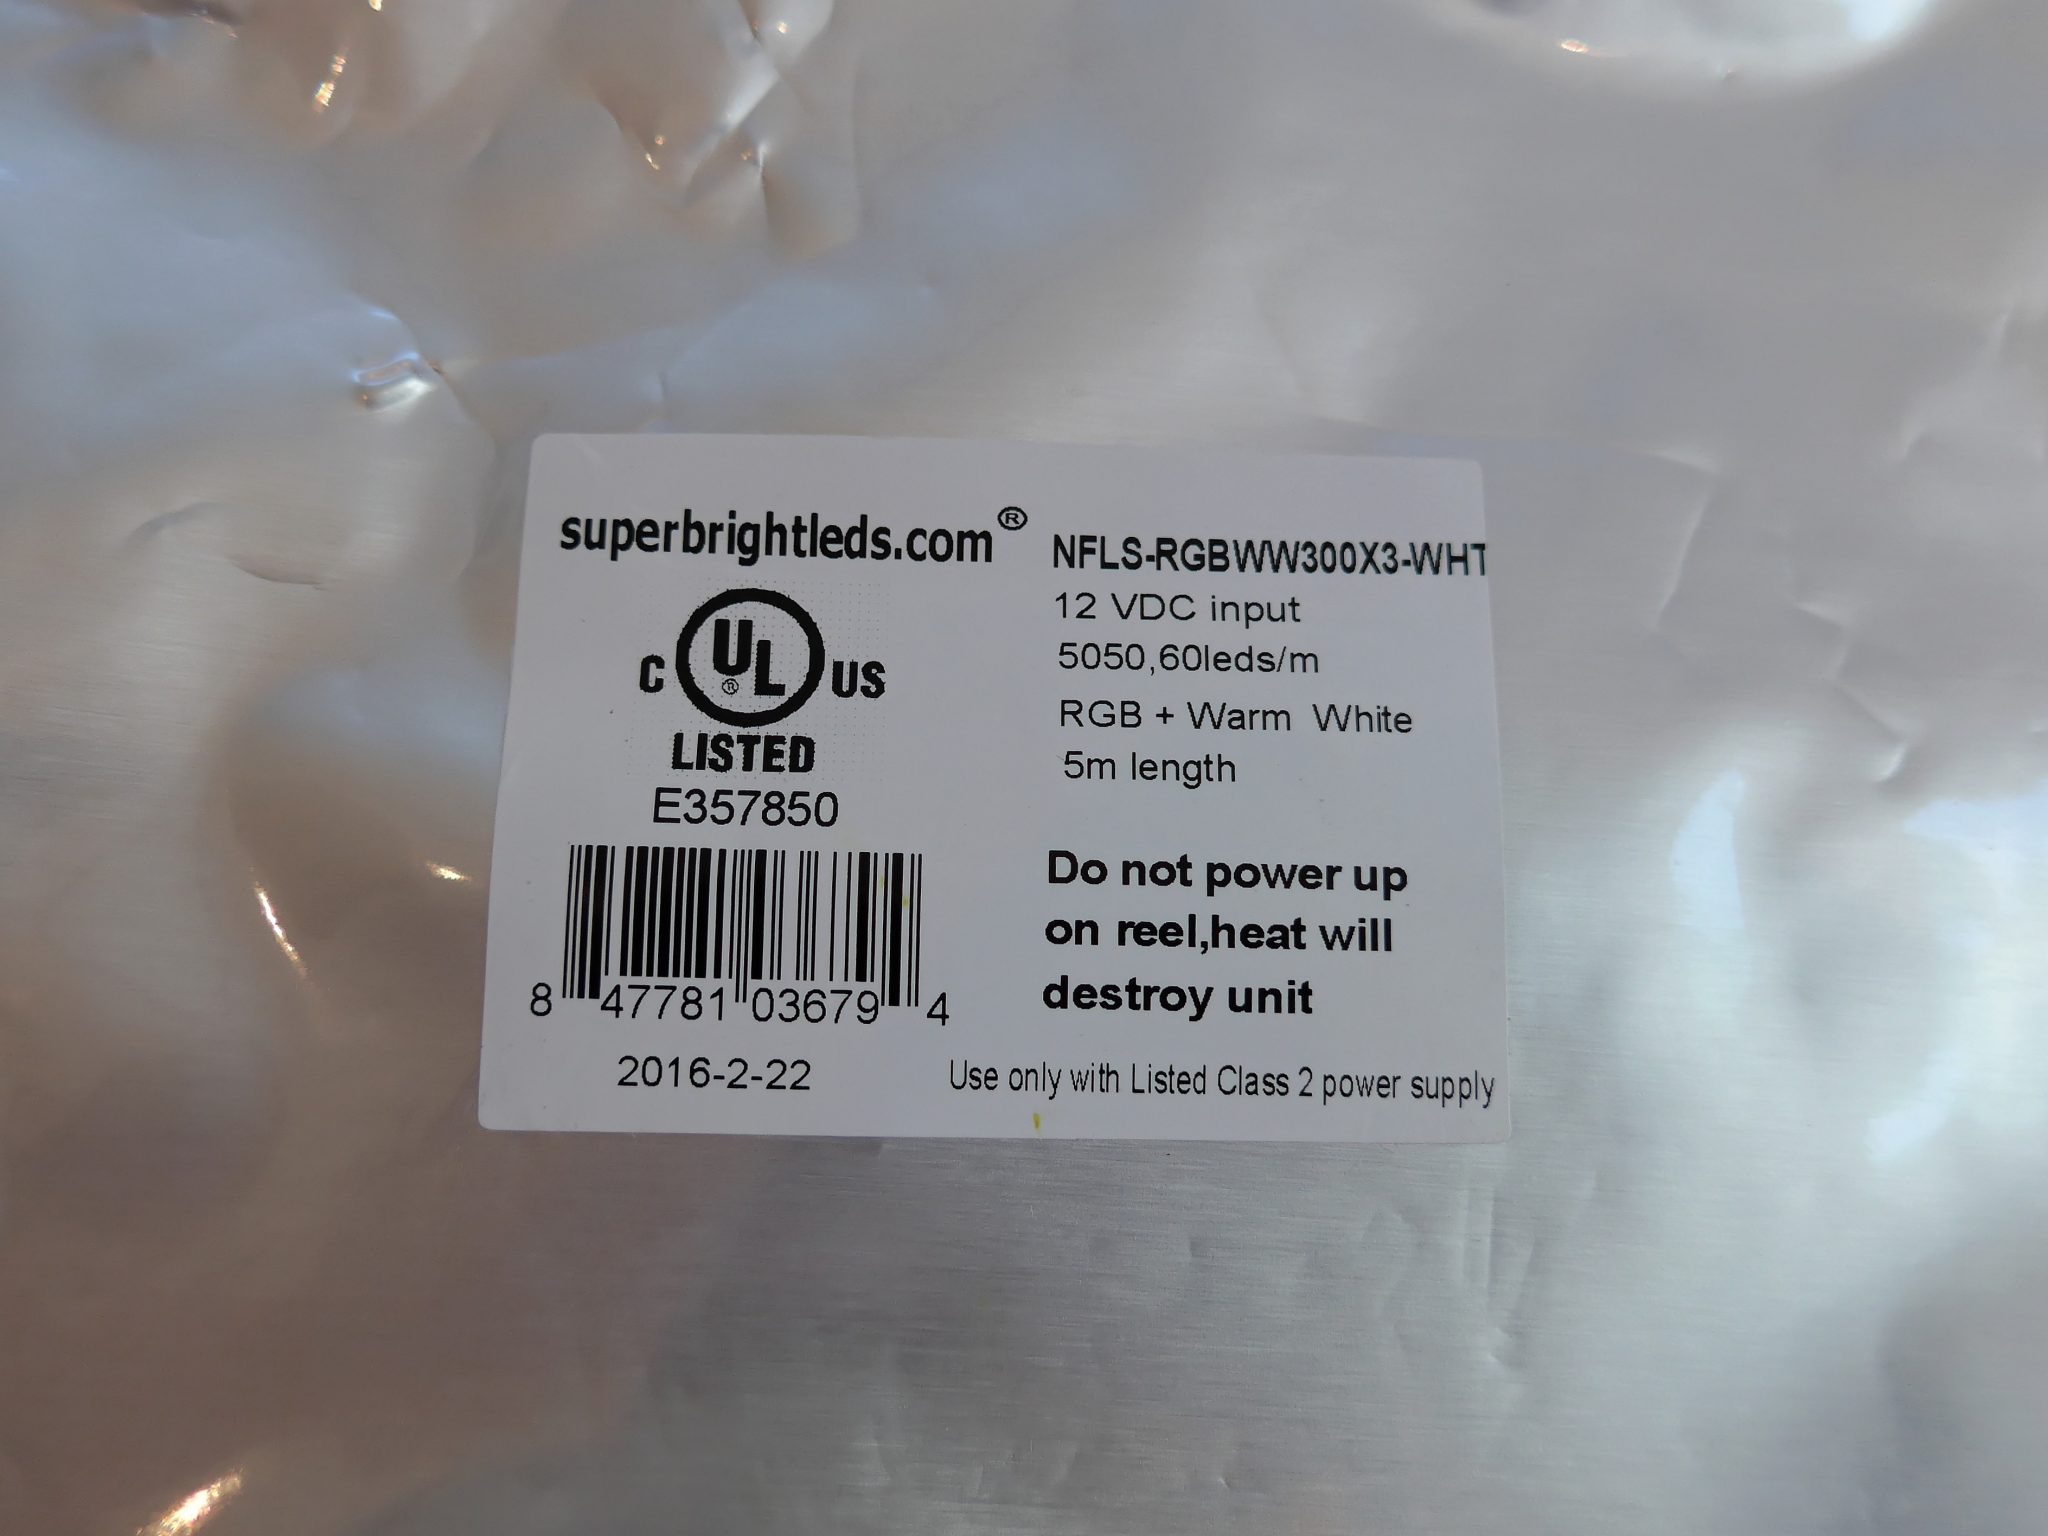
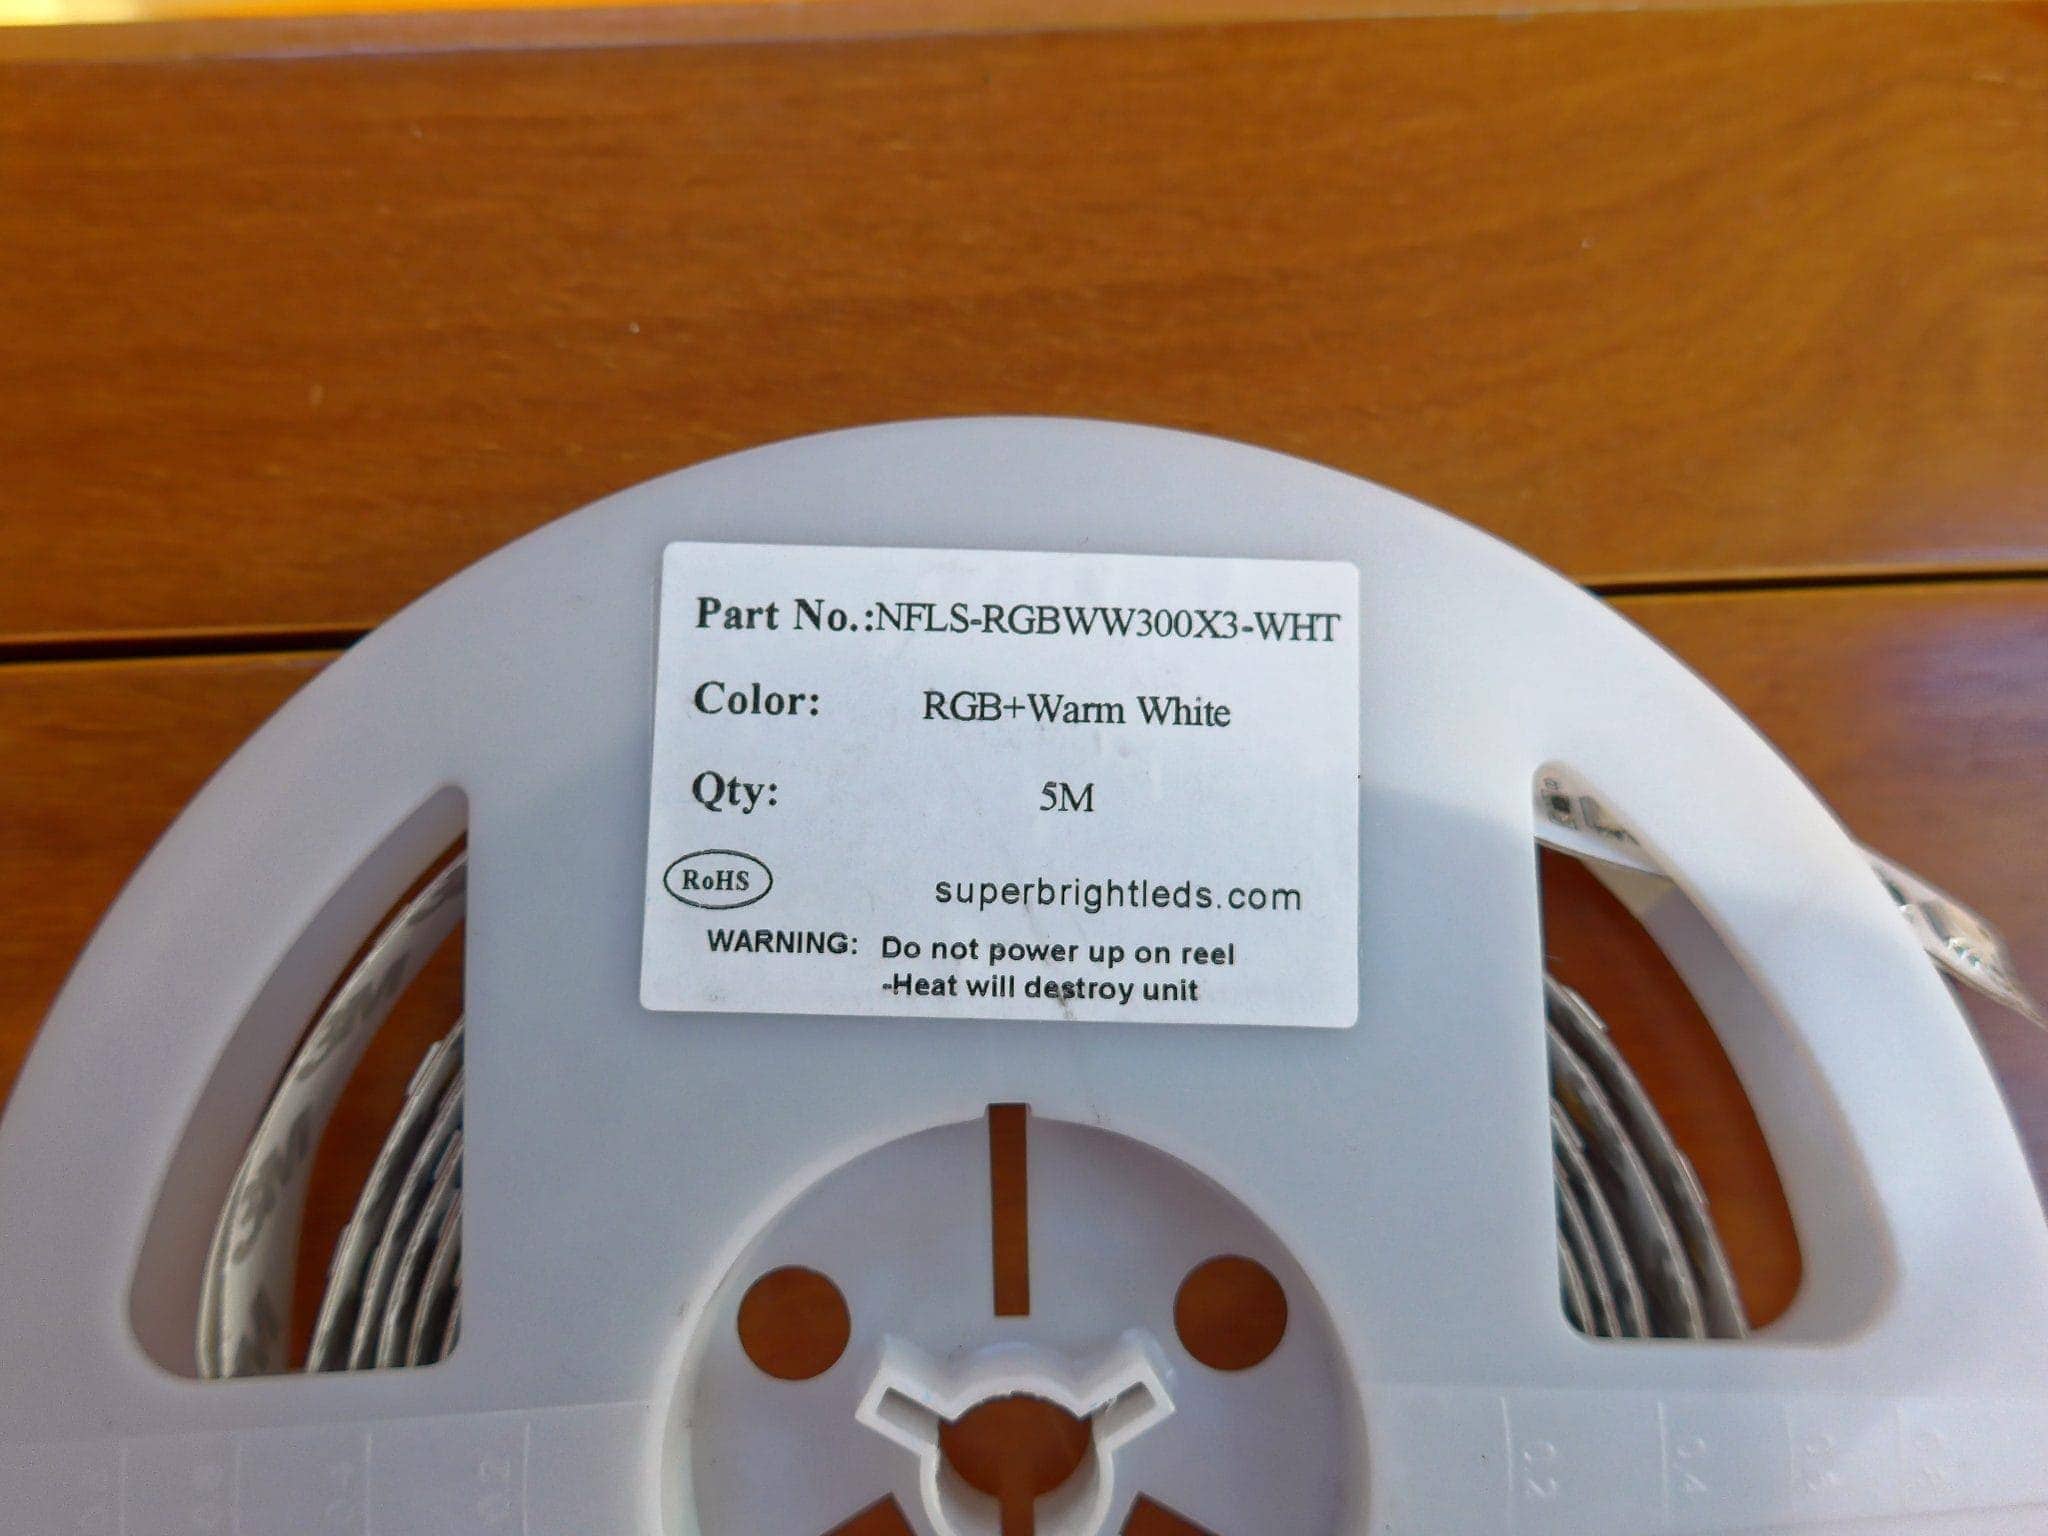
The strip of LED lights is the most important thing to do your research on. I have used this particular reel in about 10 other installs at home and elsewhere, and know the quality of the light and LEDs, and chose it here as well. This strip is NFLS-RGBWW300X3-WHT for $175. I needed two reels based on the area I was covering.
These strips have a 3M backing adhesive which makes install a breeze. Simply clean the surface beforehand, peel and stick, and you’re done!
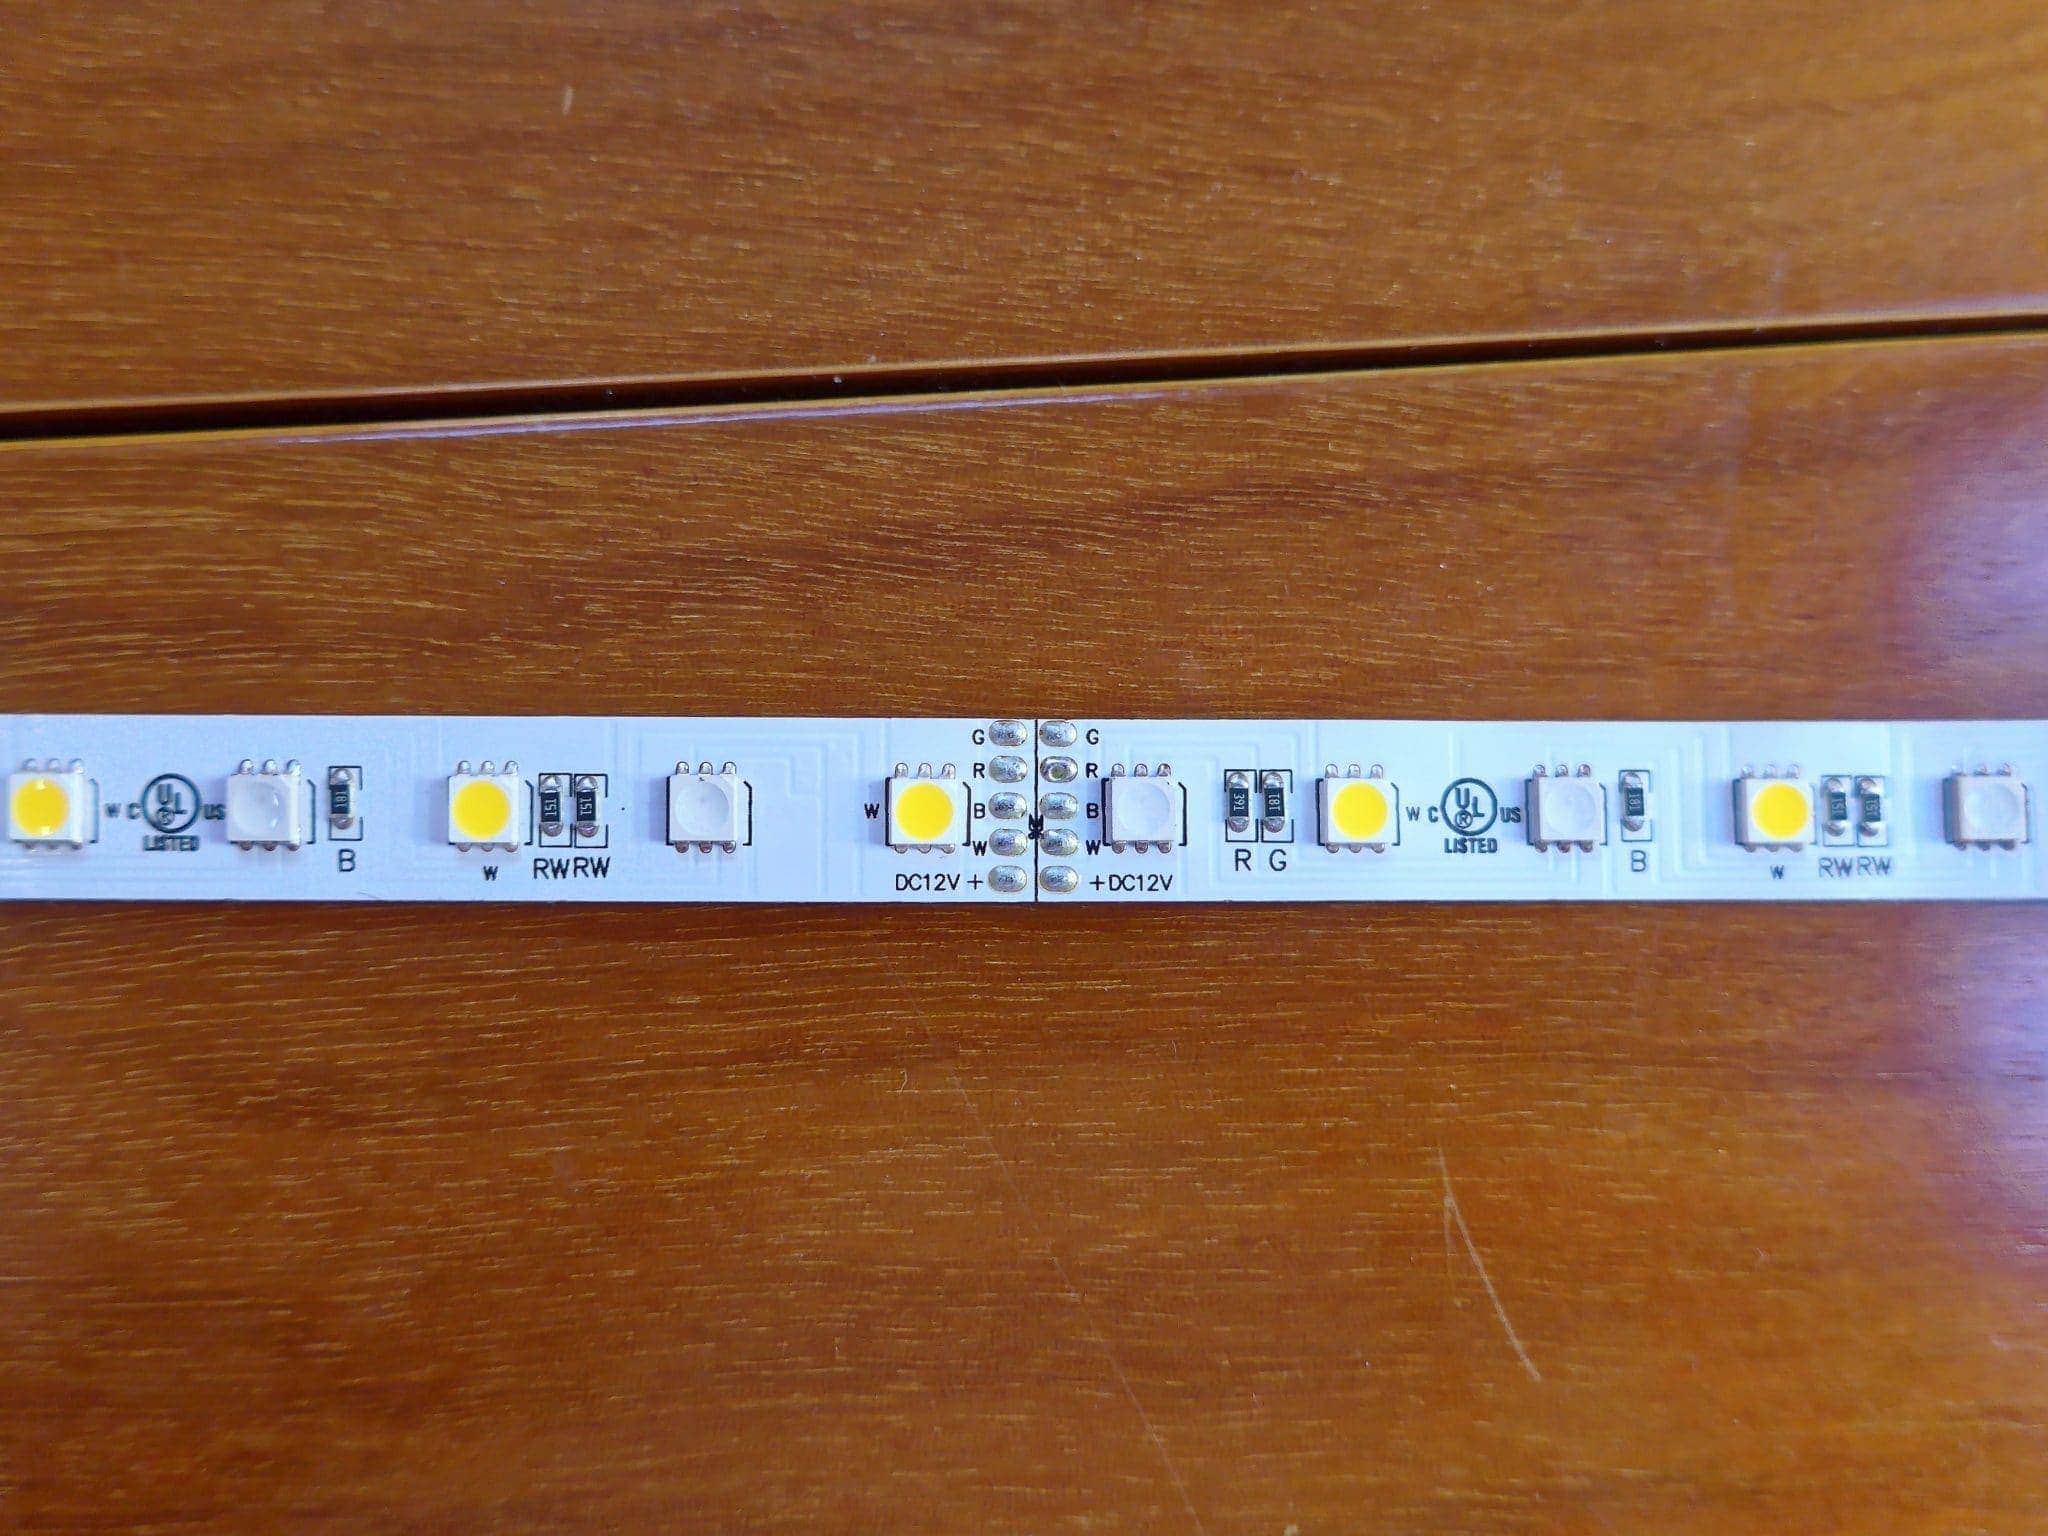
The key for this strip is that it contains RGB and warm white LEDs. I have tried many other strips and can say that getting an appropriately colored white light is very hard. Many of them are too clinical and have too much blue in them, and really are harsh late at night. Others don’t have dedicated white LEDs, which is what you need to look for. Instead, they use the RGB LEDs to simulate white, which ends up being a combination of weird hues and never really looks like white.
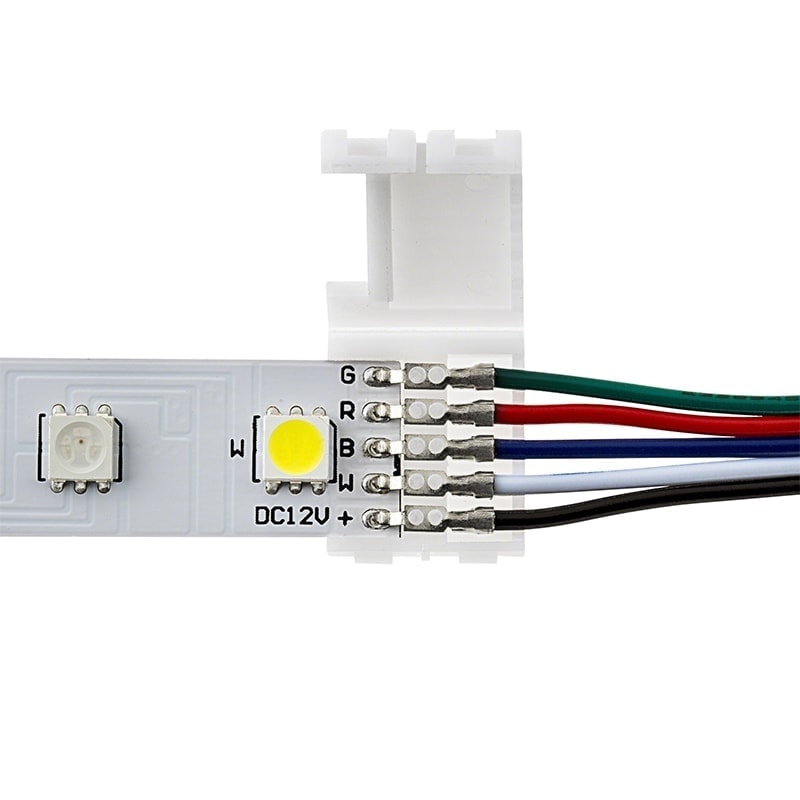
You can see in the picture above that there is a yellow looking LED which is actually the warm white producer. The other LED is for red-green-blue.
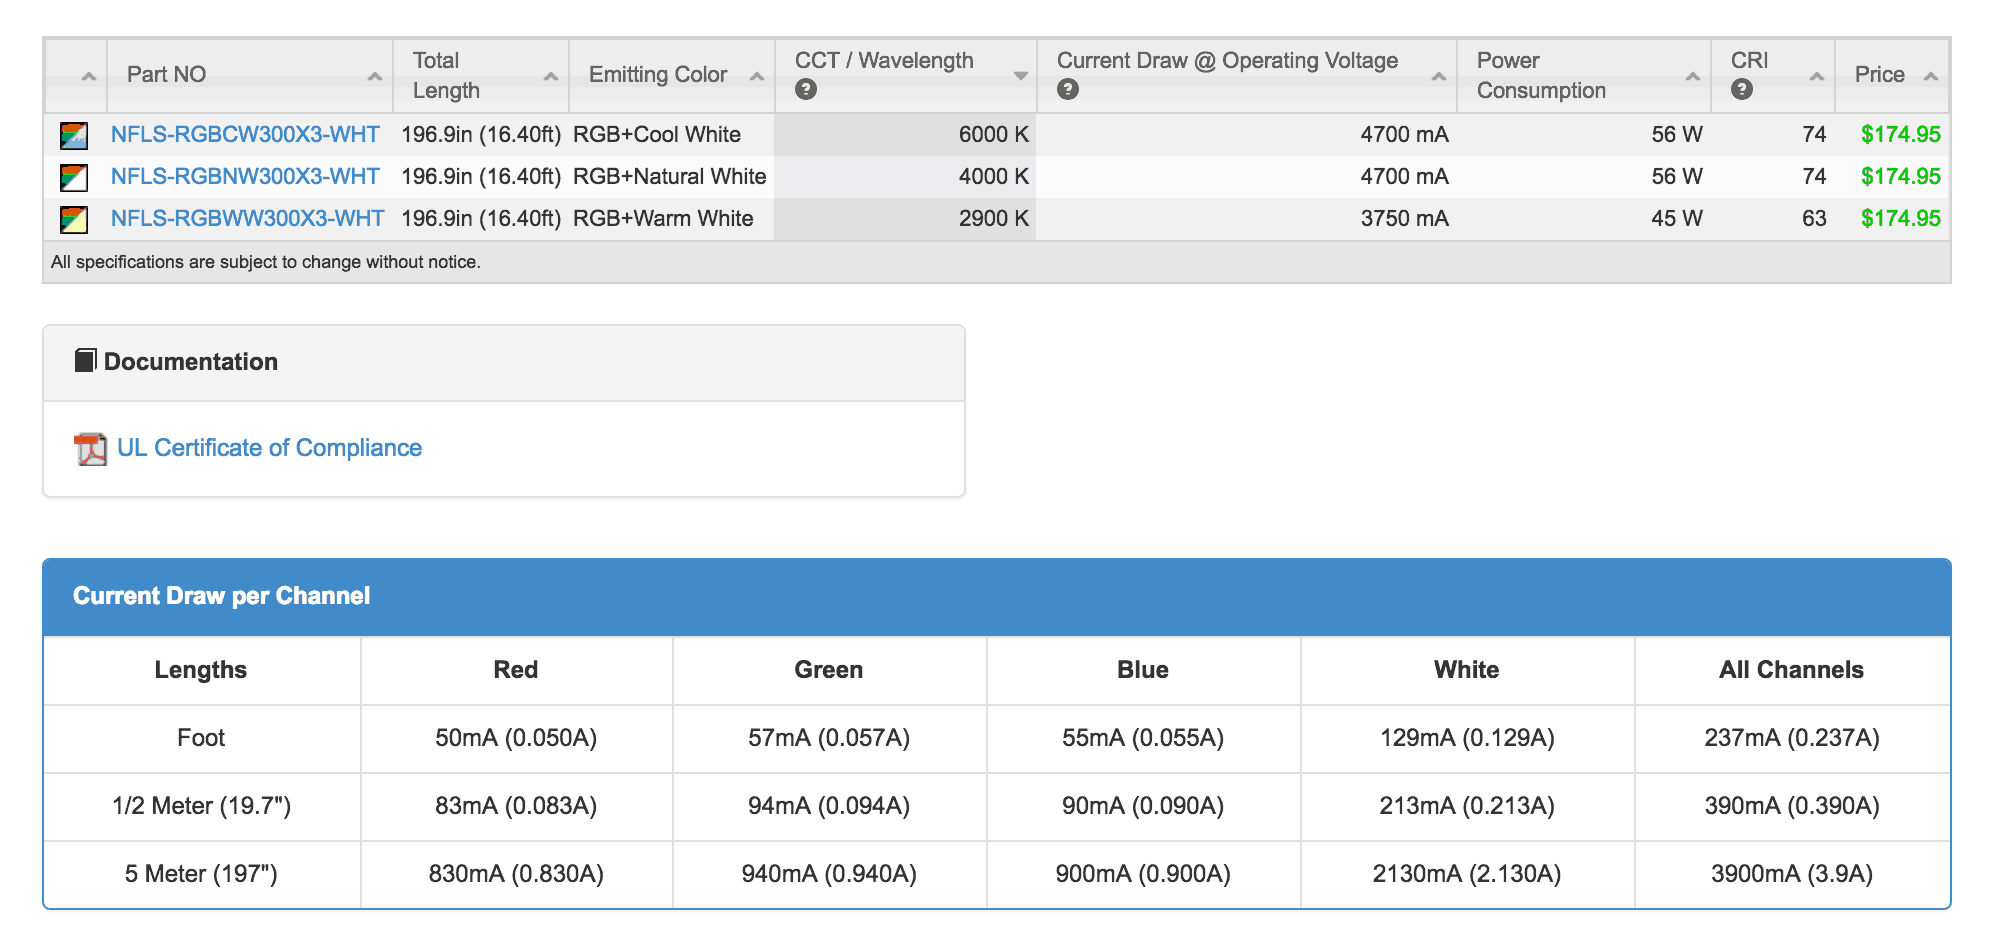
The other thing you need to consider is the amount of light you will end up needing – essentially how many LEDs there are per foot/inch and their overall brightness ratings. SuperBrightLEDs has a ton of great information on each of their products including lumen per foot, overall lumen, lumen per LED, etc.
You might assume that getting the brightest is best, but keep in mind that although they are dimmable, you may not be able to dim them low enough in night or other low light conditions.
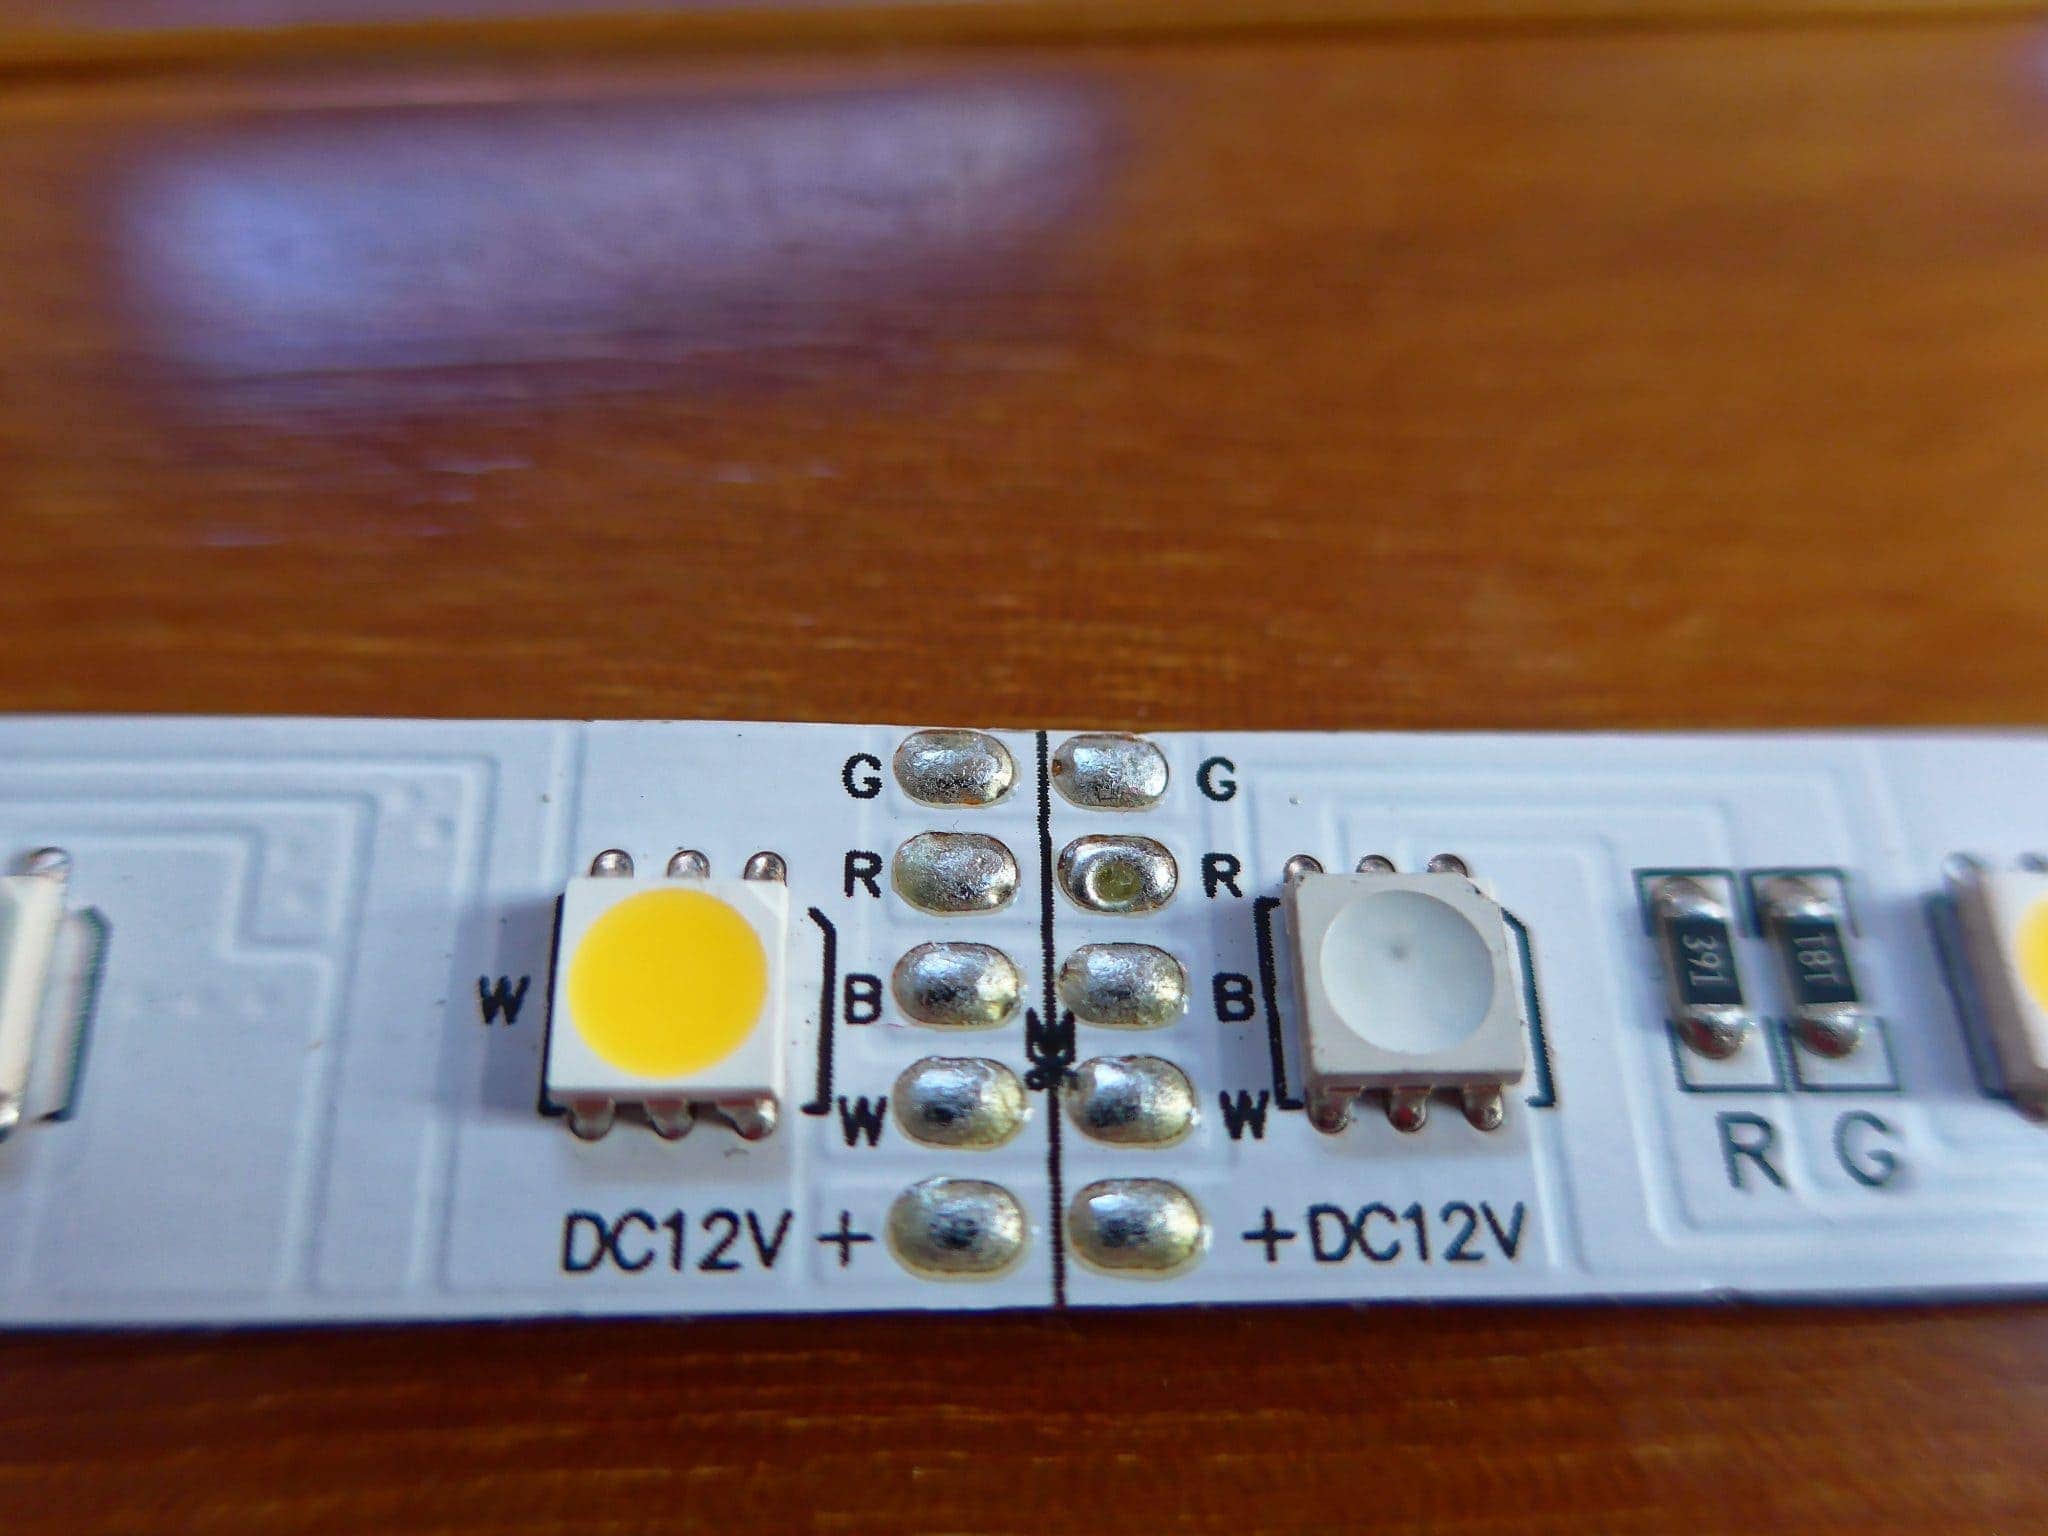
This strip is also divided every 6 LEDs so you can cut to the length you need. Take care when cutting and ensure you are using very sharp scissors. The solder bumps are important to be able to use with the connector below.
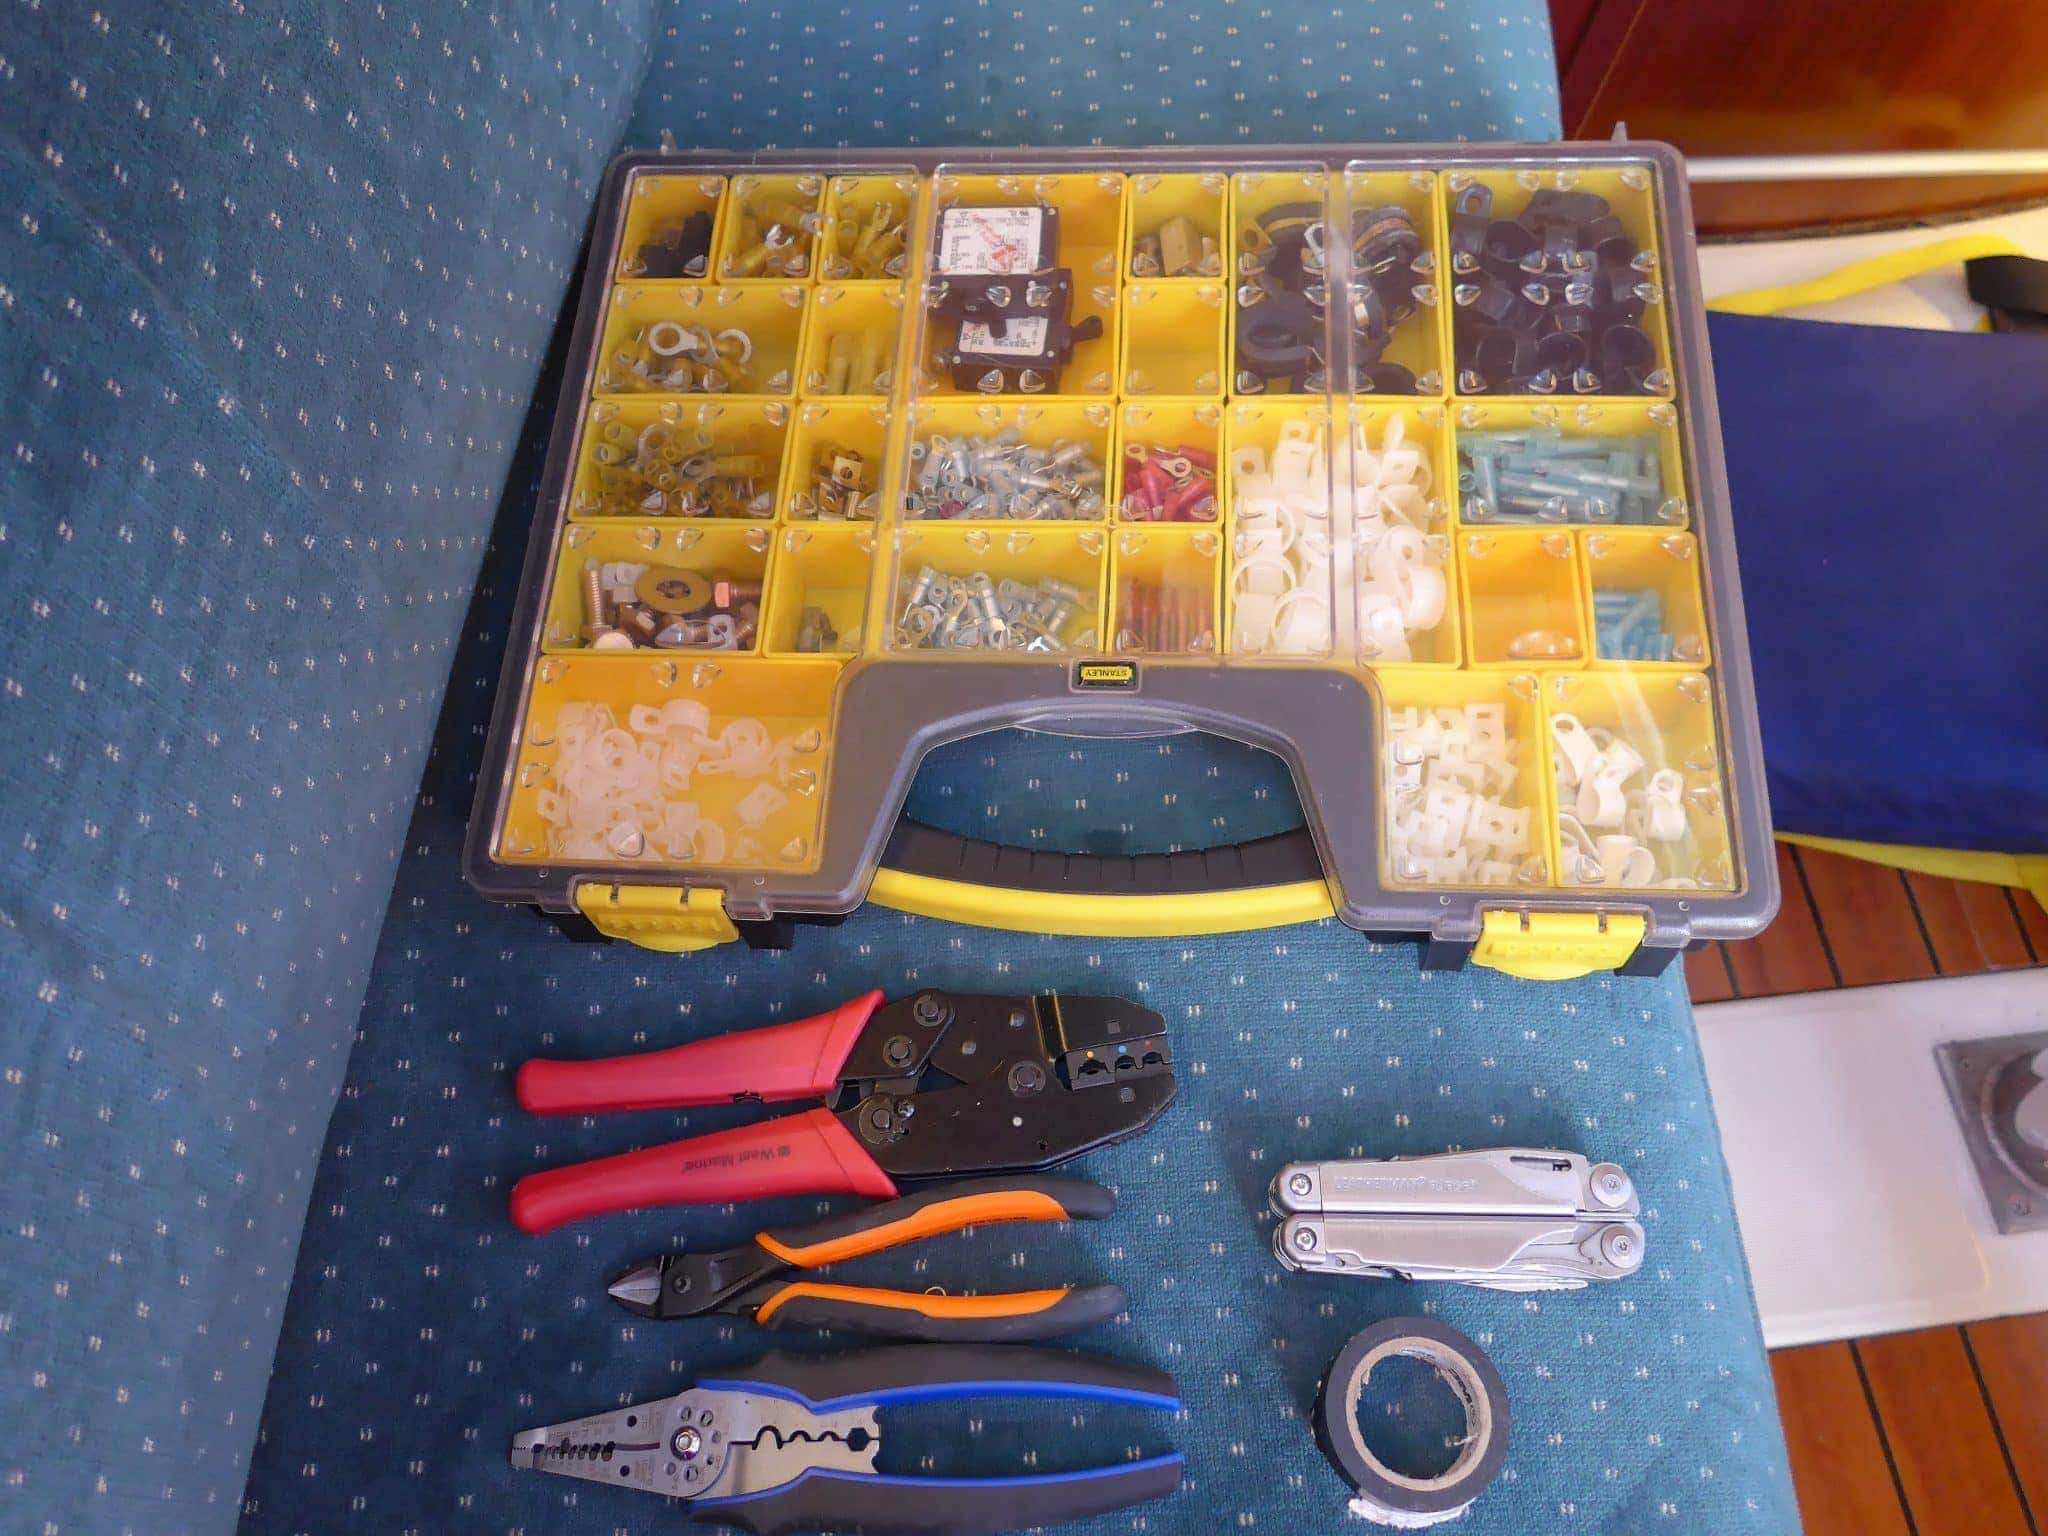
I chose to use a mix of standard butt connectors and 3M scotchlok connectors depending on the space I had available. I also was very lucky with wiring in all of these locations for 12V DC source – Beneteau wired my boat with fan circuits to three of the locations I needed to have power, and those were unused – stateroom, and the two upper runs in the salon. That simplified providing power to the controllers/strips. The two lower sections in the salon I ran power to from the main panel.
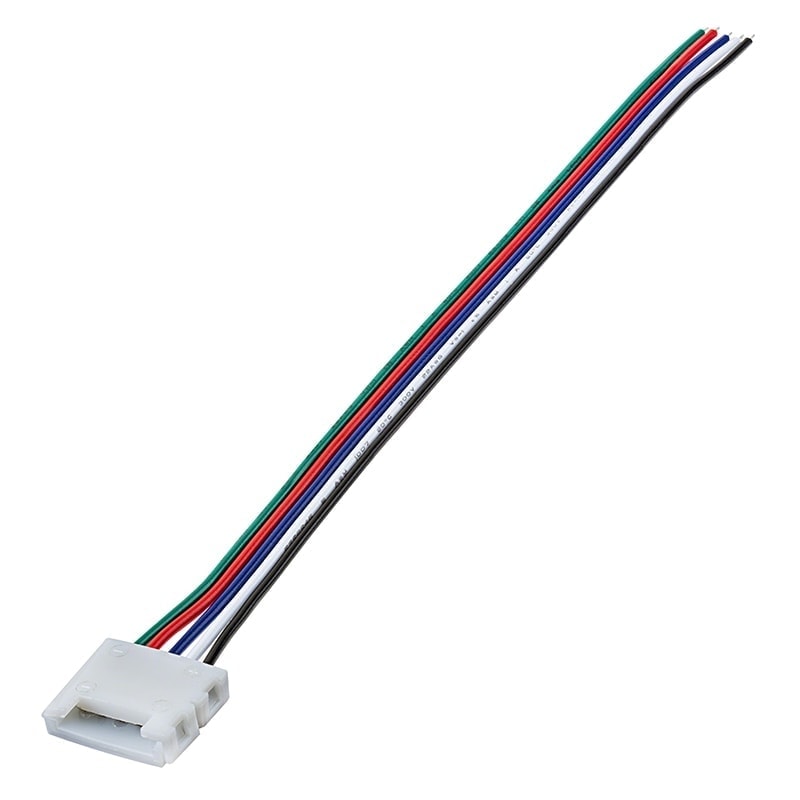
RGBW end connector – photo courtesy SuperBrightLEDs
Once you cut a strip, you need a way to connect it to the controller. SuperBrightLEDs has an RGBW connector pictured above that essentially slides on the end of the cut piece and allows you to splice it to the controller.
Connector being installed – photo courtesy of SuperBrightLEDs
One tip here – make sure you scrape back the adhesive on the back of the strip to allow this connector to slide on easily – the thickness of the adhesive is significant enough not to allow it to have enough clearance. It is also good to ensure you have it oriented the right way – the colors of the wires should match the letters on the strip.
Installation was pretty straightforward – connect all of the wires as documented, stick the strips down where you want, and you’re done.
Pairing the remotes with multiple controllers is only a couple of key presses, and documented in the manual as well.
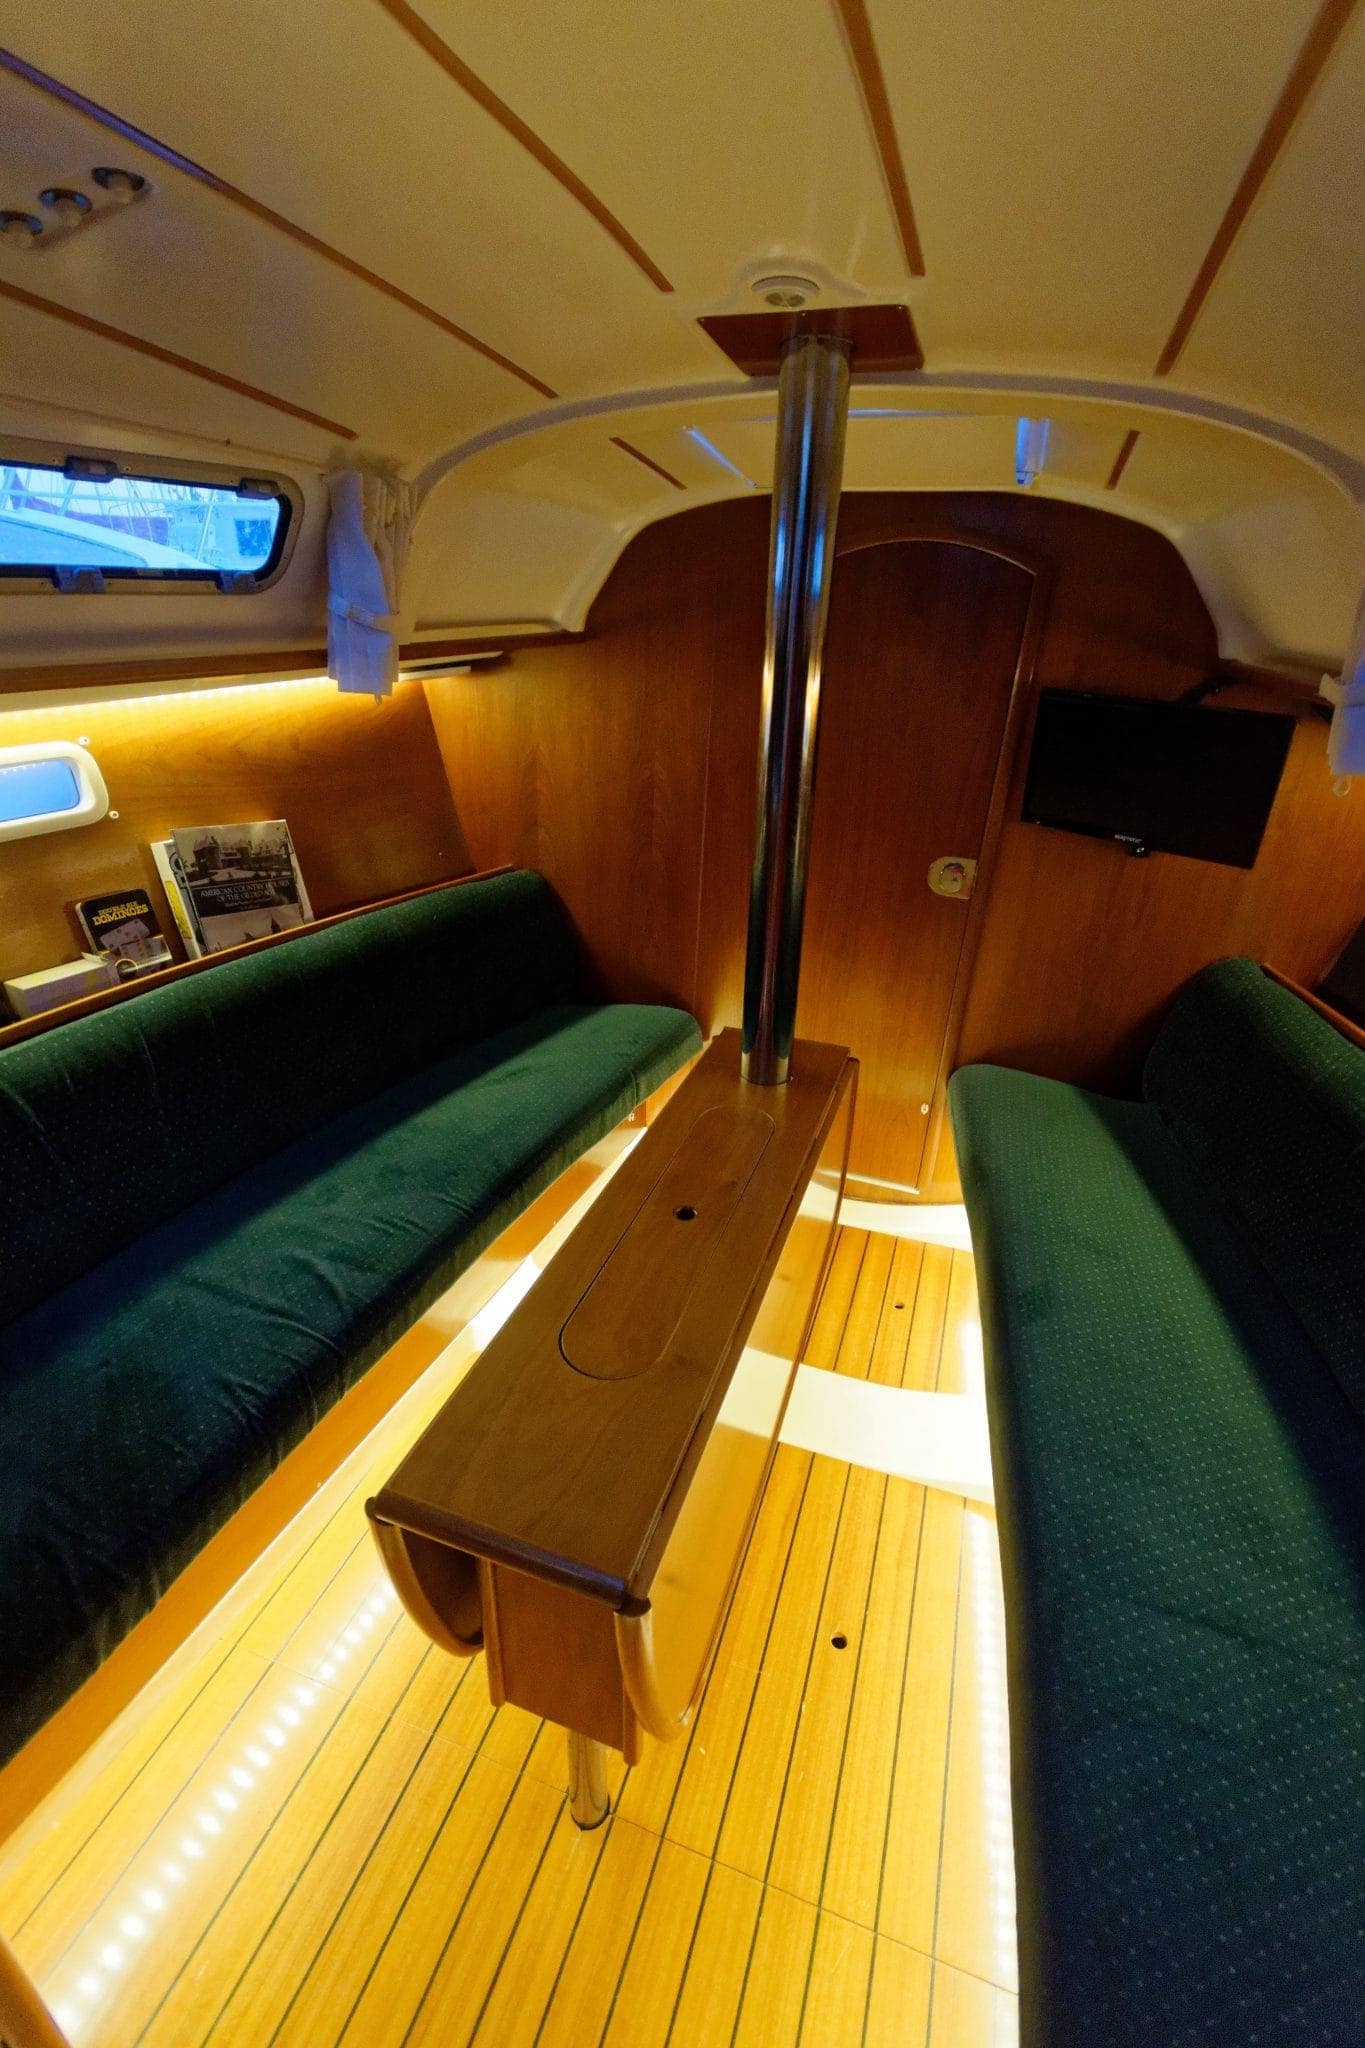
Salon starboard installed and cycling through colors
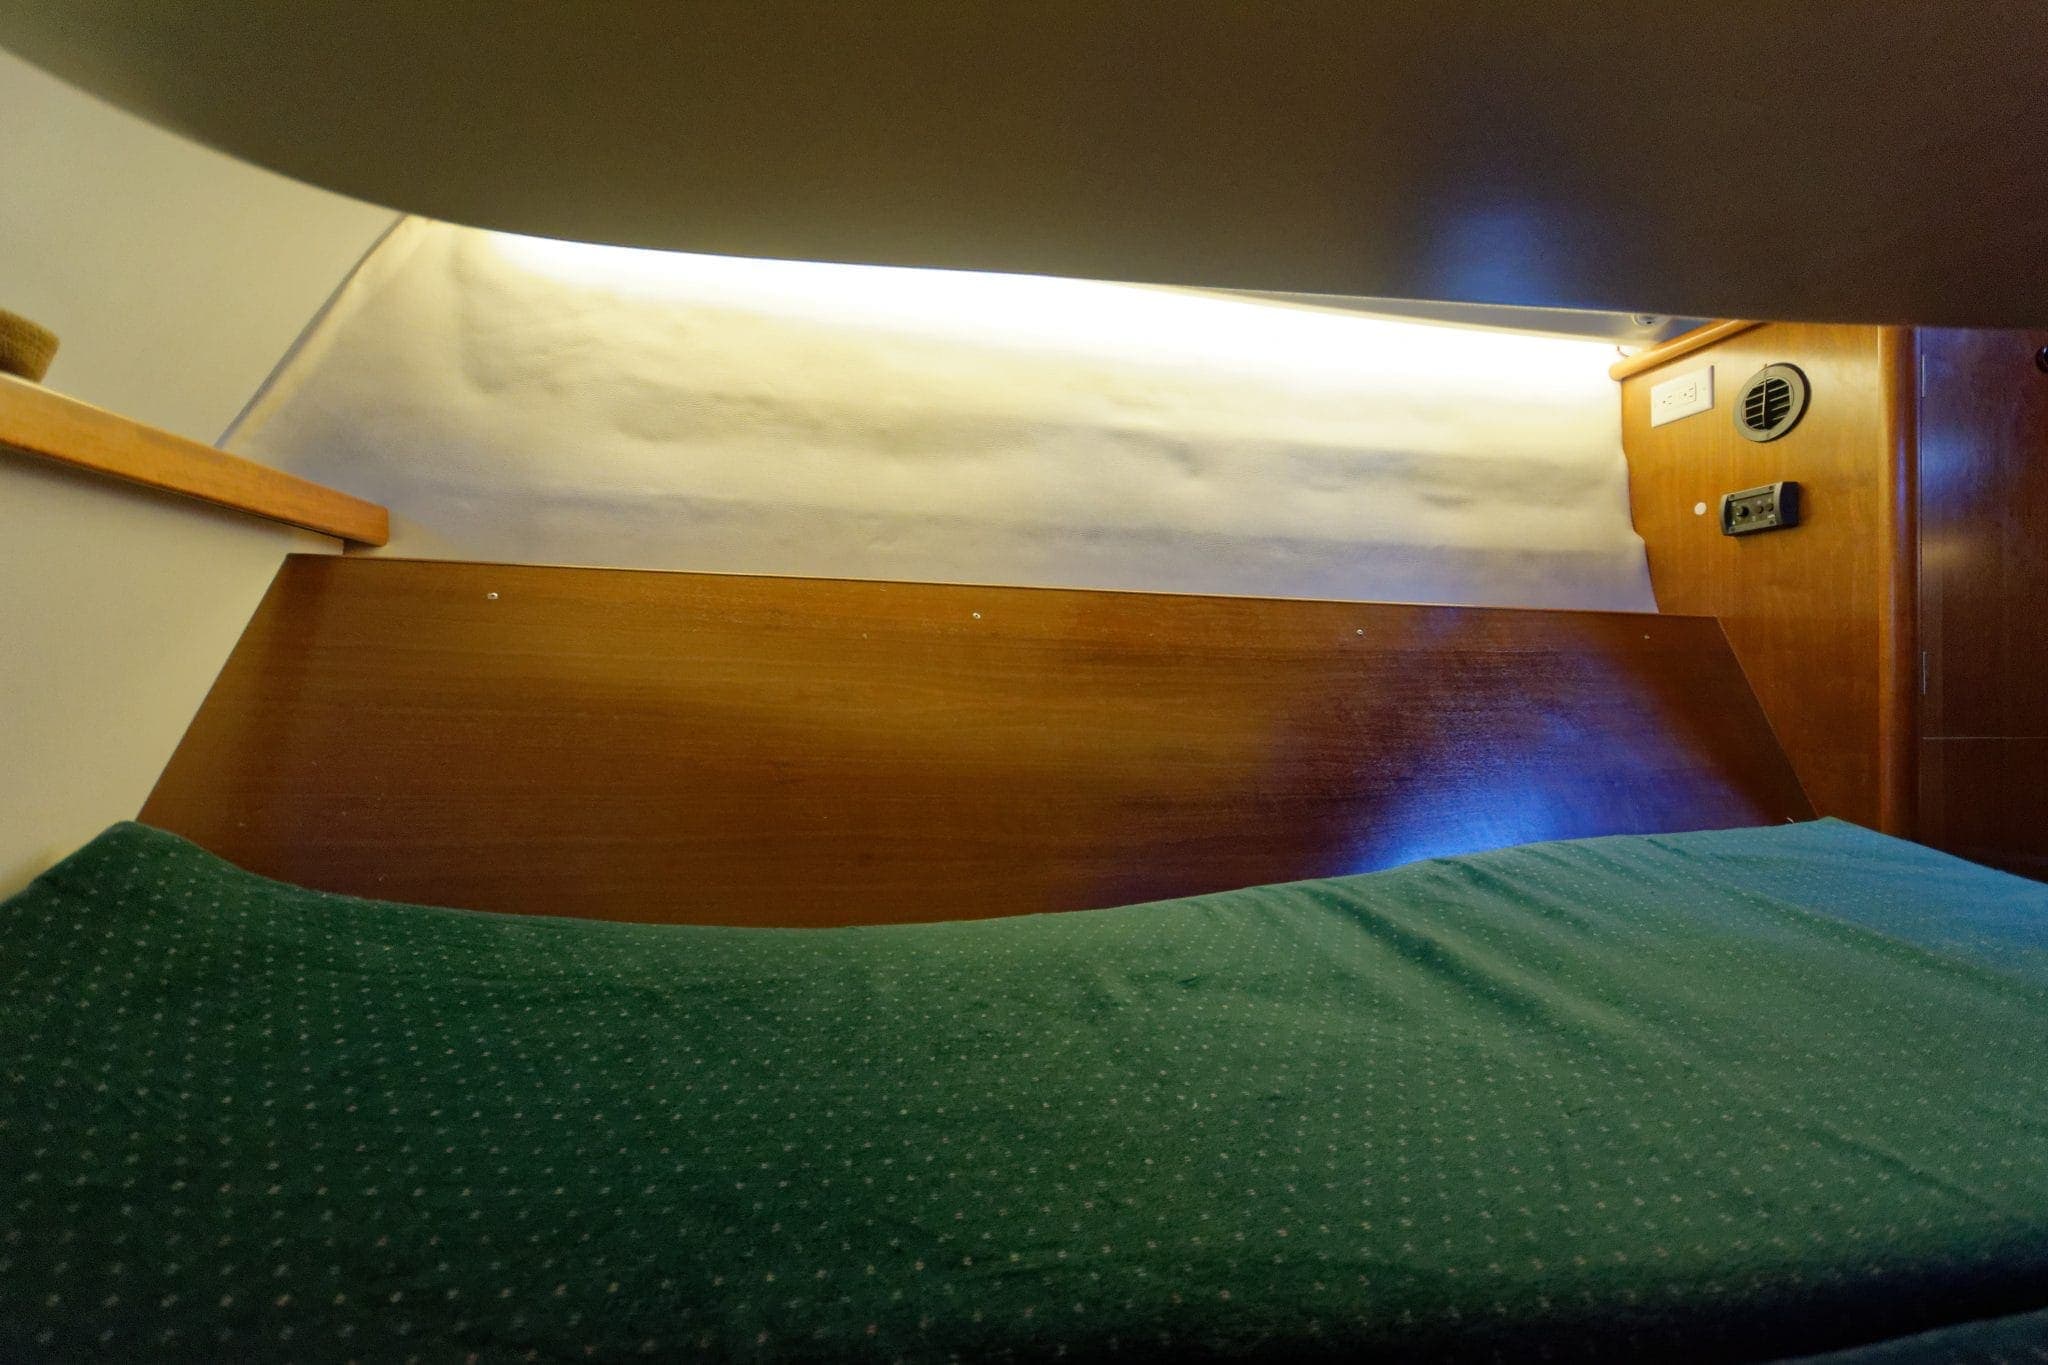
Stateroom warm white from under bunk
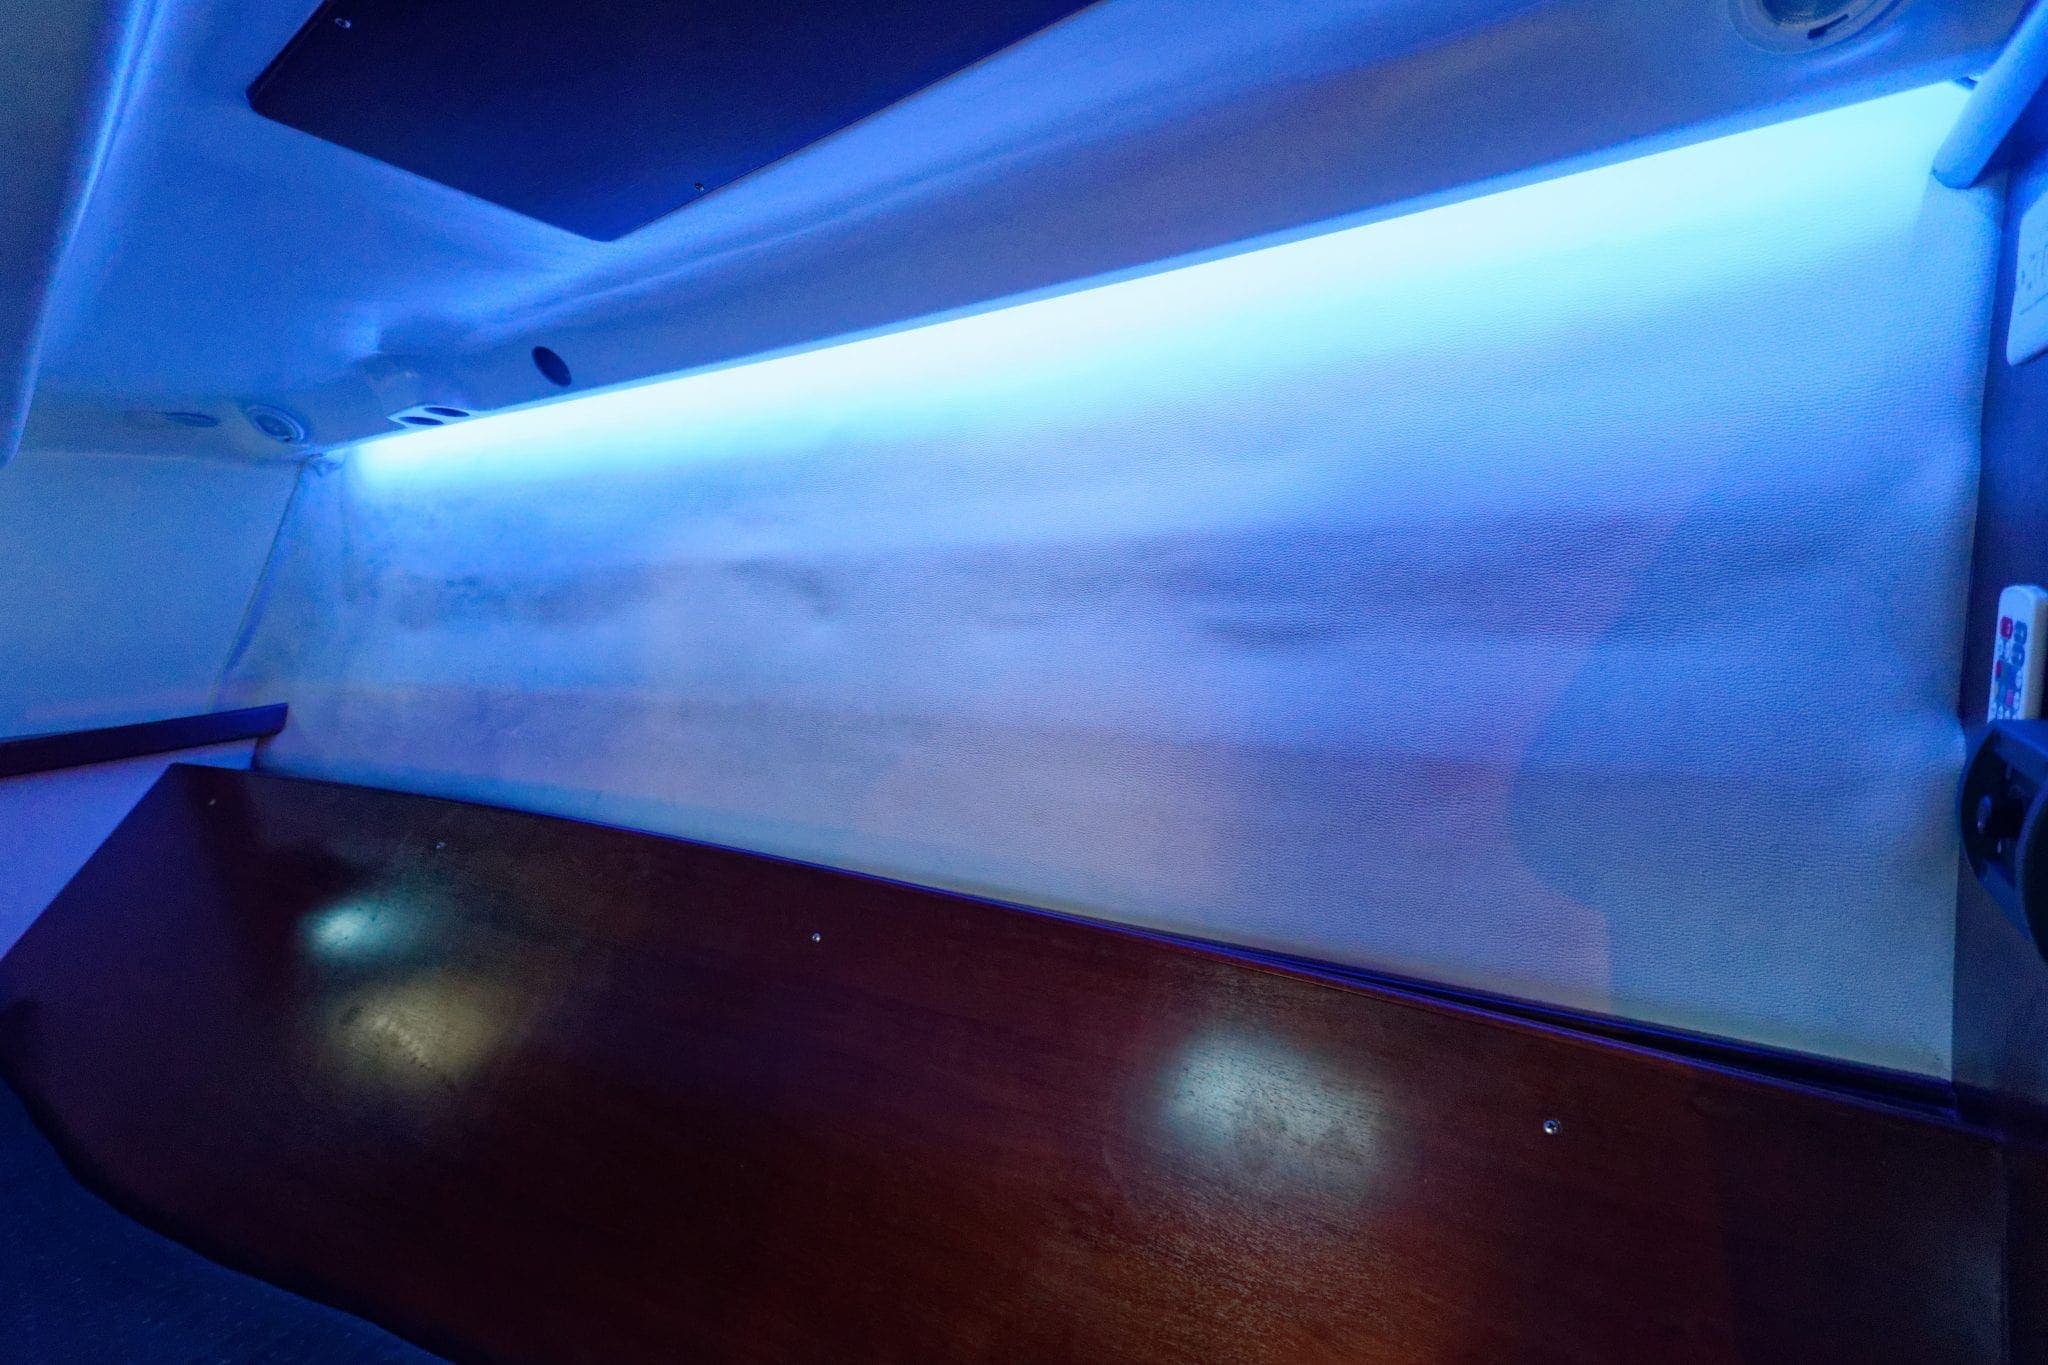
Stateroom showing off a bit of color
Color fest in the stateroom
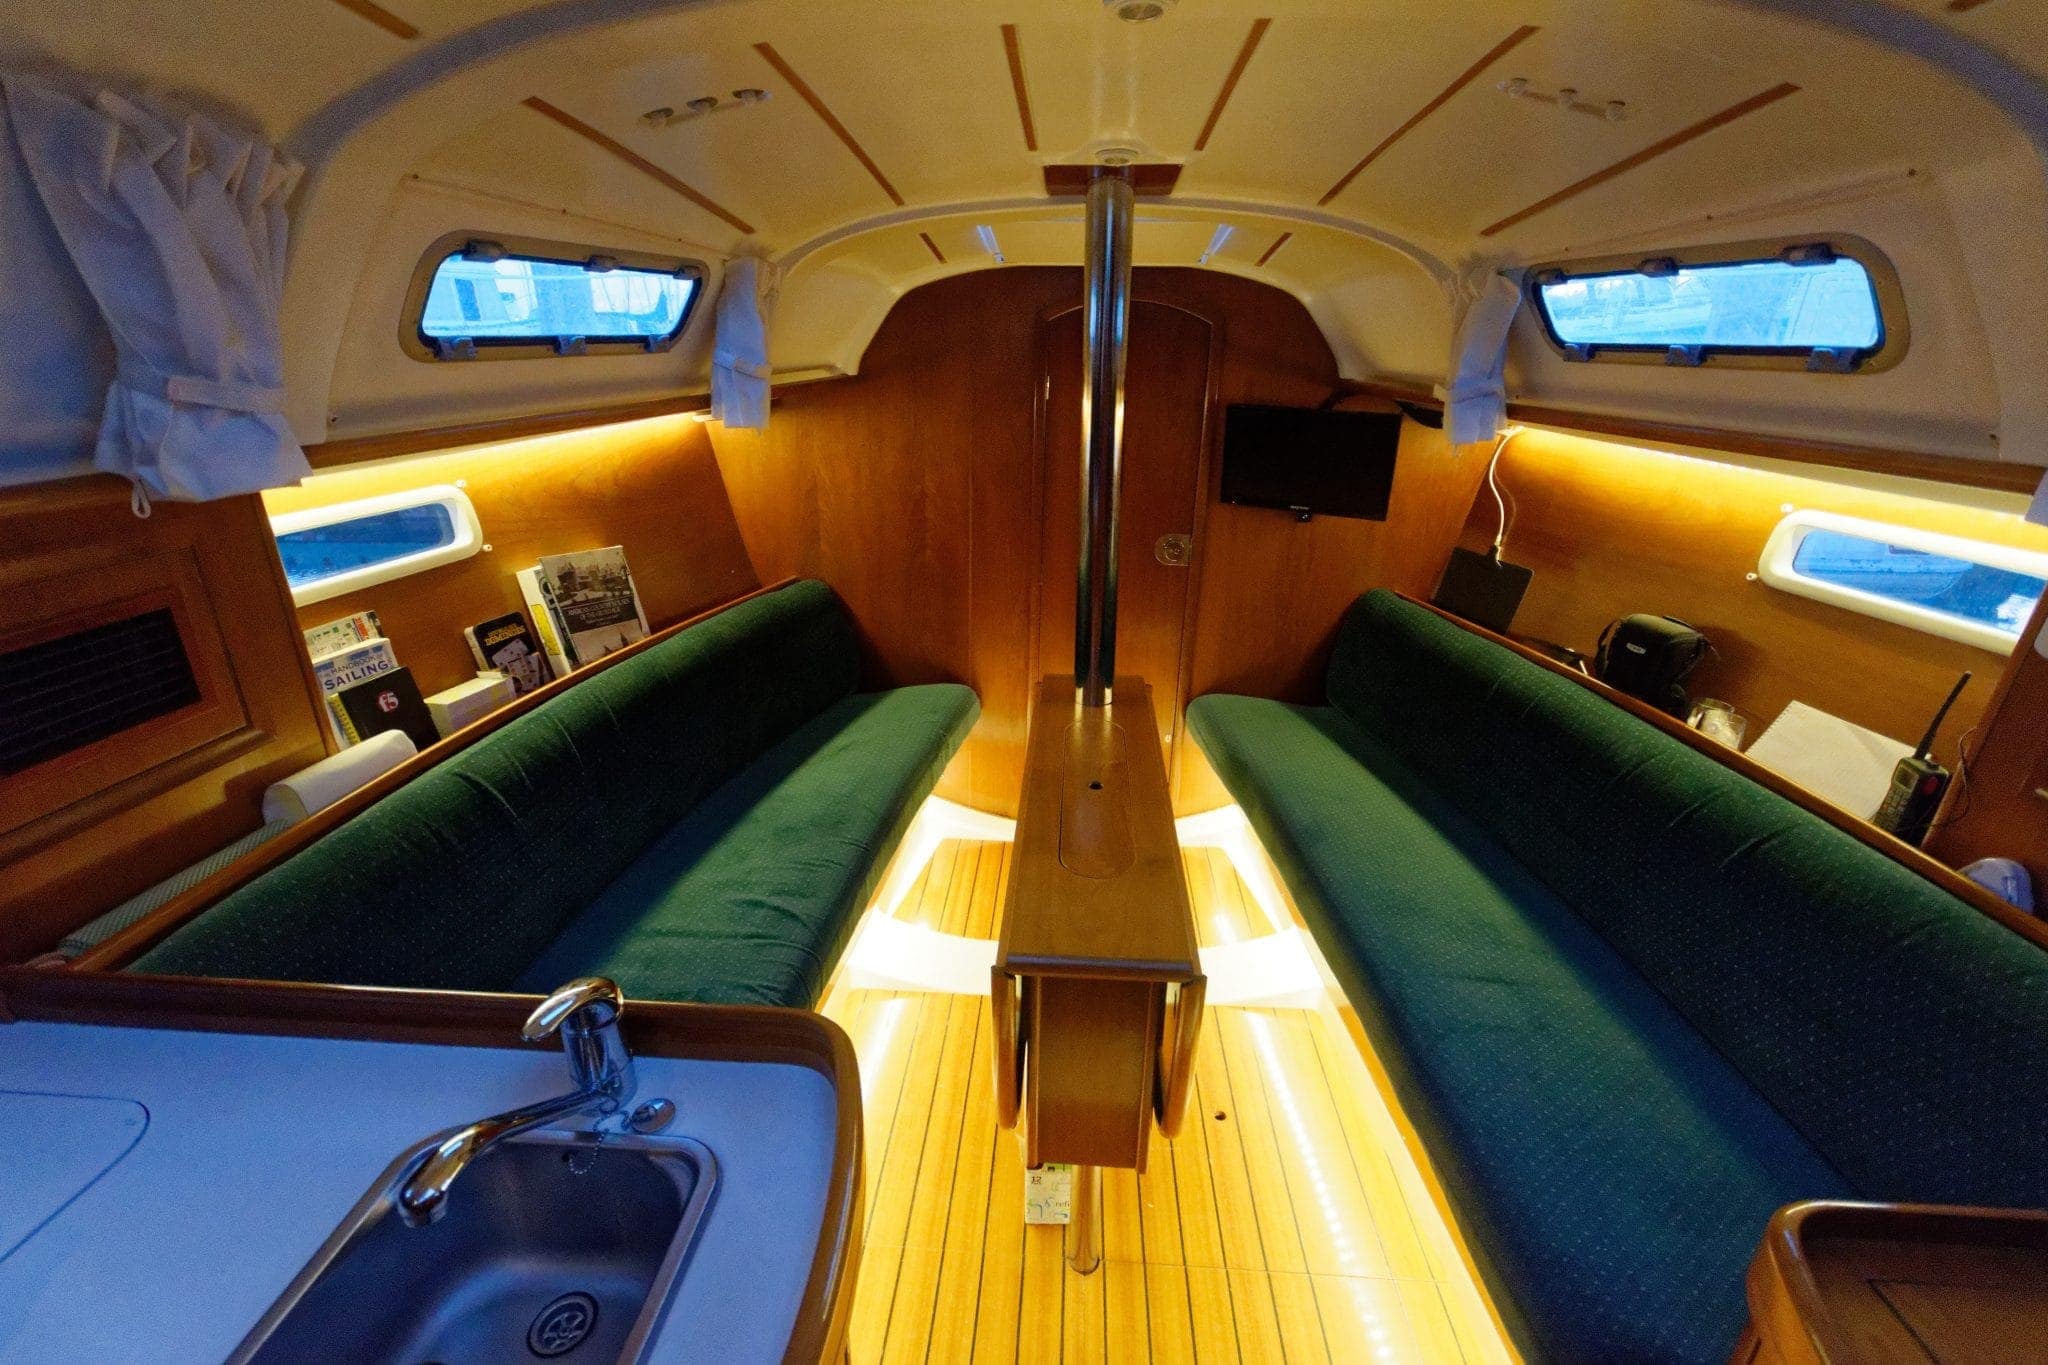
Salon completed and showing off a beautiful warm white above and under the seats
The overall result was better than I expected. The salon now has a ton of ambient light, so we don’t need to run the overhead CREE LED spots unless we’re playing cards or eating. The rest of the time there is a nice warm tone throughout the entire salon. At night, you can dim them way down, or even choose blue or red if you’re underway to save your night vision.
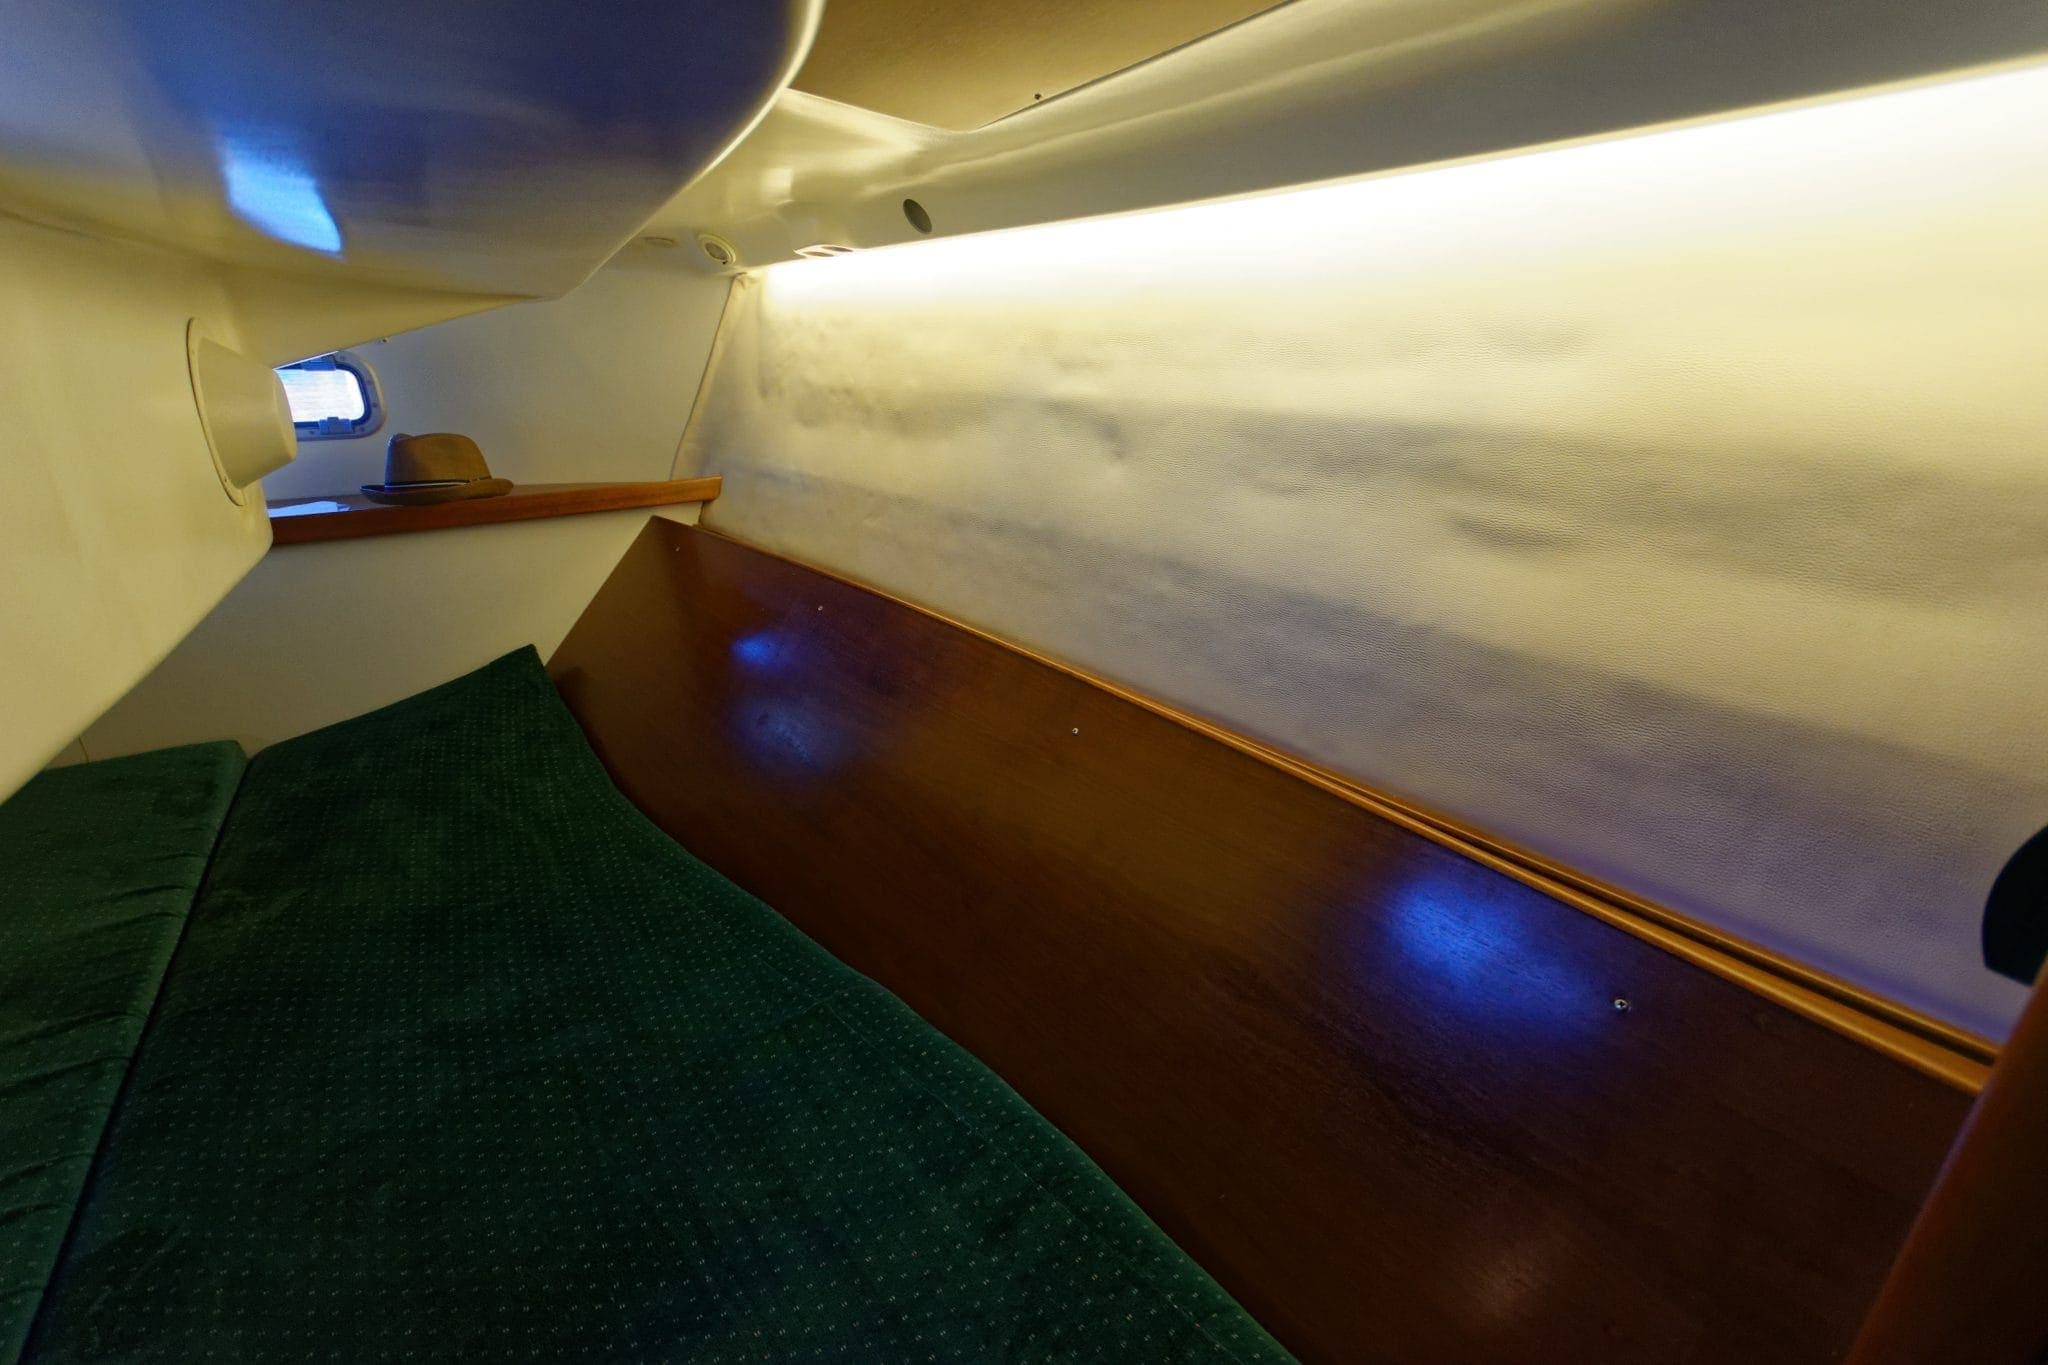
The stateroom really made a difference as well. Now we don’t need any of the spots, and can leave the whole strip on super low at night as a night light. It makes the entire berth feel far warmer and there is a ton of more light to find things than we ever had before.
Total list of parts and costs is below:
- 5x controllers/remotes @ $35 each = $175
- 4x RGBW splice connectors @ $0.95 = $3.80
- 2x LED RGBW strip LED reels @ $175 each = $350
Total is $528.80 for a very configurable and controllable solution that will last a long time.