My helm station has always been an area of continued improvement. When I first bought Grace in 2015, she had no chart plotter or other instruments – only older Raymarine ST series depth and wind instruments. I added a bigger angle guard and NavPod to allow for mounting more instruments, and for crew convenience. The last 6 months of longer trips had shown a flaw in this design – constant cracking noises and screws coming loose that held the helm station together. After the last long trip, serious damage was starting to look likely, so I decided to pull apart the entire setup and figure out what had happened.
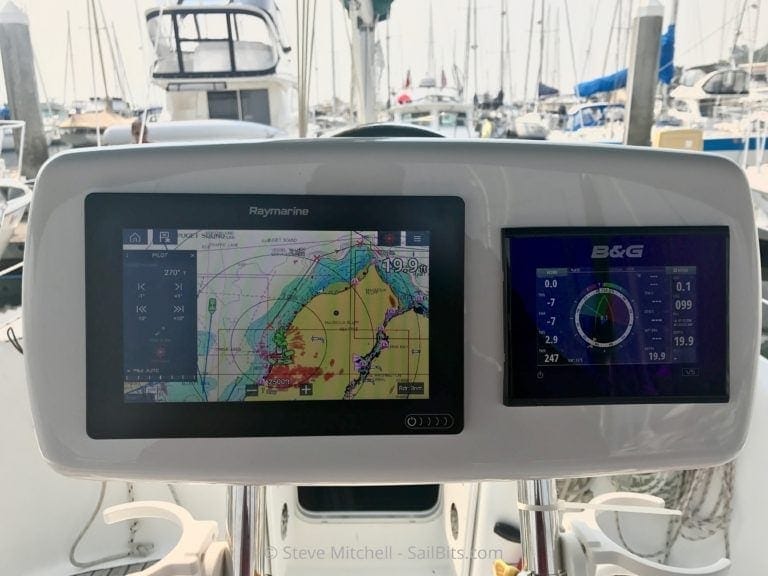
On first inspection, it appears that the way I attached the angle guard in the base of the helm station was not enough to overcome the massive forces of a person grabbing it to haul themselves up. That combined with the extra wide NavPod that I had attached and the instruments therein just made the situation worse. Instead of the load being transferred to the two through bolted points lower on the angle guard, it was being sent to the top of the helm station and directly to the four screws that held the top down, not load bearing points.
The original design of the angle guard was to be mounted somewhere low, preferably through or the deck, in the steering area. Unfortunately I wasn’t able to get it attached that way, and ended up doing through bolts at several places – mid way down the station, and at the bottom. Apparently that was not enough. A few months before, I had also added an even wider, heavier NavPod to accommodate my new Axiom as well as a B&G Vulcan.

The first iteration had a slightly smaller NavPod, but the angle guard was the culprit – it was just too tall, turning into a big lever, and not connected to solid enough points down inside the helm station.
After some discussions with various folks, we came across the idea of displacing the rather large compass seen in the picture above, and using that as a base for instruments. Off I went to Ocean Equipment’s website looking for a new NavPod!
Unfortunately, I could not find something pre-built that would work perfectly, so I dashed off an email to Reed @ Ocean Equipment. Within a day, he had answered with a number of options, including System Pods mounted on the tees coming up out of the station, and a far more elegant solution of using a PowerPod, model PP4800-07. PowerPods are usually not meant for sailboats, and this particular one has a base that is way too large for the 7″ opening where the compass resides.
I have worked with Ocean Equipment for years both on Grace and previously on Jammy, and absolutely love their products. They also have stellar customer support. Reed had started the conversation on design, and suggested that they could put a smaller base (P/N PB49R) on the PowerPod which would fit perfectly with my opening. Marc, the Operations Manager, also got involved given my short timeline (leaving for a trip in a few days), and went down to the shop floor and put something together.
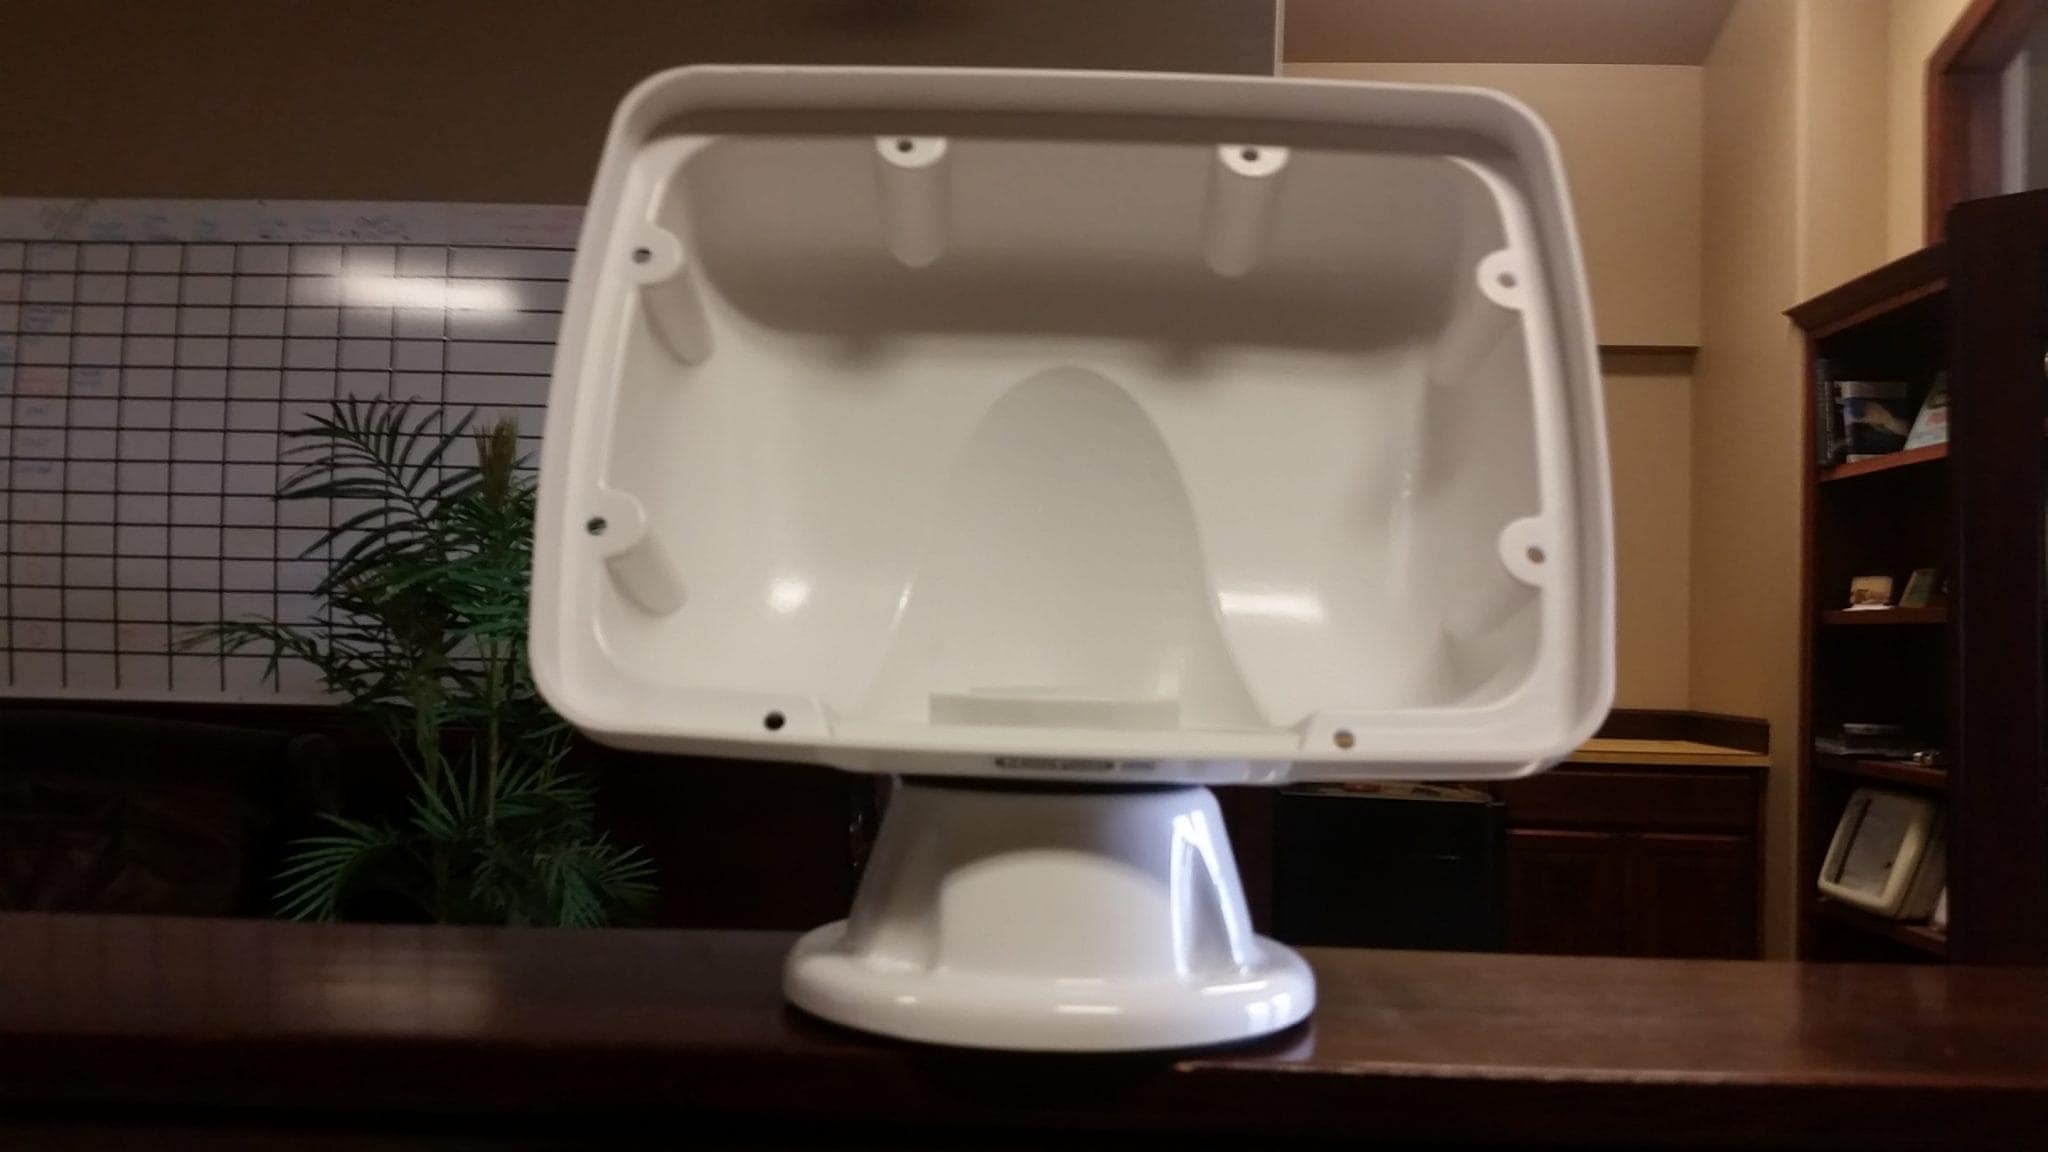
After sending a couple of pictures my way, and chatting on the phone, Marc grabbed all of my info, and rushed through a “build” of this custom unit to ship overnight. I can’t say enough of how nice it is to deal with folks versed in customer service, and willing to do something custom to make it work for my setup.
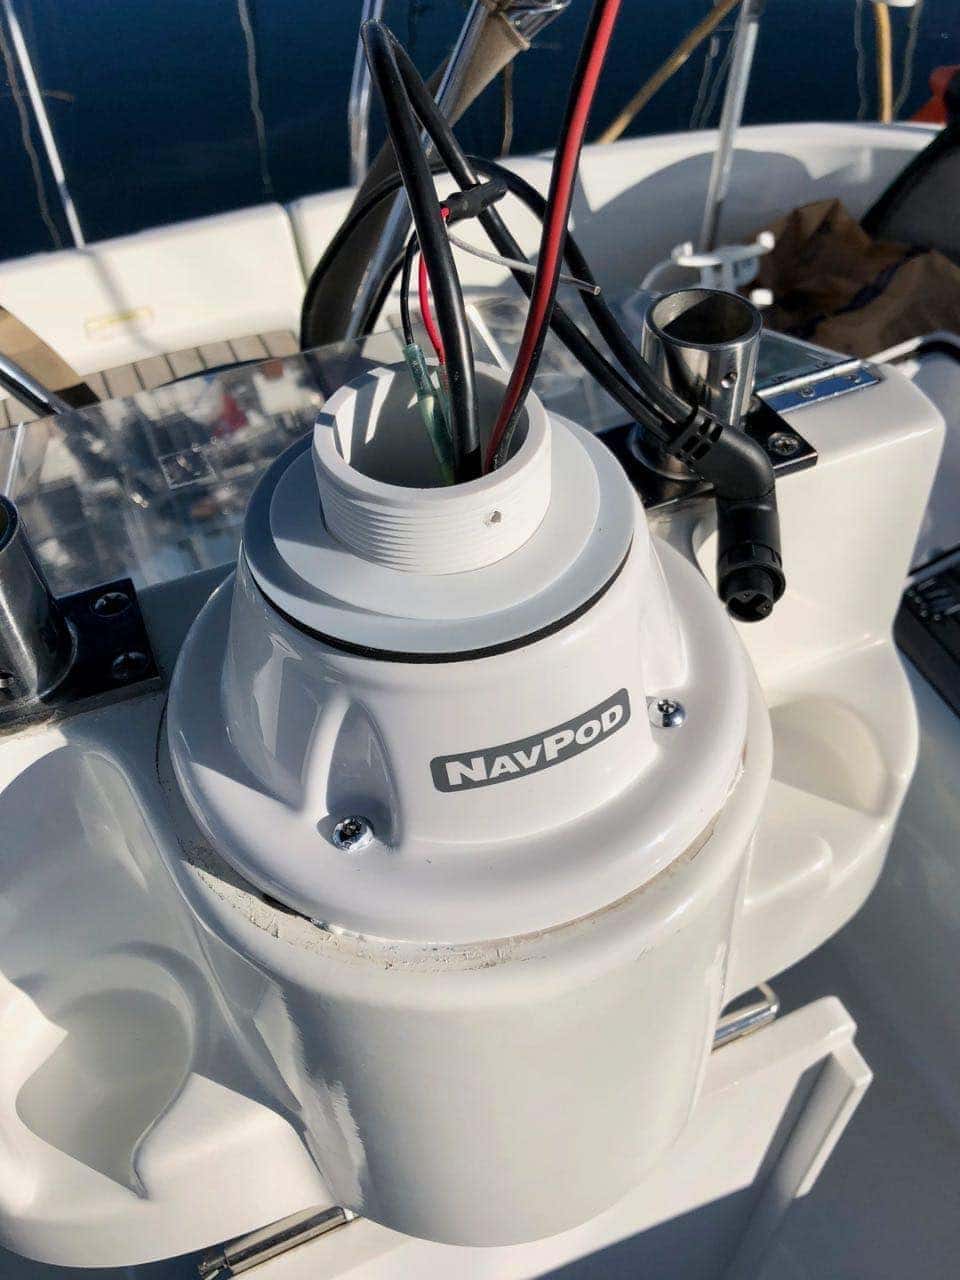
The unit arrived quickly, and after removing the compass, I started my install. I removed the big plastic nut that held the base to the upper section, and installed it using the four provided security screws directly to the opening left by the compass. I reinforced underneath the edges with a 3″ thick wood criss-cross structure that allows the screws far more to bite into, and prevents any side to side movement. Pulling the wires up through the base was super easy, even through the wood structure.
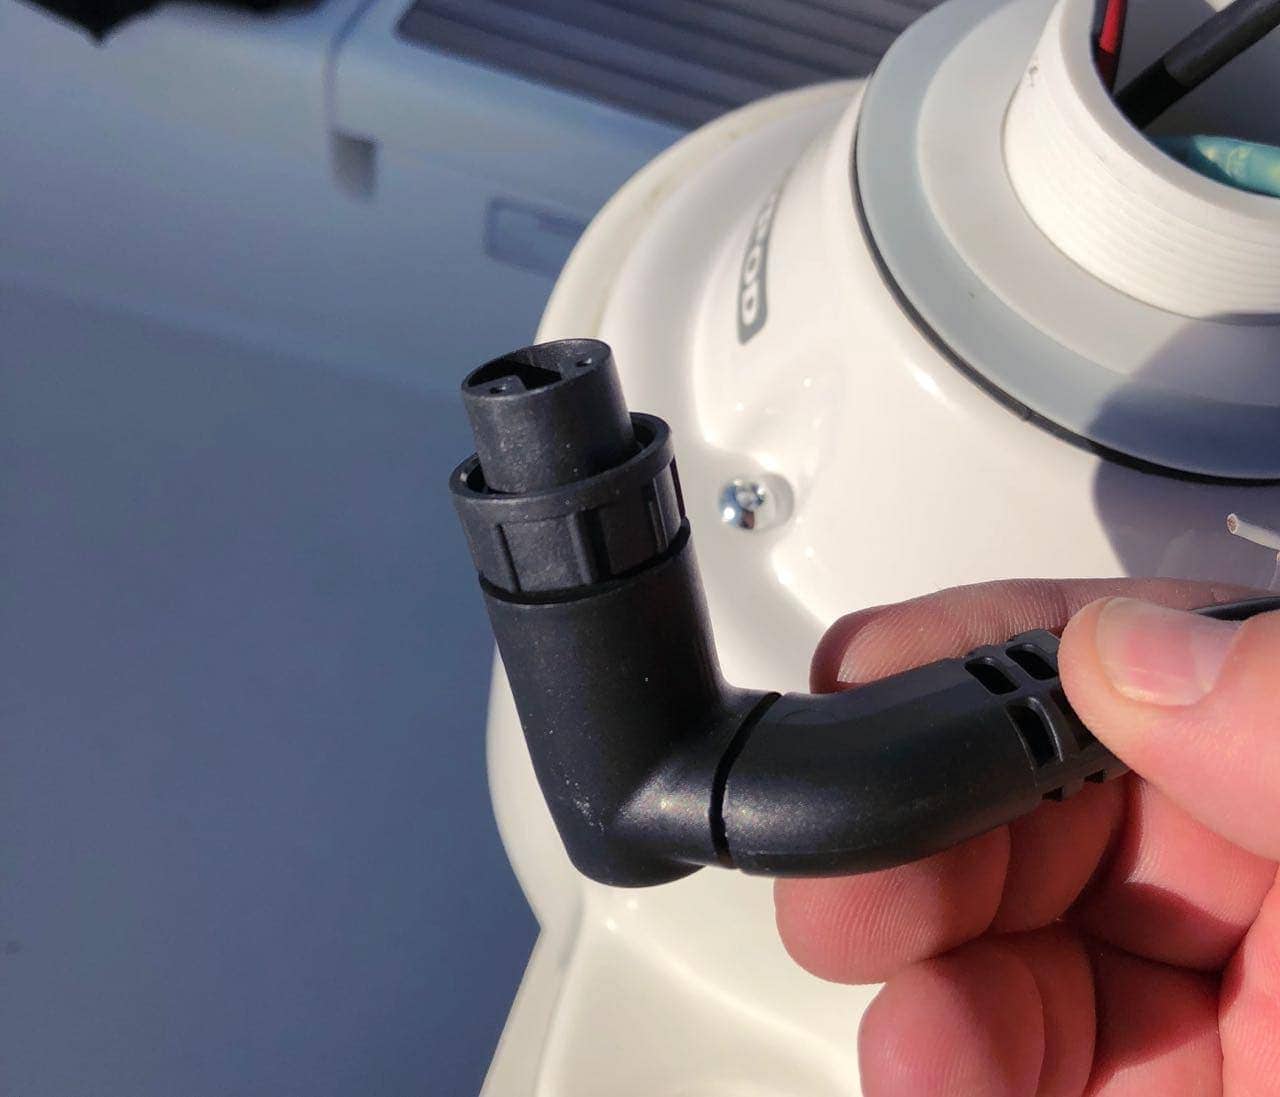
In order to use this NavPod with my Raymarine Axiom MFD, I had to order Raymarine P/N R70561, a right angle connector for the Axiom. I got mine from WMJ Marine – they seem a little difficult to find.
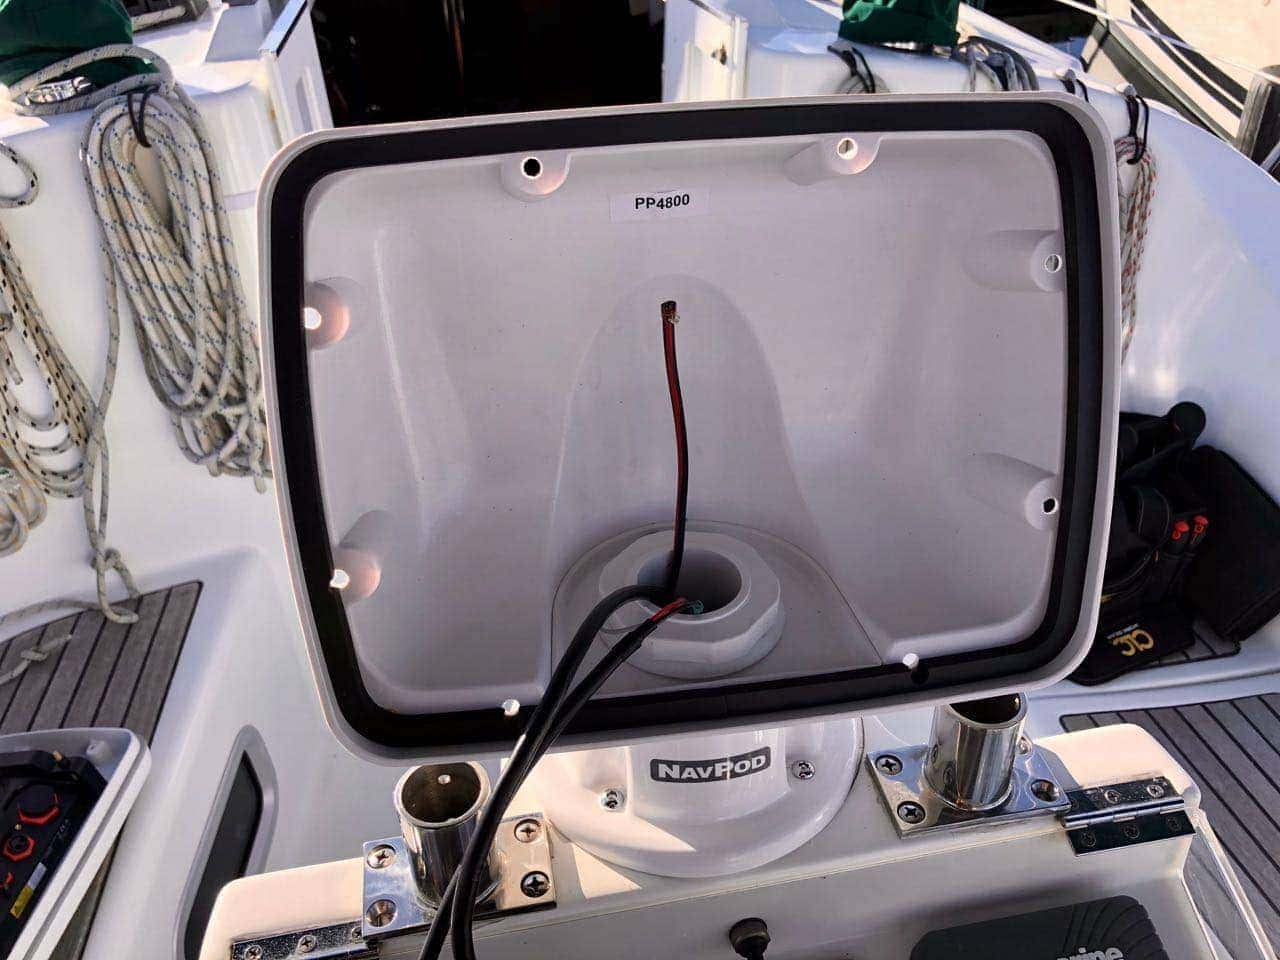
Putting the top shell on was quick and easy, making sure to get the nut tight to the same amount of turns that it came from the factory, the washers in the right place, and the set screw for the nut in the same hole.
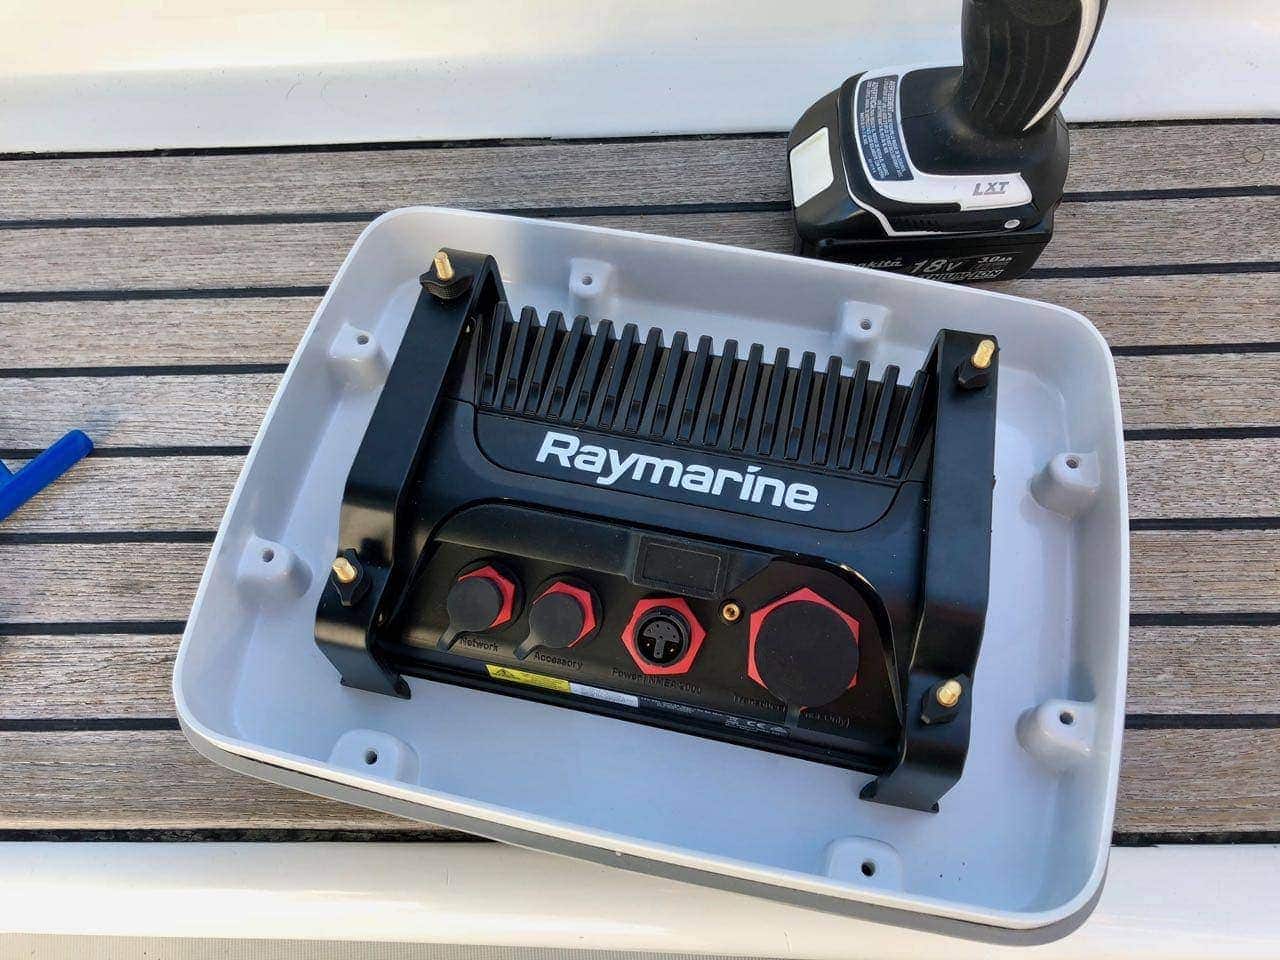
Mounting the Axiom was pretty painless. The hole was pre-cut, which I highly recommend – I’ve tried cutting holes in this material, and you have to have patience and make sure you don’t get your blade too hot, or things will melt weirdly. Plus, nothing I have ever cut in my life ends up straight, and the folks at Ocean Equipment have far better equipment to make beautiful, clean cuts with just the right amount of space. The Axiom has brackets that attach to the back of it and slide over screws that can be tightened down quickly and easily. No holes or screws from the front of the unit required, which is a nice change from many other manufacturers, including older Raymarine kit.
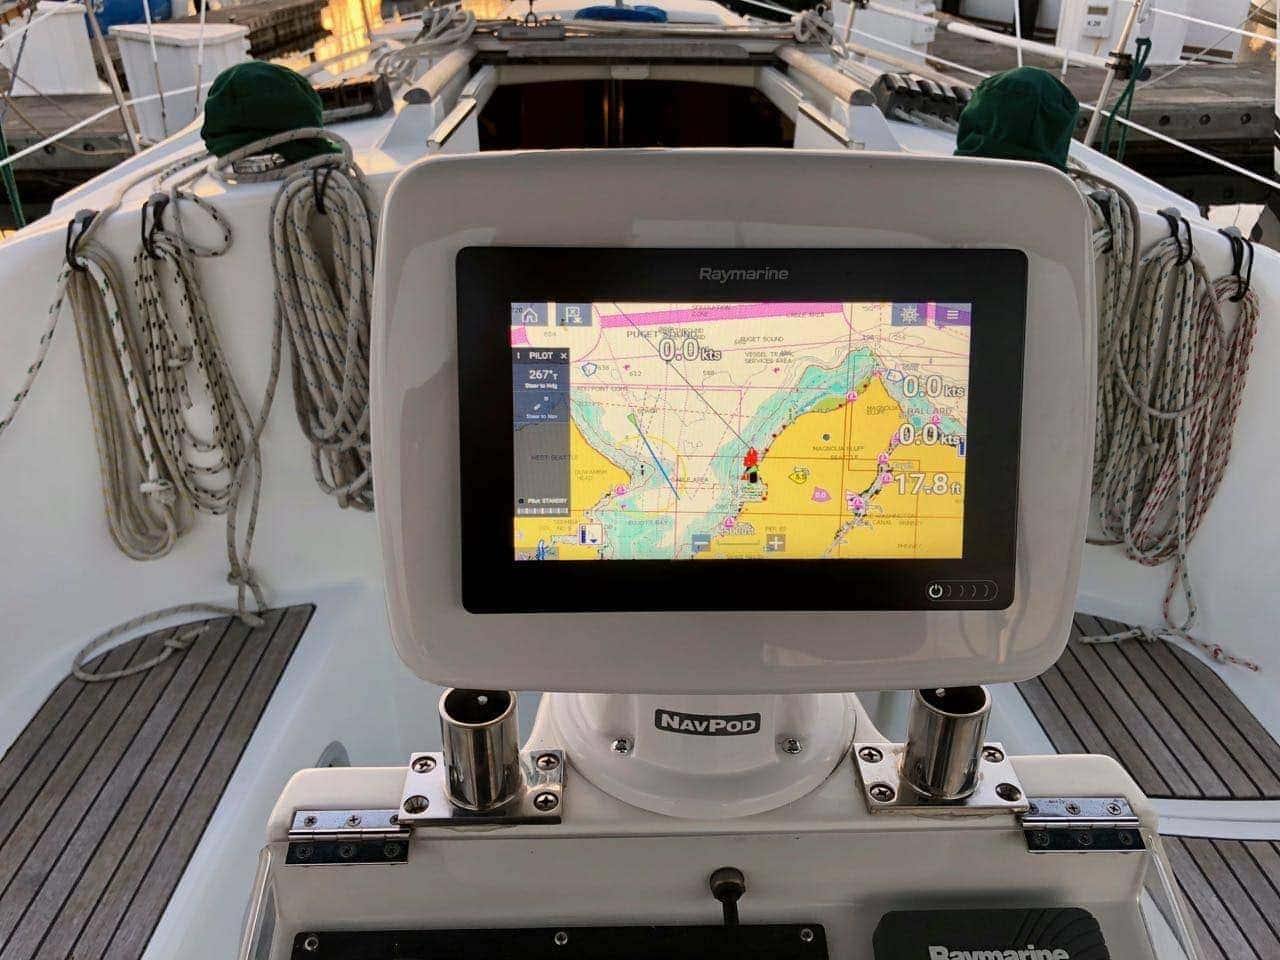
A couple of power connections later, I mounted the front face to the back with the provided screws and special driver, and things looked a lot shorter and safer than before.
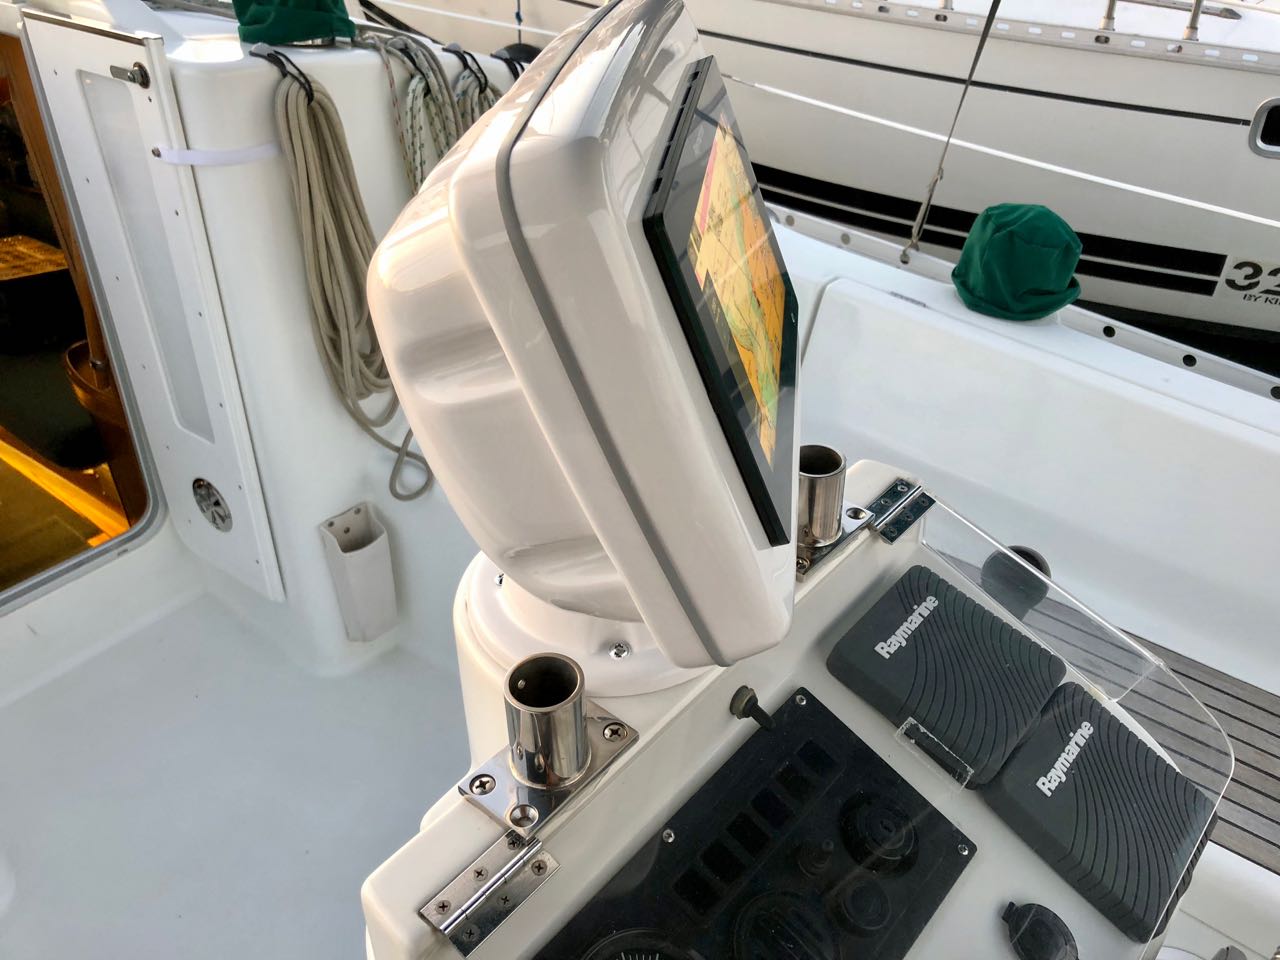
One of the benefits of the PowerPod is that I can rotate it left and right if we happen to be sitting on a particular side. That has been pretty convenient when at the dock or anchor so I can keep an eye on things.
The left over tees from the angle guard still have open holes out their tops. One I am contemplating repurposing with the Raymarine USB extension so I can access the SD card to do updates and such. The other I will probably close off. Both tees will be left in place, and I will be attaching drink holders to them that hang down into the pre-built, uselessly small drink holders below.
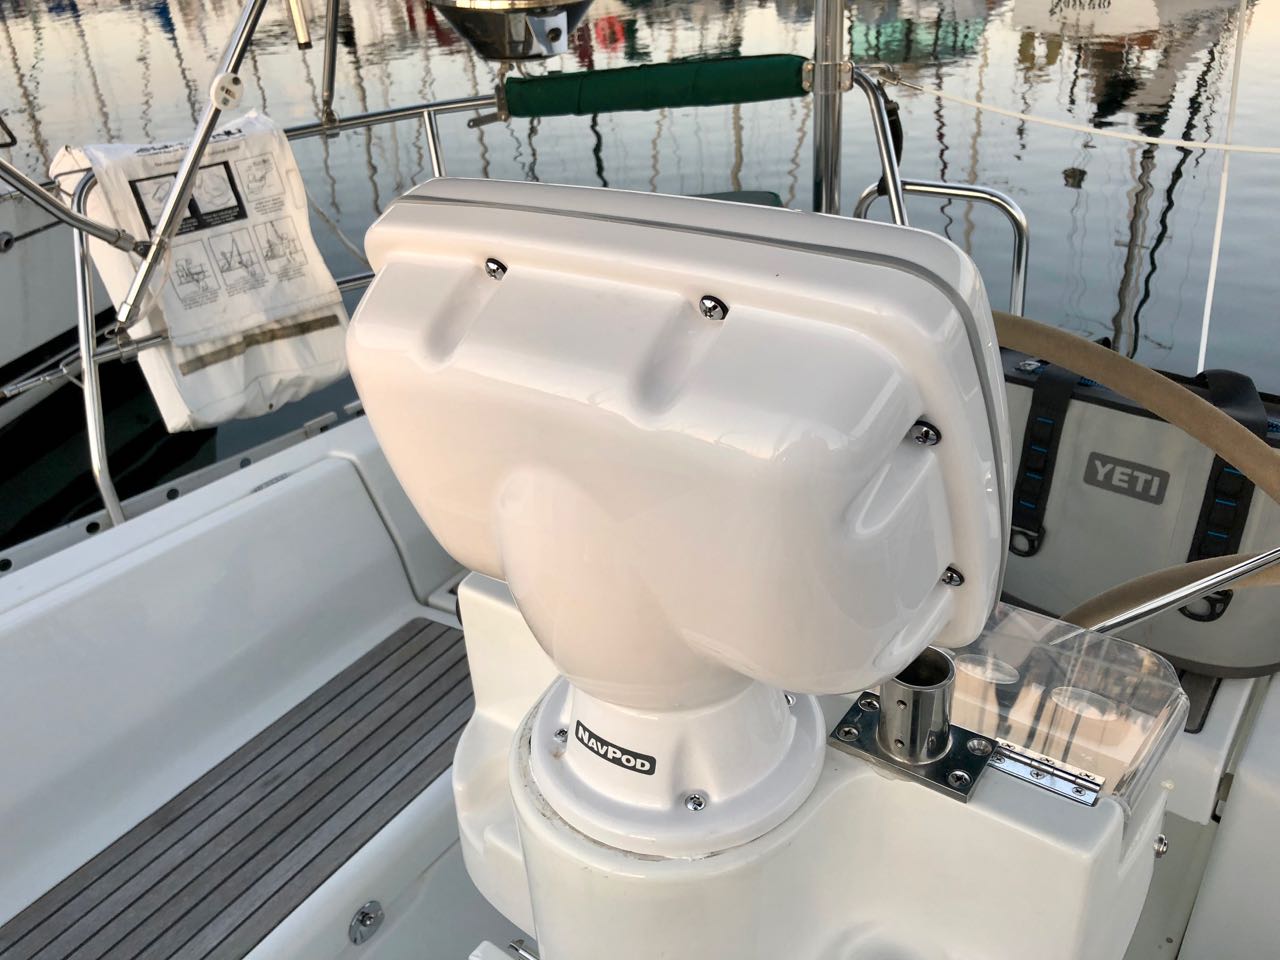
What is really nice is the height. While I could look under the previous NavPods while seated, it wasn’t as optimal as having a smaller unit. It also is not something that people are going to grab to get up, thereby solving the problem that started this whole adventure – saving the helm station from being ripped apart.
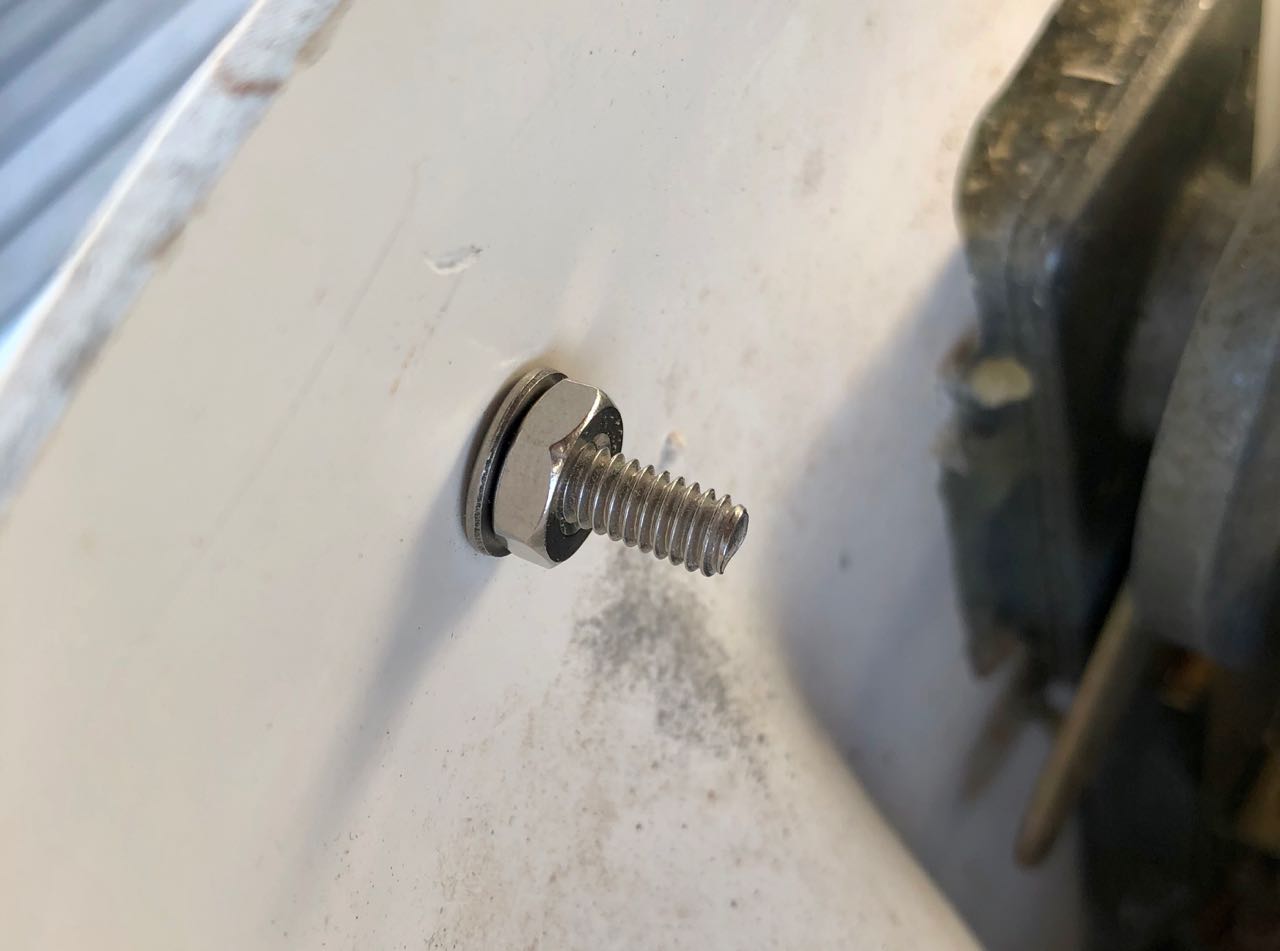
One of the other problems with the helm station, which was present before I bought Grace, was the four screws that held the top section to the lower section. These should never have been screws – screwed through holes through the outer and inner portion of fiberglass. Over the years, they had worn the fiberglass away, and the previous owner put larger screws in the holes – probably several sizes over the lifetime of the boat. I wanted a better solution, so I replaced them with bolts, and epoxied a nut and washer on the inside so that the bolts could be removed easily, and items under the top serviced easily. Serviceability is important here as the engine control panel, instruments, engine throttle/gear control, steering, autopilot, and STNG-to-NMEA 2000 converter are all inside the helm station.
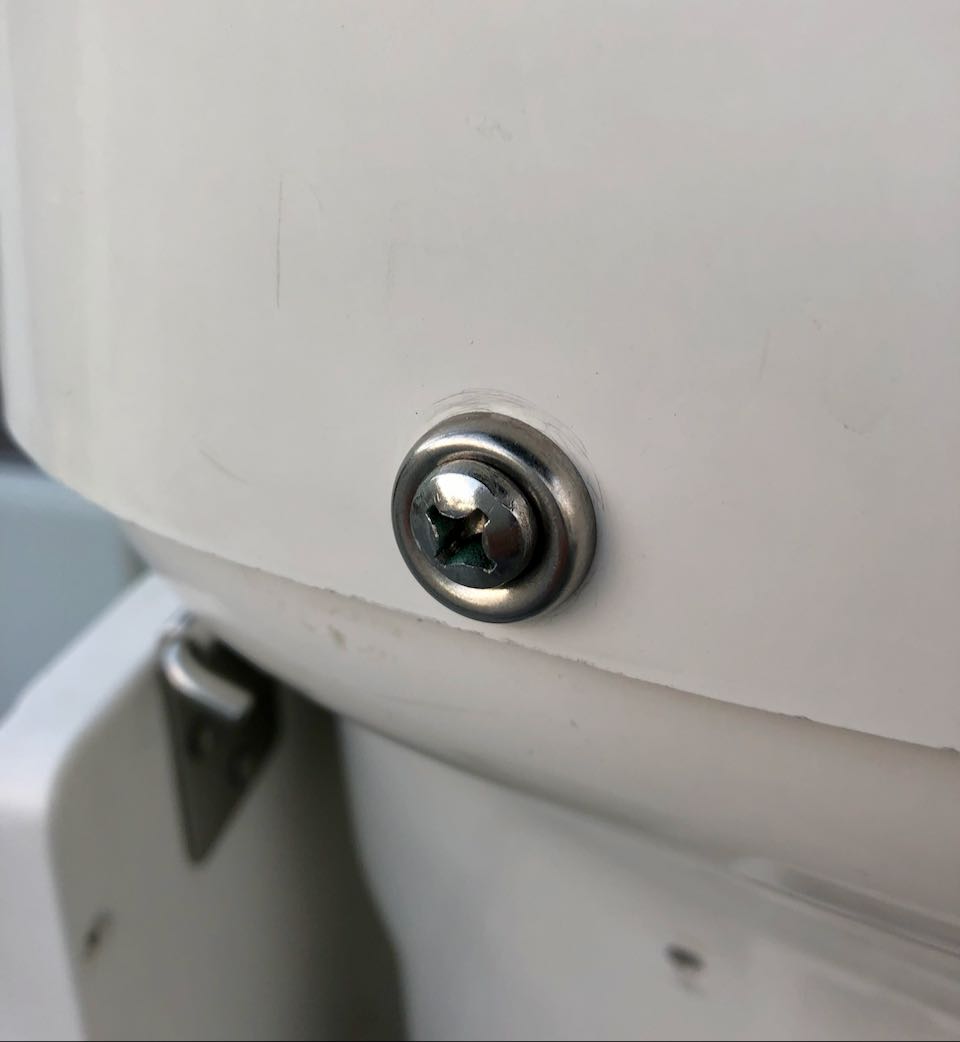
A nice wide inset washer hides the hole from the previous setup, as well as provides some additional coverage and strength. Now I can get in and out of the top of the helm station easily.
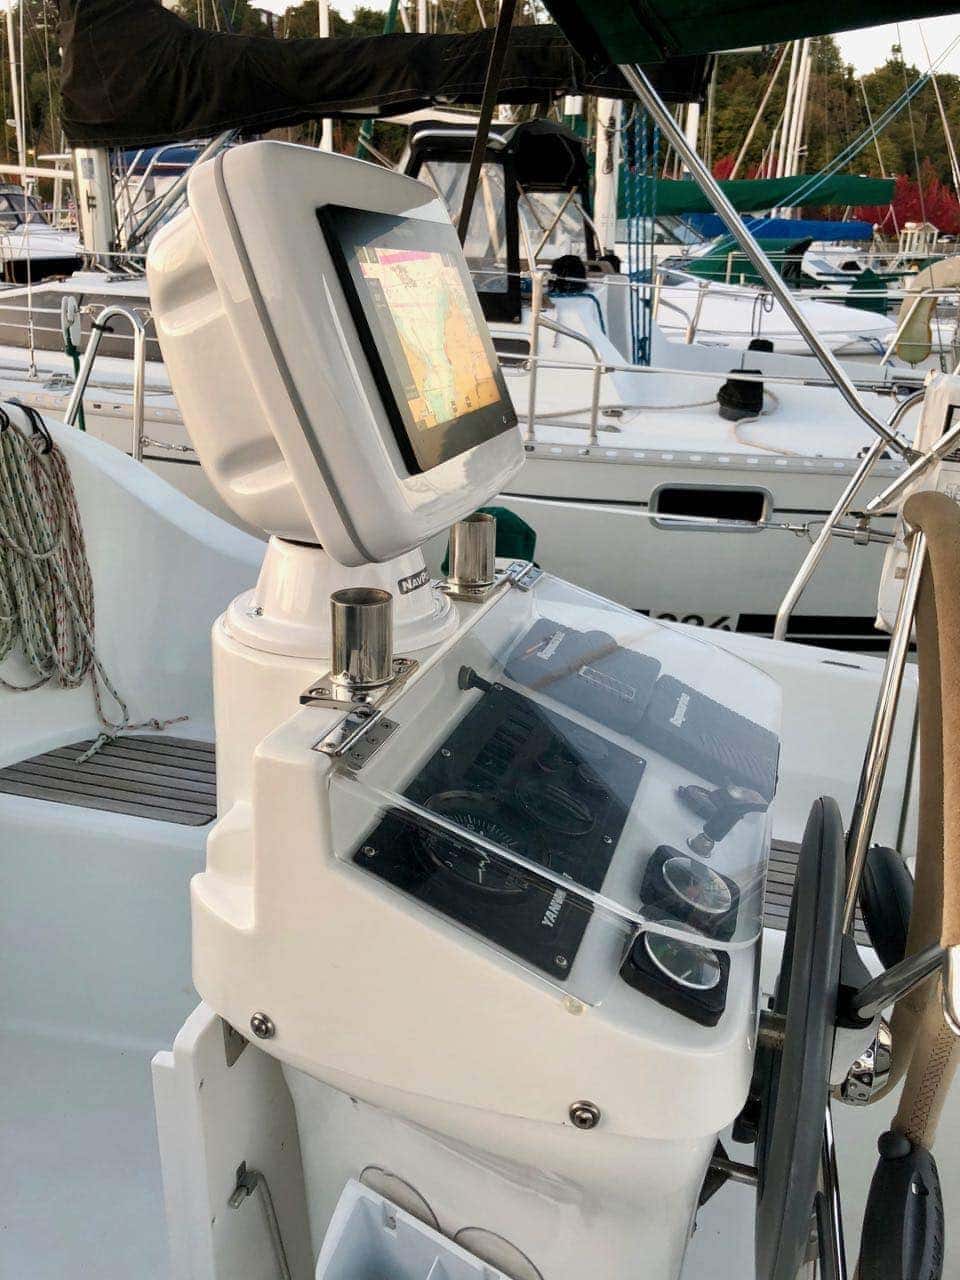
There’s one final install bit that I have not completed yet – replacing the compass. The plan is for this to be mounted in the access panel behind the wheel about halfway down the helm station. Ritchie has several nice bulkhead mount options that have various lighting and options. I’m still doing some test fits before choosing the model, but I’m sure one will work out well. In some ways, this might be easier to use in this location than the original!
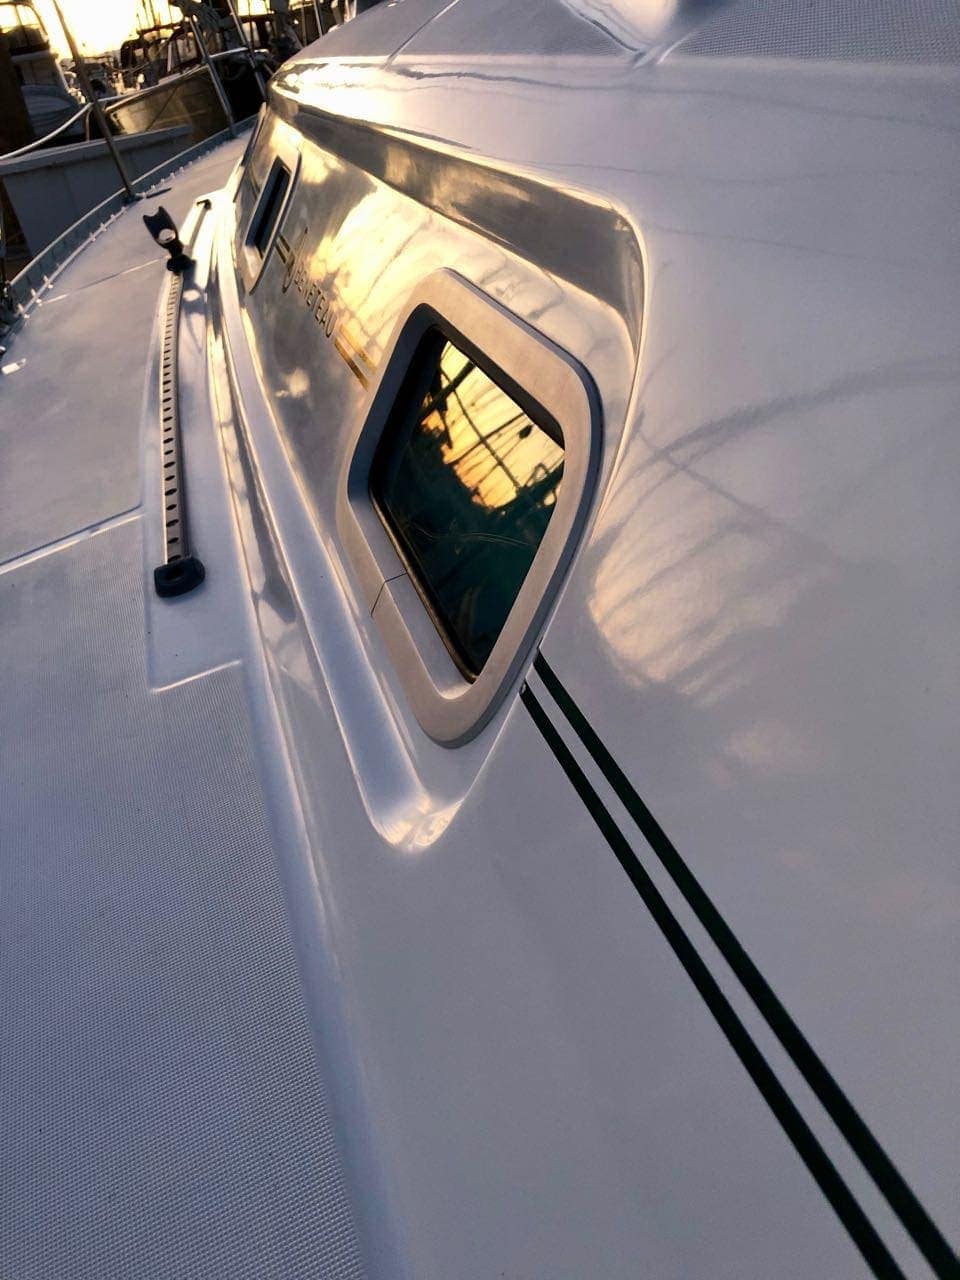
While I was completing this install, I was constantly looking at the recent wash and wax job provided by Splash N’ Detail. I have never seen any boat I have owned look so clean and absolutely stunningly reflective. It almost looks like it is fresh out of the factory. I swear half the time I work on projects I spend gazing at the beautiful sights in the marina or wherever I’m at. I suppose that is part of the fun of owning a boat and working on it yourself!

