A month or so ago we had some brazen trespassers at our family cabin in Eastern Washington. Being the tech in the family, and having already deployed several Dropcams and a SmartThings home system, I decided to add some more camera coverage and wifi around the property so we can make sure things are OK.
Given the amount of sun we get, I chose to go solar in two locations – one in the field between the cabin and the river, and one at the river itself…
For the river, I used two 17 watt solar panels from Voltaic Systems. Originally I had paired them with one of their V72 batteries, but unfortunately it does not have an “always on” feature, which would mean I would have to come press a button if it ever completely depleted in power.
Instead, I used a Renogy PWM30CC charge controller and a battery I already had. The charge controller actually came in a package I ordered that included a 100W Renogy solar panel which I used elsewhere.
For the camera, I chose a Y-Cam Bullet HD 720 after a significant amount of research. Finding a wifi enabled security camera that also can run off of some sort of solar style voltage, and isn’t part of some horrible packaged system that requires a controller or other hardware is pretty hard. Many people have chosen Foscam or other manufacturers, but their reliability and quality appear to be widely varying, if not scary. Y-Cam offers a standalone camera that has great reviews, good quality picture, amazing night vision (not a requirement for me) and a decent set of features. You can see it in the picture above.
Paired with the camera, I use a TP-LINK TL-ANT2414A 14dBi antenna pointed back towards the field wireless AP. It’s almost 700 feet through thick trees and foliage back to the field AP.
On average, the camera get’s a 50% wireless link or better back to the AP, and I have had no problems with connectivity. The solar panels give plenty of power to the battery, even in the fall months so far, and allow me to retrieve a still picture every 5 minutes for the daylight hours. The camera is still running 24×7, but hopefully not using that much power. When I measured it at 12v, it consumes about 2.4 watts of power during normal usage. If you enable the night vision features it jumps up to 4+ watts, which is too much for my comfort level on my power budget. I think I may be able to retrieve more frequent pictures, and maybe even some video, without compromising my power budget – only time will tell.

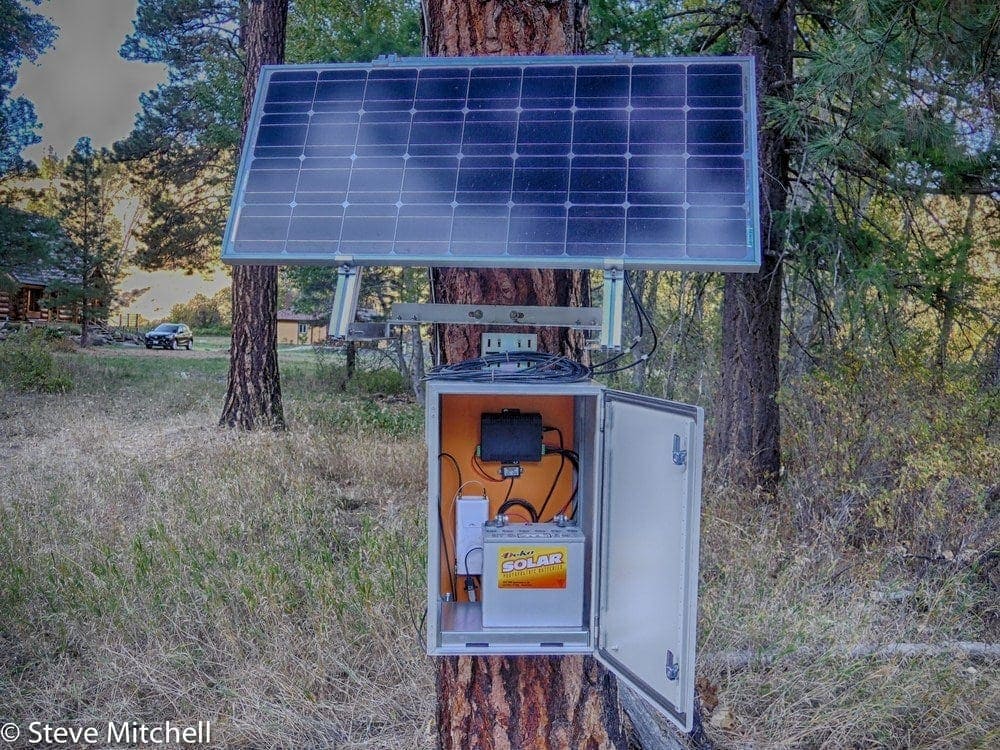
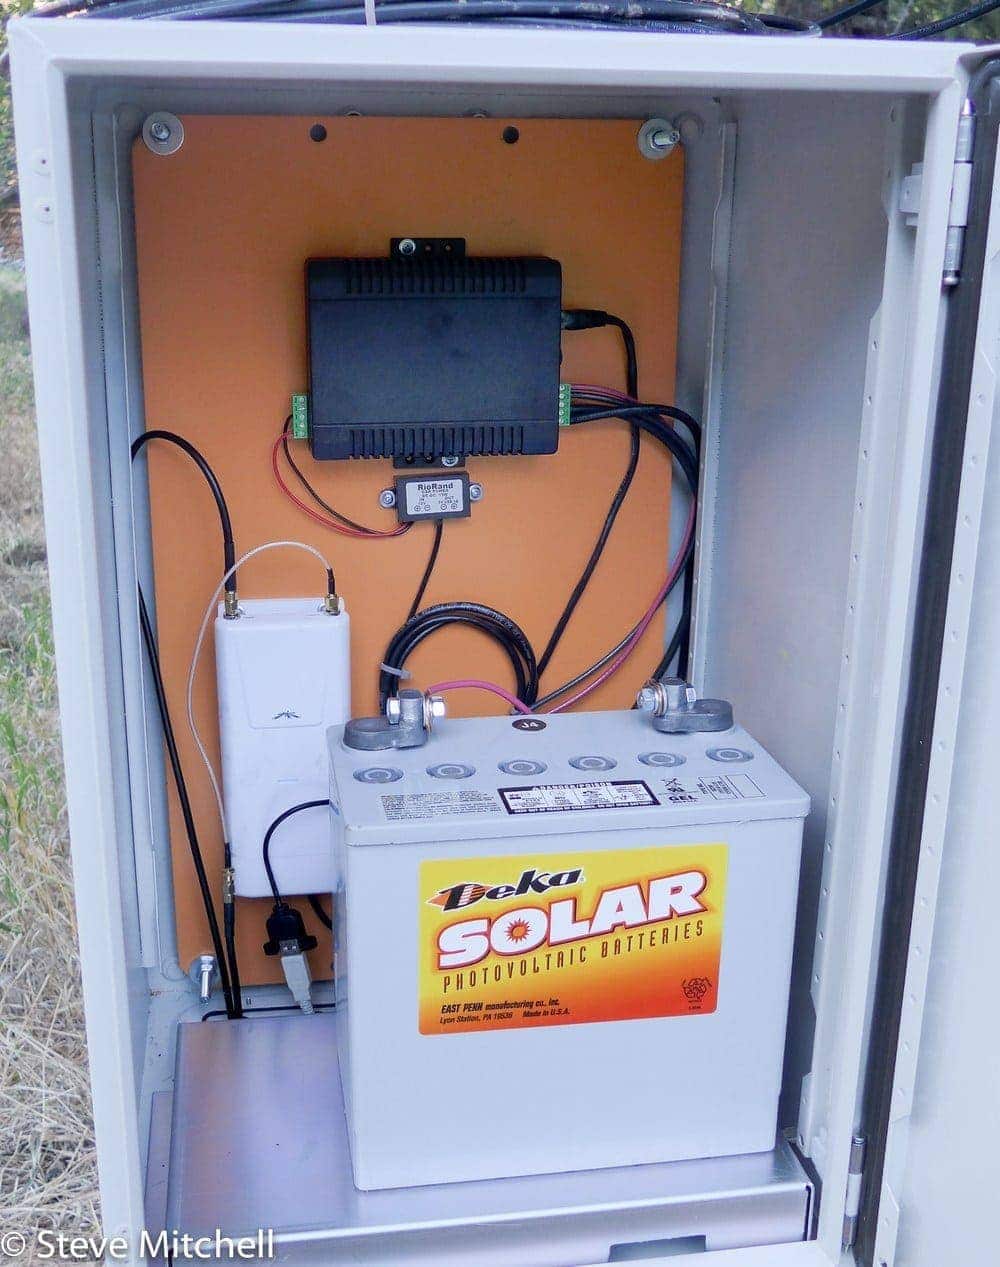
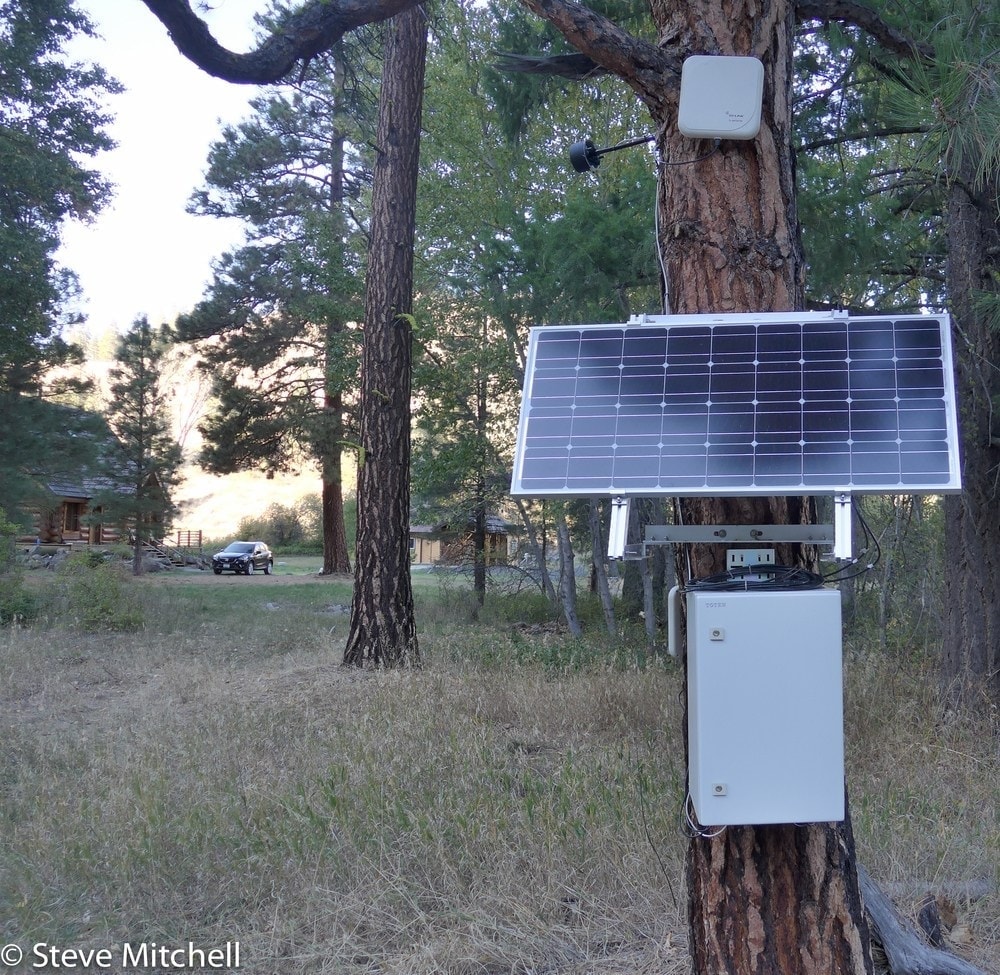
The second major installation is a Renogy 100W solar panel paired with a Tycon TP-SCPOE-1248 solar charge controller and 48v PoE injector in one. The verdict is still out on this one as it has performed for the last few days very well, but I think I’d like a more configurable charge controller, and a stand alone PoE injector. This seems to all-in-one, and I’m worried about my battery life. I am using a 51ah gel battery designed for solar applications, which should be more than enough for the devices in question which include:
Ubiquiti UniFi AP Outdoor + setup to extend my wifi network from a UAP-Pro inside the cabin.
Dropcam in a Dropcase with a 12v -> 5v converter.
I started out with a different set of components, but had a lot of problems with the charge controller and battery, and had to return some stuff.
Here again I used TP-LINK TL-ANT2414A 14dBi antennas – one pointed towards the cabin and UAP-Pro, and the other pointed towards the river.

The battery, 12v converter, solar charge controller, and wireless AP are stored in a Tycon ENC-ST-23x14x12 enclosure which is fantastically built. A bit on the heavy side, it is very well made with a backplate, rails, multiple pass throughs and glands, a sturdy mounting system for wall or pole, and a great sealed front with keys. It even has a really well thought out battery tray that is removable, with cable passthroughs underneath.
The key here is the UniFi Outdoor AP which is responsible for extending the wifi network not only to the camera at the river, but the Dropcam in the field to watch for people that shouldn’t be there. Additionally, with some creative wifi SSID’s, if someone is walking or present anywhere on the property, provided that they have a carrier provided cell phone, I will be able to see if someone is around as their phone will most likely glom onto one of those networks and provide at least a basic amount of information.

The jury is out as to the longevity of this system in these conditions. It gets pretty hot in the summer, almost 100F, but the bigger concern is the cold winters of 20F or cooler. I’m pretty sure everything will survive but am most concerned with the Dropcam. Everything is sealed and generates enough heat when active to keep things above a freezing temperature. I am going to look at adding heaters or something else if needed to the solar panel – still doing research.
Overall I’m very happy with the performance thus far, and will continue to monitor. I am looking for a solar charge controller with good performance, support for gel batteries, a PoE port (48v) and an ethernet port for monitoring remotely.
The longer term plan is to move these components and the weather station to a pole near this same location.
In a few days I’ll post a full network diagram of the system which includes another AP Outdoor+ unit relaying the signal for the front of the property and to two more Dropcams.

