

I wanted to upgrade the anchor and steaming light on Kaos and fix some cosmetic issues with the radar mount, get my GPS and wind instruments updated, and find a proper platform to mount my Starlink. I ended up choosing a couple of Seaview products which I cover below.
Old Setup
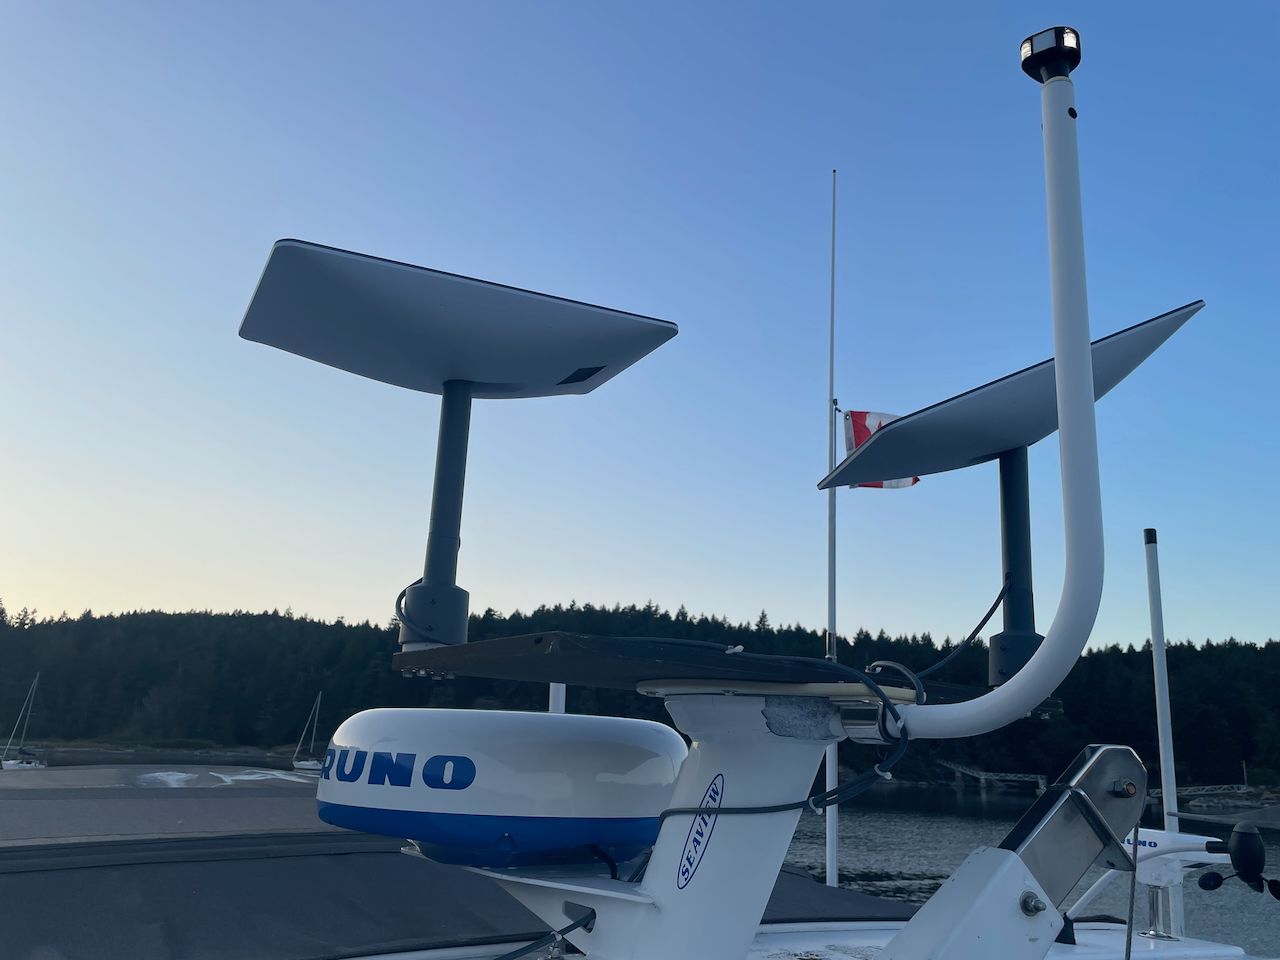
The old setup was a Seaview mount that had been damaged and was losing its coating in several places. In the janky version above, I had attached a piece of Coosa board to the top where an old Intellian satellite dish once lived in order to mount a couple of Starlink dishes for testing. This was in the summer of 2022 when Starlink still had no "official" support for in-motion versions and I was comparing one dish with the motors disabled (left) with one working normally. There are also cables everywhere which is normal for how I test - running them permanently isn't worth it when things get swapped in/out or fail.
This also had an extension with an anchor/steaming light combination that I didn't particularly like from the size, color and it wasn't as bright as I would like.
Old Light
The old steaming / anchor light still worked, but it never seemed quite bright enough or the right size for the boat.
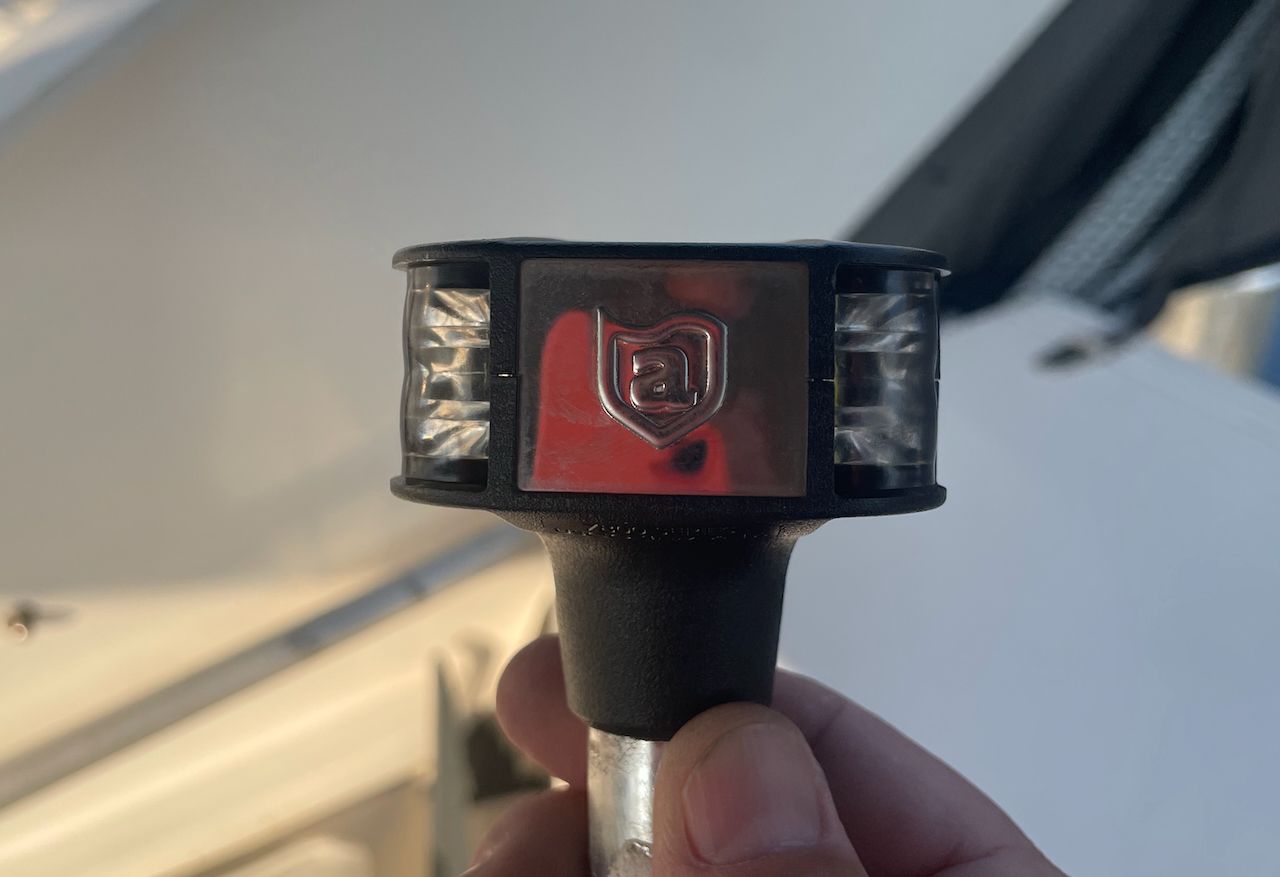
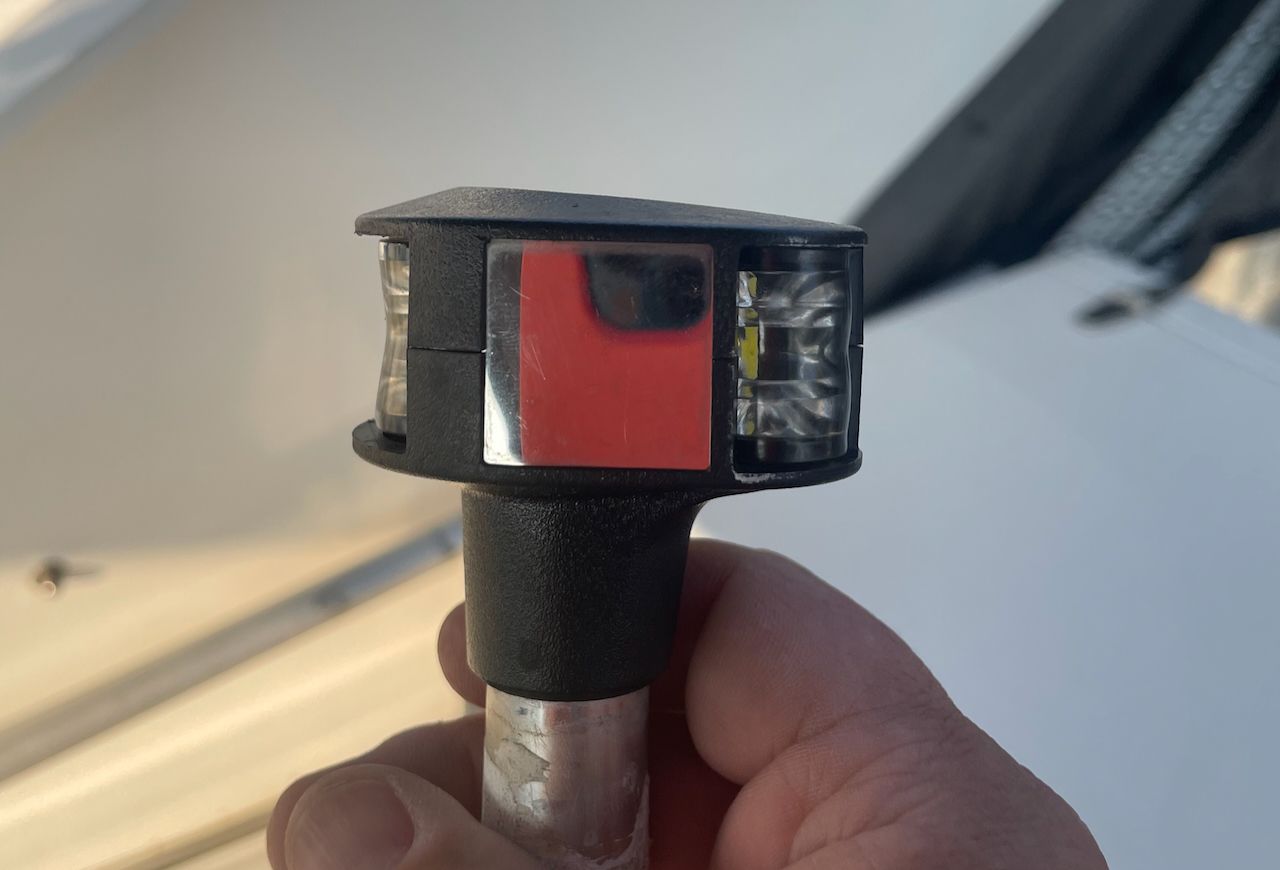
Old Attwood steaming / anchor light
It was made by Attwood and looked in OK shape, but everything else on the mount and related parts was white except this part. The wiring (not pictured) was quite a mess when I took the old mount and light off.
New Light
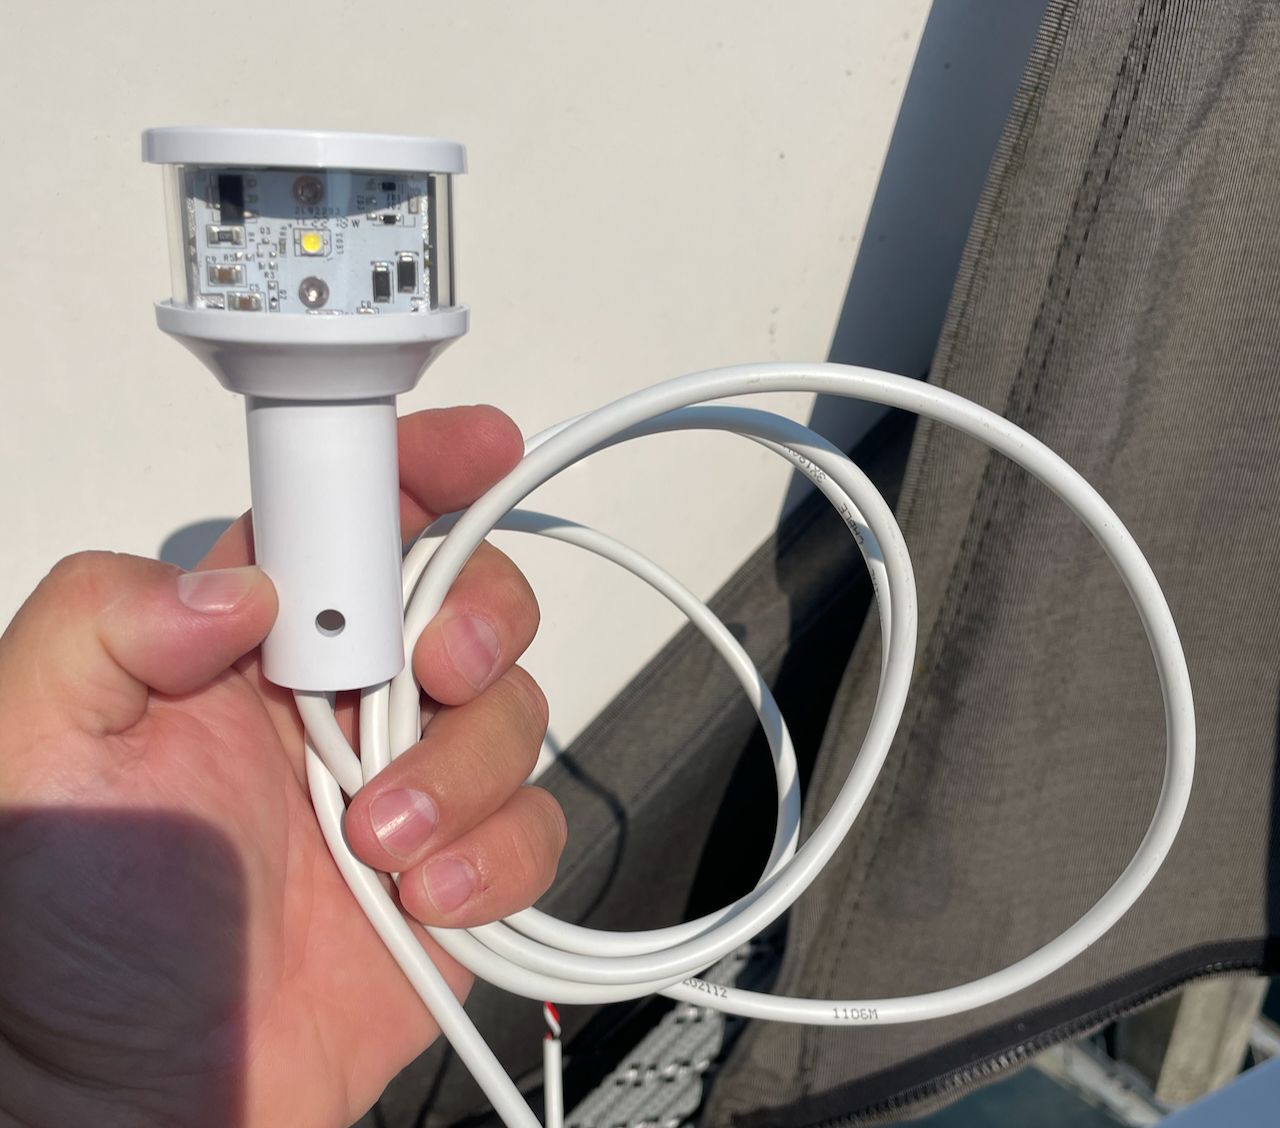
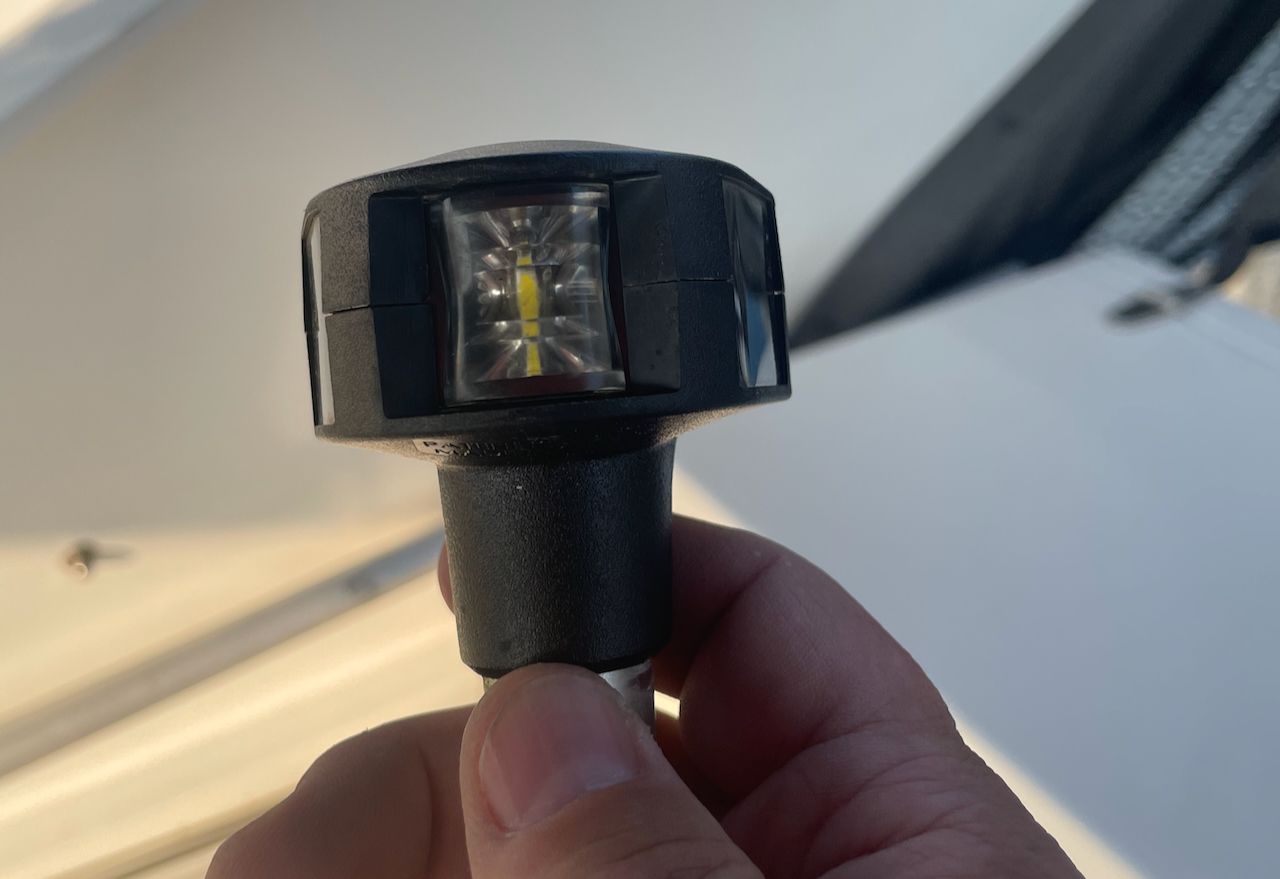
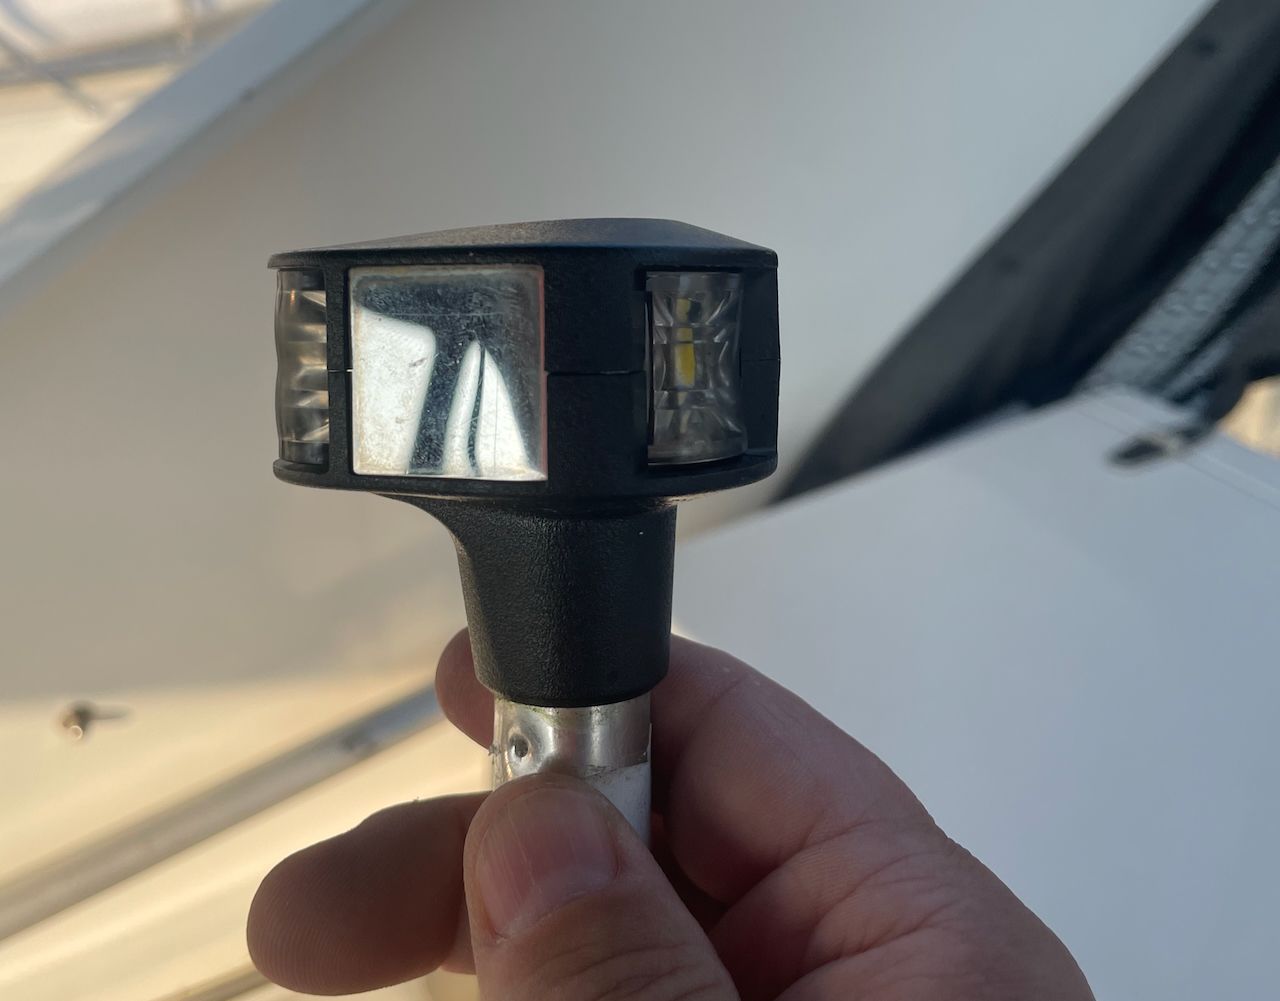
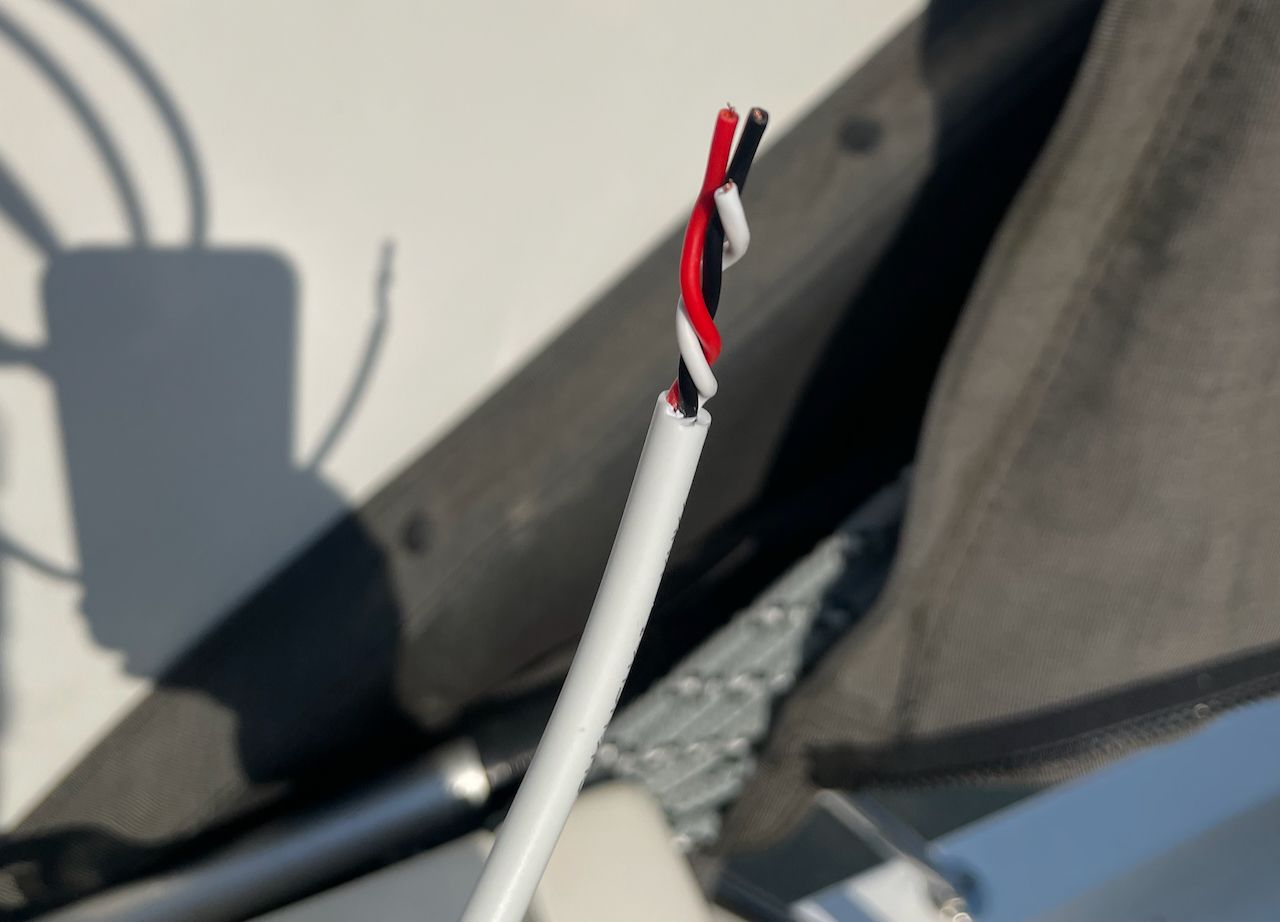
The new light (Seaview part LTBLED12) is white and matches the rest of the mount, and is a ton brighter. It comes with 7' of wire attached, and has been designed to mount into various Seaview products easily.
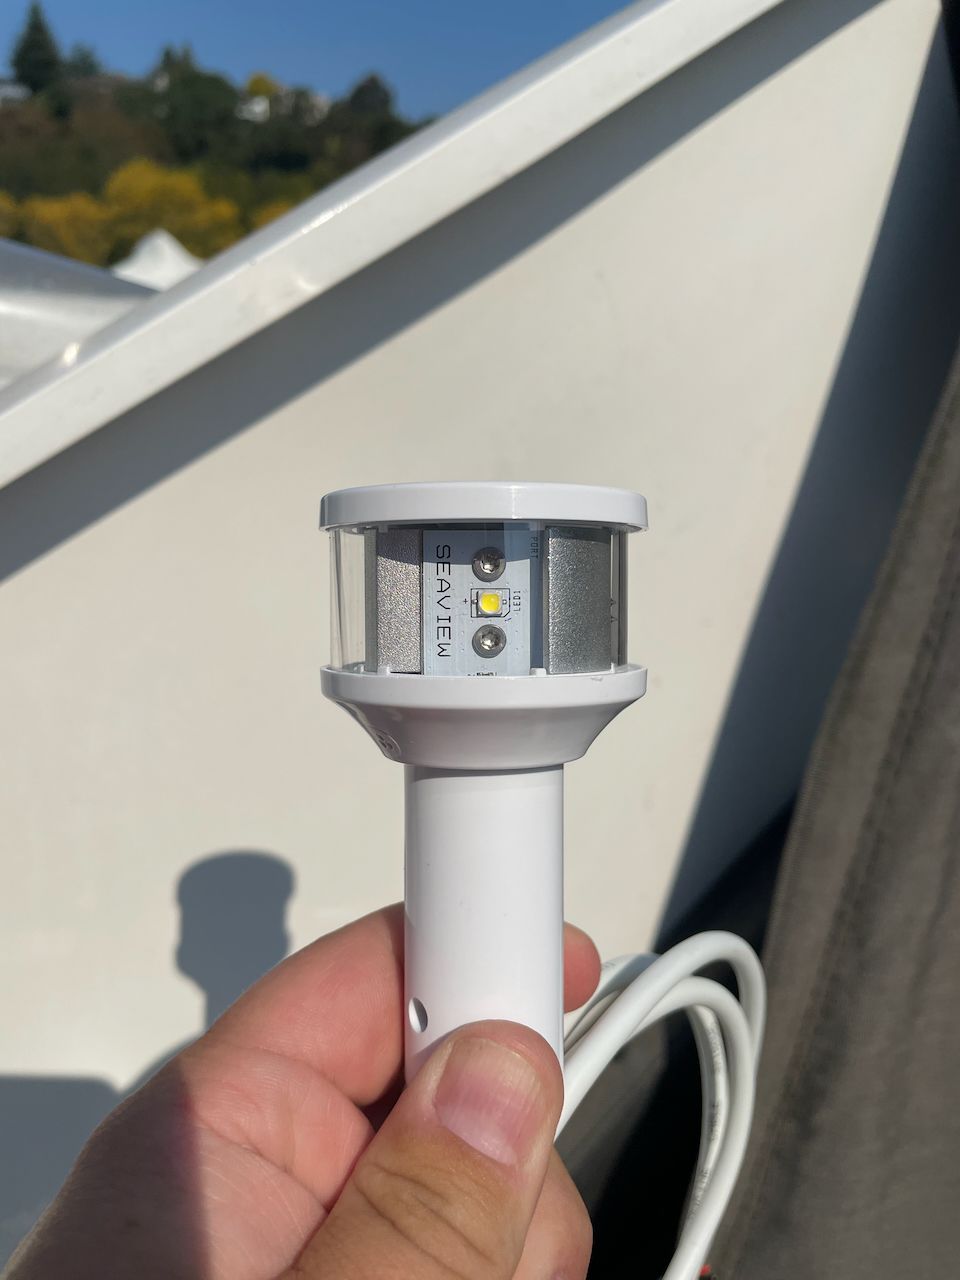

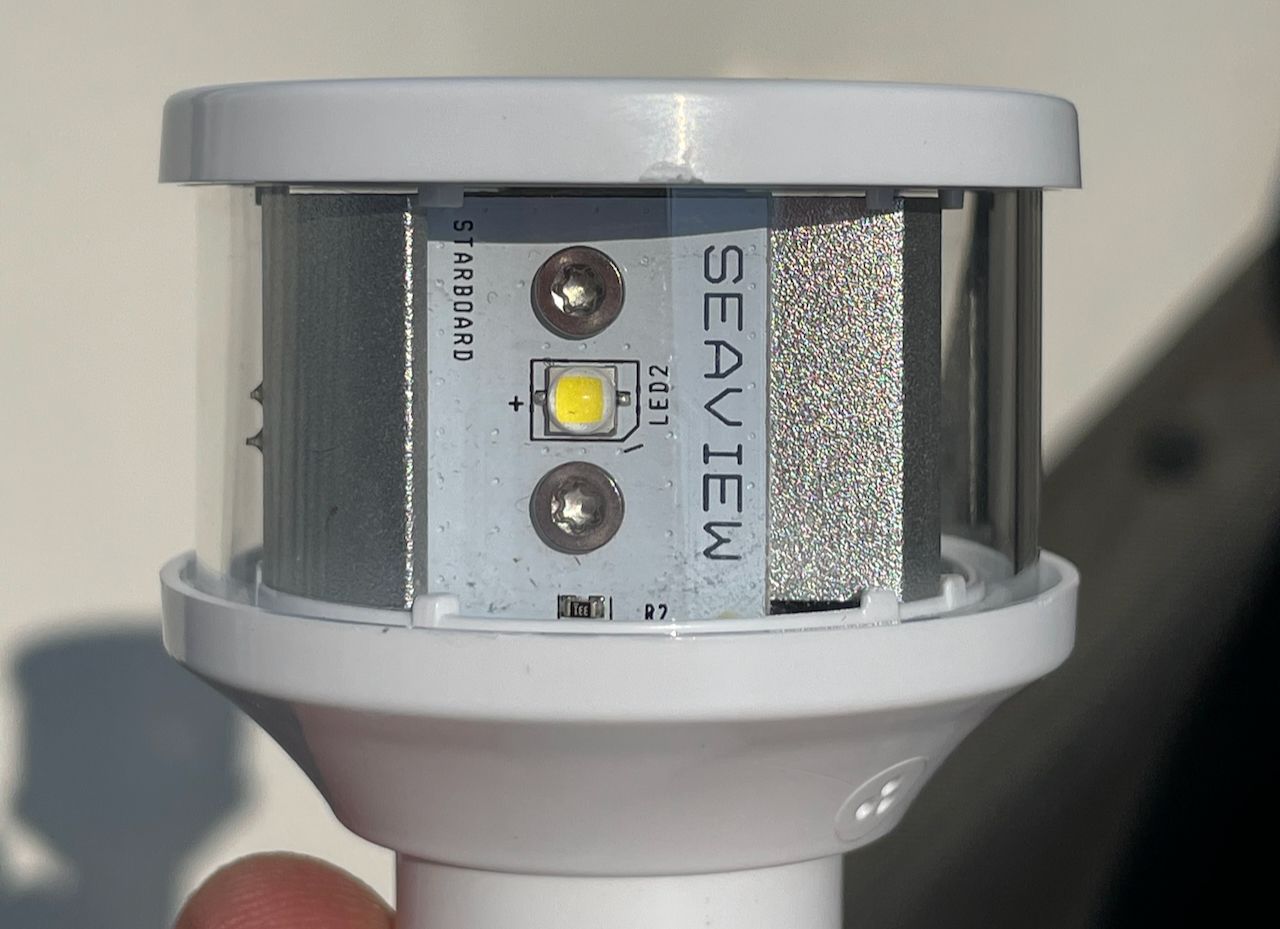
There's a super helpful arrow to make sure you point the light in the right direction. You can also see the starboard and port letters printed on the board inside if you look close. This light is good for boats up to 20 meters or 65' according to the US Coast Guard. Seaview told me they spent a lot of time thinking about the things they didn't like about other manufacturers lights, and decided to make their own that avoided those failure cases. It's definitely evident that they spend more time and money on the light as it feels much beefier, is larger, and looks really nice size wise.
New Mount
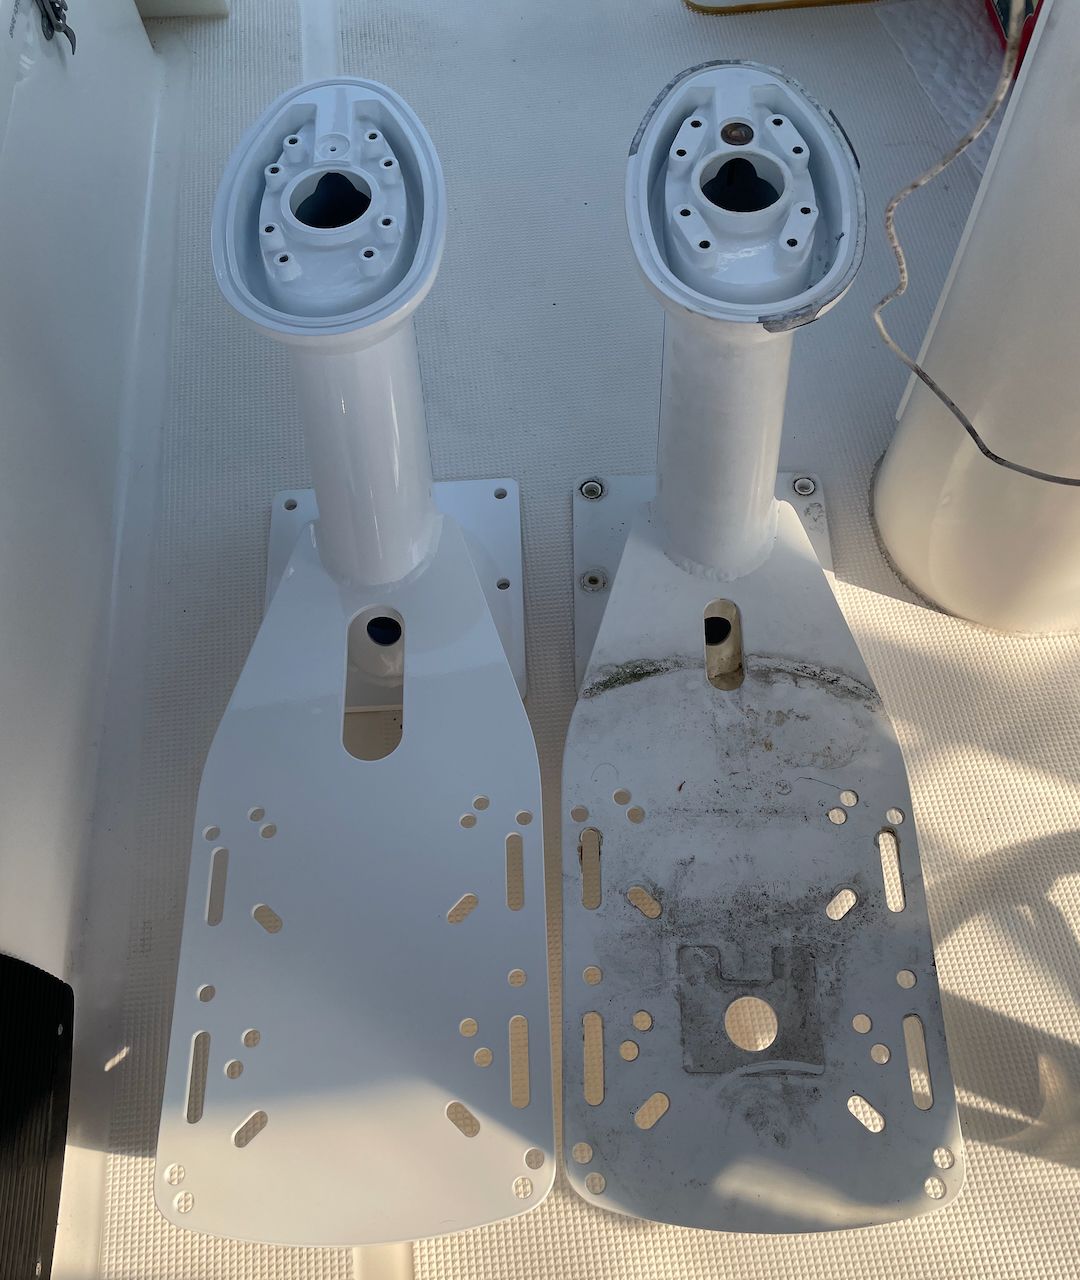
Old vs new
The old and new mounts are virtually the same. That was intentional so I didn't have to completely re-think how it was mounted on the arch, or patch big holes.
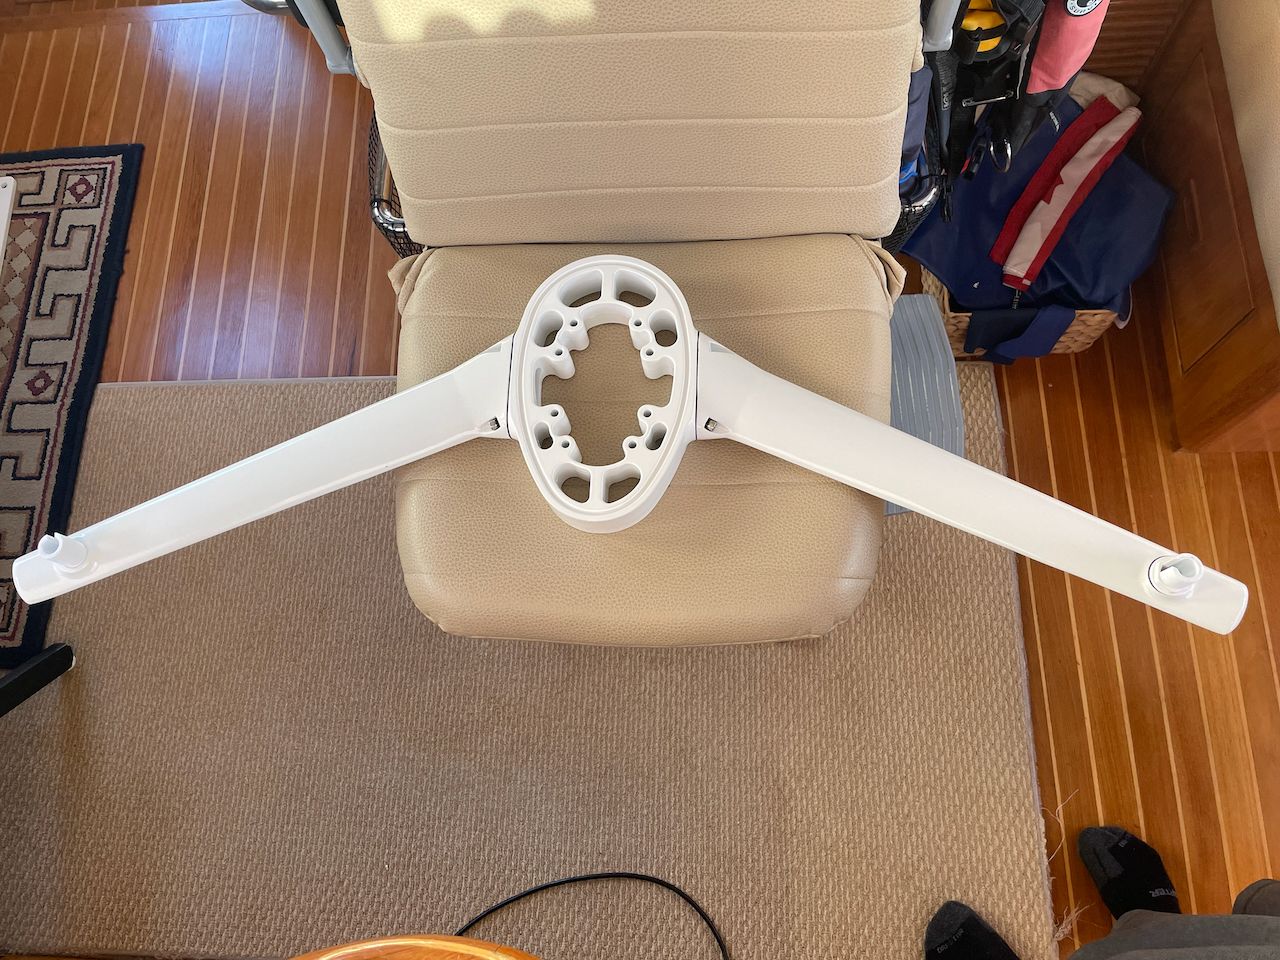
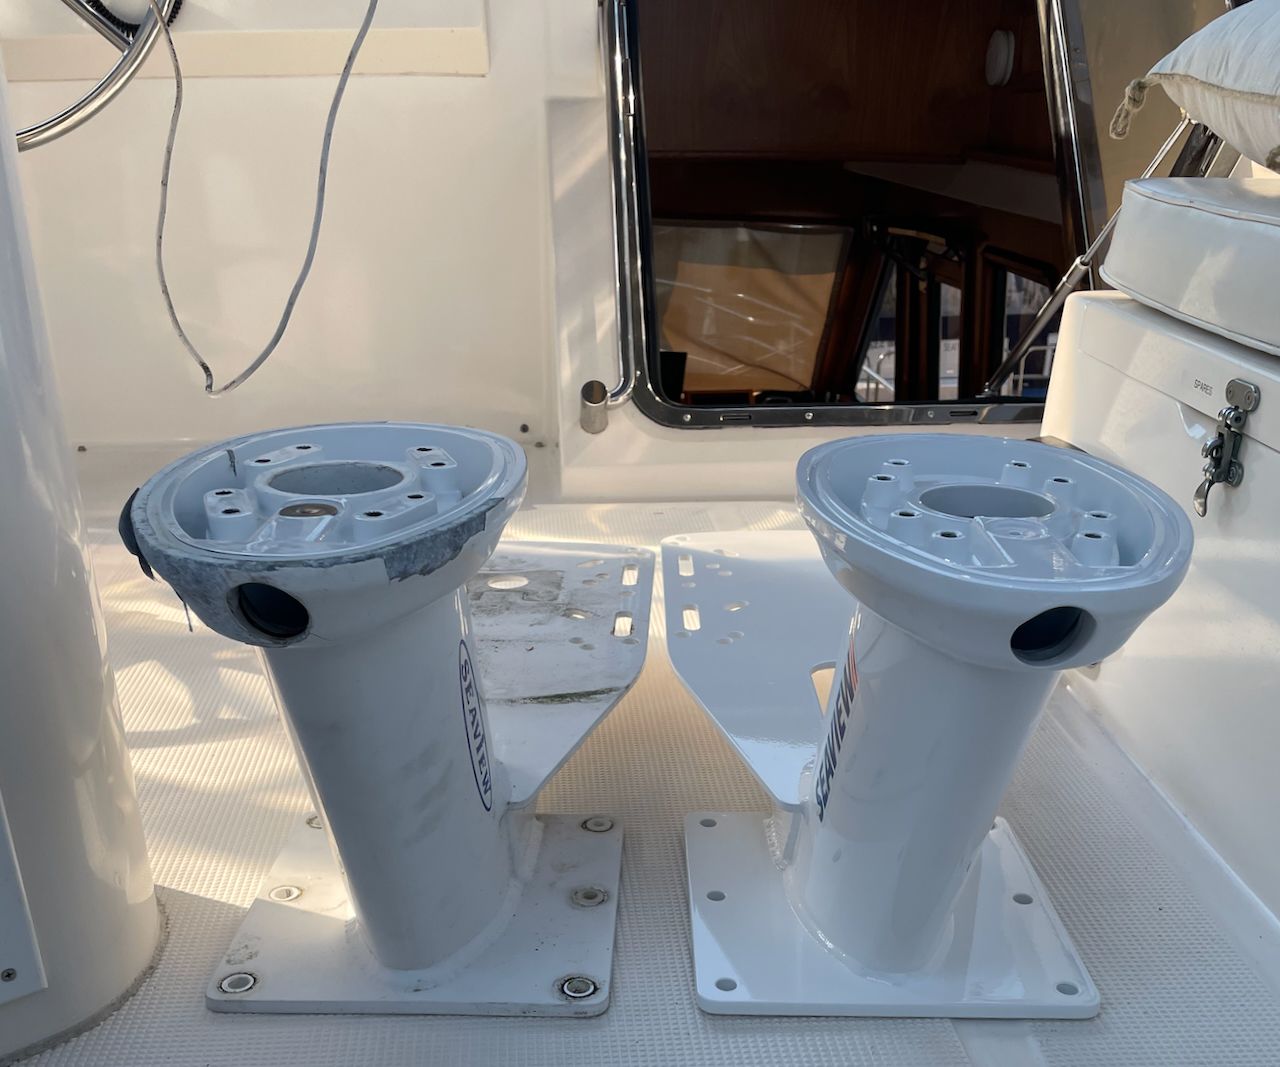
One of the things I love about the Seaview product line is their modularity. There are tons of options for every mount, so you can usually find something that will add more functionality, accommodate something new you want to throw on, etc. For this setup, I chose to add the SP2MOD kit which consists of a spacer that stacks on top of the mount base, and two "wings" that allowed me to mount additional instruments.
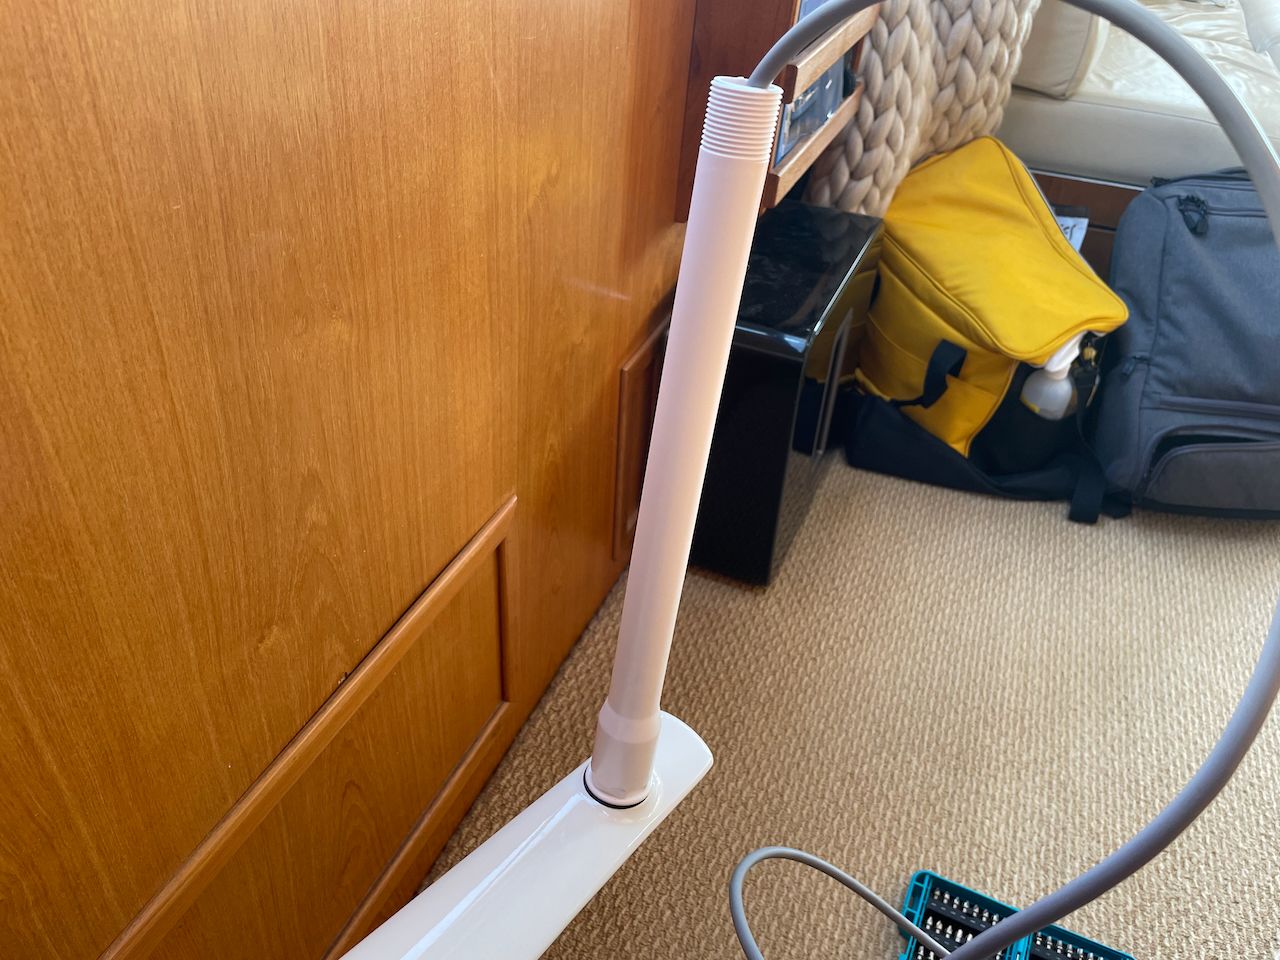
The kit is pretty easy to setup. You can use the extension pipes at the end to keep the instruments up higher, or just mount things directly on the end. I ran my NMEA 2000 cabling ahead of time so it would be easier once things are assembled. It is a lot more difficult to try to do that afterwards because of the angles things have to turn.
Installation
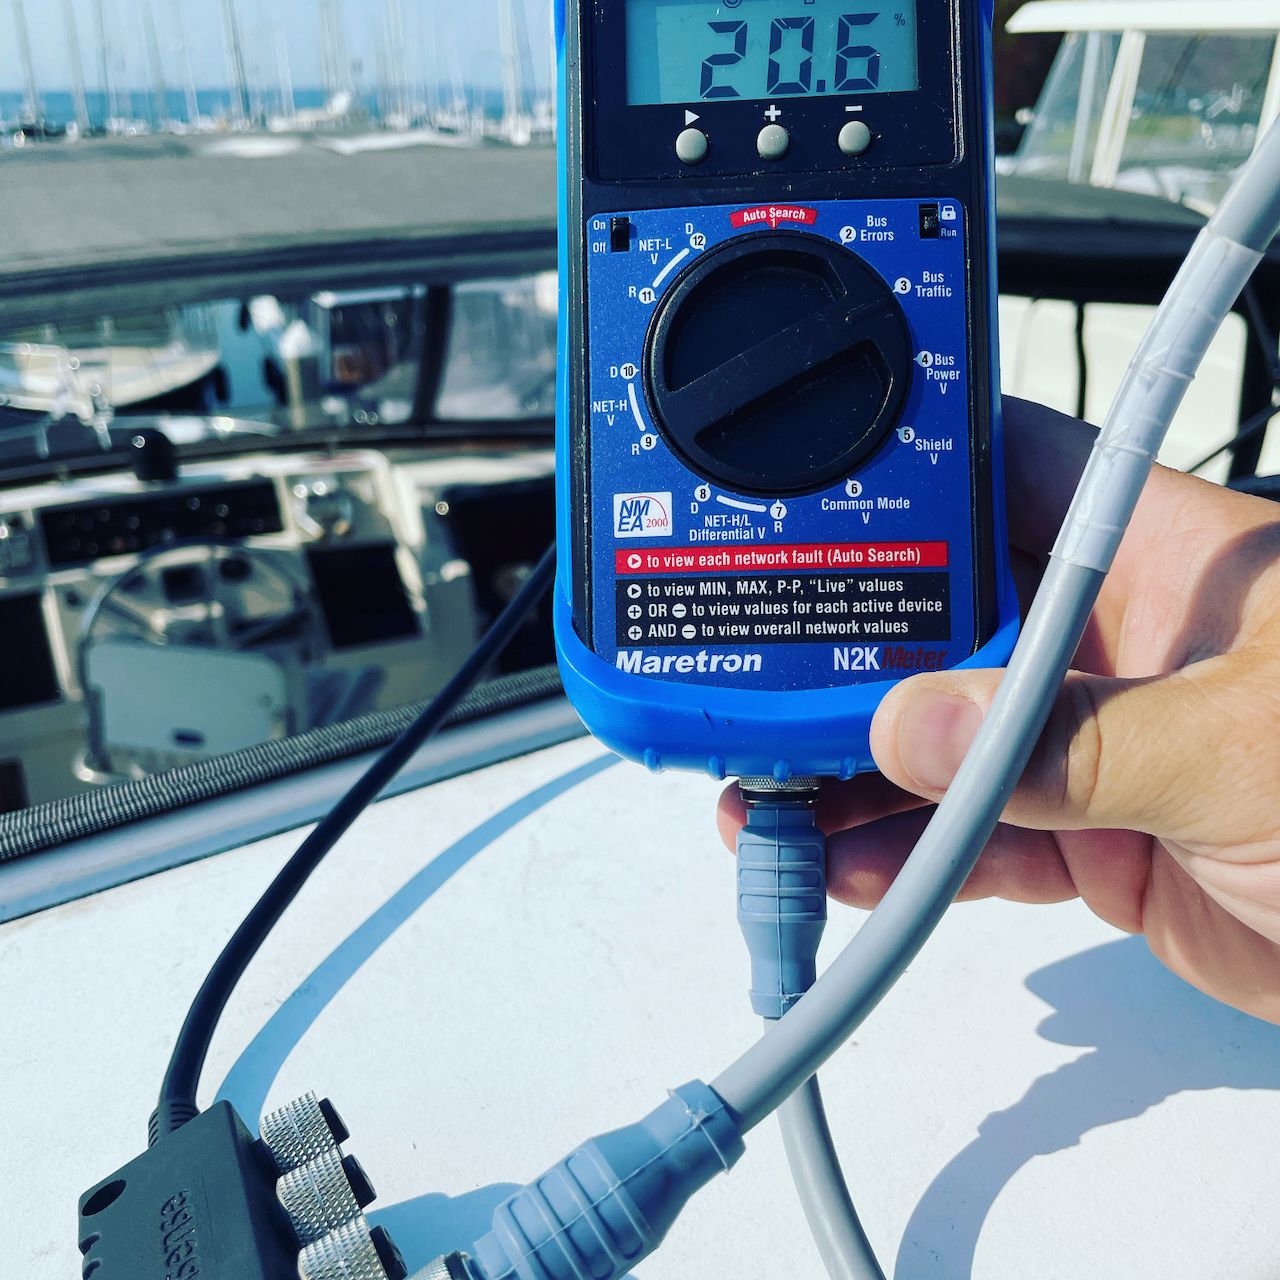
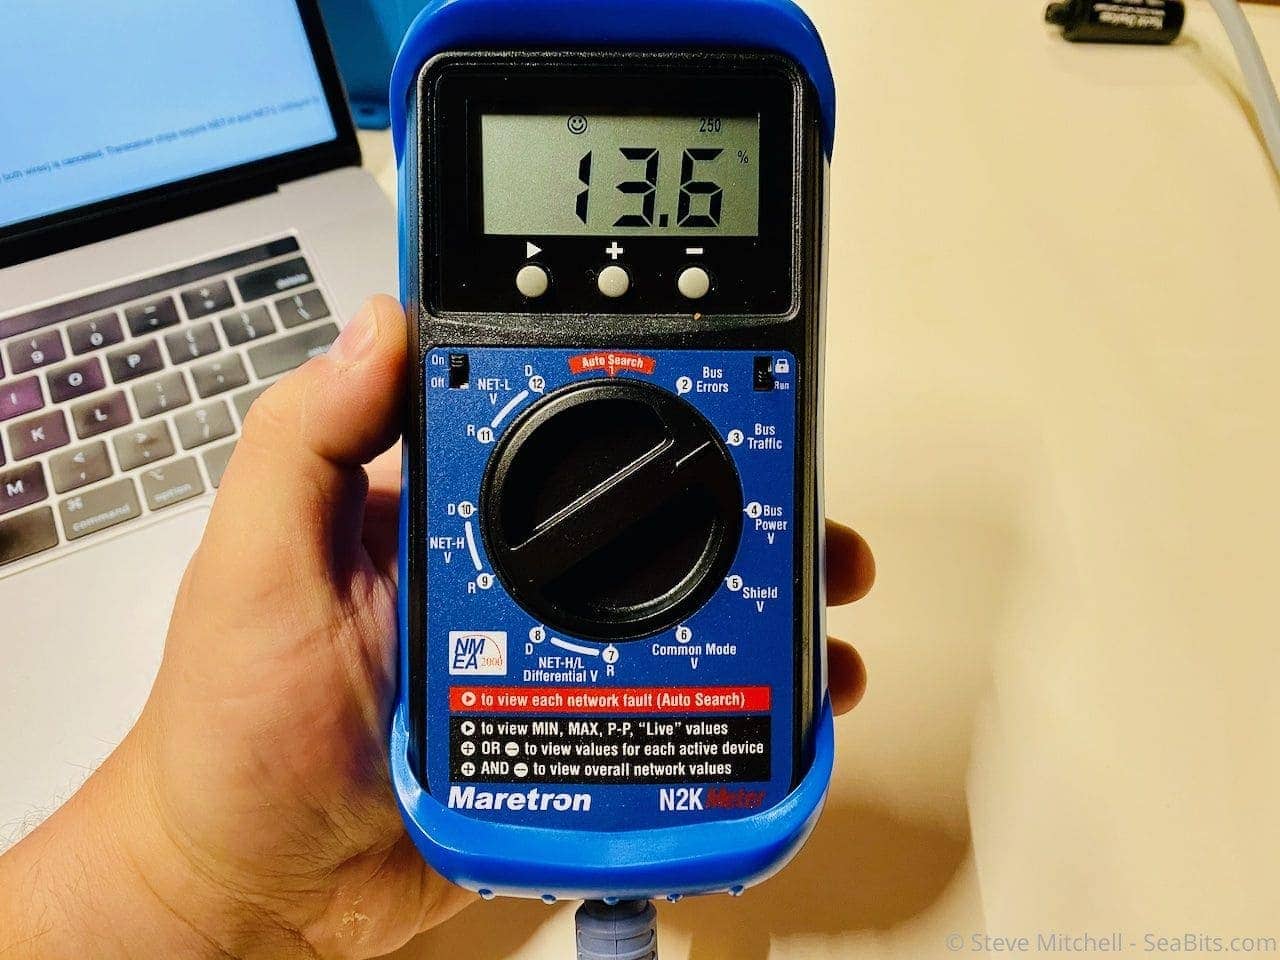
One thing I see a lot when troubleshooting customer installations is problems with their NMEA 2000 network. This is especially true for mast-mounted setups where folks don't consider the length of cabling and whether they're terminating things in the right way. Airmar WX-series ultrasonic wind/weather instruments (like we're installing in this setup) are notorious for causing problems if you get the wrong cable (terminated vs un-terminated). I did some testing after adding the new cabling and devices with my Maretron tester to make sure things look perfect. There are other ways to do this that I cover in the article below I wrote a few years ago.
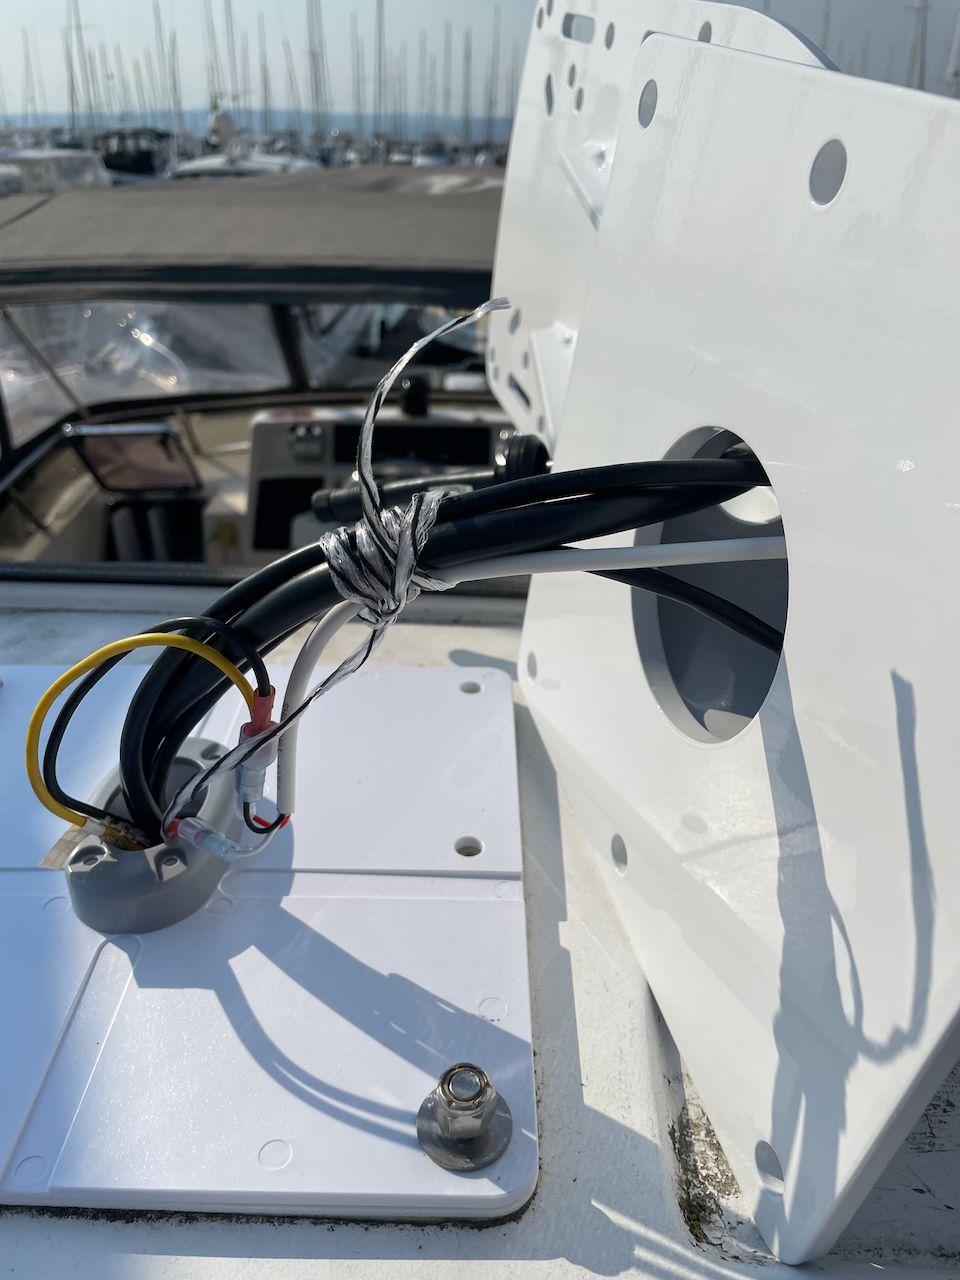
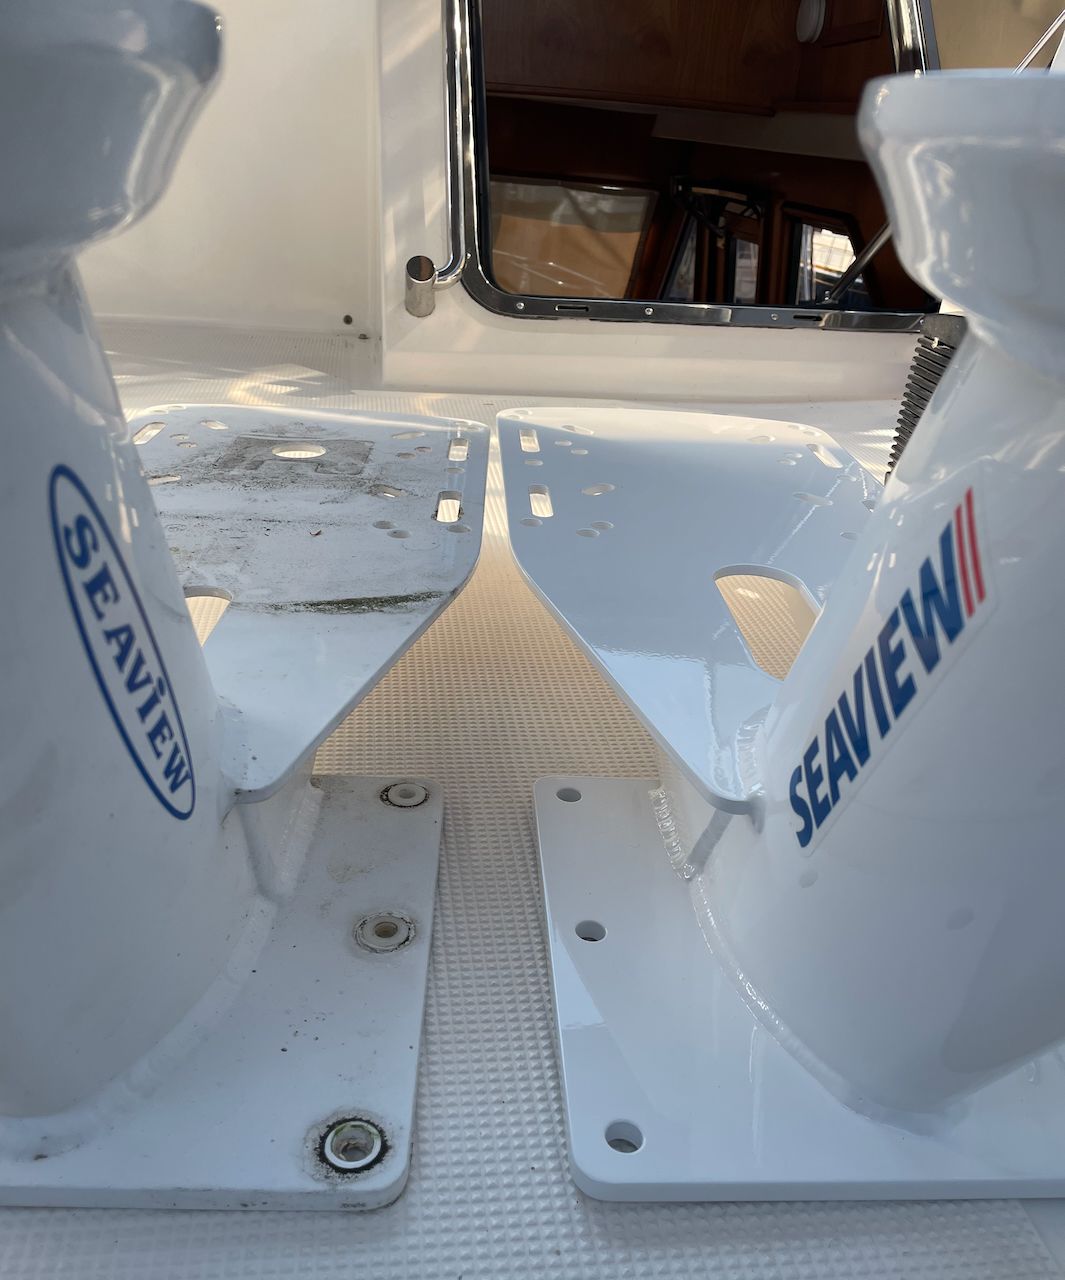
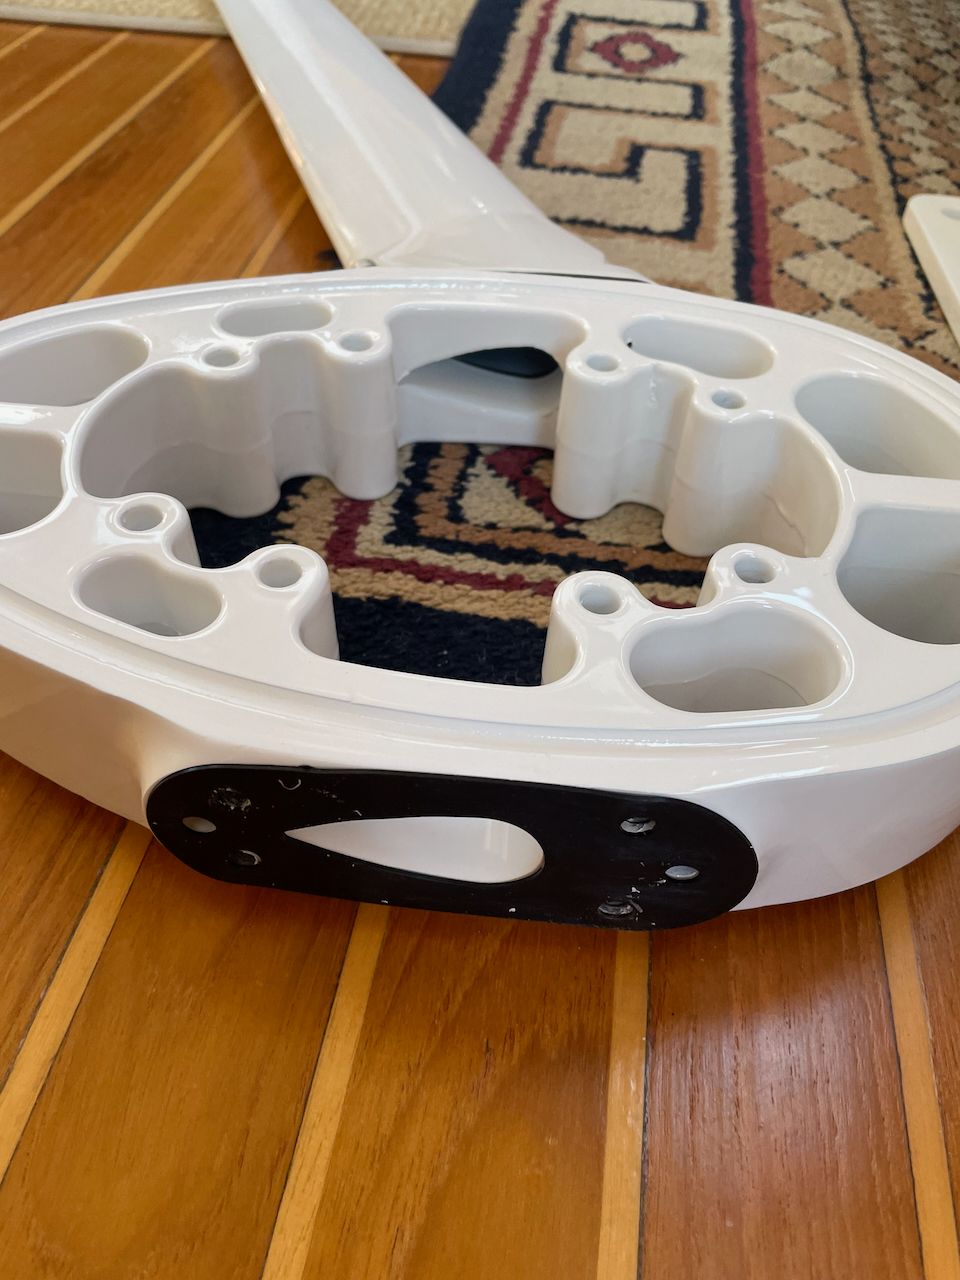
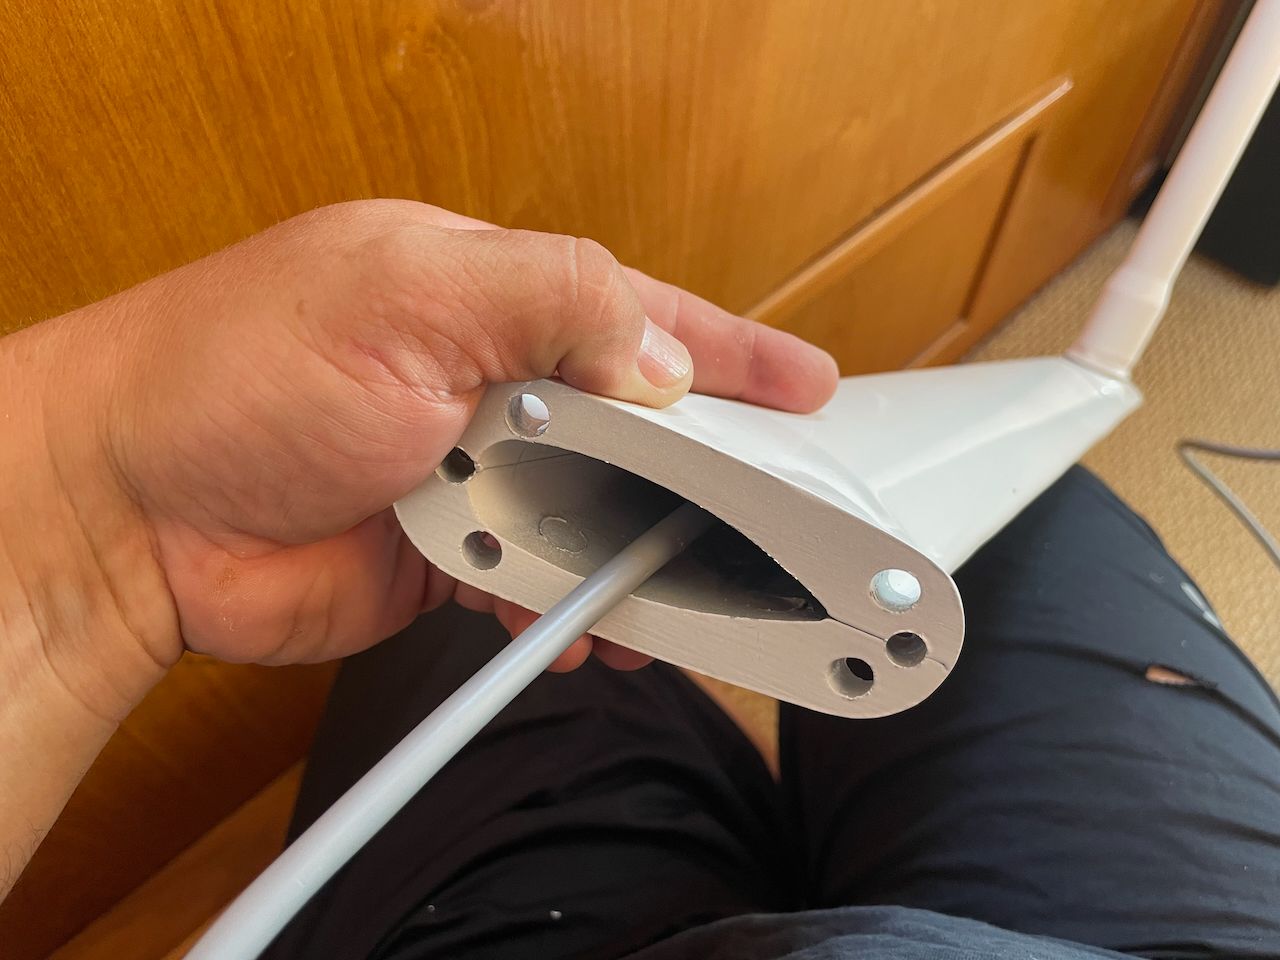
Seaview cable gland included
One thing that is super nice with the Seaview mount is the plastic plate and cable gland that is included. The previous mount just had a plastic plate and a hole in it, while the new one has this molded plastic oval on it that the cable gland fits right over. This is mid-install, and the final product I didn't get pictures of because I was doing this solo (as usual!).
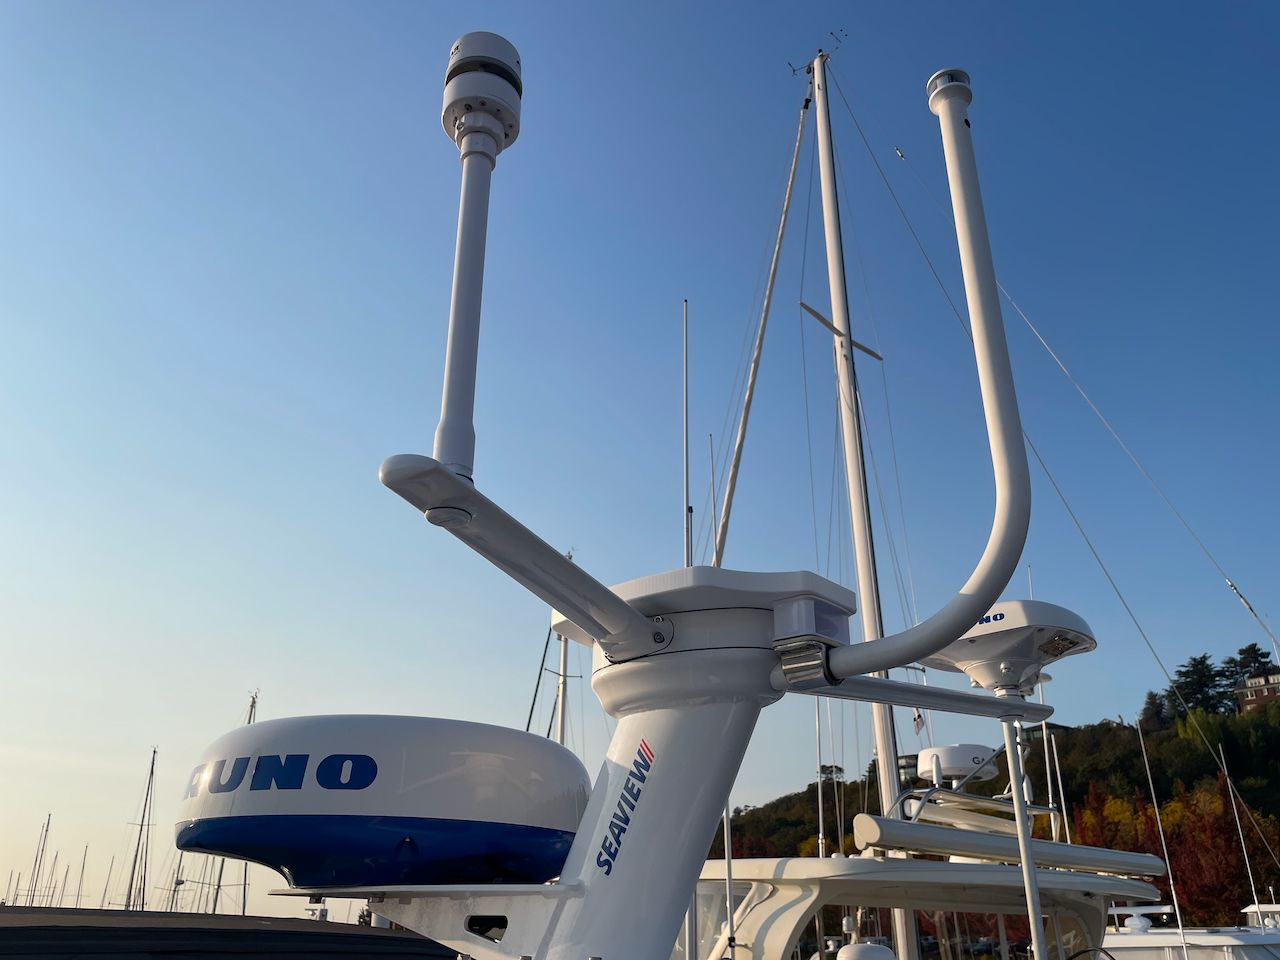
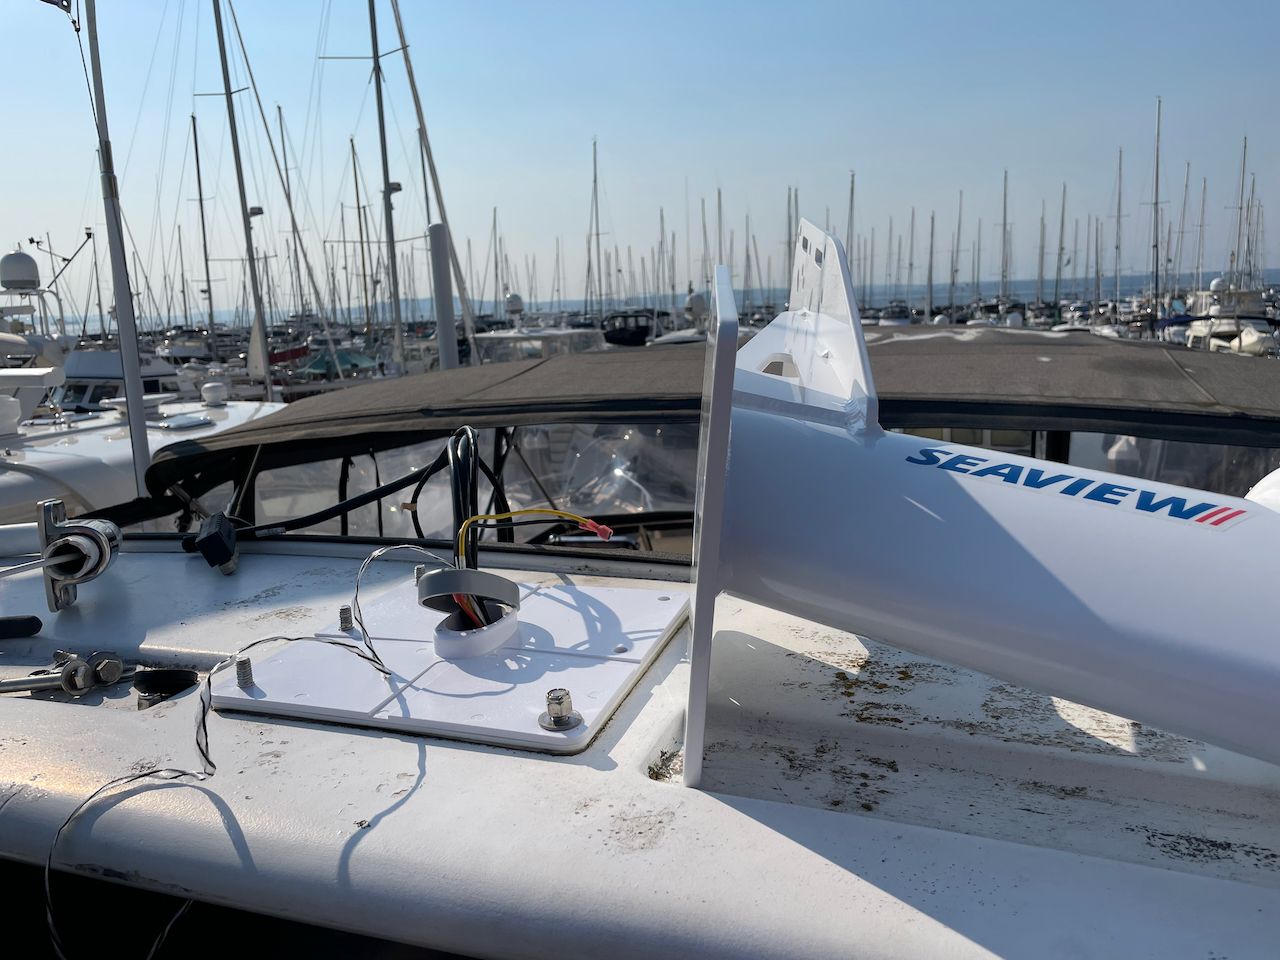
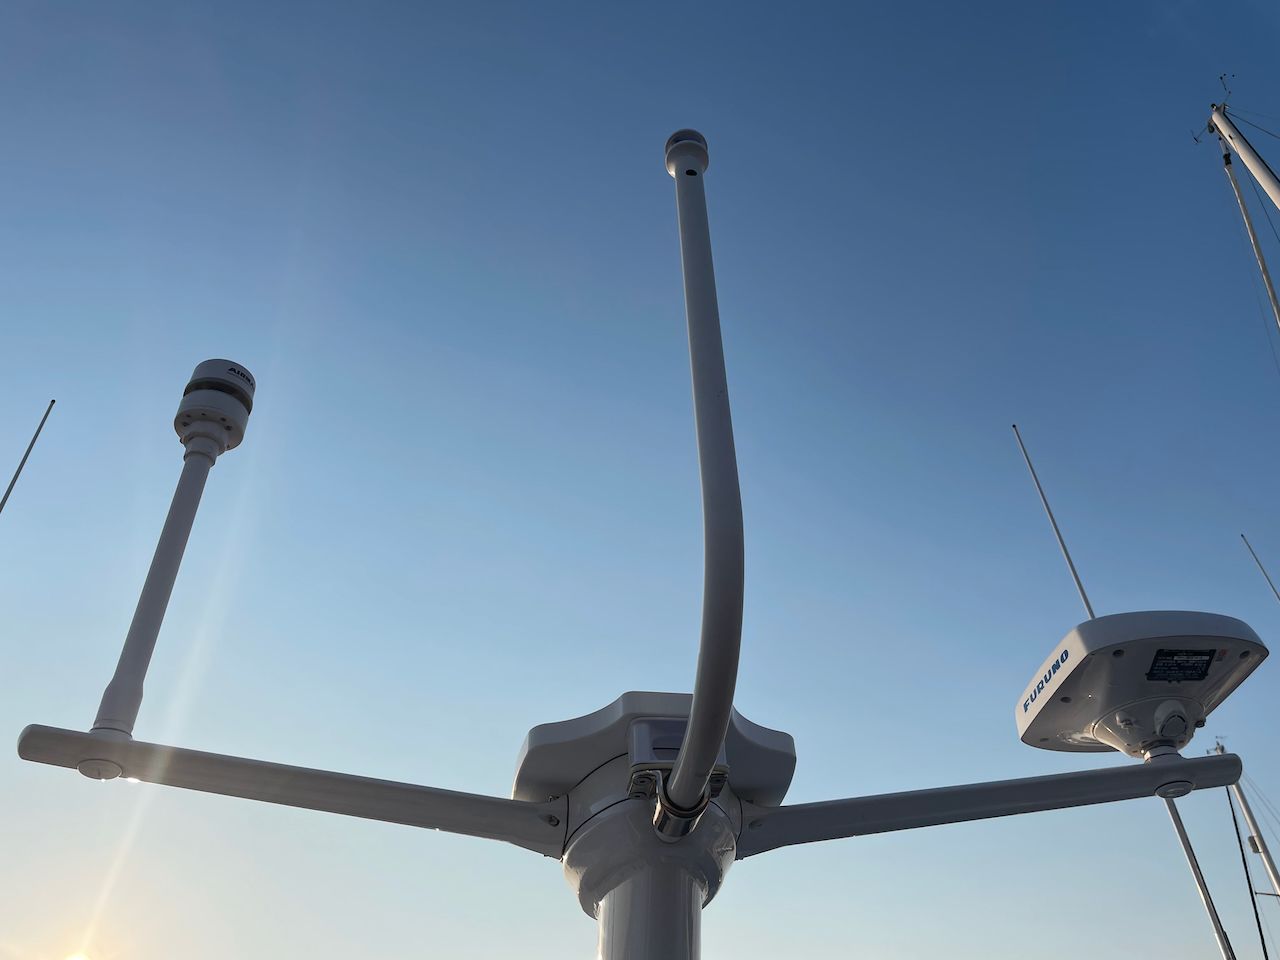
You can see in the final installation that I've put an Airmar ultrasonic wind/weather instrument on the port wing, and a GPS compass on the starboard wing. One side has the extension, and the other doesn't. That kit comes with a spacer as well for the light bar to connect in the back, and attach to the top plate.
The top plate is one of the modular benefits of the Seaview products. In this picture it's some random plate, but I replace that a few months later with something that works better with my Starlink mount. Seaview has even more options for mounting Starlink stuff on their website.
I really like how this looks compared to the previous setup, and it gets the GPS and weather instruments up where they belong. The wind sensor was previously mounted right on the arch and obscured by multiple things which meant poor readings - especially while docking.
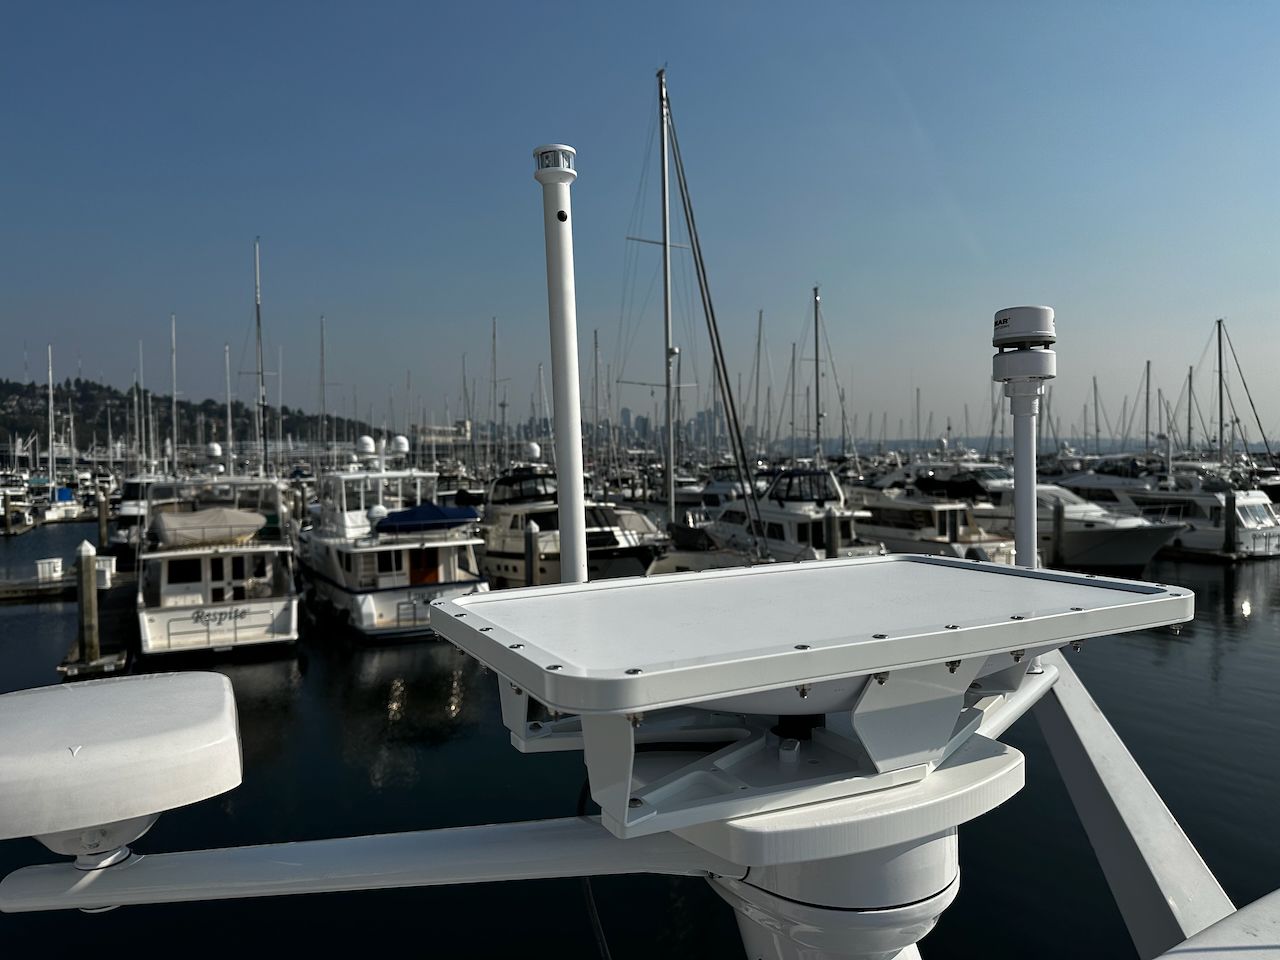
The final step was mounting my Starlink dish on the top plate. This used a mount from Star Mount Systems with the mast of the Starlink pointed straight down through the top plate and a rubber seal.
The end result is a very clean, all white setup that moved the instruments to the right place, got the Starlink up high with minimal shadowing, and gave me a really bright steaming / anchor light. I'm very pleased with the setup and have been using it for about a year with zero issues.
Archived Community Comments
These comments were posted on the SeaBits forum before February 2026. Scroll down to join the current discussion.
Hi Steve, looks really good! I’m guessing you disabled the AZI and ELV motors in the starlink dish mount? or, does it just “torque/Time out” when it tries to align? Often wondered if that would work…
I wouldn’t put it in a mount like that and hope the motors time out - pretty sure it would kill them, and it might do other damage.
I cut a hole in the back of the dish in a very specific spot and unplugged the motor cable. There’s a rubber plug in the hole in case I want to plug it back in again for some reason, which is unlikely in my application.
I have 3 I’ve done this way myself, and have done it for about 50 others for customers. Works very well, but the newest version of the dish now comes flat, so not really necessary anymore.
Hi Steve,
We’re mogating South toward the Chesapeake, and sitting here reading your articles
While we have a sailboat, we have somewhat the same light issues - in our case, we have the olde AquaSignal “stack” on top of the mast - strobe (which we’ve never used except once to annoy the USCGA), tricolor and anchor. I replaced all the incandescent bulbs with LEDs many years ago using Marinebeam replacements and they’re working fine, but I keep wondering when I’ll have to journey up there to replace/clean one of those bulbs/light sockets. Is there any sort of replacement fixture that would be easy to replace the olde tower assembly (with or without the strobe)? I’ve already replaced the red & green bow lights and white stern with sealed units.
Second, the Seaview sealing gland you used - I have a couple of those and I love them - all my solar wiring and coaxes from the Cell/wifi antennas goes through one or the other. One thing I found - if you drill all the holes you need (using their handy brass tube “bits” ) you can then slit the rubber sealing gland with a razor knife out to the edge and you don’t have to remove the connectors! [Cut only out to the edge, don’t cut the rubber piece apart!] I did this when I installed the 22G last year, and its still bone dry inside.
Hartley
S/V Atsa
What does the “stack” have in it? Just a steaming and anchor light or more?
I actually like the LunaSea anchor lights if that’s all you’re looking for, although they do have the strobe as well. I’ve written about them a couple of times:
Yup! There are a lot of ways to avoid chopping off connectors
I used one version of their glands when Upgrading VHF and AIS antennas and love the copper tubes to cut the holes.
They actually have one version where the entire base part comes in two pieces so if the cable is already run AND you don’t want or can’t pull it back, but need a gland, you can snap the two halves around the cable, and then cut the rubber and slip it around, and you’re done! I thought I’d written about that one too, but can’t find it…
Hi Steve,
Nice day on the water here in Annapolis! The AquaSignal Series 40 masthead light has two sections: an all-around white that contains the strobe and the anchor light, plus a tricolor section on top. It has a base that the wiring connects to, then the light stack is attached to the base, with connections for all the various lights. I really don’t need the strobe, but the anchor light and tricolor is a must.
I could remove it entirely then install something new by drilling & tapping the mast top (1/2" aluminum!) - but thats a lot of work at 65’ up.
Update: I just deleted a lengthy whinge about Aquasignal not having a direct replacement - and they don’t (my base is too old) - but the new base (Series 34) has the exact same screw holes, so that should be within my skillset! Good news!
Thanks!
Hartley