

Grace came with a 15,000 BTU air conditioner that could also heat, but was extremely inefficient, loud, and required AC power. It also did not draw air in from outside, if left on overnight, you could wake up feeling like a prune.
I had always been interested in the Wallas line of diesel heaters after seeing Pacific NW Boater’s review of them and hearing things from fellow boaters, so I took the plunge and installed one.
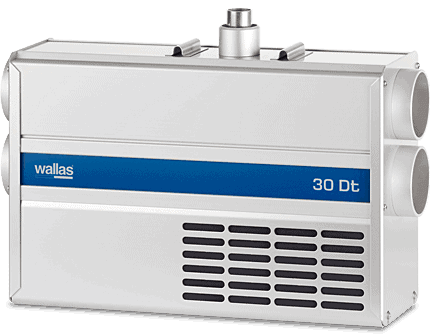
Wallas 30dt Heater
Top reasons I went with Wallas:
- DIY install
- Ultra quiet
- Air circulation
- Low amp draw
- Scan Marine support
DIY Install
Since I do most of my projects myself, it was important that I could do this install without huge efforts, and avoiding thousands of dollars for a “marine installer” to do the job. The previous owner of Grace paid to have an air conditioner installed, which I have since had to correct multiple major problems with. The invoices for the installers work totaled over $2000 for work that actually put pipes and other things at risk near the stove, and left sawdust and leavings inside every space they worked in, 2+ years later.
Scan Marine, the US distributor of Wallas, have tons of info on their site about self install which I read before purchase. I highly recommend checking out their Tech Talksection to see all of the options for install.
I am lucky that Scan Marine is only a mile from my house, so I spent several hours talking with the guys at the store about my install, and they customized my entire package on the spot for exactly what I needed. They also took me through a full demo of a working system, and walked me through specific things I should watch in my install. I highly recommend working with Scan Marine for a perfect solution.
Ultra Quiet
Webasto heaters are legendary for sounding like a 747 taking off even at idle. Much of this is in the design and combustion method/process, and I know they have gotten better in newer versions, but still louder than I would like.
Listening to the demo Wallas unit at the store, at low speed it was barely detectable that it was on. Even at high speed it was not intrusive at all.
Air Circulation
Air circulation is critical in the damp clime we have here in the Puget Sound, and Grace had very poor ventilation as she came from the factory. The original hatch boards had a few holes drilled in them, and that’s all I could find that would circulate the air. No vent fan, intake, or anything else was present.
It has caused a lot of issues with Grace in terms of keeping mold down, and keeping us comfortable on longer trips.
Wallas heaters can be installed where they gather fresh air from another space or outside the boat, send it in the heating ducts, and a return duct pulls it back out to be re-used or otherwise.
Running the system this way only draws about an amp at low speeds, and uses a very long life fan, so I plan on using it this way year round, even while I am away from the boat.
Design
I spent a decent amount of time designing my installation, mainly the paths of the ducts and locations for equipment. The most difficult choice was where to put the heater so it could have a clear path for the exhaust, while still being close enough to deliver the heat to the main cabin.
After discussing the overall heat load with the Scan Marine folks, I chose the Wallas 30dt unit. They recommended this size based on the max and minimum BTU’s as well as a bunch of other criteria. The BTU is usually what most people look at, but only the max. It is important not to over design your solution – if you have too high of a low end BTU rating, then you’ll cook yourself out when the unit is at the absolute lowest setting.

Heater installation design
I settled on installing the heater in the lazarette (it’s the large black rectangle above) for several reasons: it was close to power connections, easy to pipe the exhaust out the stern, and had access to a lot of fresh air in the lazarette and outside to pull in for circulation.
The design also required getting two ducts up into the main part of the boat – one for heat into the salon, and one for return air. Fortunately I found that there was a way to do that through the stern stateroom.
The second heating duct was a short run into the owners cabin, and the control wire / panel was also installed further into that cabin.
Thank you to SailboatOwners member RickSegal for providing some pictures and videos of his 321 setup that helped with this design.
Installation
The first step was to install the heater in the lazarette, and run the exhaust. That took the least amount of time as it was all very short runs, and easy to get to, as lazarettes go. I still got stuck several times trying to contort my body into the right shapes to get it in the space.
The exhaust on the 20 and 30dt models is pretty slick – it uses two pipes combined together – one for pulling in combustion air into the chamber, and one for exhaust gases from the process. The piping can be a bit of a bear to deal with in a small space since they are very sharp stainless steel, but once you wrangle them into place, you’ll have a very clean install.
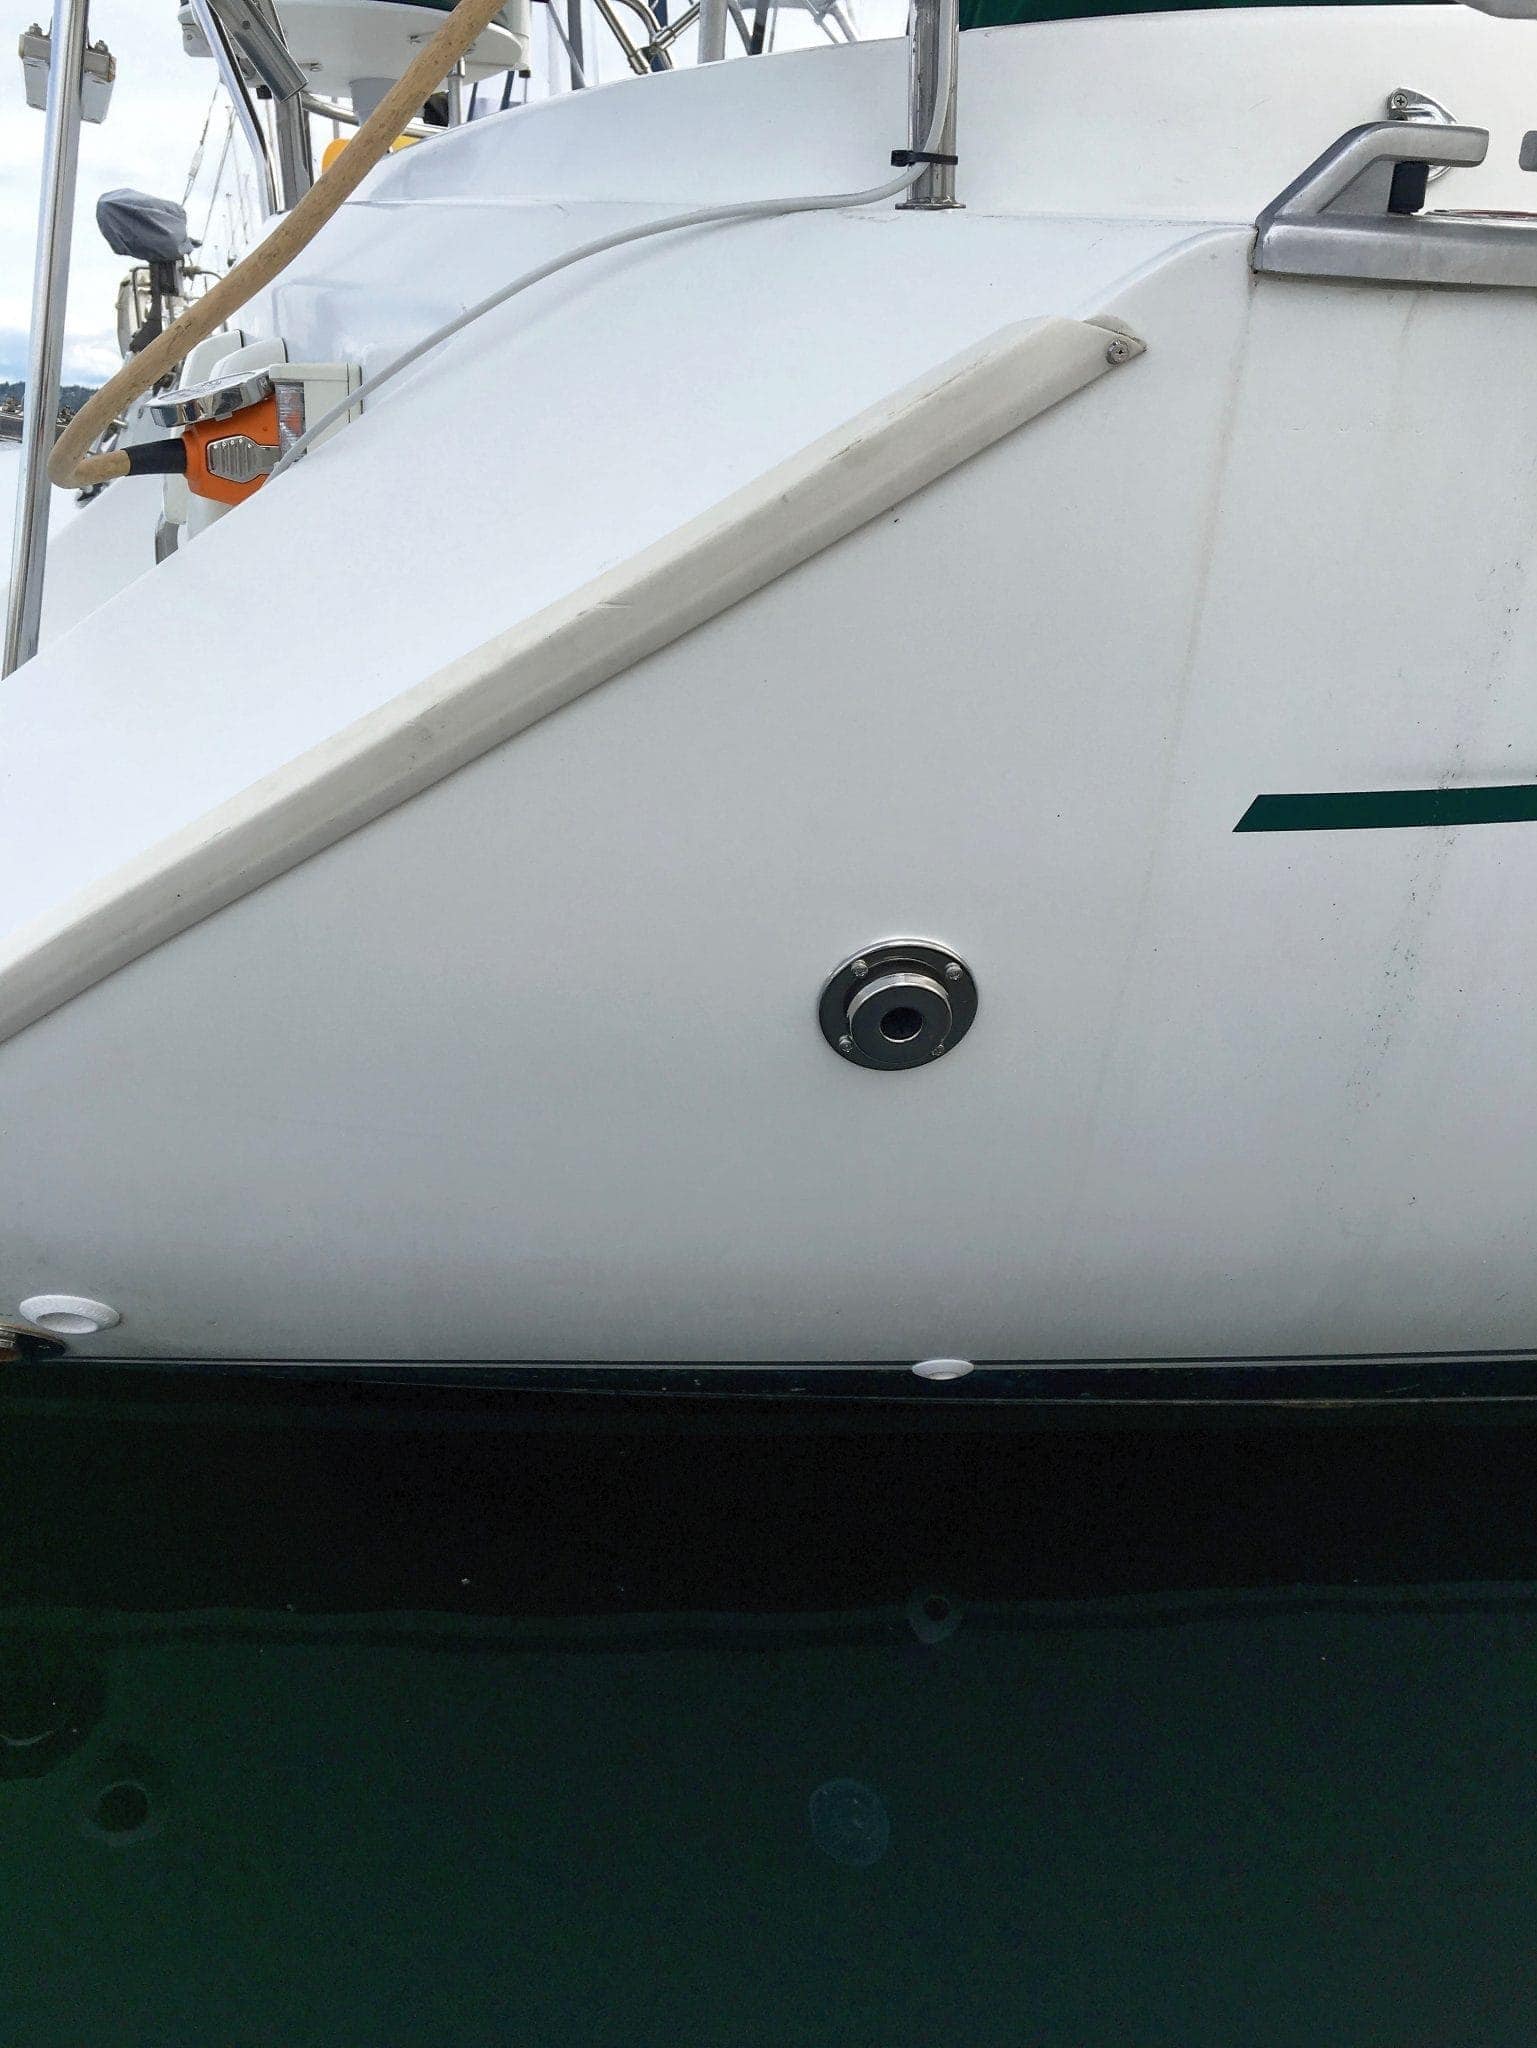
It is very important on a sailboat to place the exhaust as far astern as possible on one of the sides of the boat – not directly on the stern. Otherwise you’ll have the station wagon effect where the stern suction might pull the fumes in. Having it on the side, past the widest point of the boat, makes sure that when you’re at anchor, the wind comes down the side of the boat, and sucks the exhaust away, and not into the cabin.
I also highly recommend installing a carbon monoxide detector if you do not already have one. While heaters are generally safe if installed correctly, a weird anchorage, bad wind direction, or failed component could cause deadly levels in the cabin. So could your engine, for that matter!
In addition, it is critical that you follow Wallas’ design recommendation for the piping, having a 12″ rise from the hole in the boat to the top of a bend down to the heater.
I chose to use a 2.5 gallon Wallas-manufactured day tank for the diesel supply because my engine tank was very difficult to get to. The surveyor commented that “they built the boat around the tank” it was so tightly integrated. In the future, I plan on looking into tapping the tank so I don’t have to have a dedicated one for the heater.
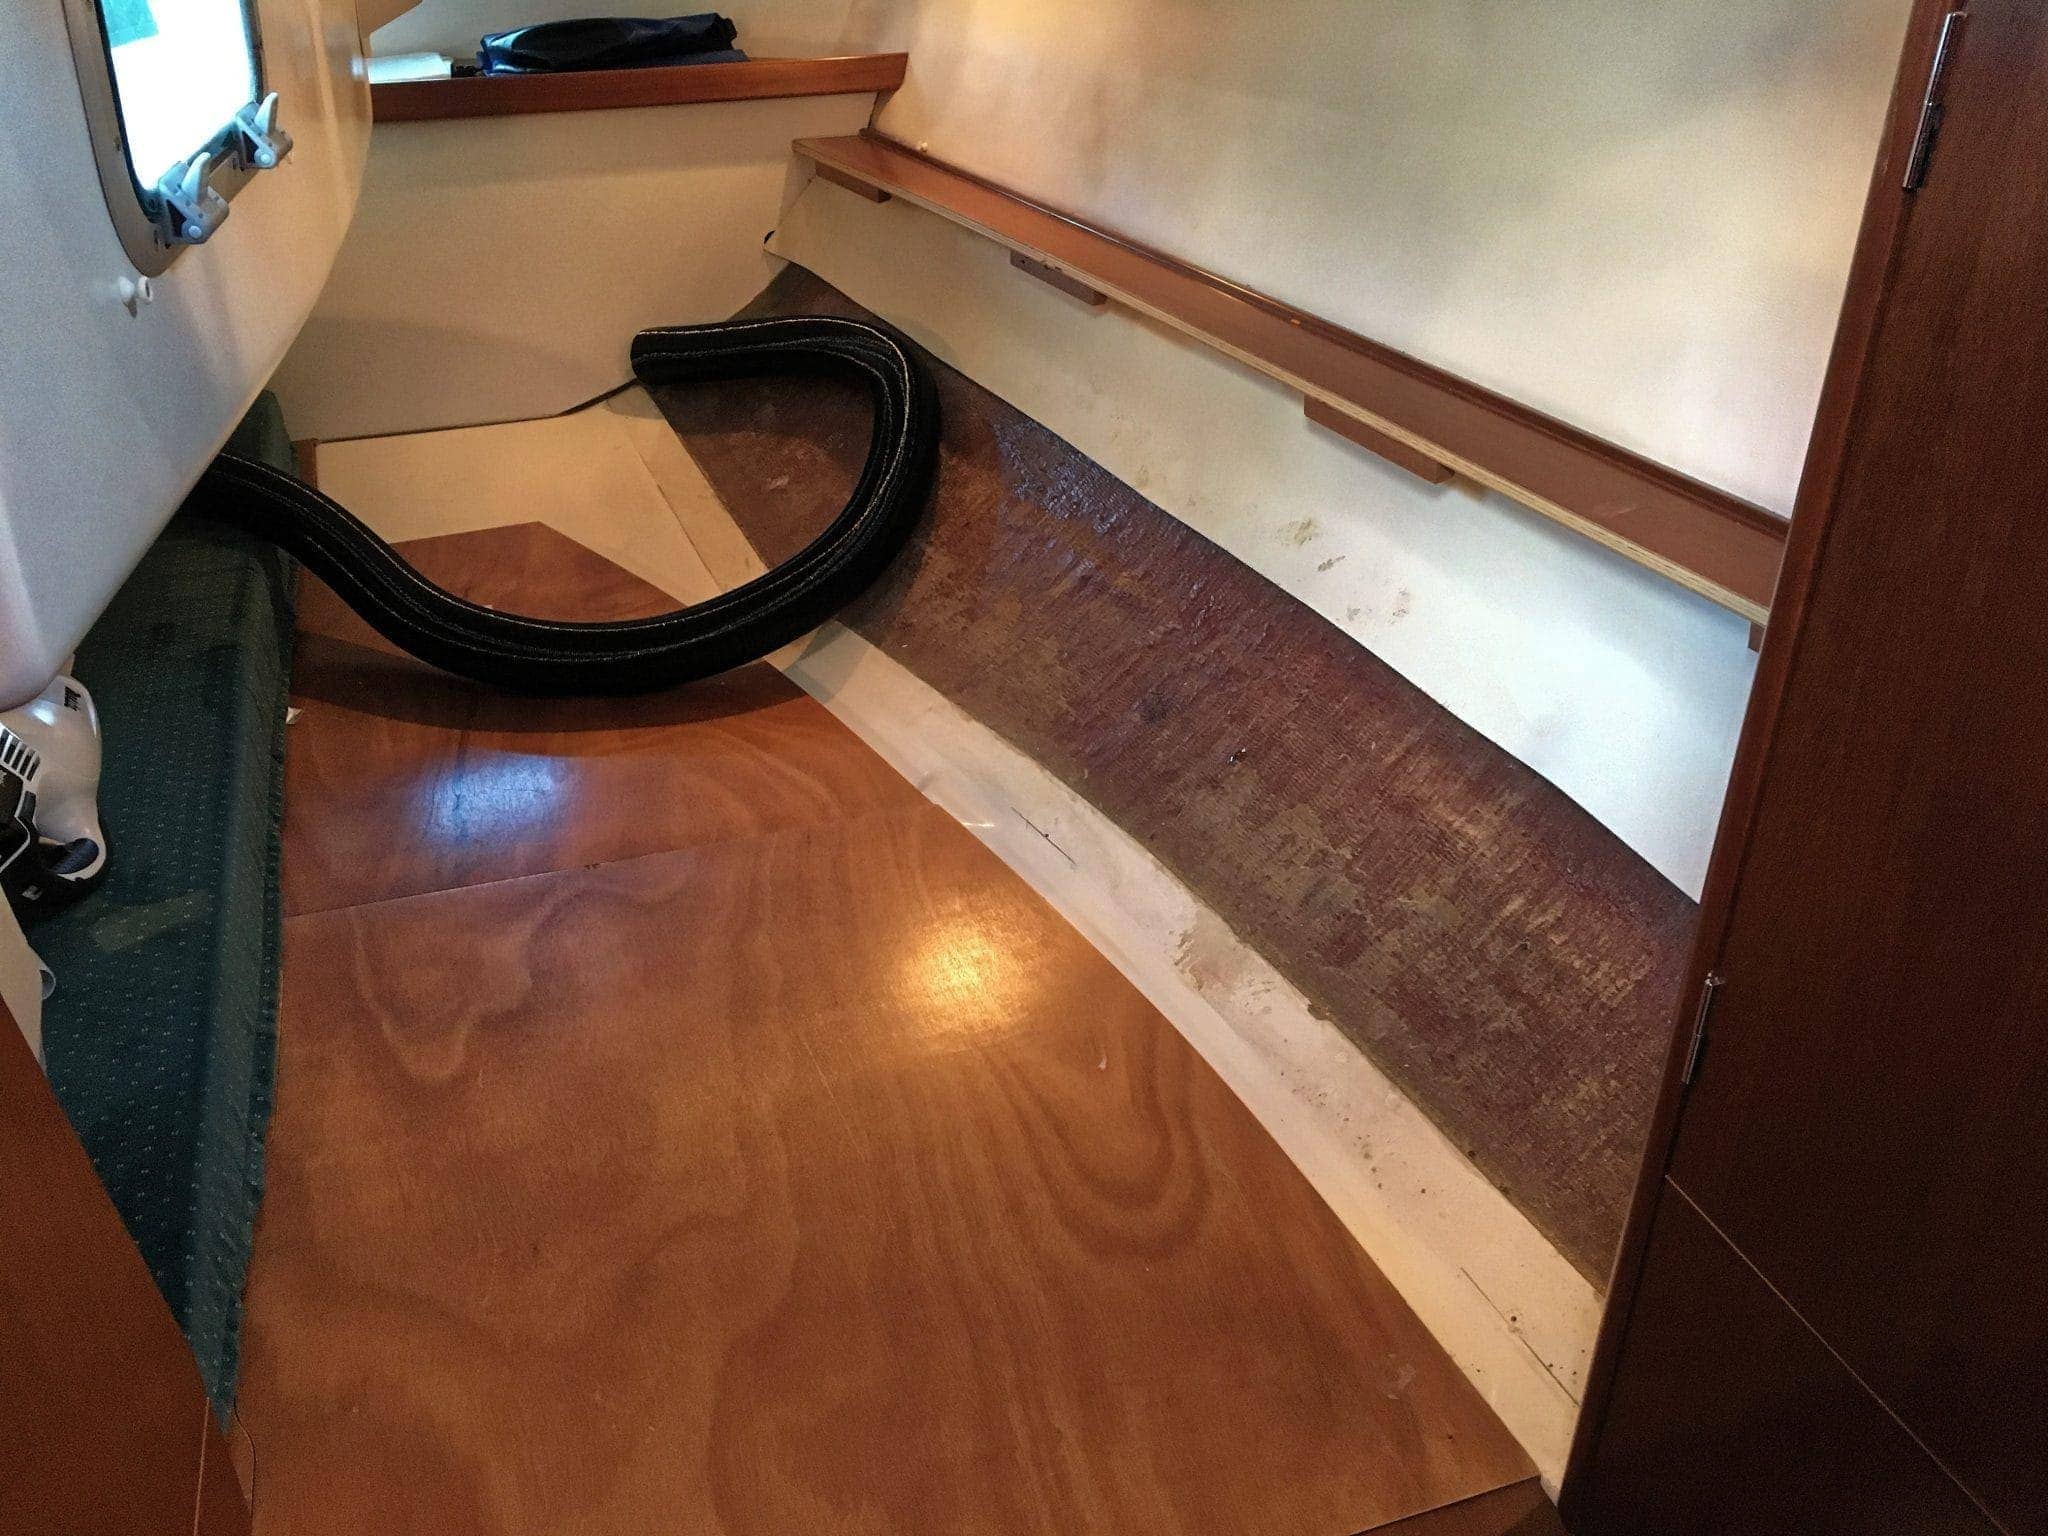
Once that was complete it was time to run the ducting from the heater into the salon and stateroom. That required removing the wood panel that is on the port side of the master stateroom. Above you can see the ducting before I cut holes to get it to the heater.
I have to say one of the worst parts of this install was using hole saws. I generally avoid them if I can, but they are usually one of the only ways to cut holes in boats without complicated jigs. This install required a 2″, 3″ and 4″ hole saw – the latter being the largest one I had ever used. Be very careful when using hole saws – both with your hands and wrists, and what you’re cutting into.
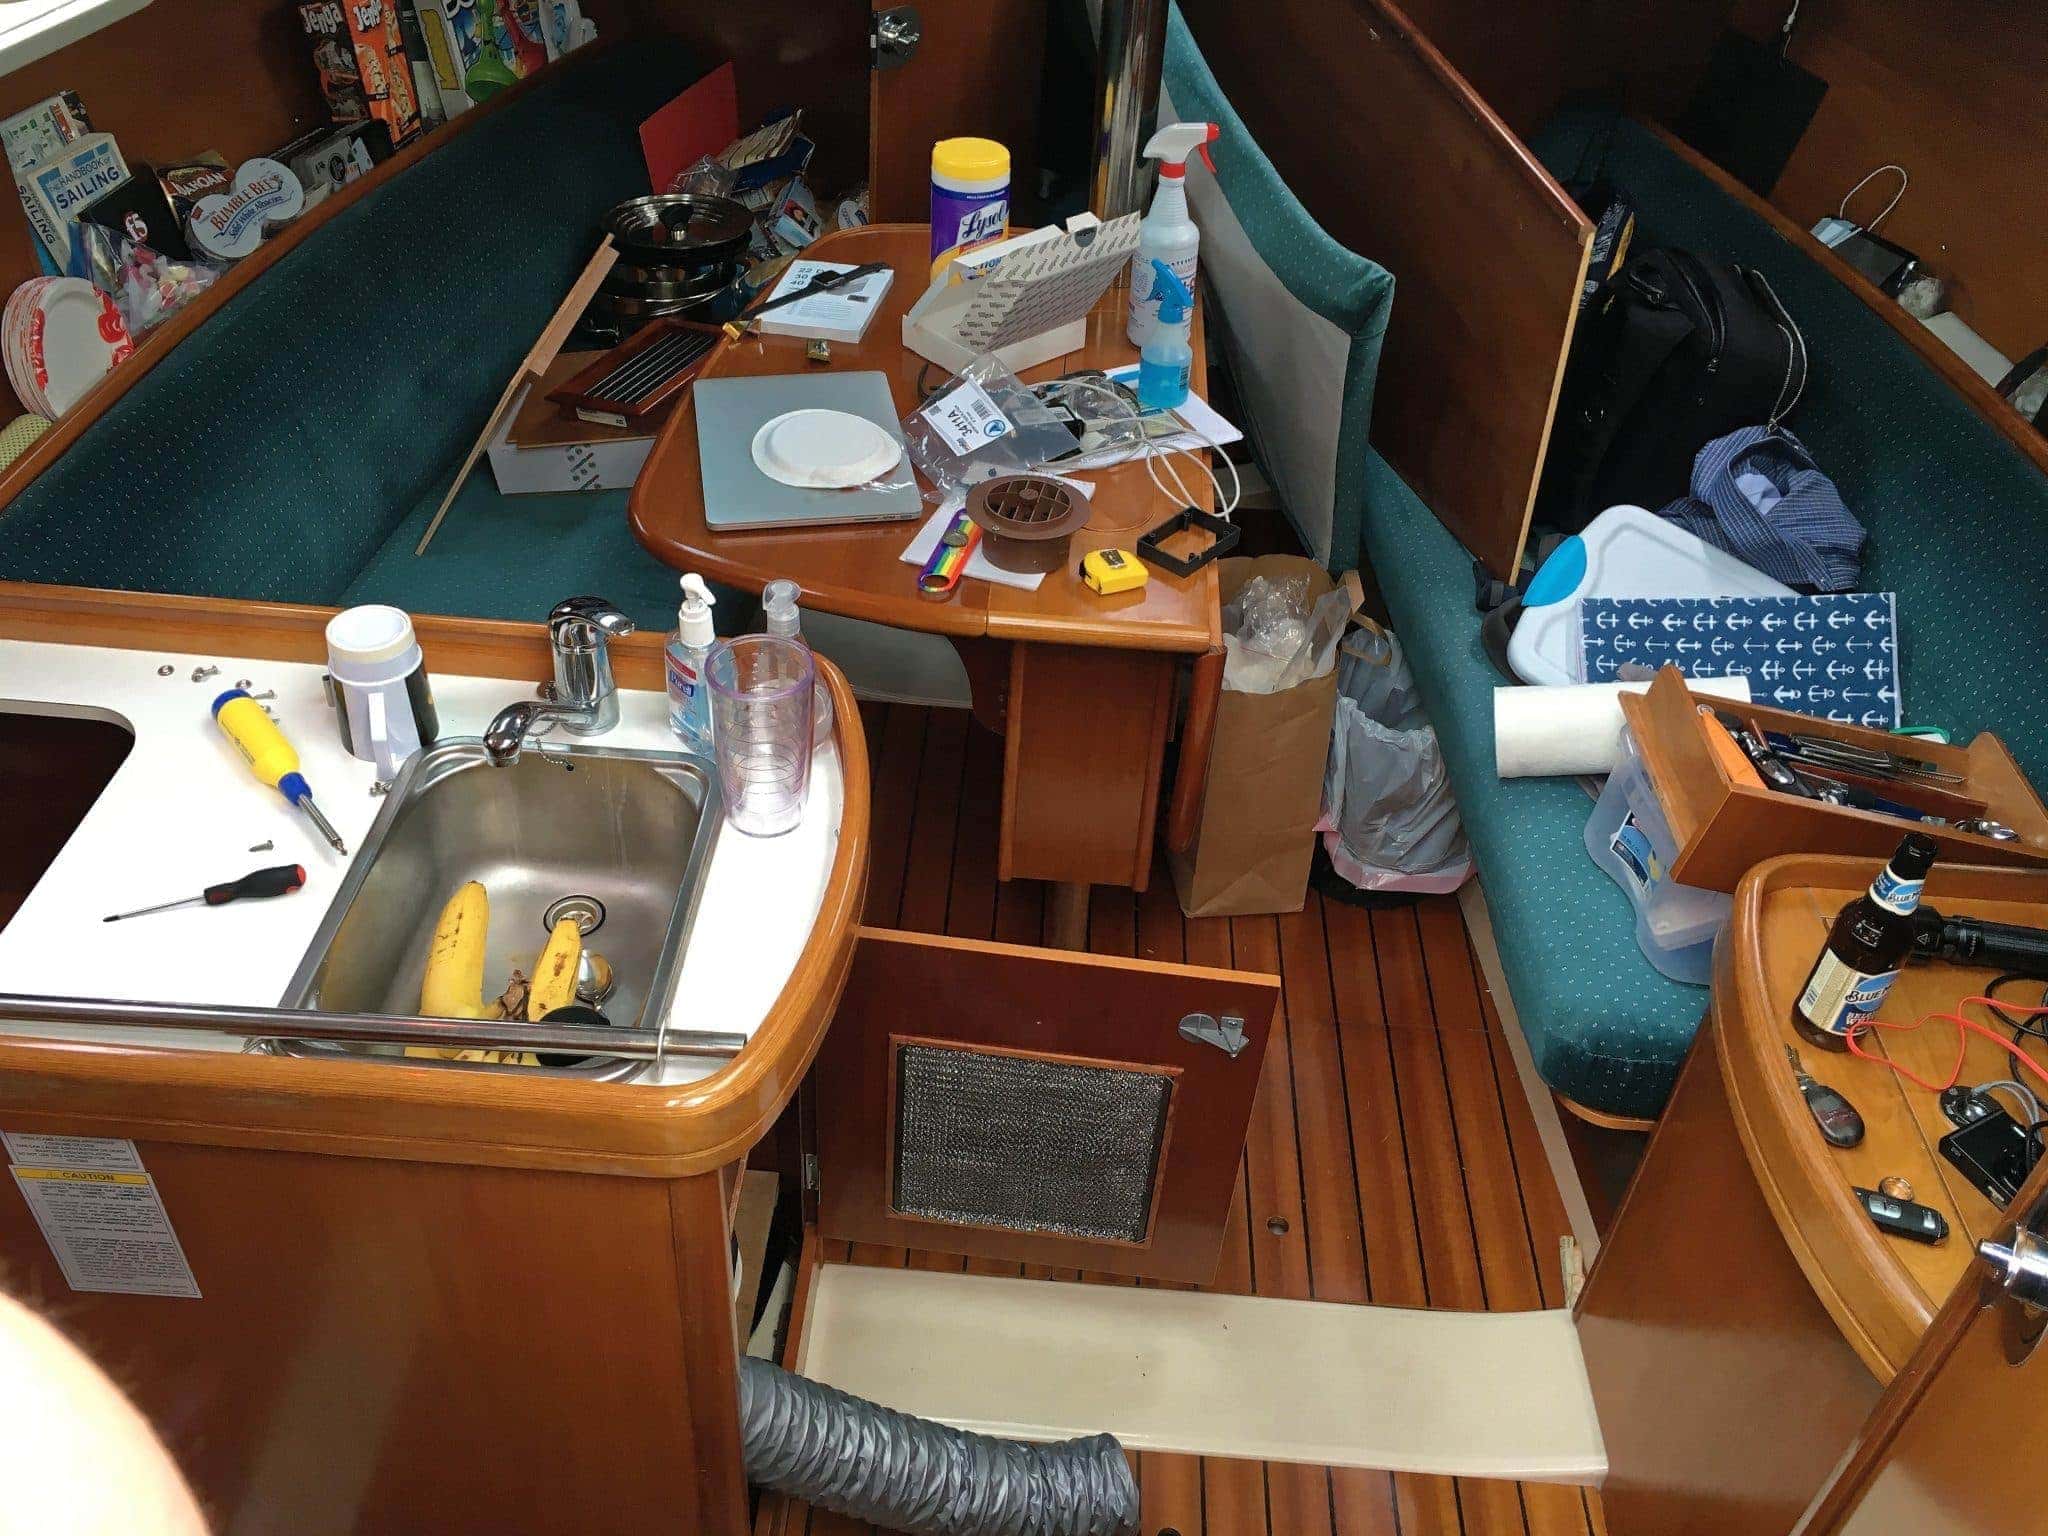
One of the challenges was getting a duct into the salon. The air conditioner takes up a huge amount of space under the galley sink – you can see one of the grey air ducts for it sticking out in the picture above.
I chose to remove the AC duct run from the galley to the stateroom, and use that for the heater duct.
To retain the AC in the stateroom, I installed the old port so it could point into the room, but also dump air into the main salon, which usually gets hotter than anywhere else. That required about a foot of ducting since it is in the same console as the AC unit, and a new 4″ hole for the vent.
Once the AC duct was out of the way, I used the path for the new heating duct into the salon.
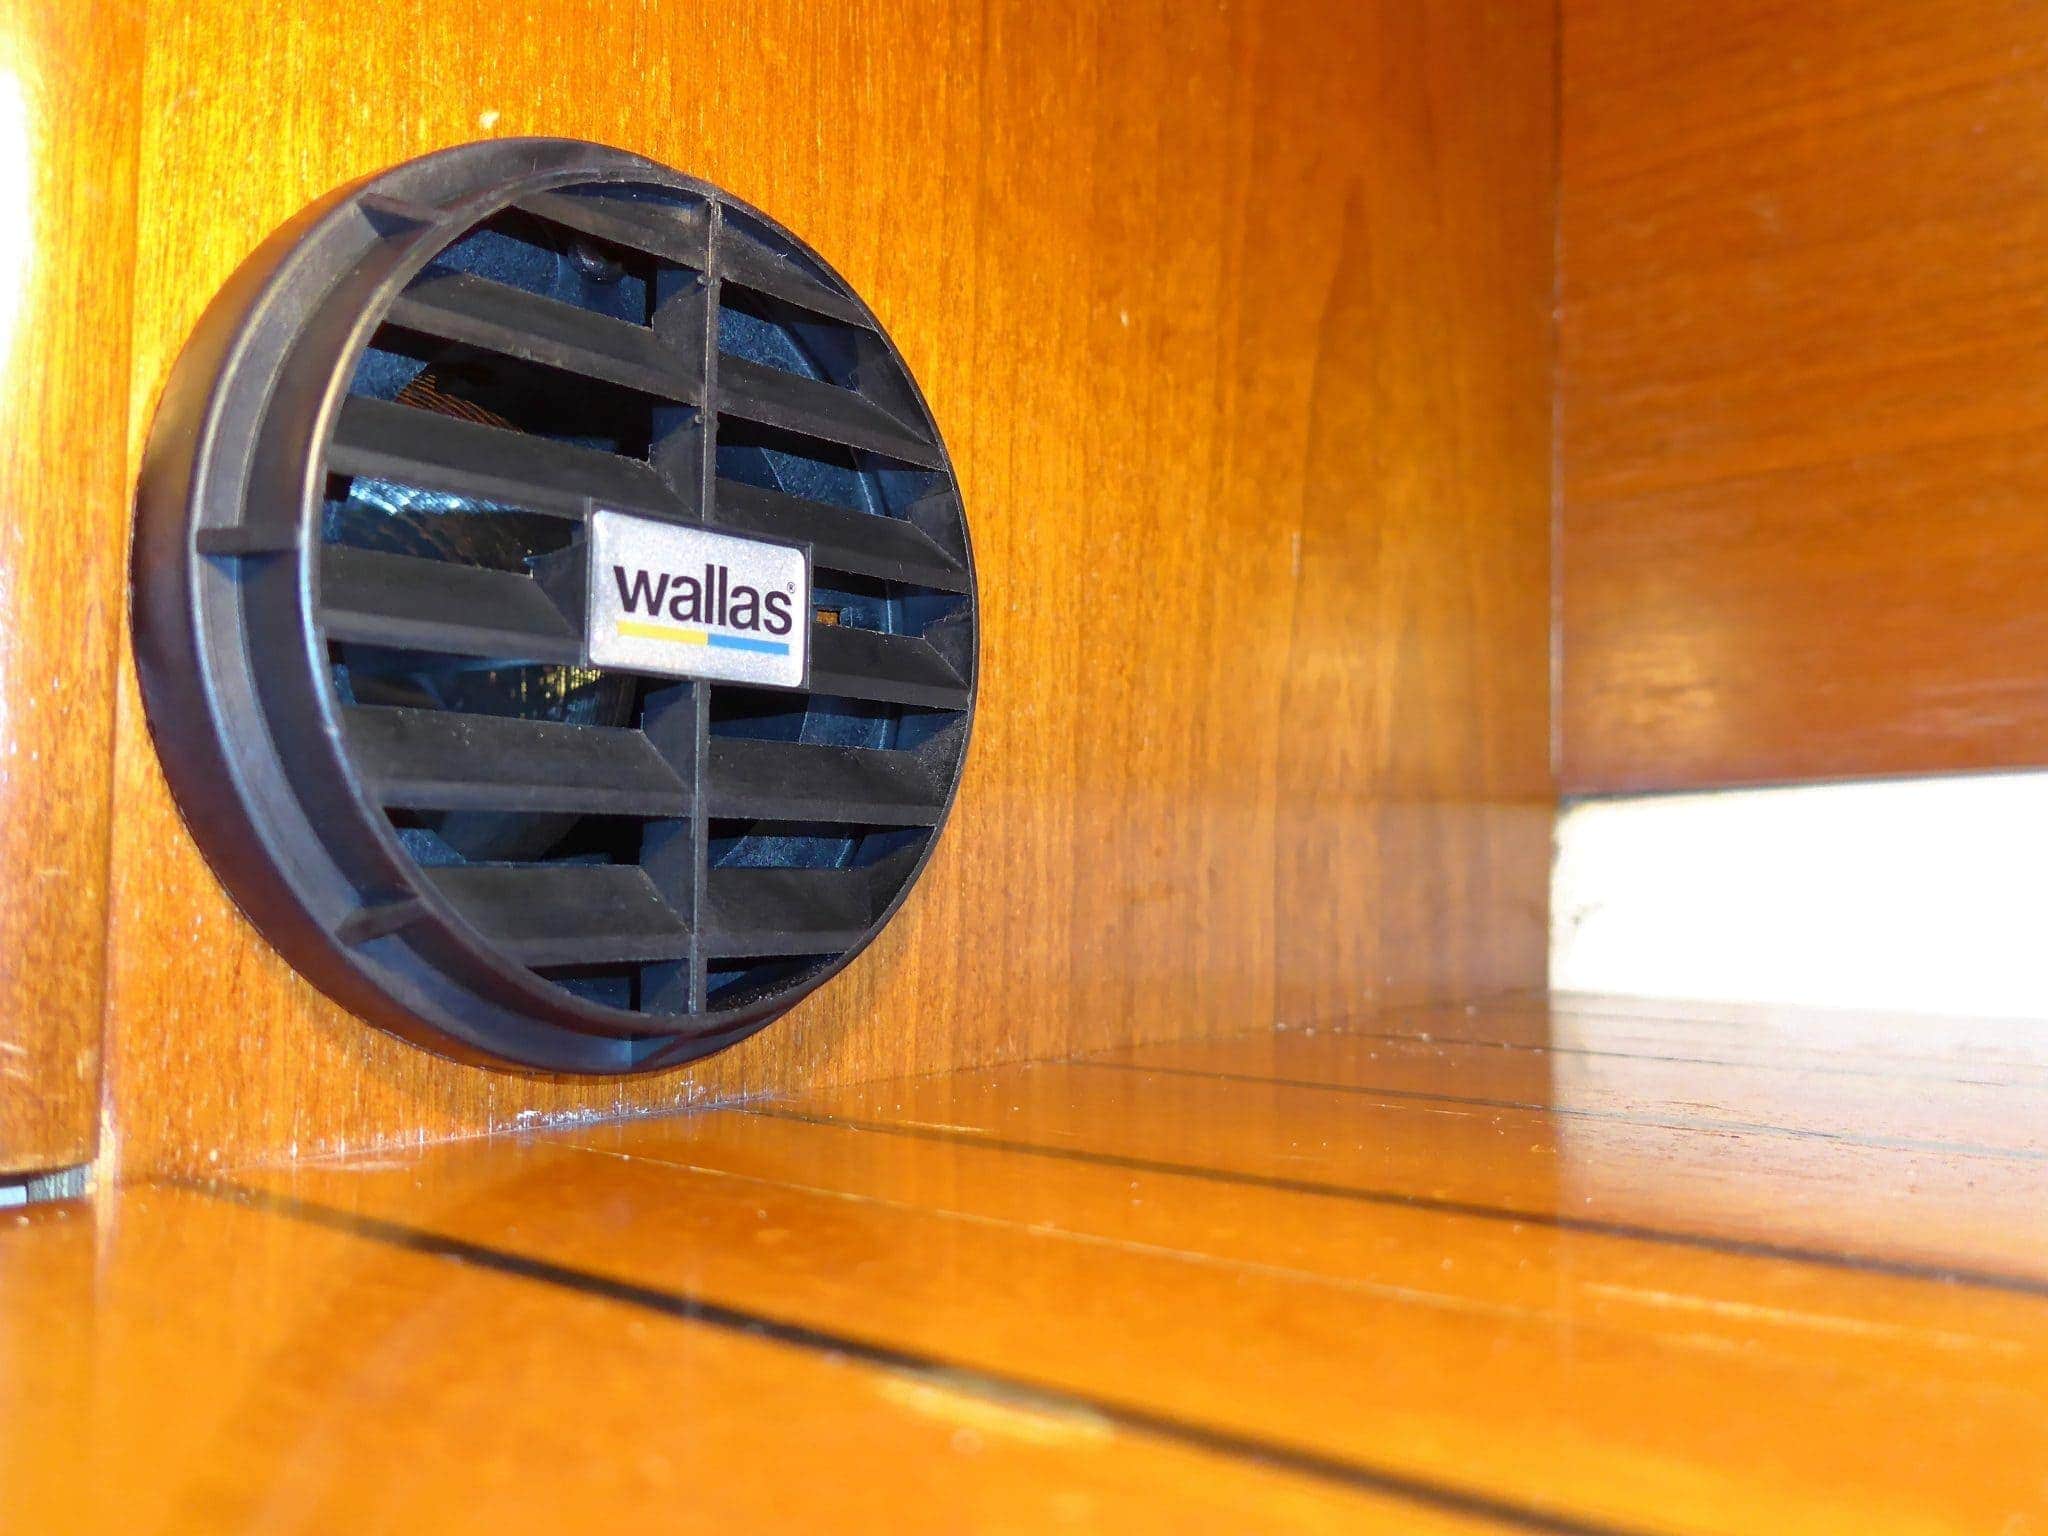
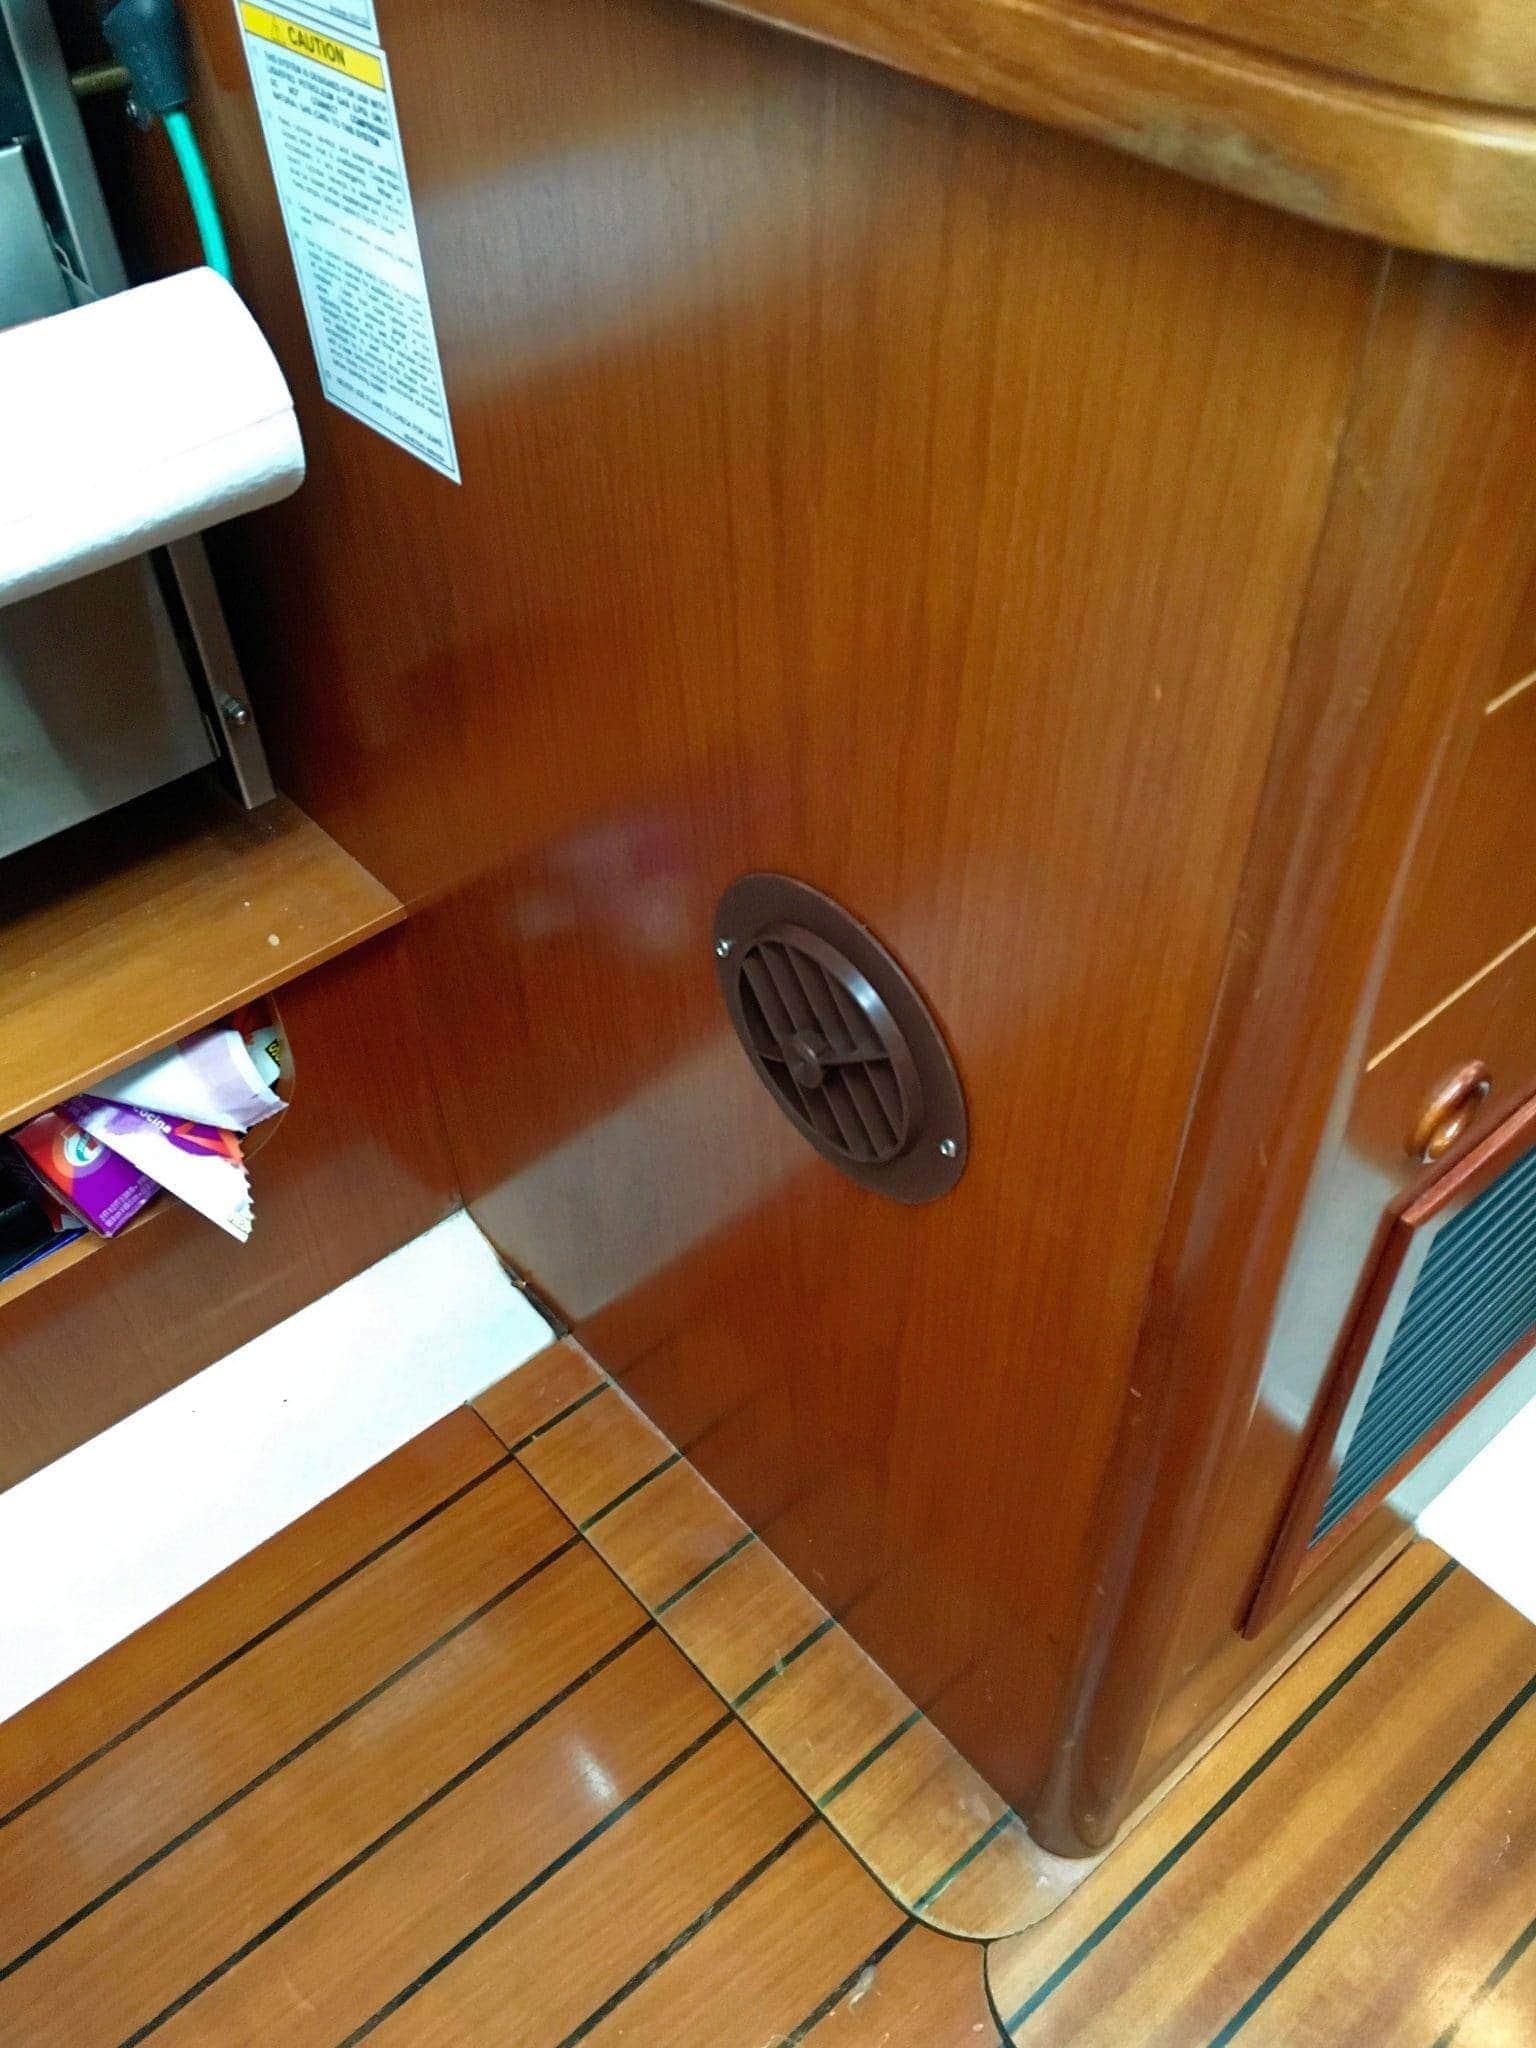
The vents were easy to install, and look very sharp. They allow you to adjust the airflow (inside damper) and change the direction by spinning the front of the cover.

The final step was installing the control panel, which is a work of art. Pictures don’t do it justice – the lights light up in different shades and blink patterns, and the thing feels like a well oiled piece of machinery. This was installed in the master stateroom.
Conclusions
The whole solution is definitely a moderate skills DIY project, and the unit itself is beautifully made. It heats amazingly fast, is easy to control, and super quiet. I had no issues with installation and getting it up and running, and I attribute a lot of that to Scan Marine’s documentation and help.
I have found far more benefit in the air circulation than the heater. I am sure I will use it more than a few times throughout the year for heat, but I think it will end up being a more important air circulation device year round. I would recommend it for any ill-ventilated boat.
We have used it in the winter months and it quickly heats up the entire boat very efficiently. One of the best comfort upgrades we could have done!