Tank monitoring on a sailboat is not the most glamorous of topics. Recently, it became of great interest when the head holding tank overflowed at the very end of a long day with multiple people on the boat. Not fun.
Note that I no longer use these sensors, as Maretron has a pressure sensor system that works far better.
The old tank monitor was very hard to see (no audible alarm, only a light) and only went off when you were almost full – within an inch or two of the top. Time to update this!

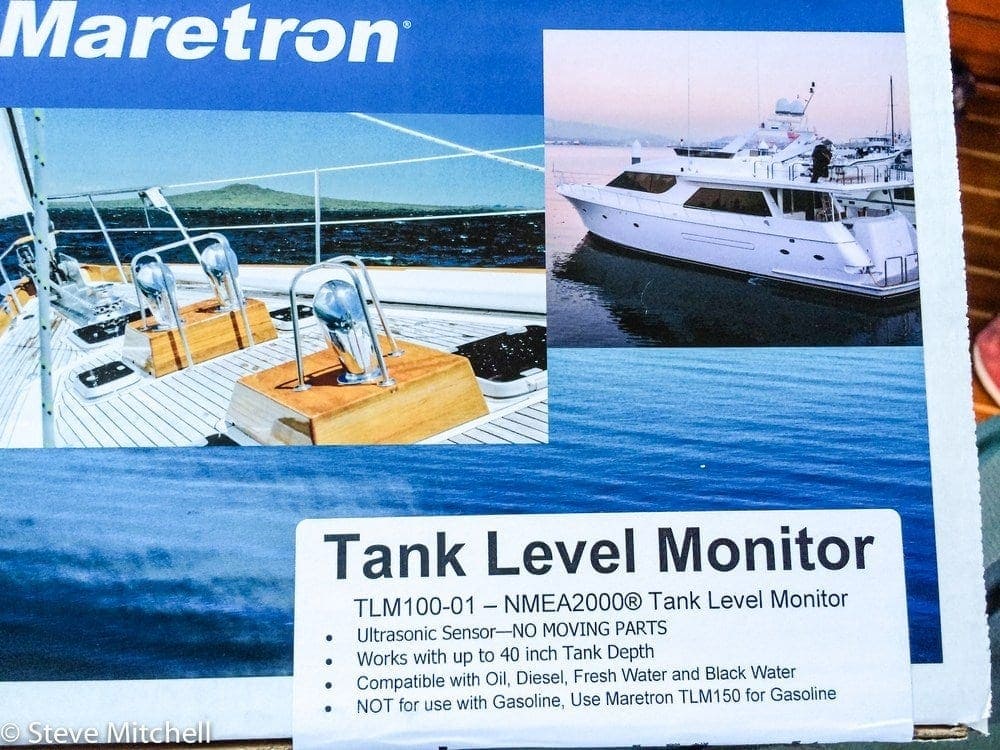
TLM100 NMEA 2000 tank monitor
I had added a WEMA tank sender to my diesel tank several years ago, and used a Maretron Tank Level Adapter (TLA100) to put it’s data on my NMEA 2000 network. While this was great for the diesel tank, I was worried about having a tank sender in a waste tank.
Being a loyal Maretron customer, and having many of their existing sensors, I was happy to find the Maretron Tank Level Monitor (TLM100) – an ultrasonic tank monitor that required nothing being inserted into the tank! On top of that, it can be very granularly calibrated for strange shape tanks.
I ordered two of them – one for the waste tank, and one for the water tank, which has never had any instrumentation, and is hard to get to.

TLA unit
The unit itself is very simple, and works on tanks up to 40″ deep. There are other models that work on deeper tanks, or on gasoline – the standard one is not for use in gas tanks.
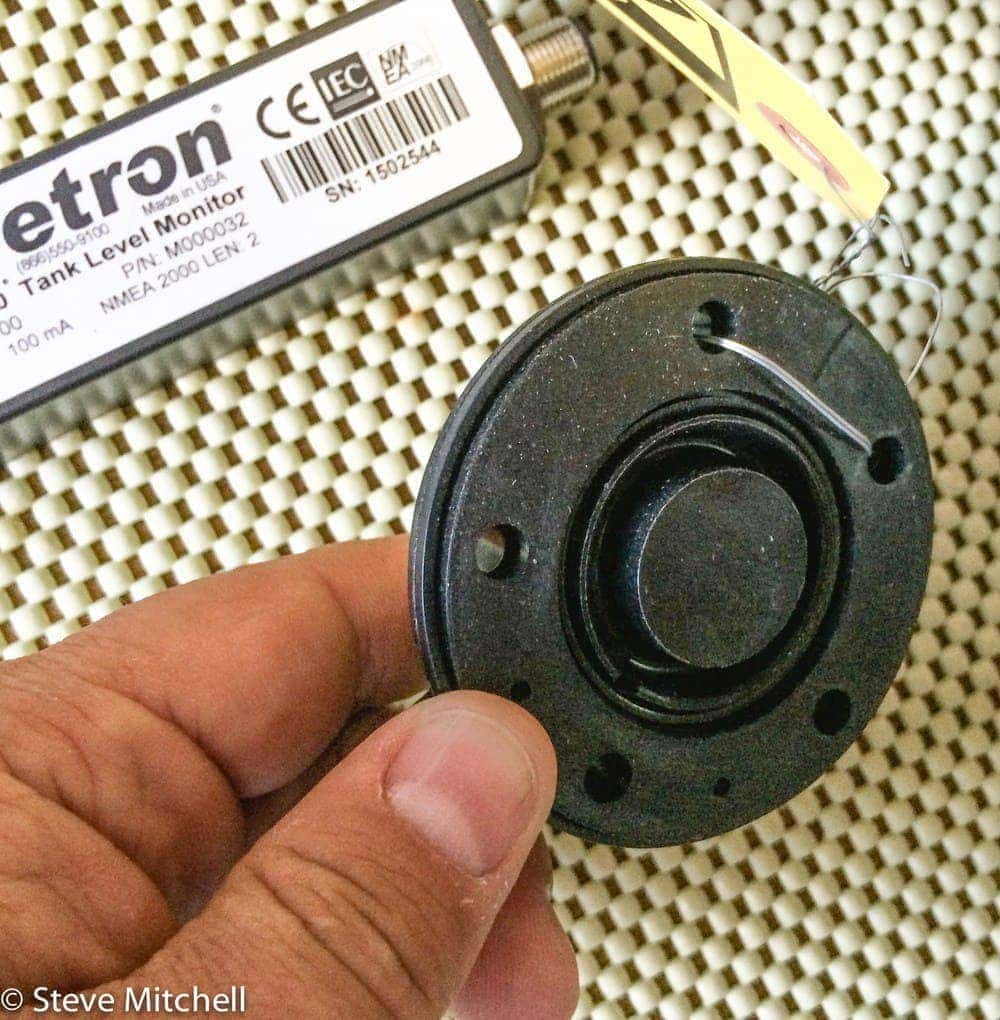
Besides the standard NMEA 2000 connection and unit that does the processing, there’s a short cable to the sensor itself. Included are warnings on blocking the sensor, the effective angles of the beam, instructions on the gasket and other details. Essentially, you’ll need to use the provided gasket exactly, or risk blockages or inaccurate readings.
The sensor itself is very simple and looks to be very rugged and reliable. There aren’t many places for stuff to get wedged or stuck, and looks very easy to clean.

Sensor
Installation is a bit more complicated than a standard sender. You need to consider a few things:
- Go deep – I would recommend choosing the deepest part of the tank if you have an irregular one such as my head tank. This will give the beam more overall liquid to measure and likely be more accurate.
- Flat as can be – the bottom of the tank should be flat and not have any obstructions in the way of the beam path.
There are kits to focus the beam in the case of constantly listing vessels, to deal with obstructions, and much more. In my case, I had a clear path to the bottom of the tank, and no other restrictions that would require any of those kits.

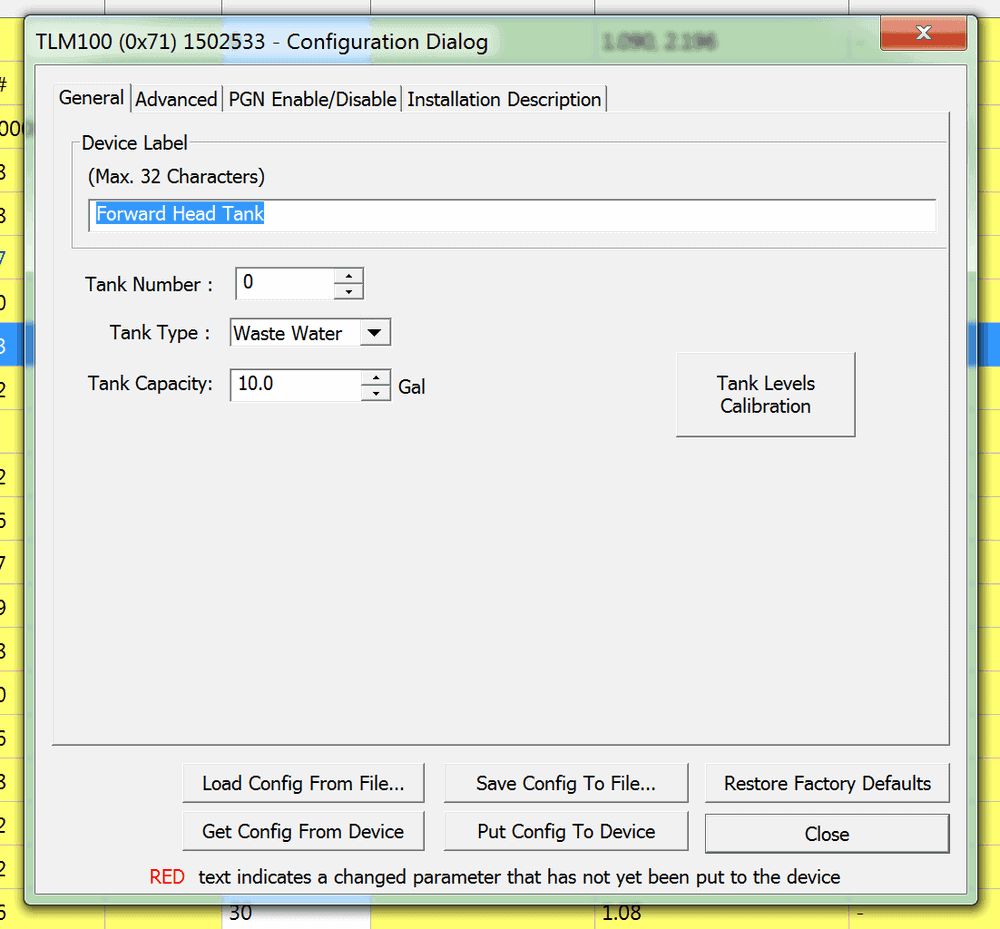
Standard tank settings including the #, type, and size.
My tank was very irregularly shaped – it is in the bow of the boat and molded to that shape. It was clearly labeled with an overall capacity, so after installing the TLM, I opened N2KAnalyzer and started configuring things.
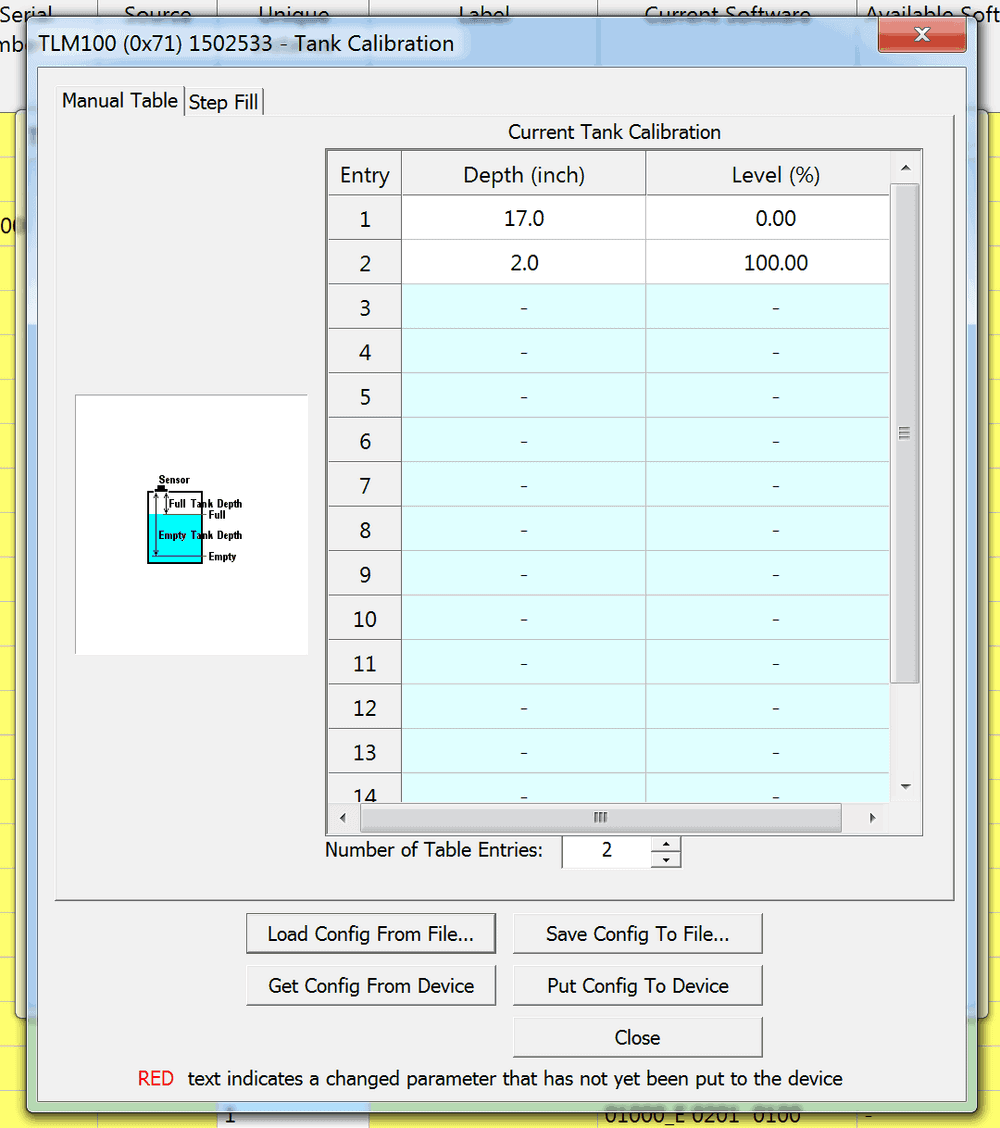
Granular tank percentage settings
You can set the overall tank size, as expected, but in addition, you can set various calibration points if you have a strange shaped tank, like mine.
I haven’t had the opportunity to fill and drain the tank yet and figure out the overall volume and percentages, but it’s super nice that you could set those things in a granular fashion.
To do so, you’d just enter the depth, and what the expected level (in percent) that the tank is at.

I’ve had the sensor installed for about a week, and have been on the boat several times in different conditions, and added water to the tank randomly in varying amounts to test things. So far it’s reading the levels perfectly as I would expect.
I’m very happy at having an accurate tank monitor for this particular tank given our recent problems. The next few steps include setting alarms on the DSM250 for when the tank gets too full, and then figuring out how to get the same sensor installed in the water tank. Overall, I’m very happy at having a simpler solution to tank monitoring that I don’t have to worry as much about with moving parts.

