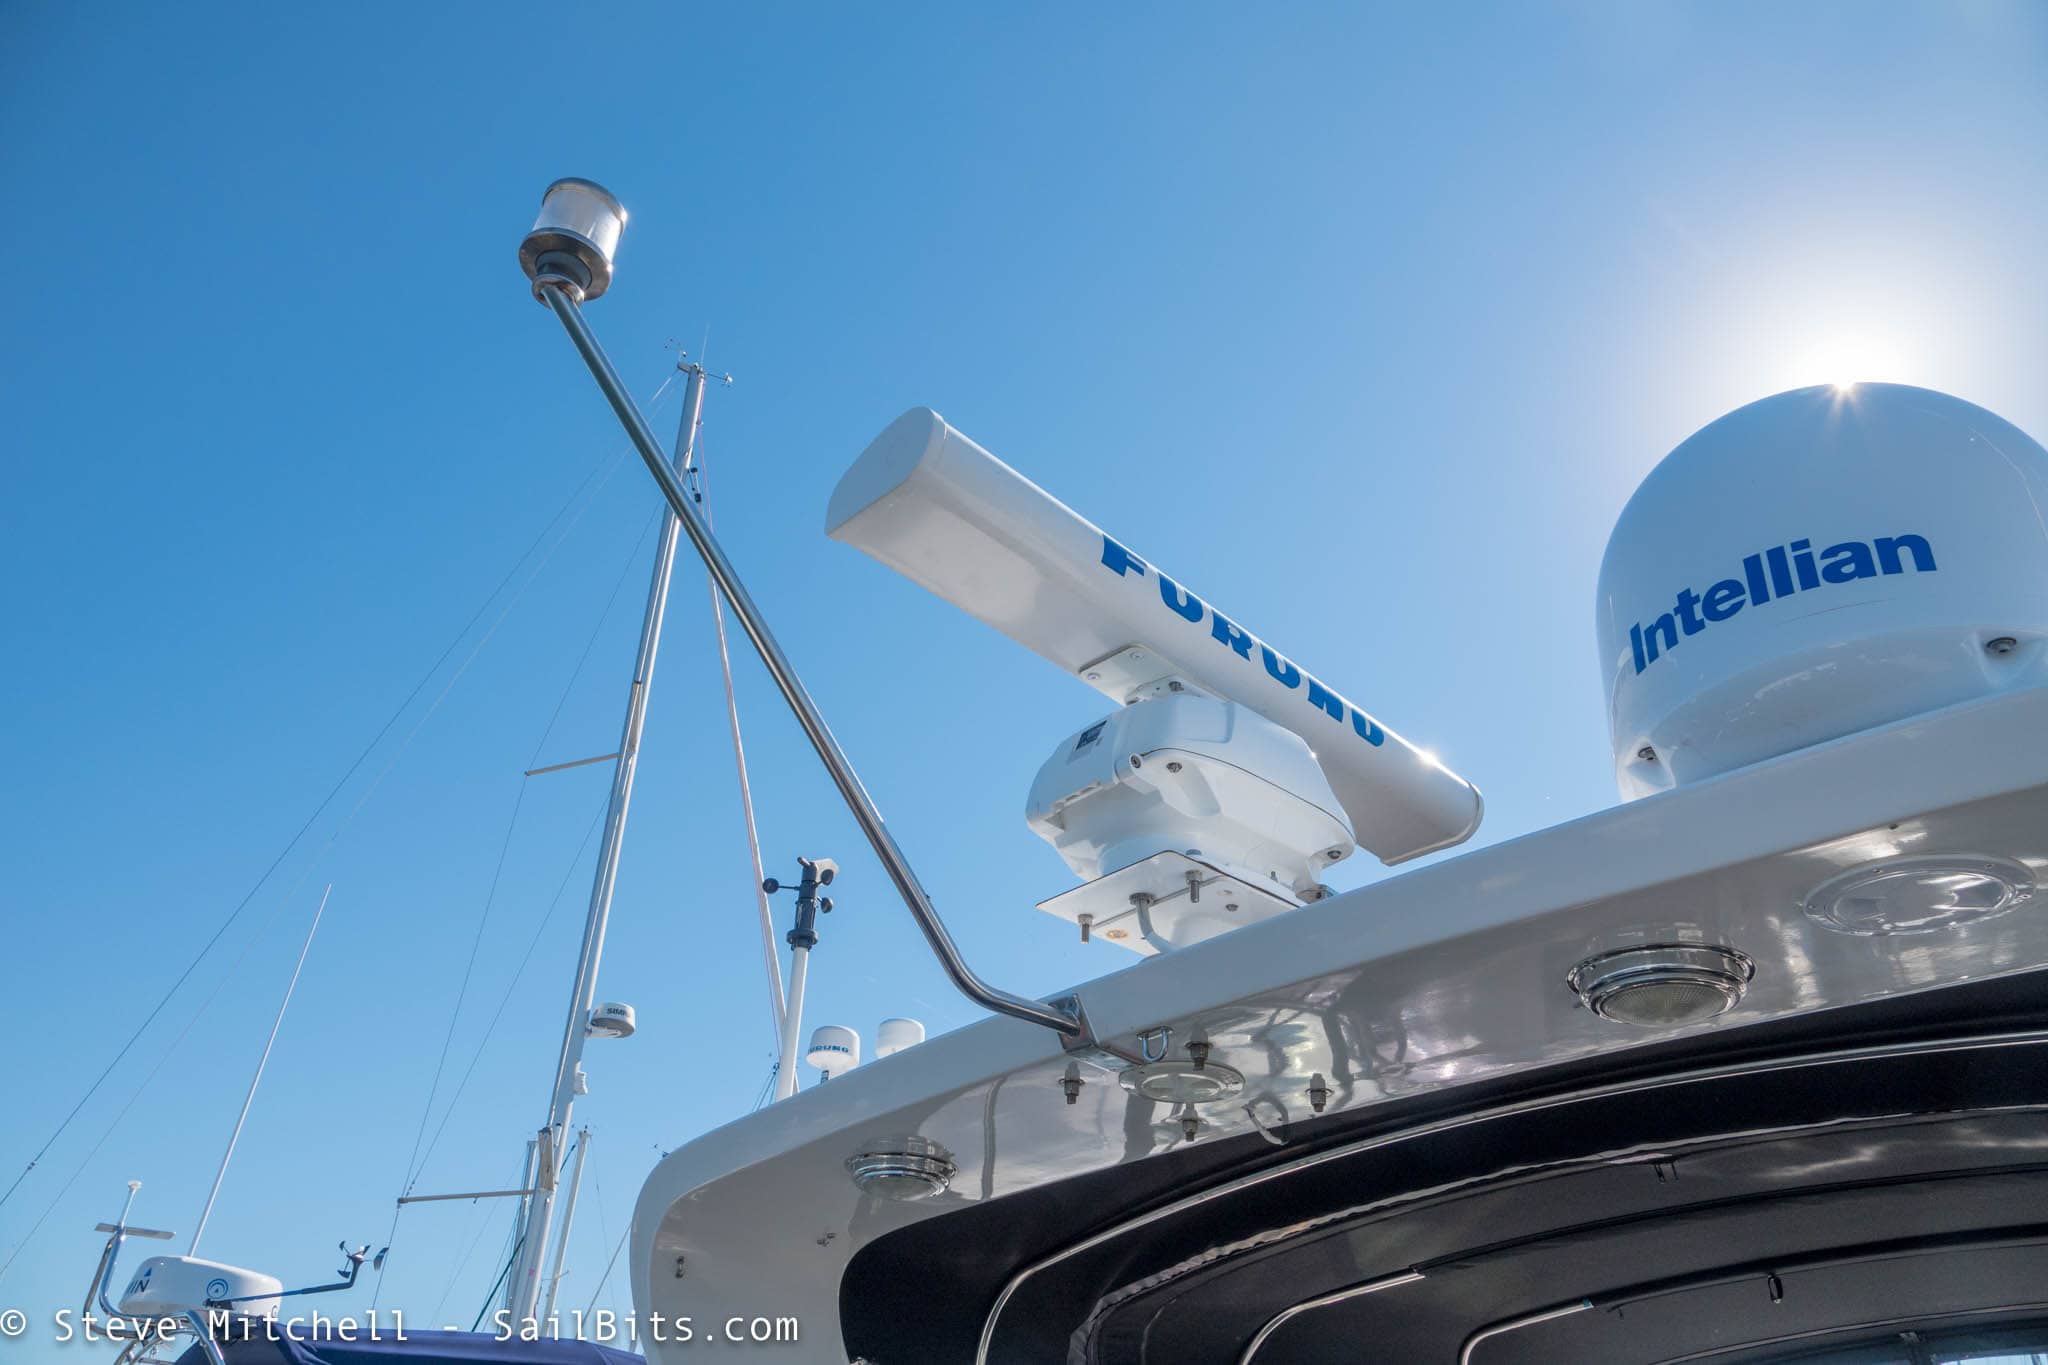
As part of the project to update Rendezvous electronics, I replaced the older Furuno open-array radar and associated bits. The plan was to mount a Furuno DRS4D-NXT radar in the space vacated by the old system, but I needed a new, taller mount.
In addition to mounting the radar, I was also trying to fix a rather serious problem with my navigation lights. It seemed like I could solve both of these problems with an integrated mount of some sorts, or at least by attaching the lights myself somehow.
I removed an older Furuno open array radar from my arch which worked just fine, but was part of a NavNet vx2 system that I wanted to replace. It had a ScanStrut radar mount which I felt was too short not only for the existing radar, but especially for the new radar I was putting up to replace it. Strangely, the installer had also drilled holes in various parts to run cables, rather than using the integrated cable path inside the mount, so there was a lot of corrosion.
My navigation lights were sort of a mess, even with my recent upgrade some of them to LED. The port and starboard green/red lights were the only ones that worked reliably. The stern light was obscured by the dinghy while in its davit, and was noted as a “must fix” in the marine survey. The anchor light worked well, but was pretty dim. The forward white steaming light seemed to be OK, but while removing the radar, I determined the entire front plastic was melted/broken. I also don’t think it was ever high enough to be seen appropriately – it appeared to have been moved during the previous radar install.
I had been searching for a solution to the navigation lights for several months, as I was worried about not having a proper stern light. I couldn’t just purchase a standard light and stick it somewhere – there were really no good options for where it could go on the stern of the boat. The back of the arch was a logical place, but that surface is angled, and the anchor light mounting pole was in the center anyhow. Not only would my OCD hate having the stern light offset, but the anchor light pole had always driven me slightly insane as it was not square, and the light was tipped forward at a slight angle.
After searching for a few months, I stumbled across a boat at my marina that had an interesting mount for their forward steaming light, and it looked like an add-on component for a common mount system from Seaview. After a few searches, I found not only that particular mount, but a ton of other options that I had not been able to find with any other manufacturer.
I had a few questions about the dimensions of some of the parts I was considering, and dropped an email to Seaview directly. Jason Romesburg was happy to answer my questions, provide PDFs of measurements to help with ordering, and answer my questions about the entire setup. Jason Abrahamsen and Ian Smith helped get my order out the door, and only a few days later, I was ready to start installing.
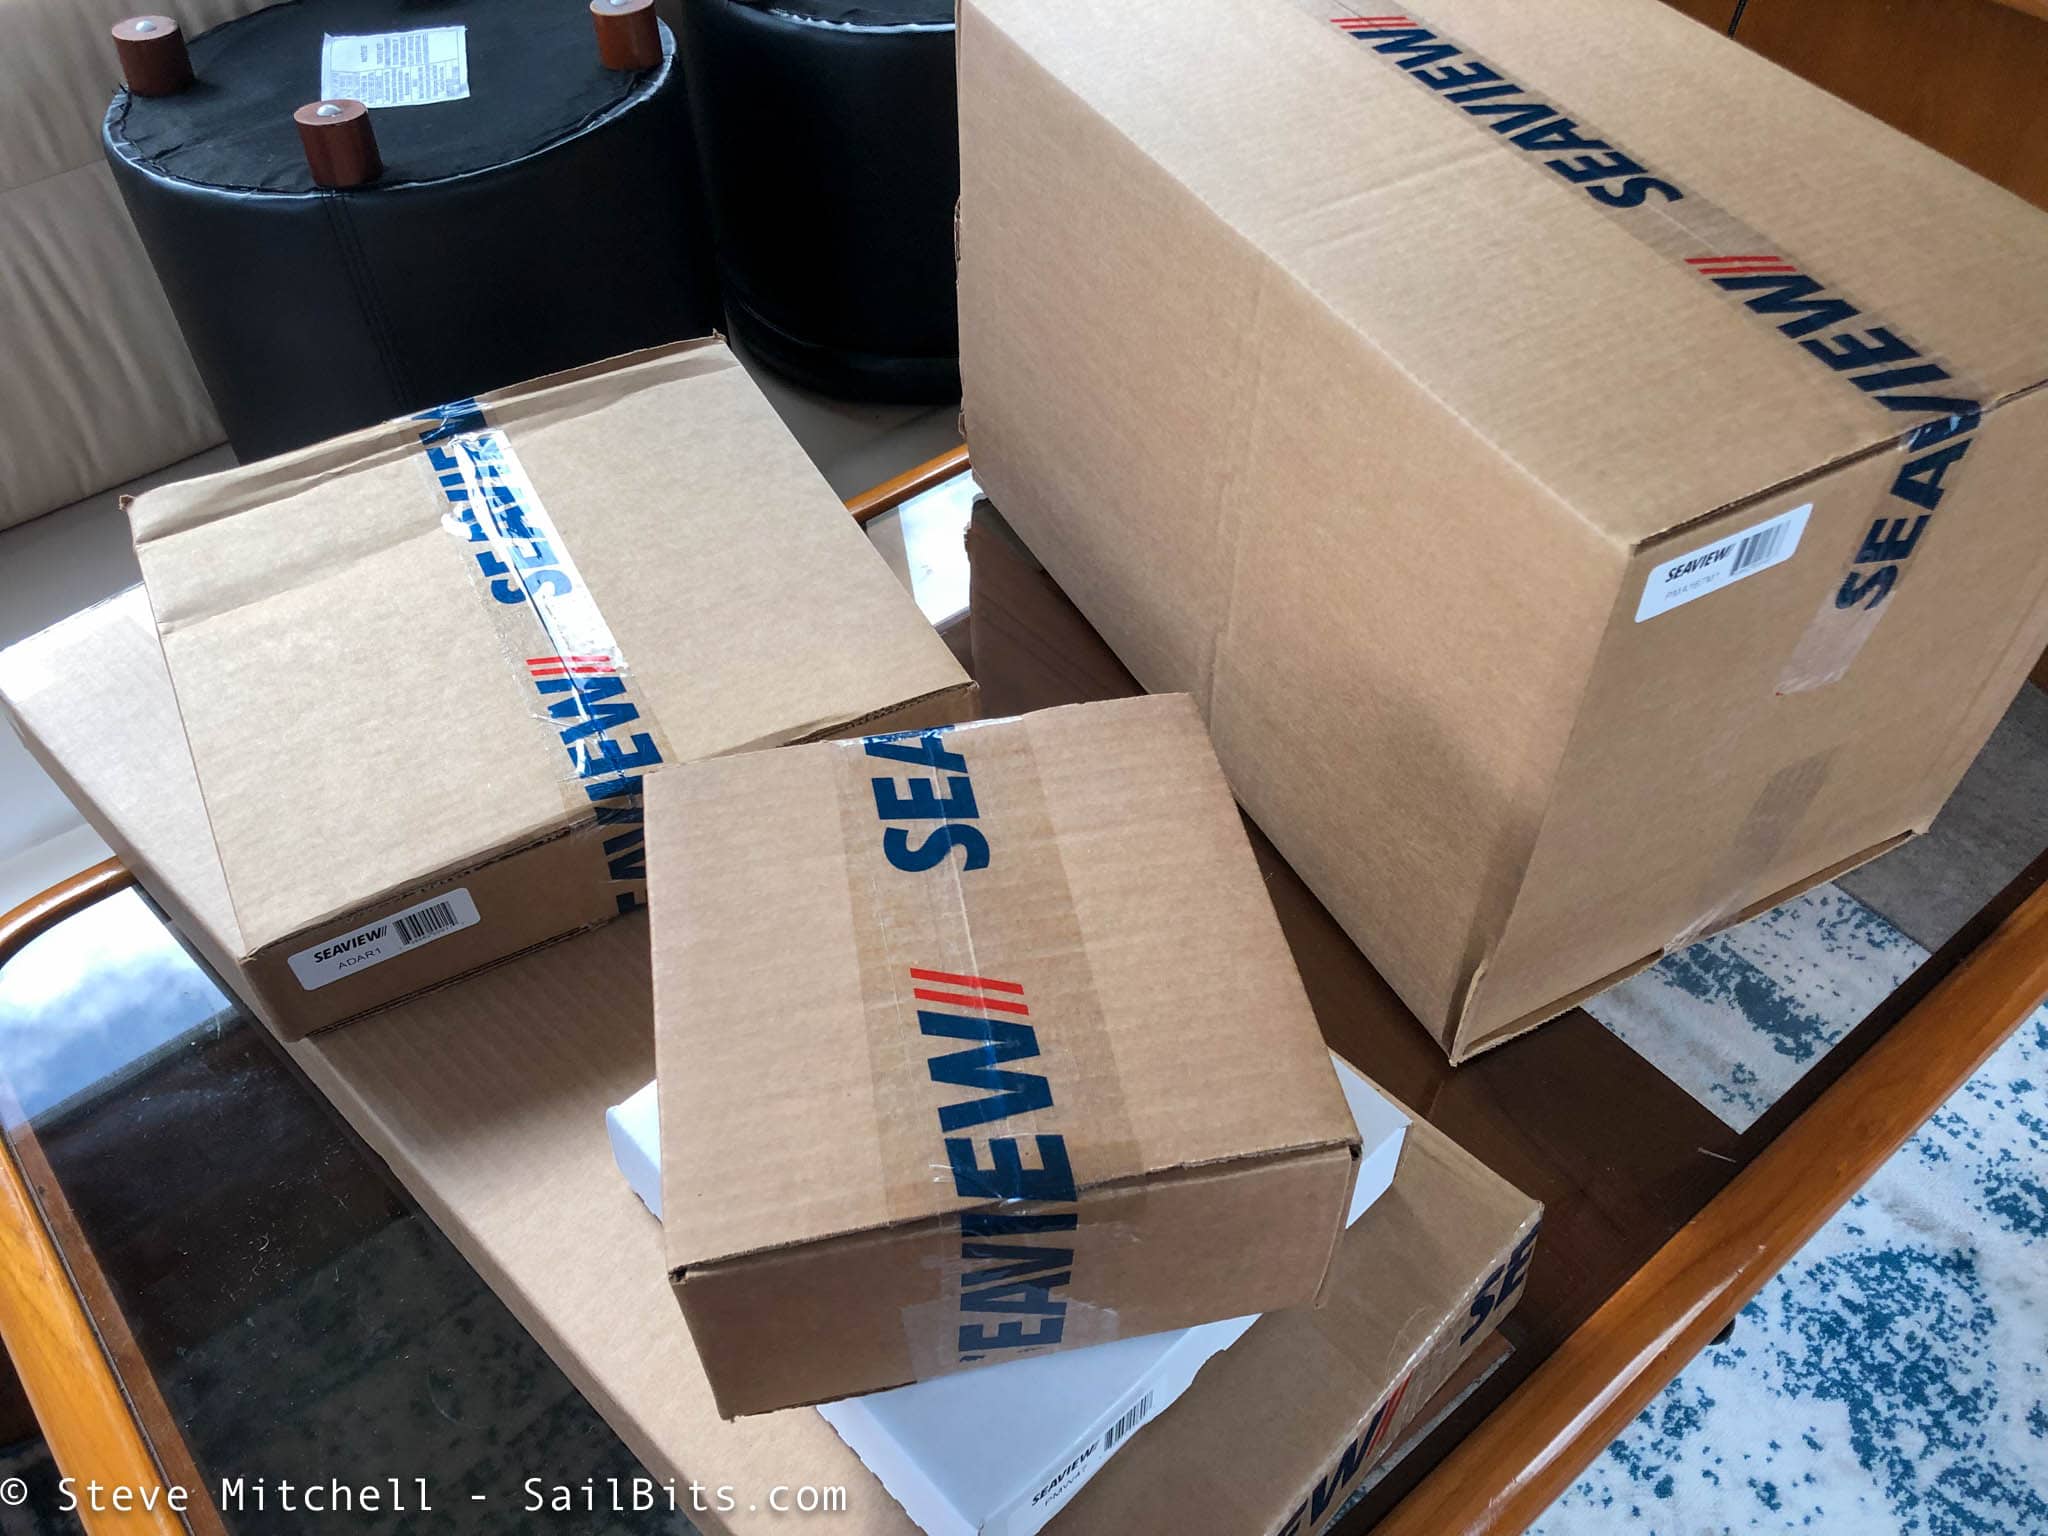
Parts List
Here’s what I ended up purchasing from Seaview:
- Modular radar mount – aft-raked, 16″ tall mounting pole
- Modular top plate – attaches to the mount above, provides a secure platform for the radar
- Base wedge – I wanted the radar angled to match the boat while it is underway at standard cruise speeds
- Light bar – attaches to the back of the mount, but comes as a bare pole – you need an add-on to complete it
- Light bar top for 3 Aqua Signal 40/41 lights – allows you to mount three navigation lights on a neatly designed box.
That last item is what sold me on the Seaview solution. Not only could I mount my new radar, tilt it appropriately, but I could also put my anchor, forward steaming, and stern navigation lights all in one place, and it would all look very slick.
I was also very happy with the overall price for the Seaview solution. Many of the other vendors were charging much higher price for their solutions. I saw several from ScanStrut that were $1000+ just for the radar mount!
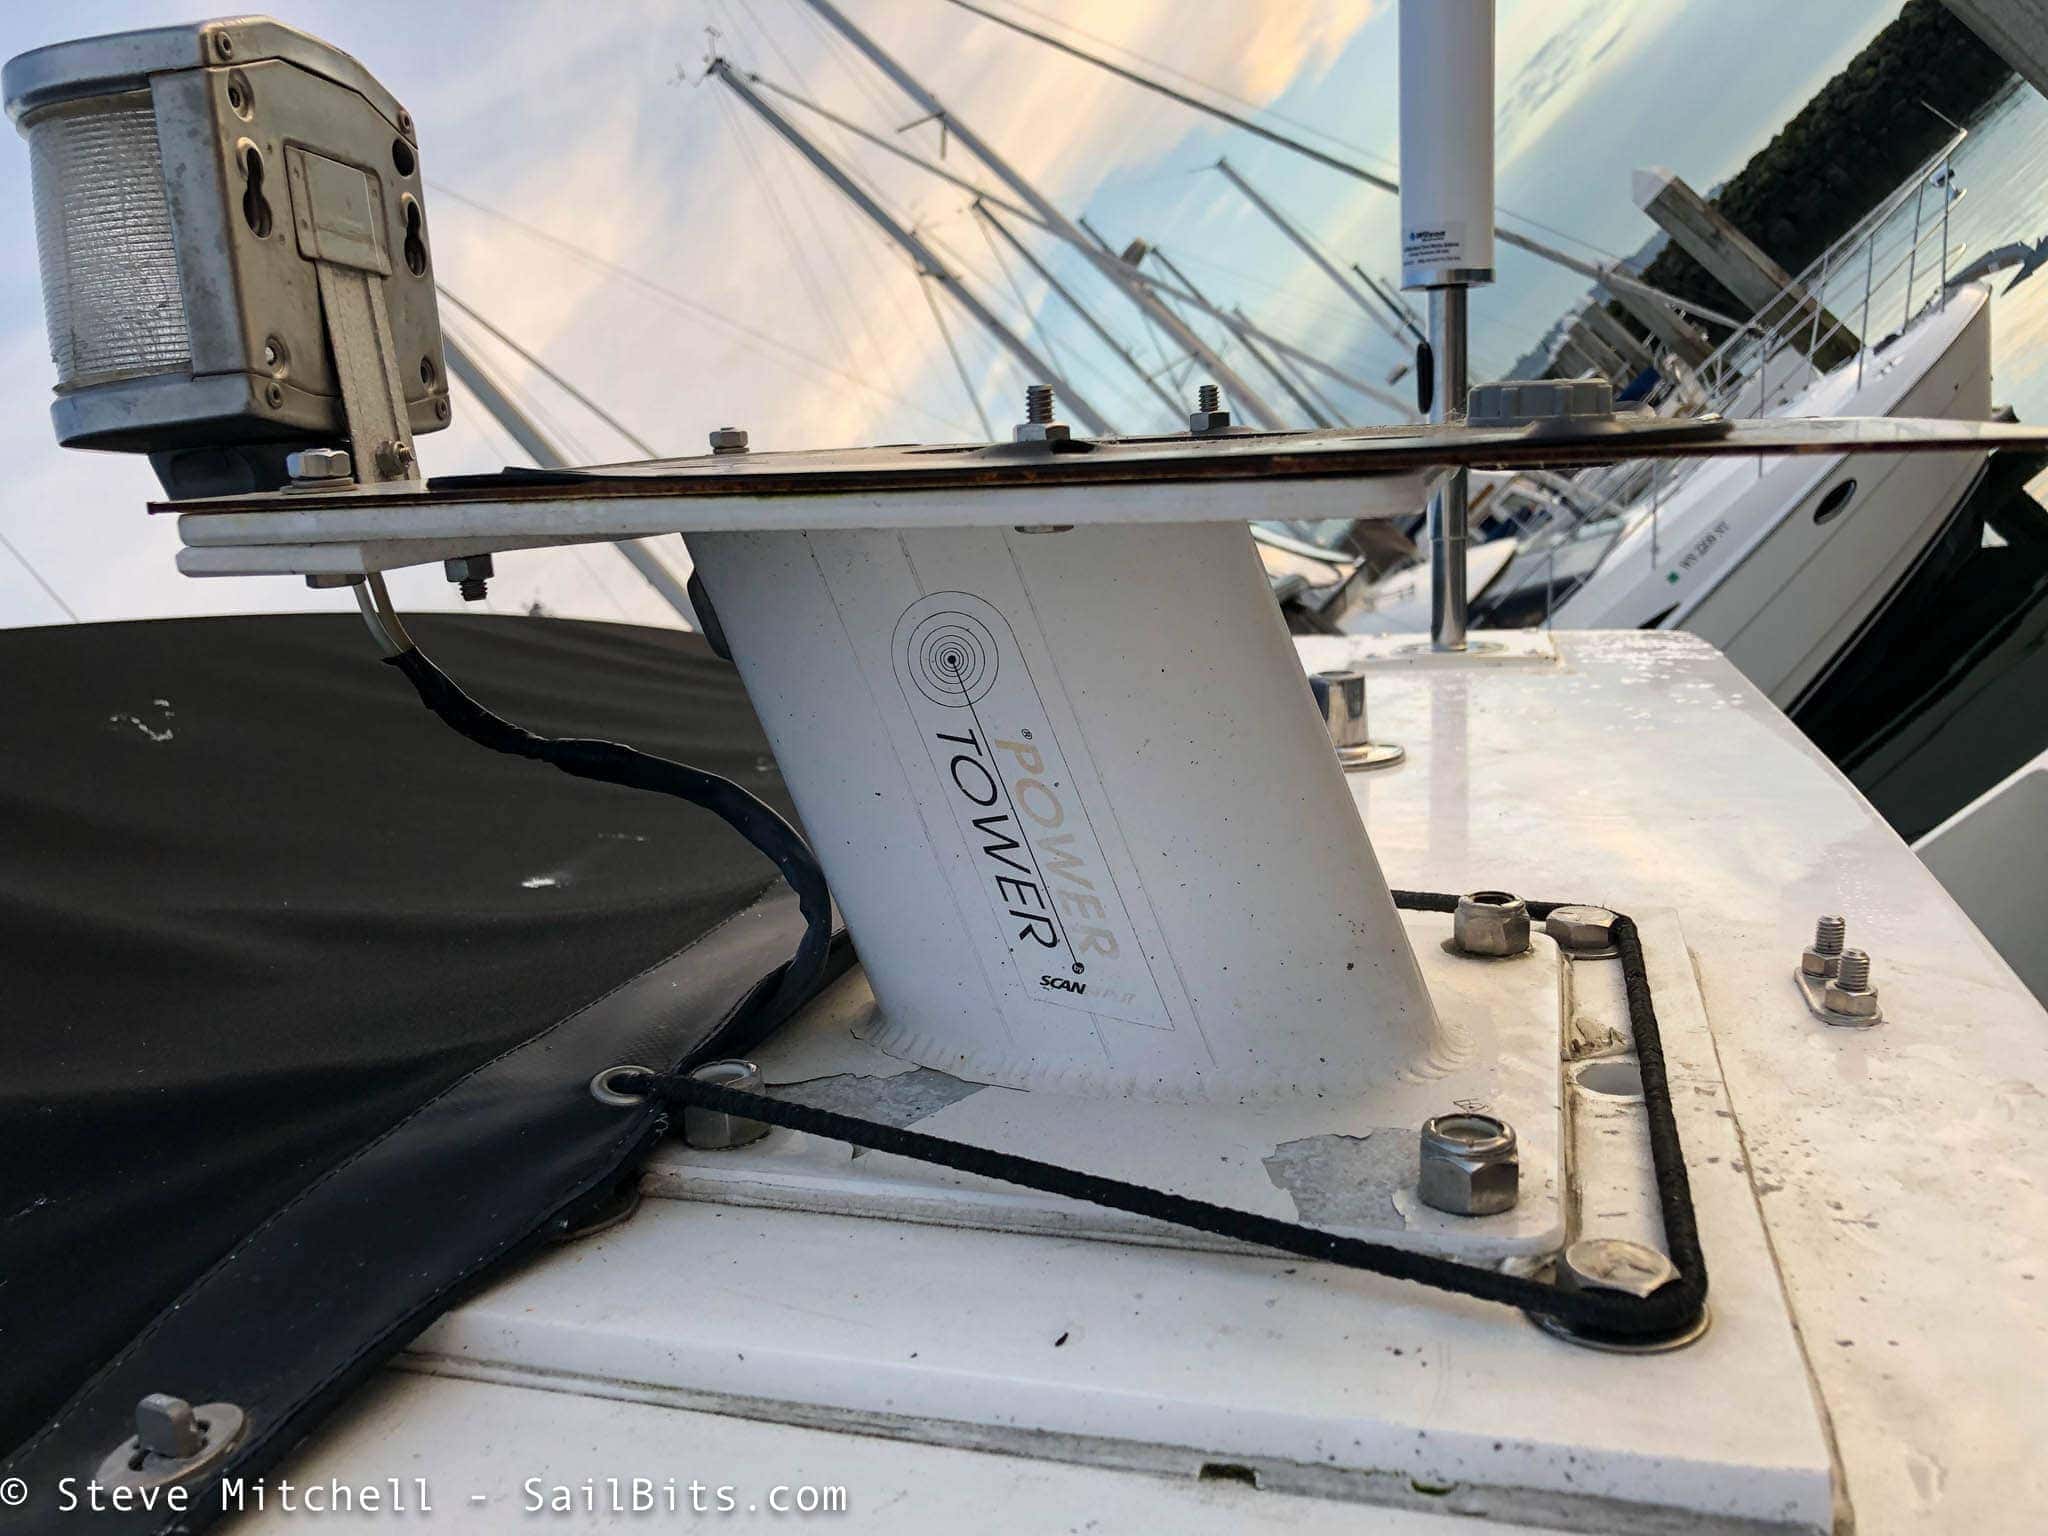
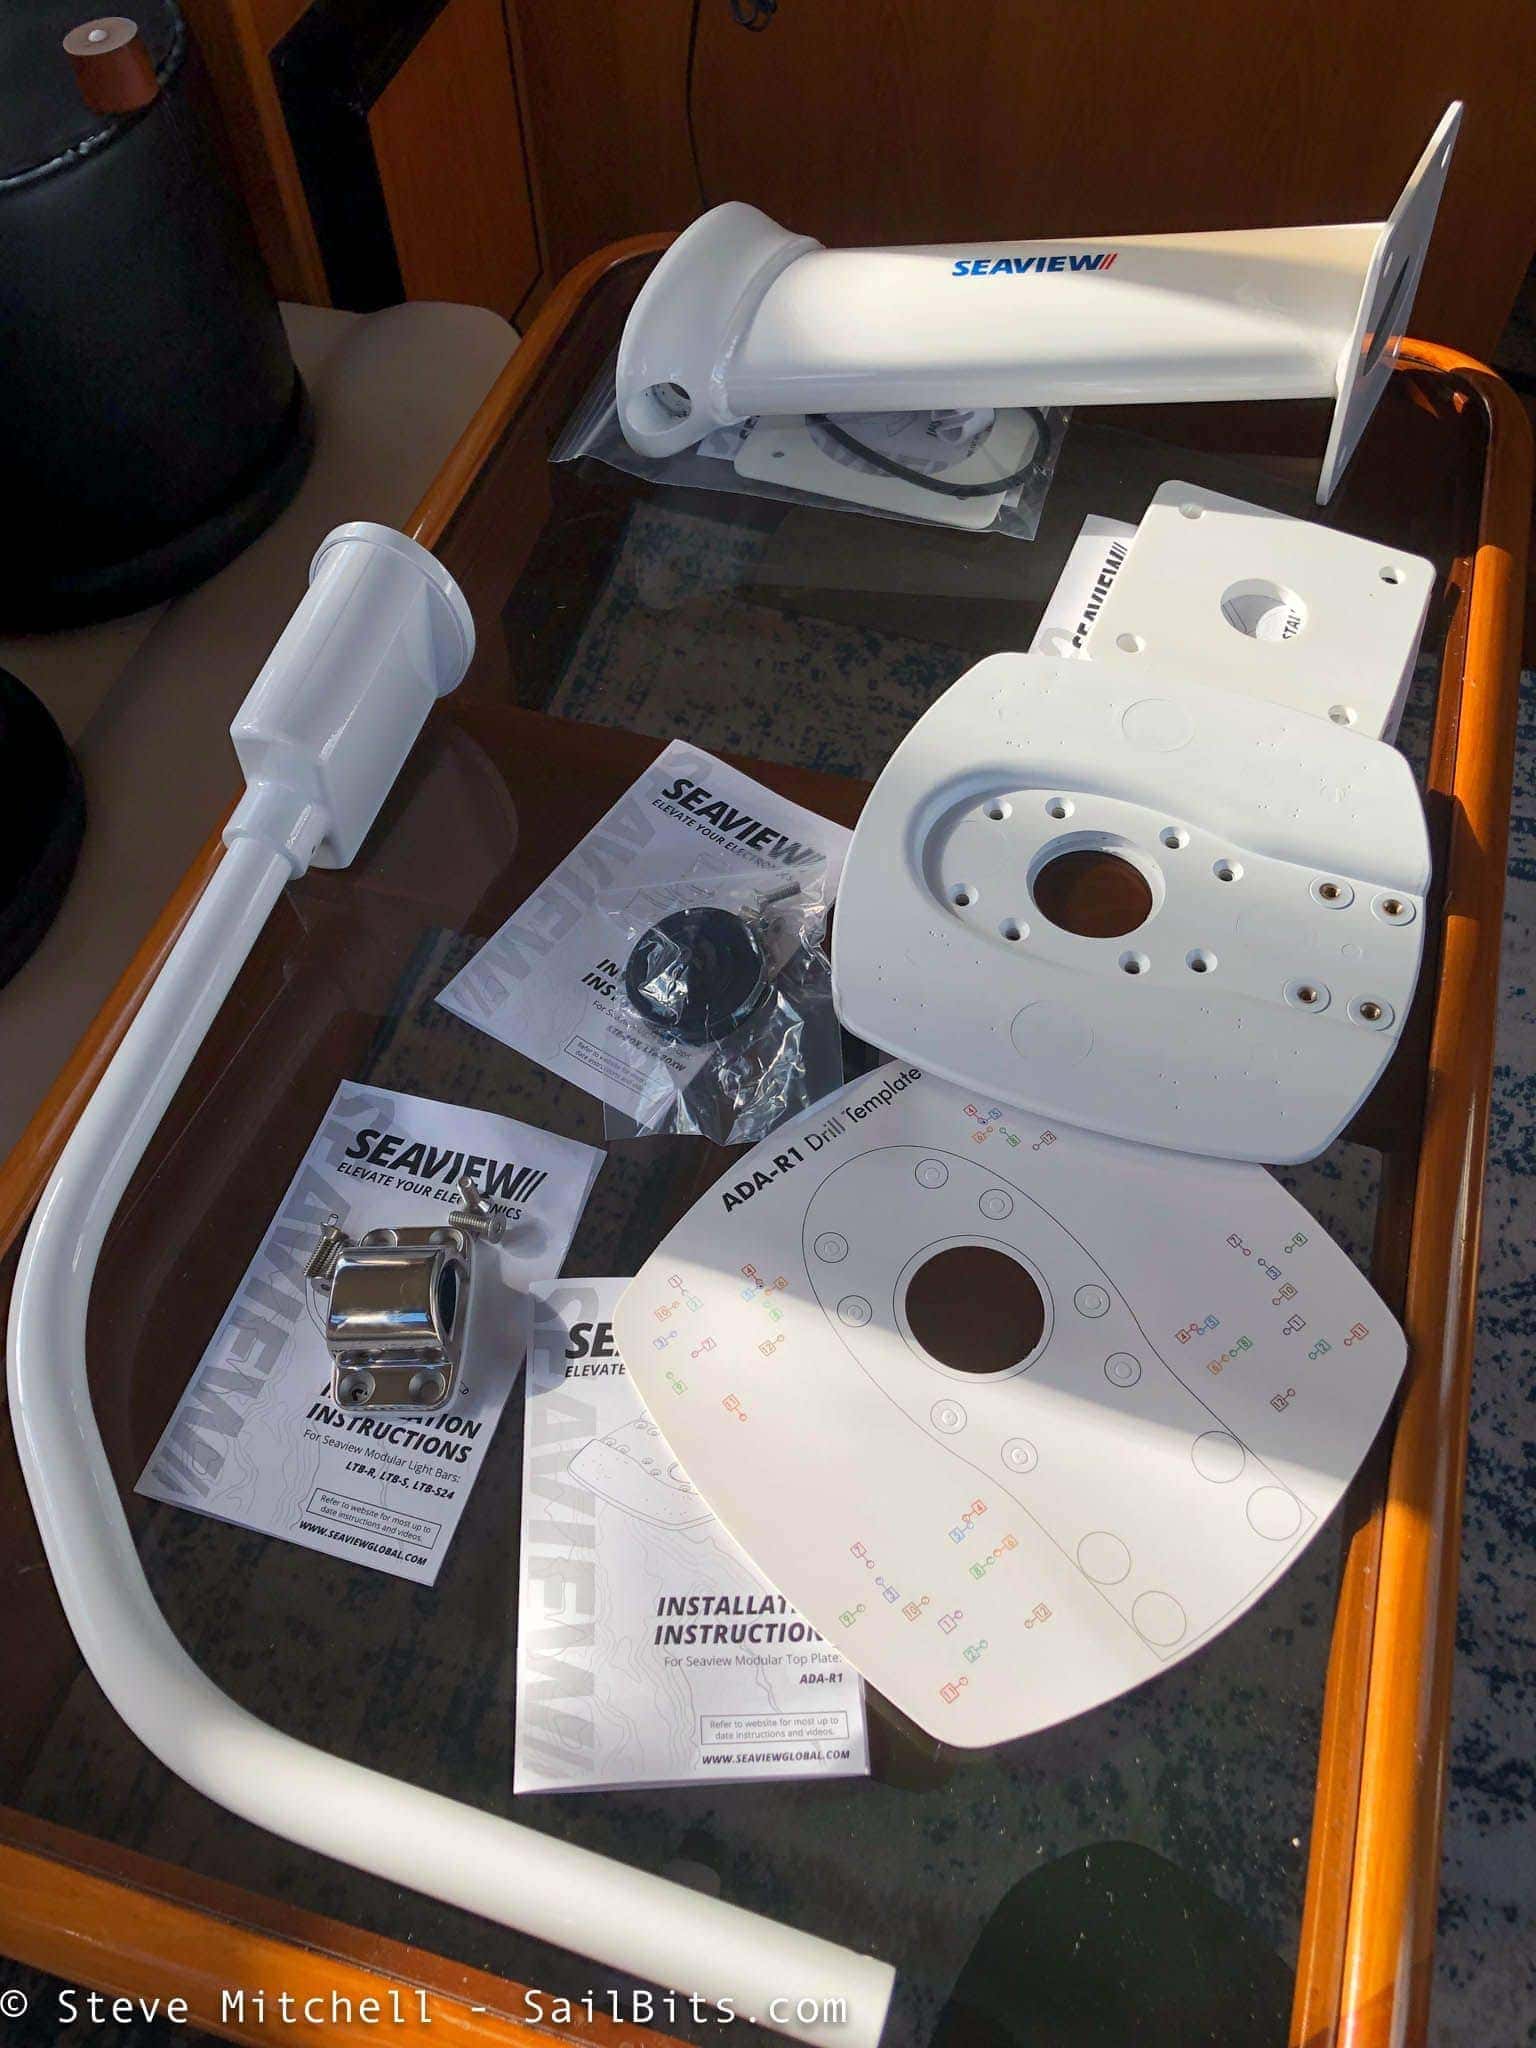
Modular mount
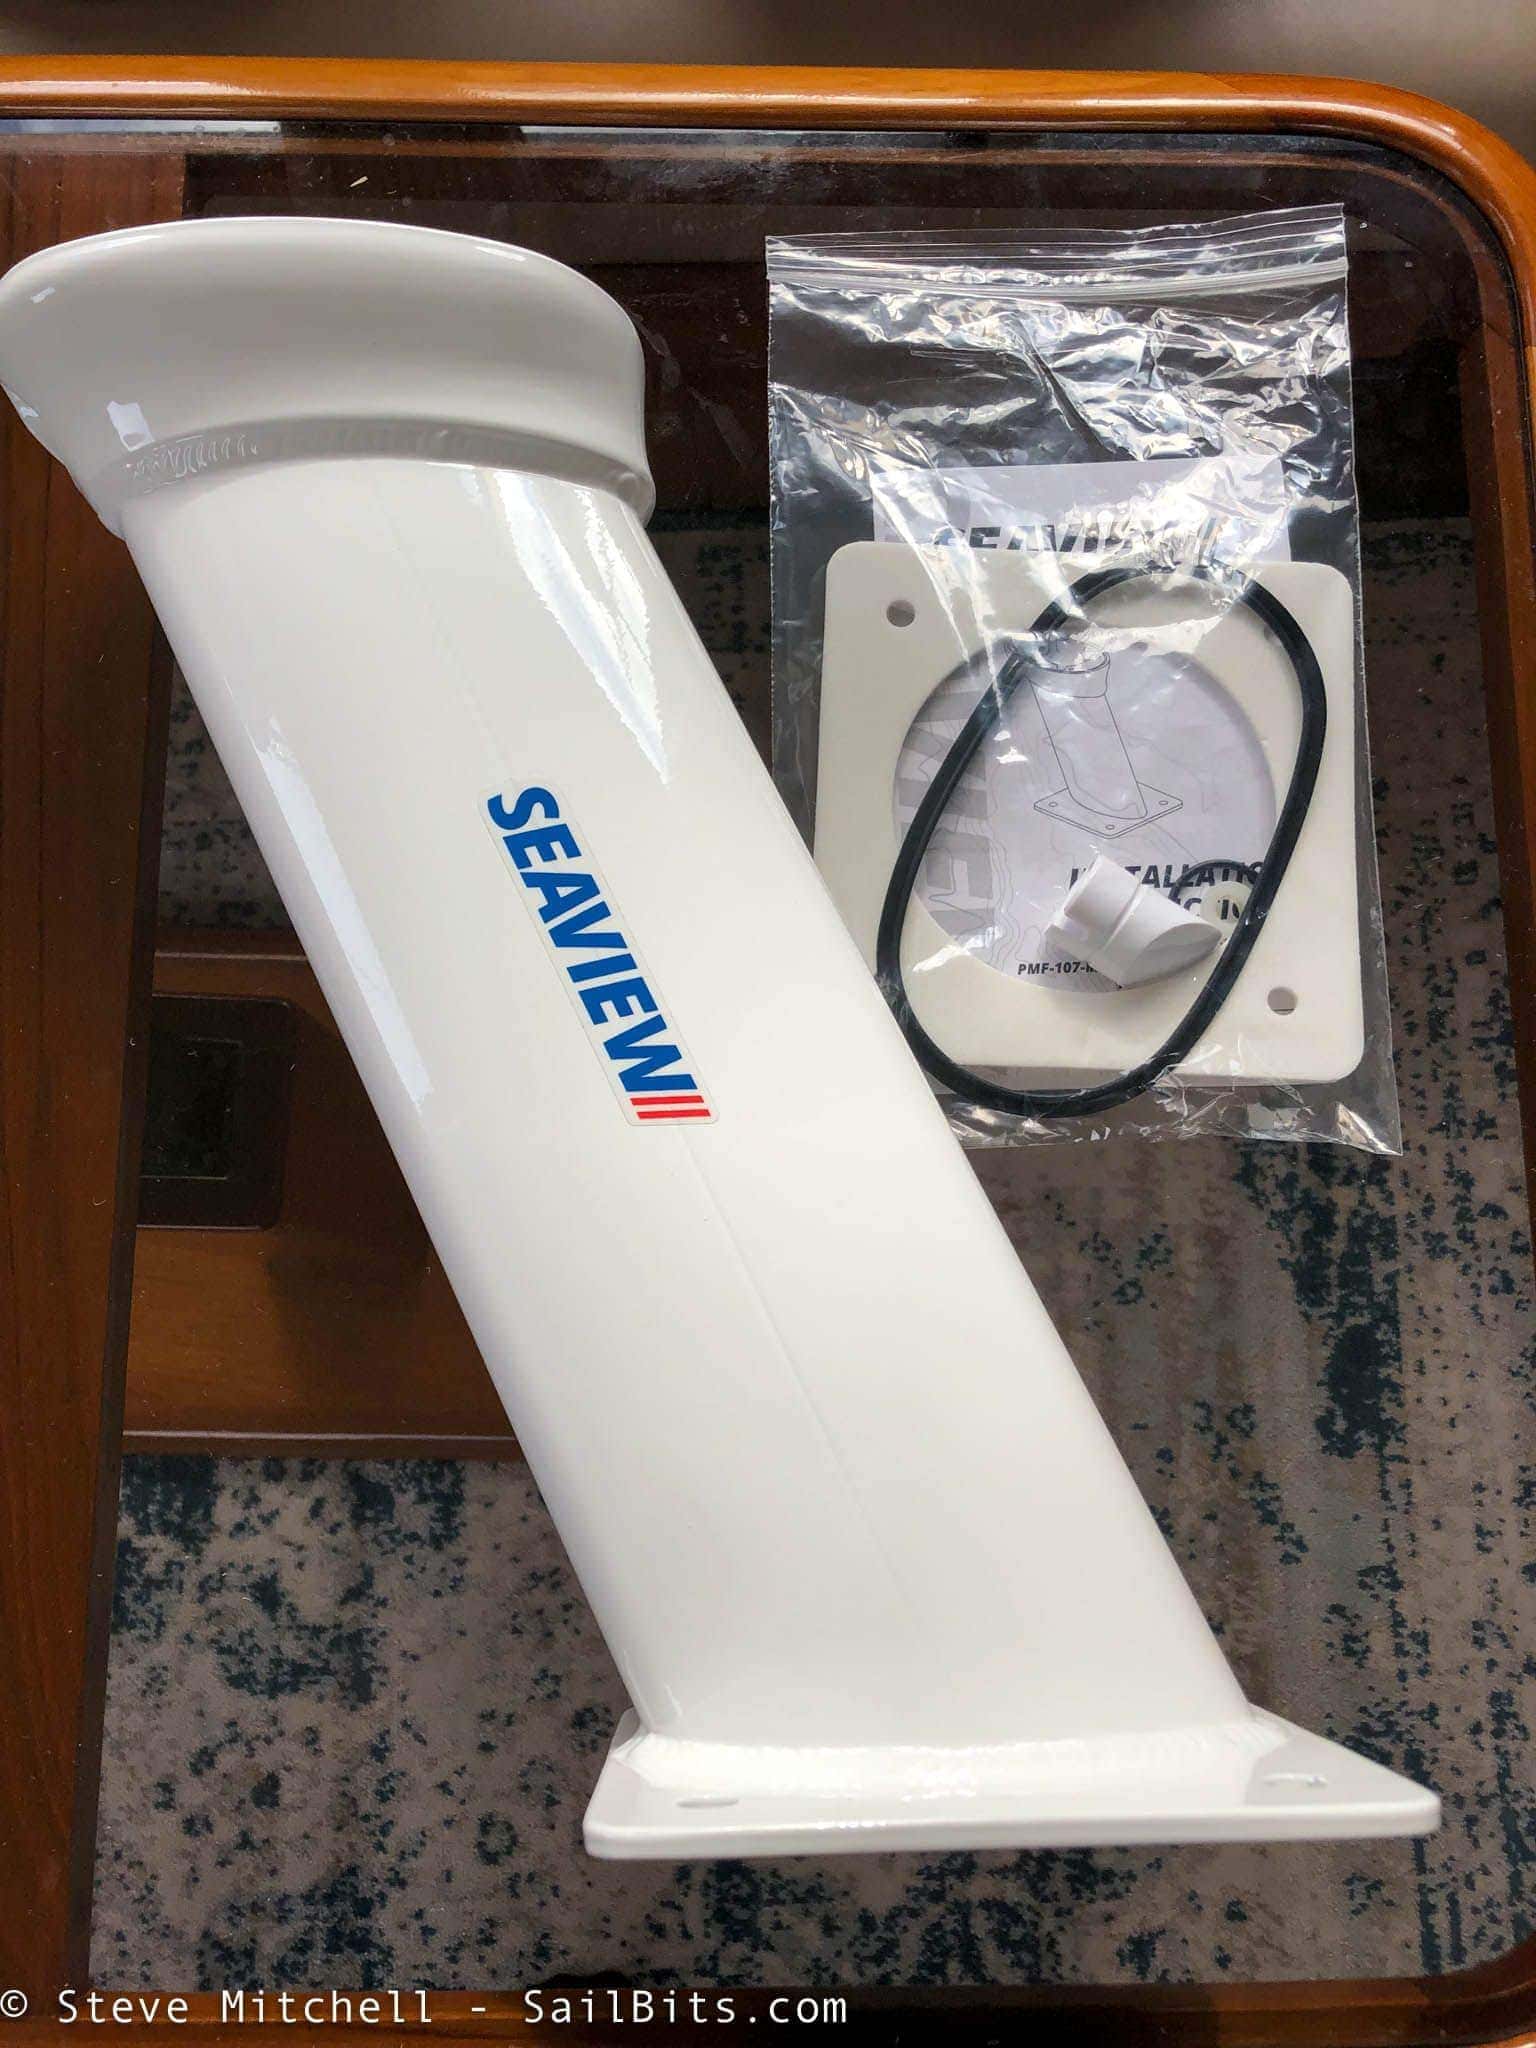
The radar mount itself is a big hunk of aluminum with sturdy mounting holes at the bottom, nice fat welds, and white paint that just so happened to match my arch color. It also comes with a plug which you can insert in the rear of the mount if you are not using a light bar or add on device.
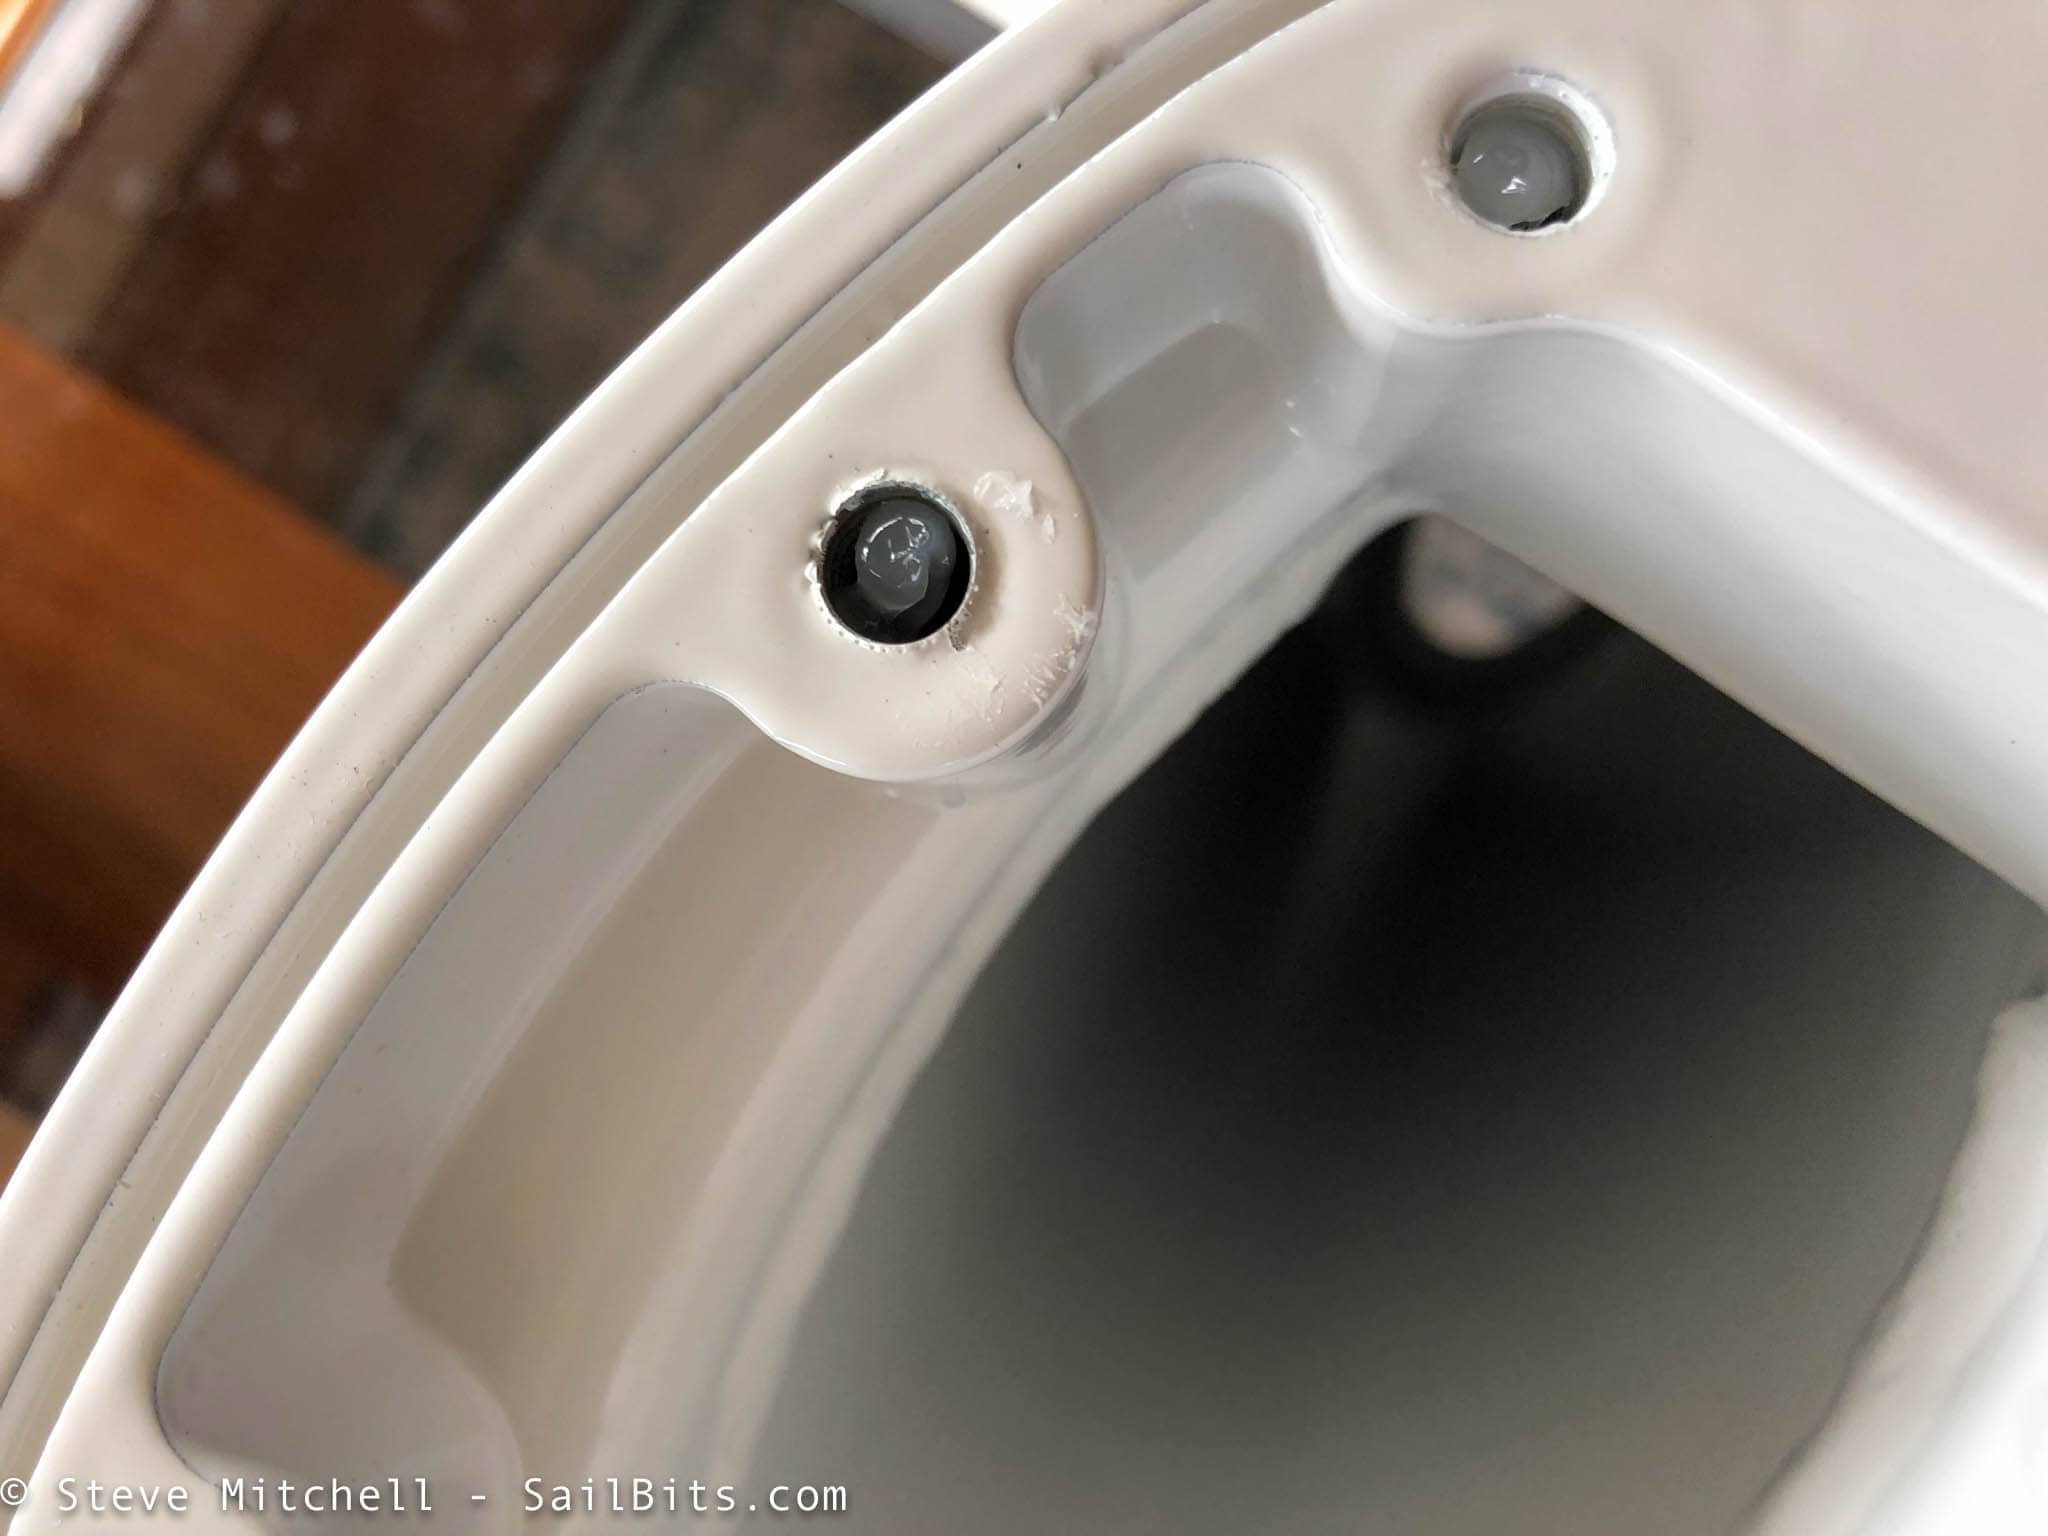
The top of the mount has integrated, threaded holes for the top plate, already pre-filled with grease, and a channel for the included rubber seal that you need to install.
Modular top plate

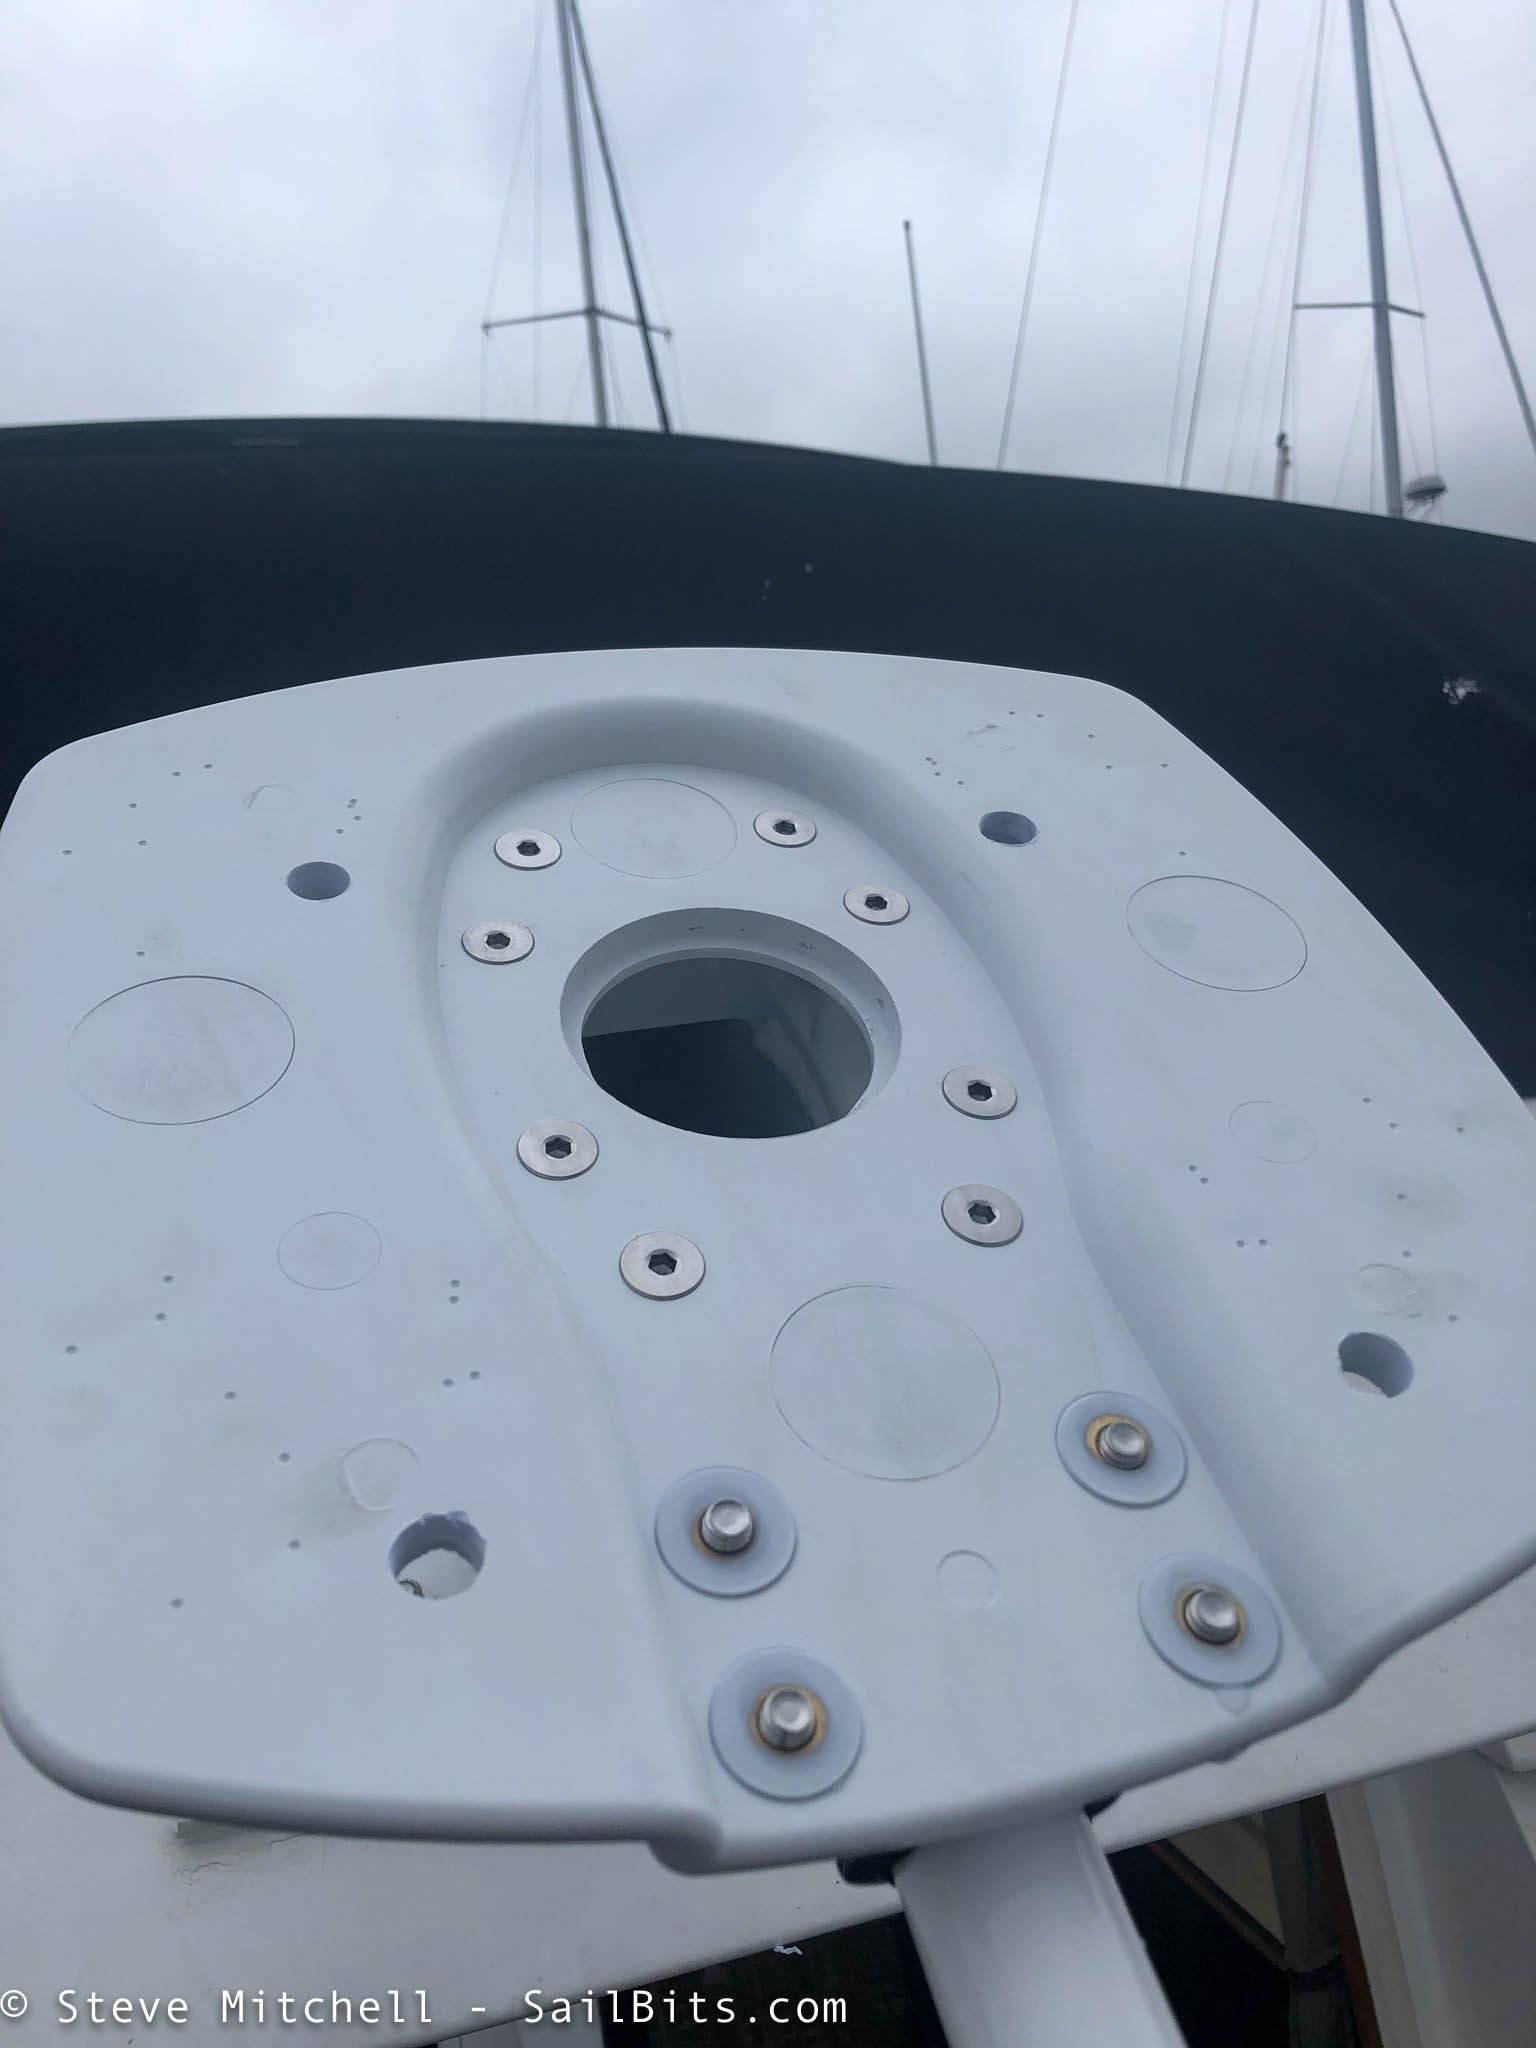
The modular top plate comes in a few different flavors, but this particular one seems like it is used for the majority of closed dome array radars. It comes with the mount itself, bolts for mounting it to the pole, a rubber seal for the middle hole, and a fun drill template.
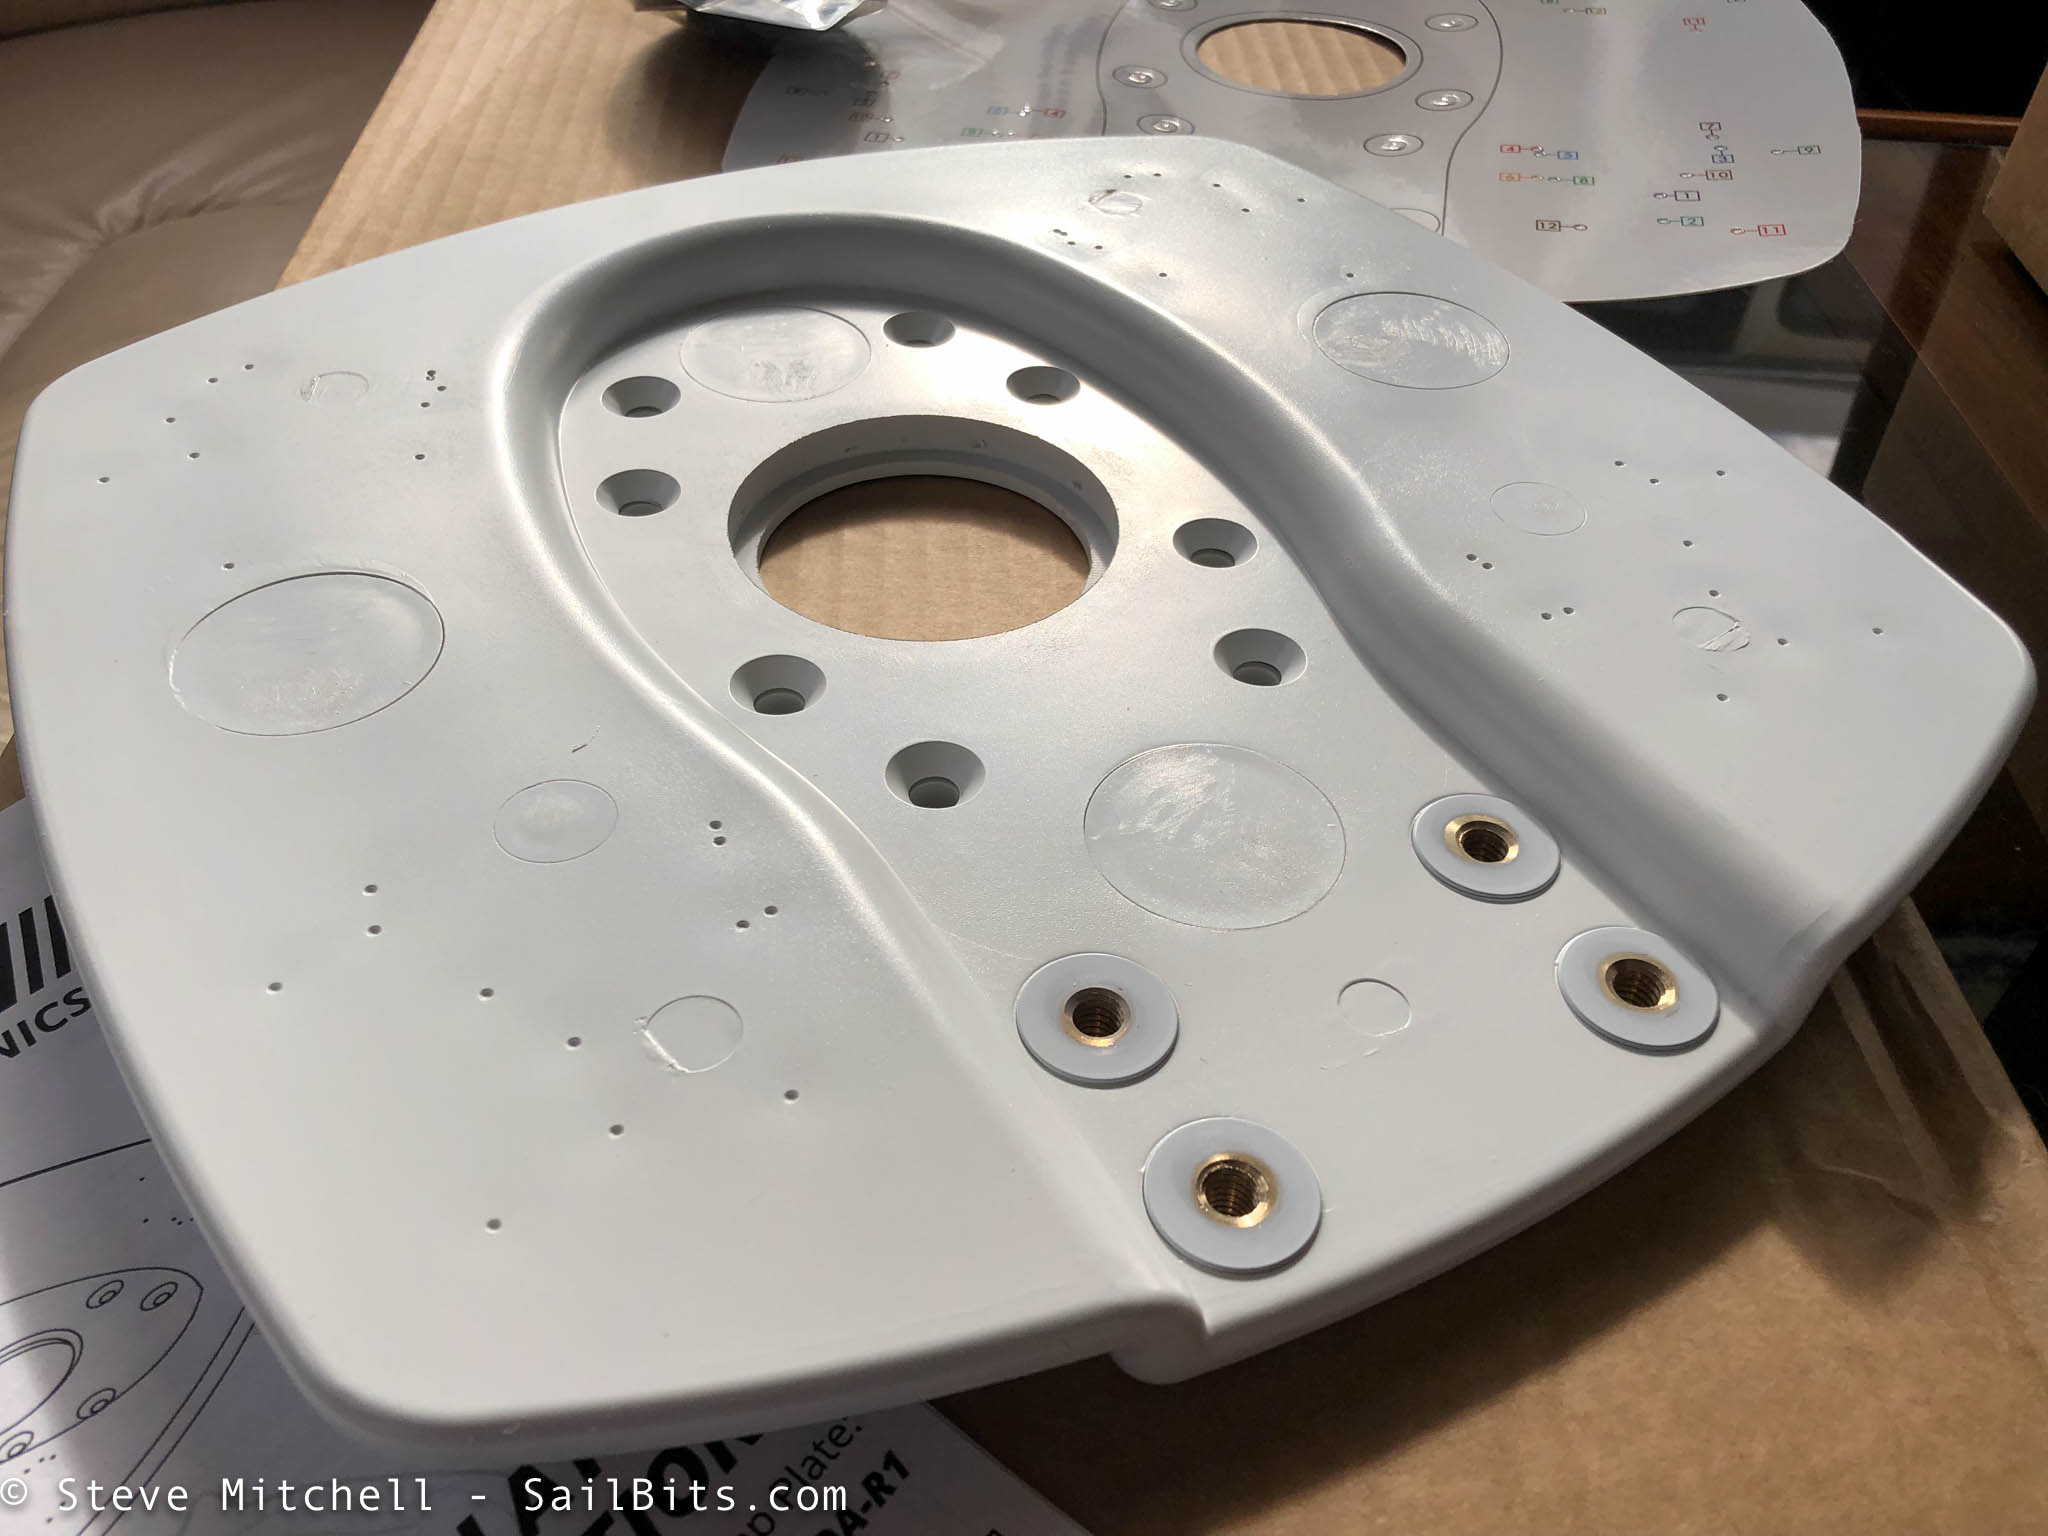
The plate itself quite heavy and appears to have metal inside of it coated with a starboard or plastic like substance. You can see tons of tiny dots on the outer edges, which indicate drill positions for various radars. In addition, the rear four threaded items are for the stern facing add on pole, which I would be installing. The 8 inset ones closer to the hole in the center were to mount it to the pole itself.

The drill template was fun – included in the manual is a list of many common radar vendors and models, and you match those with the colored numbers on the template to drill the mount out for your radar.
Wedge
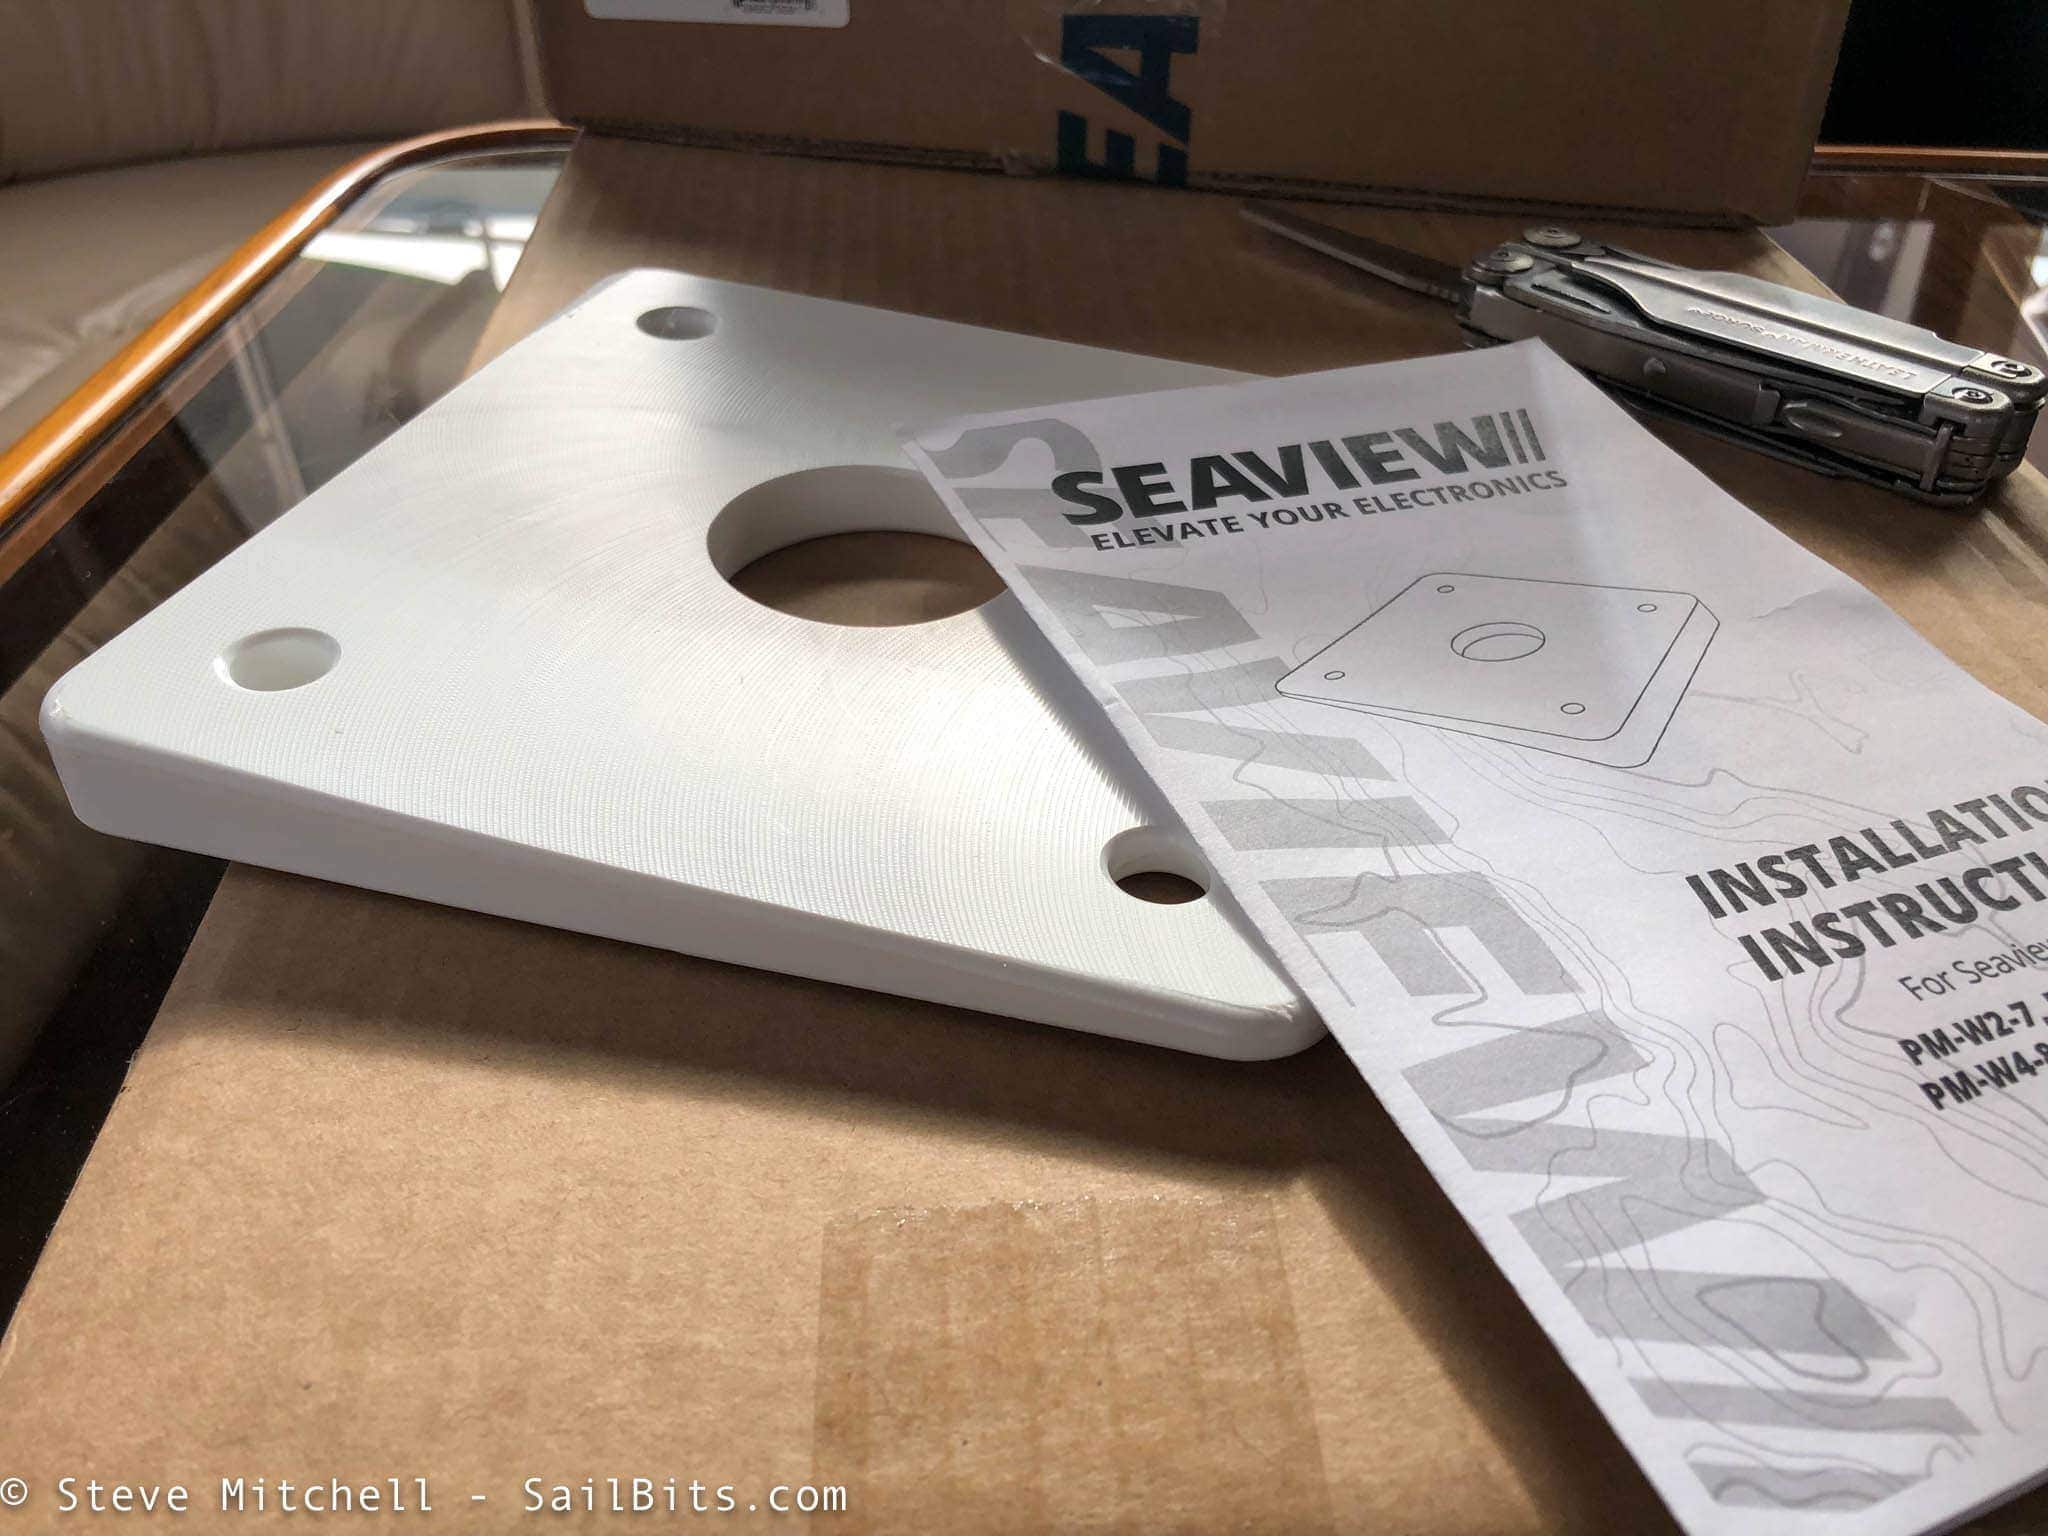
There are a lot of opinions on whether you should angle your radar depending on how your boat is normally oriented versus when you are creeping along in fog, etc. I chose to angle my radar down 4 degrees, which seems to be a pretty common for boats of this size and displacement/angle. The plate itself mounts under the bottom of the entire mount.
Light box
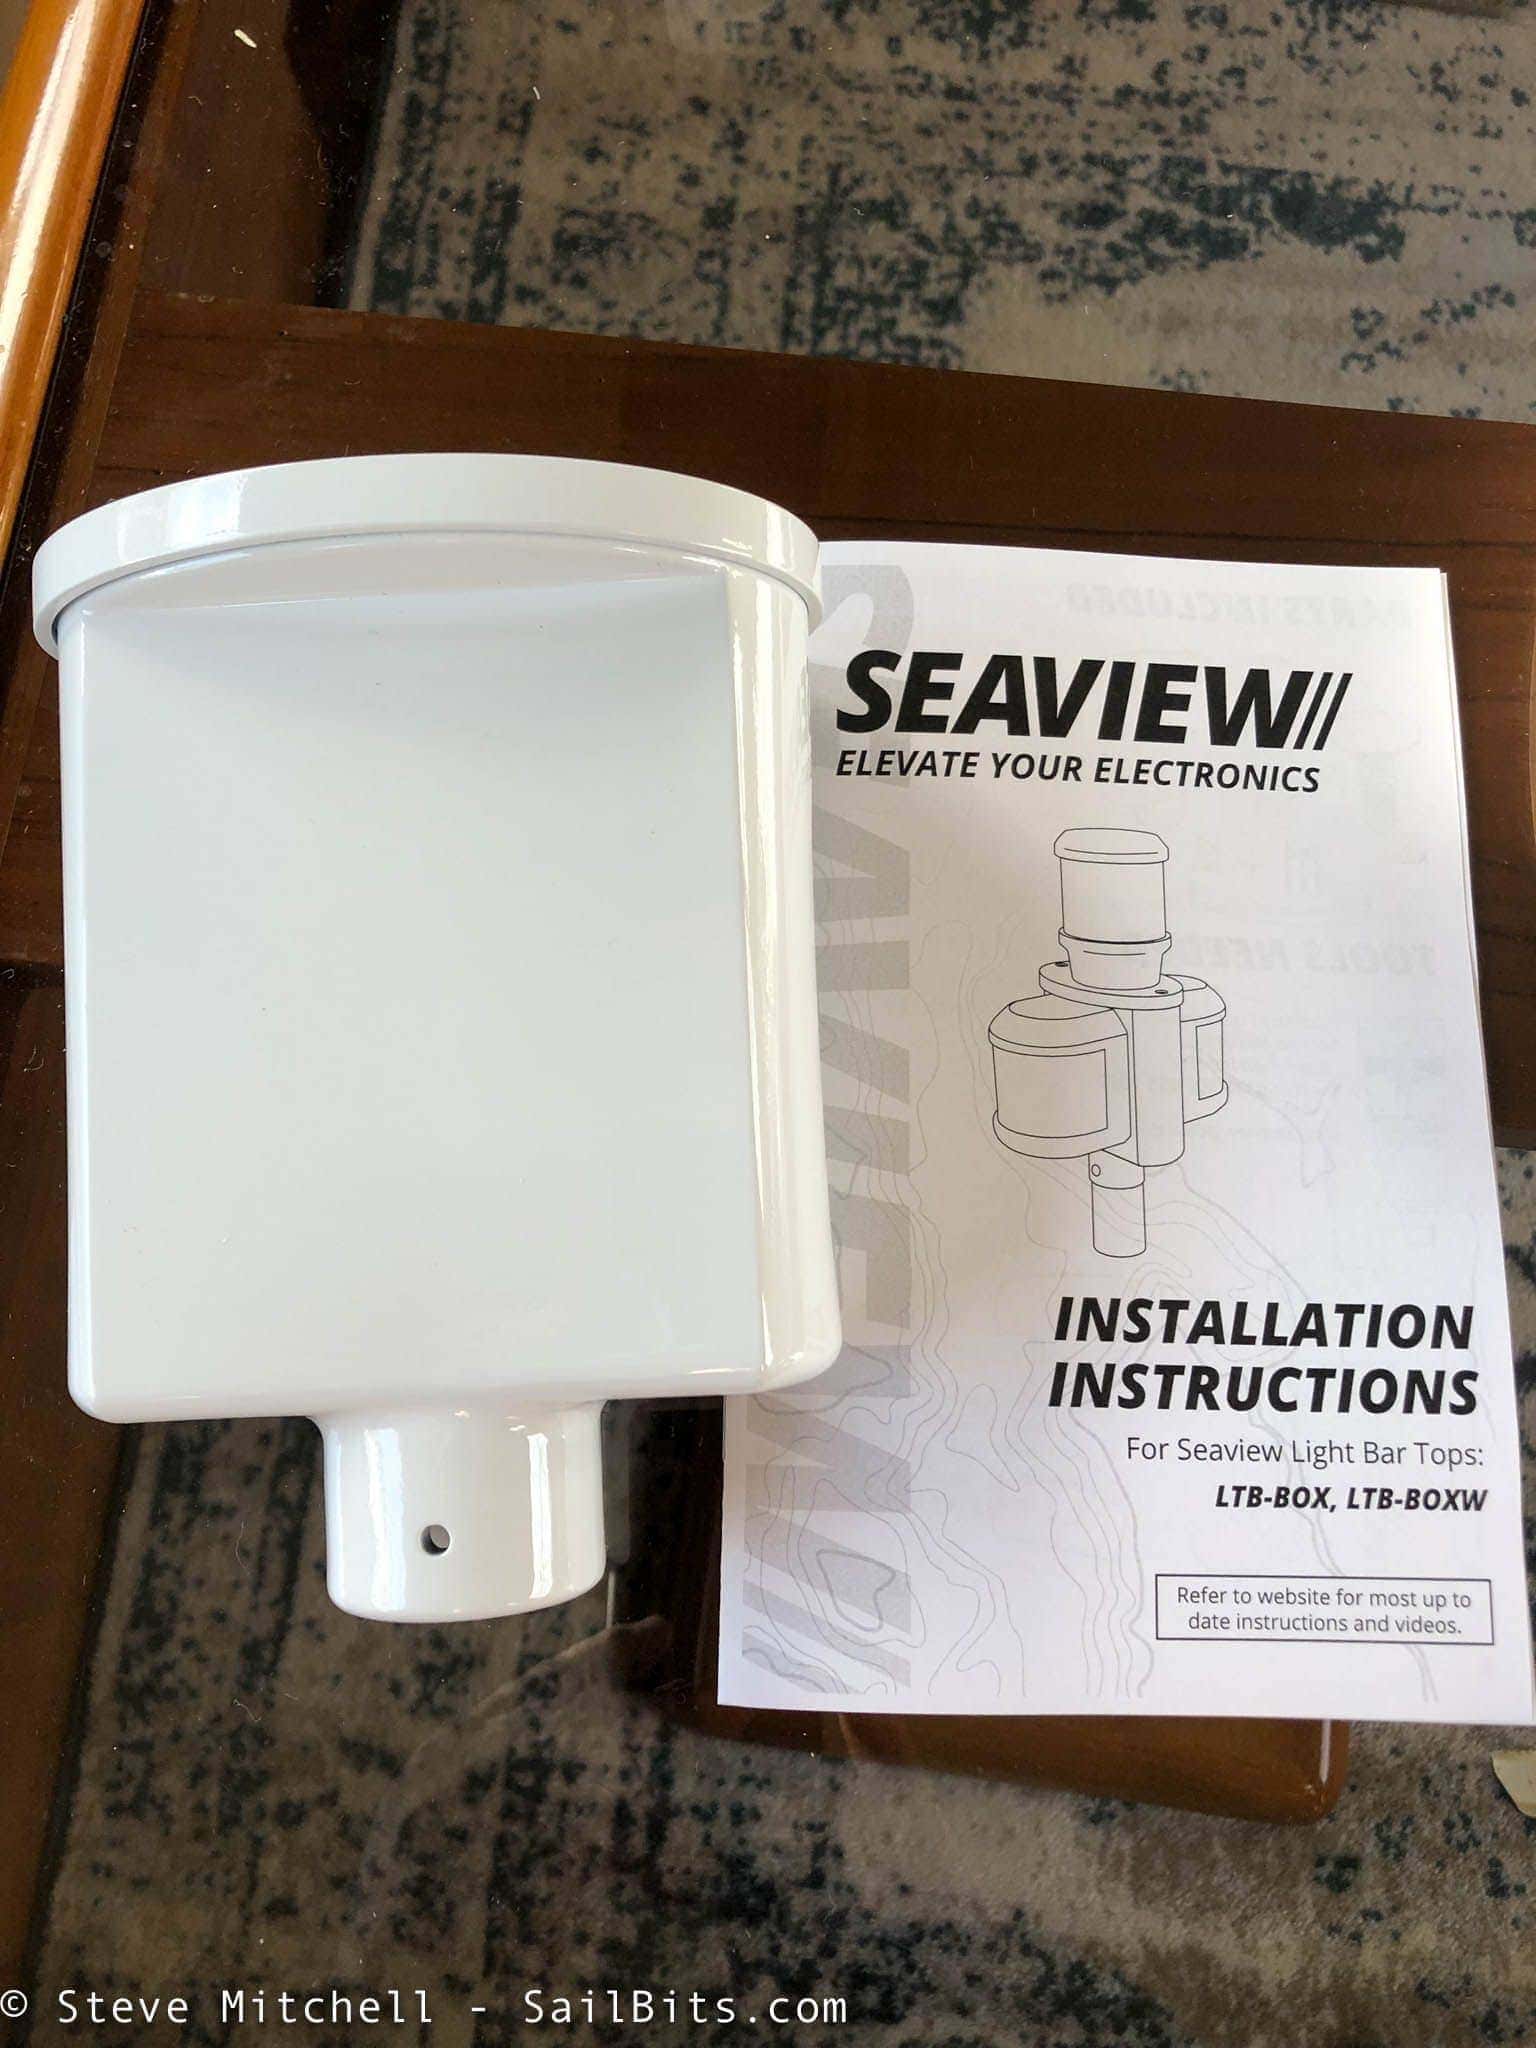
The light box was, strangely enough, the most interesting part of the entire solution to me. Yes, I was installing a brand new Furuno doppler radar with all sorts of features, but the light box held my interest far more! As I mentioned above, I had been searching for a good solution for my navigation lights, and this fit the bill.
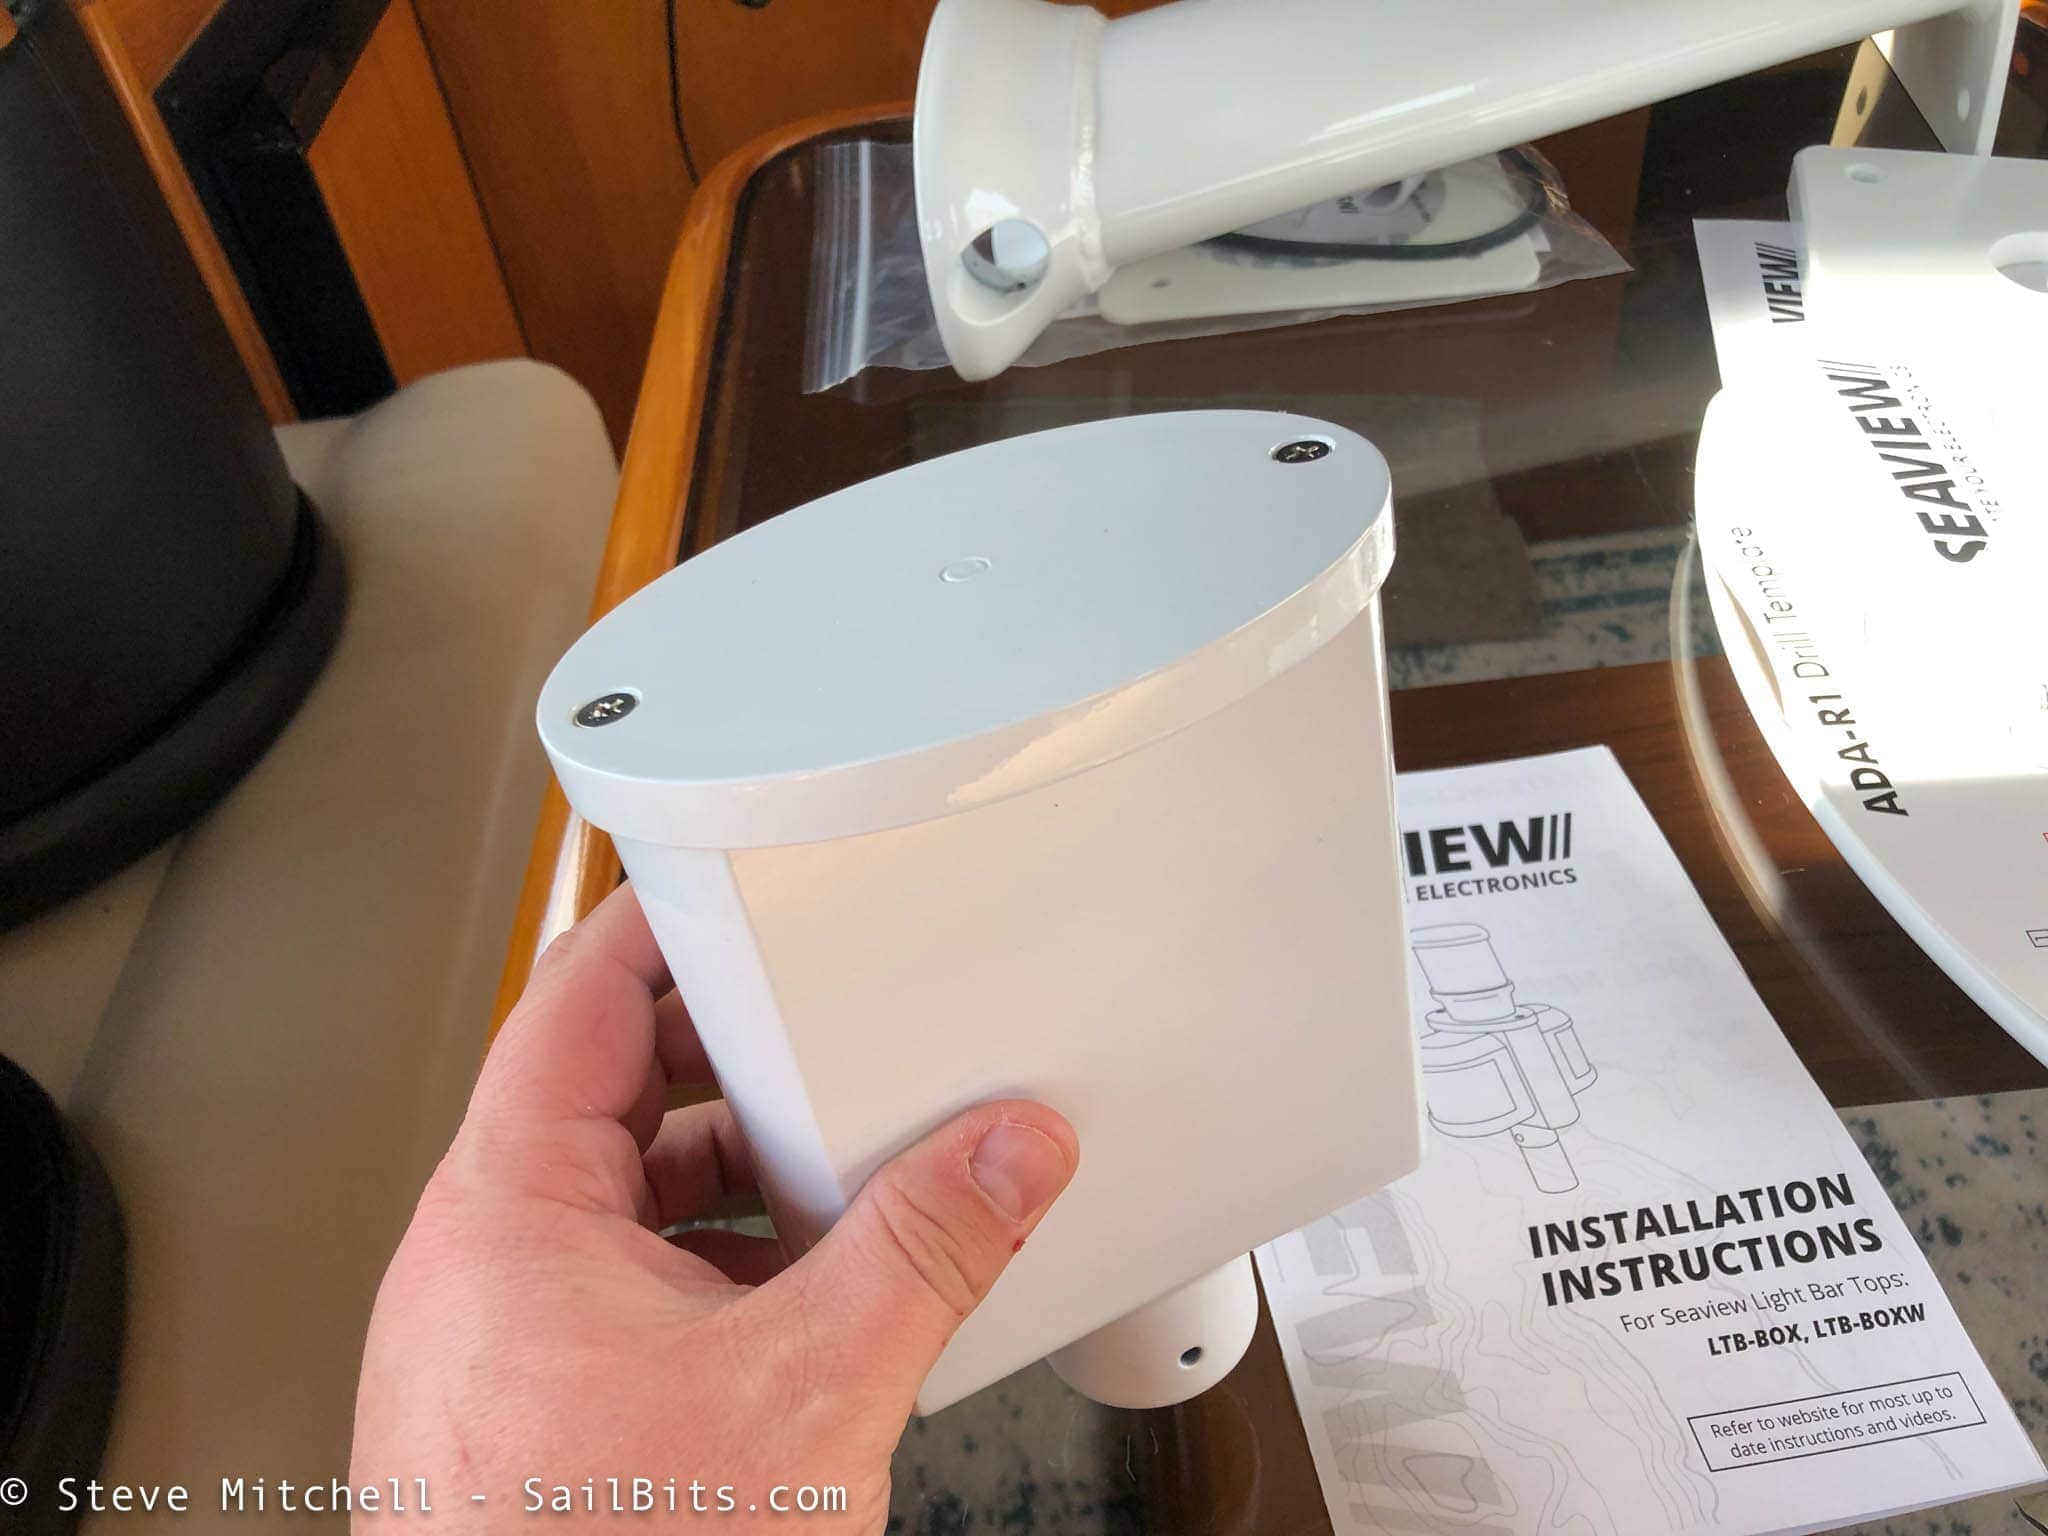
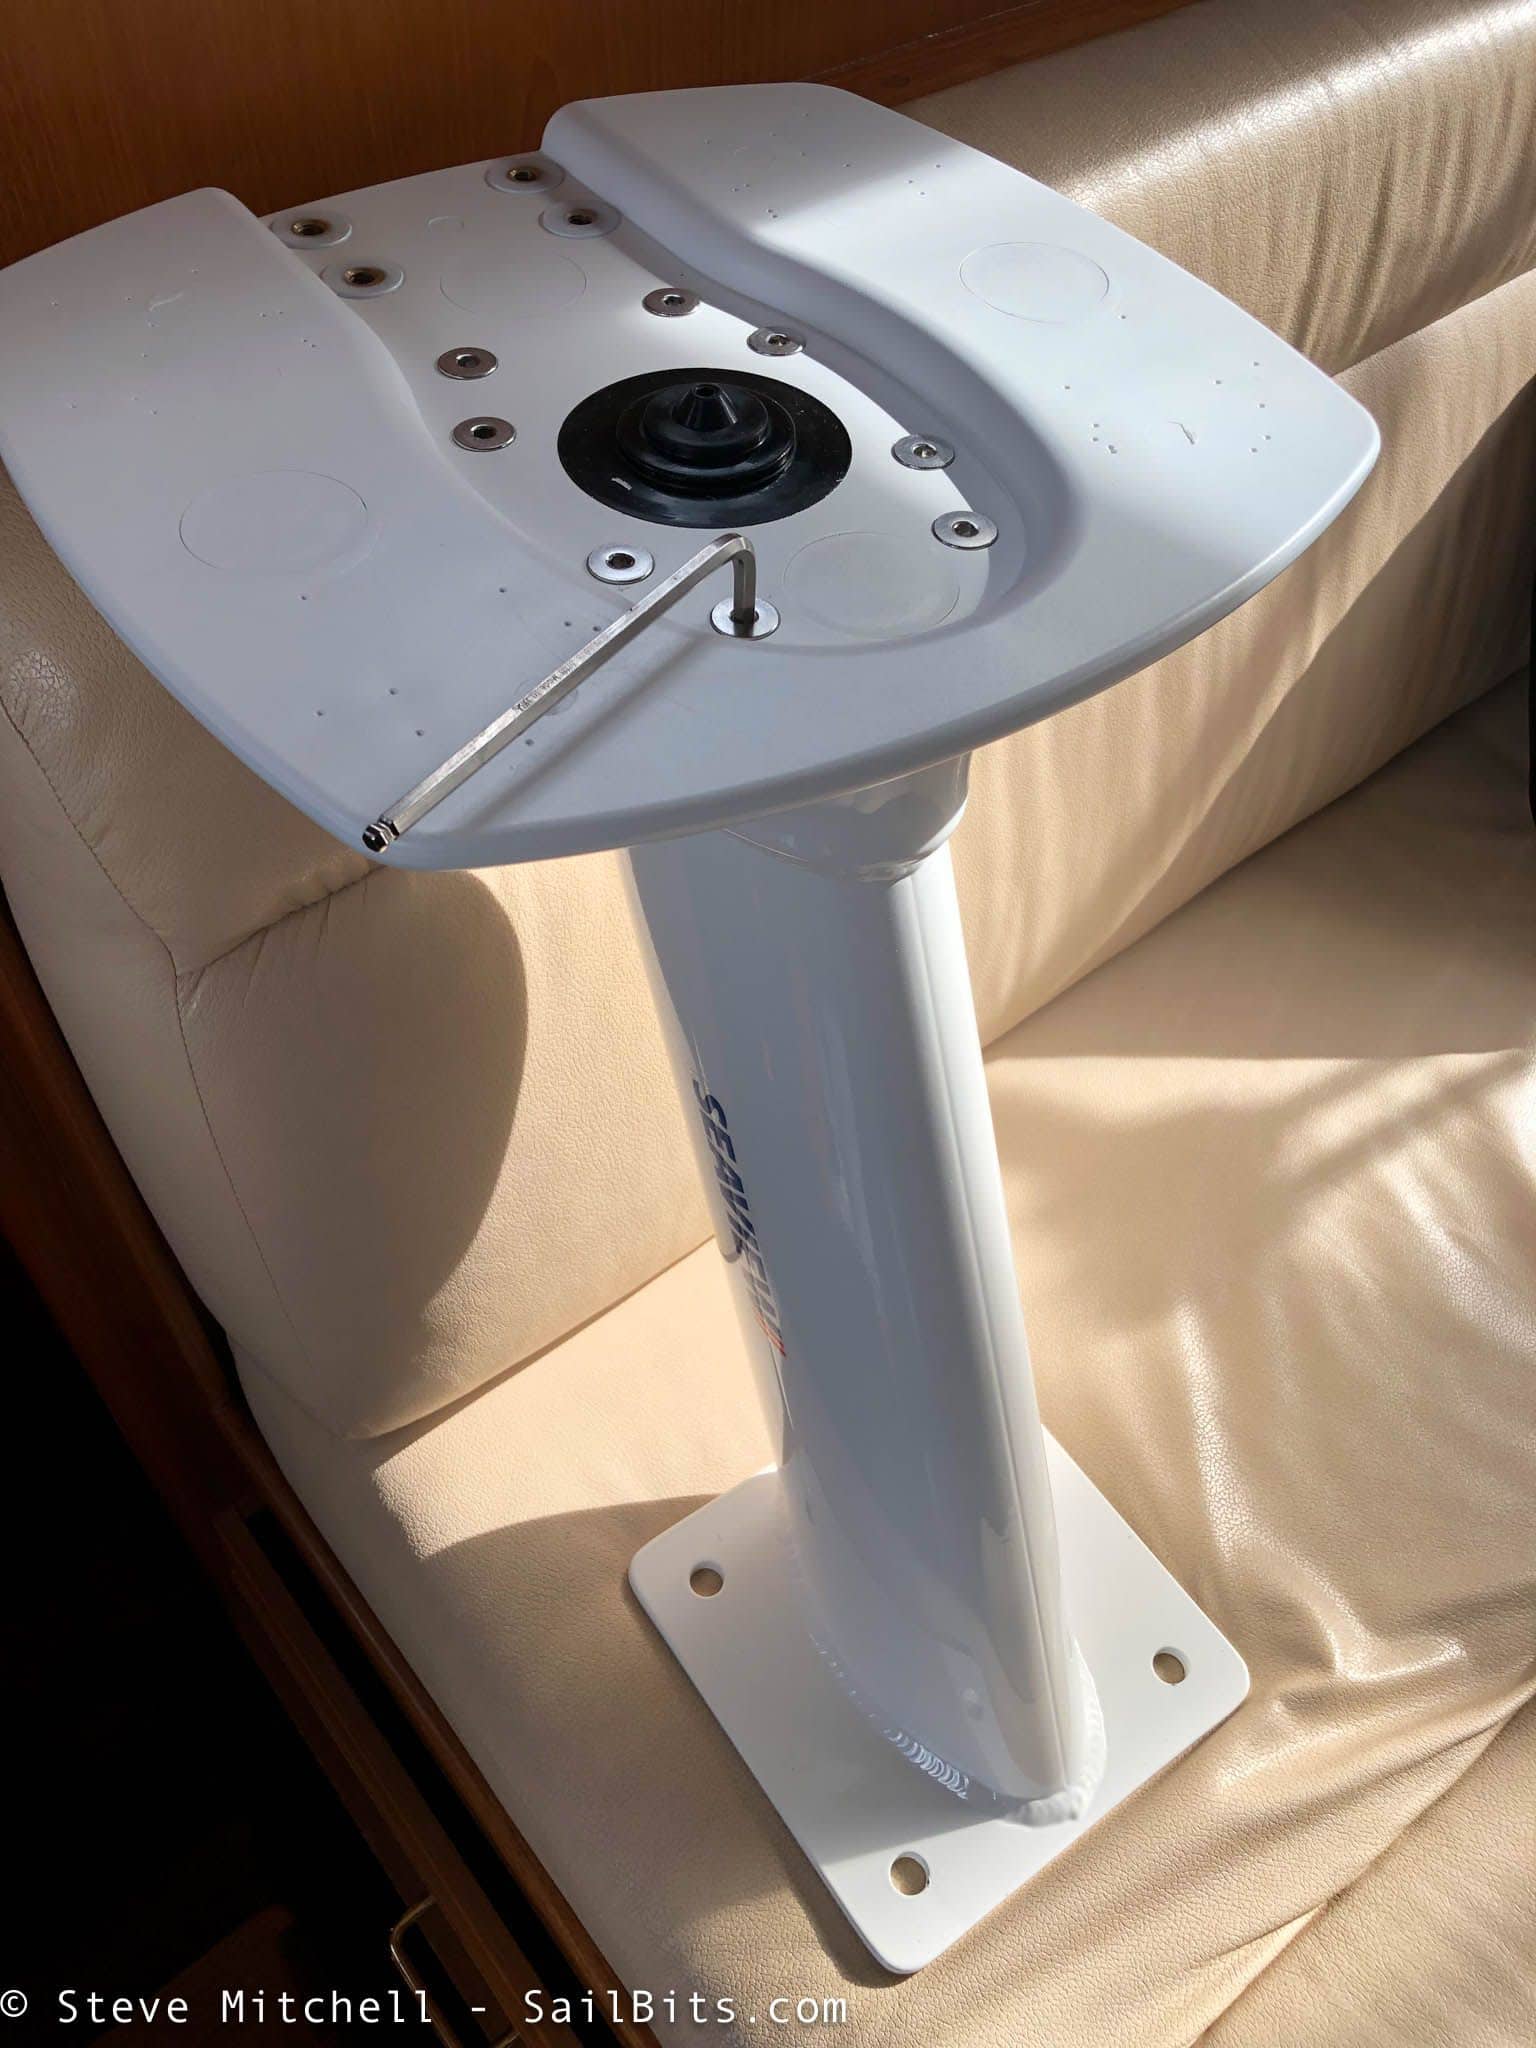
The box itself attaches to the light bar, and mounts to the back of the entire setup. It also has access to the inside of the box through the removable top, making it easy to get all of your wiring done in a small space.
Test fit

I always believe that test fitting anything you’re putting on the boat is an important part prior to installation. This has saved me countless hours and mistakes by validating everything from hole sizes to general approaches and wiring paths.
In the picture above, you can see the entire mount attached to the arch, minus the radar itself, navigation lights, and with a pretty messed up mounting at the bottom from the removal of the previous mount.
However, everything looked good, so I proceeded with the rest of the installation.
Navigation lights
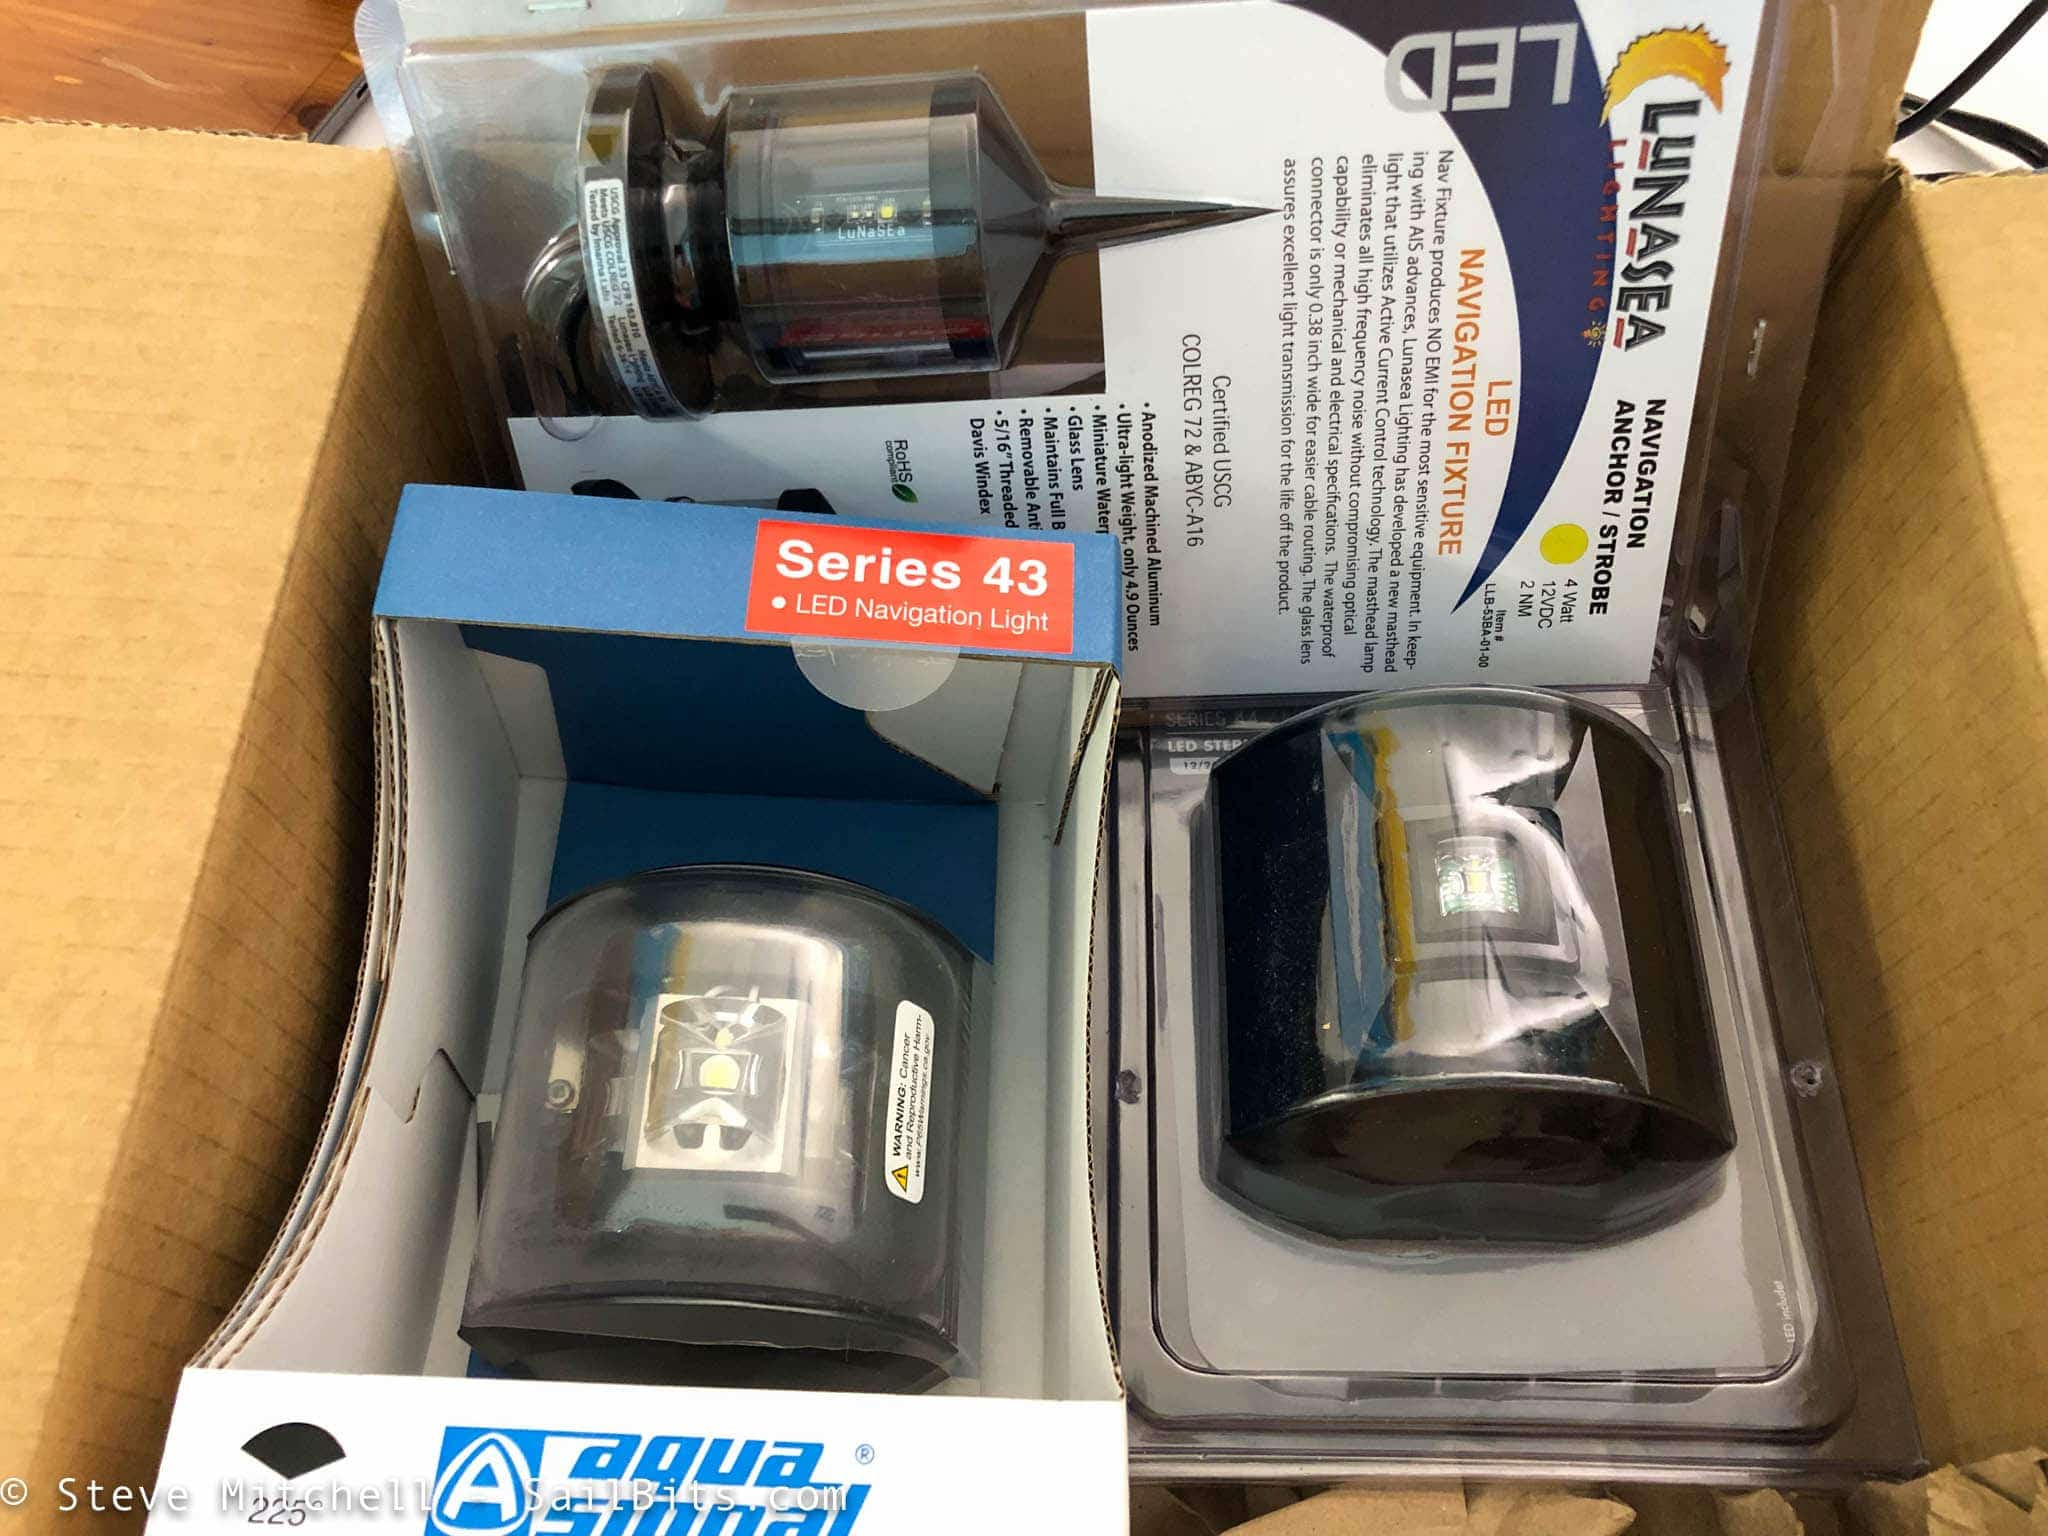
The Seaview light box is compatible with Aqua Signal Series 40/41 lights, which worked out well, as Rendezvous existing lights were made by a German company and leveraged the same size and mounting options. Having a consistent look is important to me.
I did choose to purchase new lights as the old ones were in various states of disrepair, and new LED lights should last a long time.

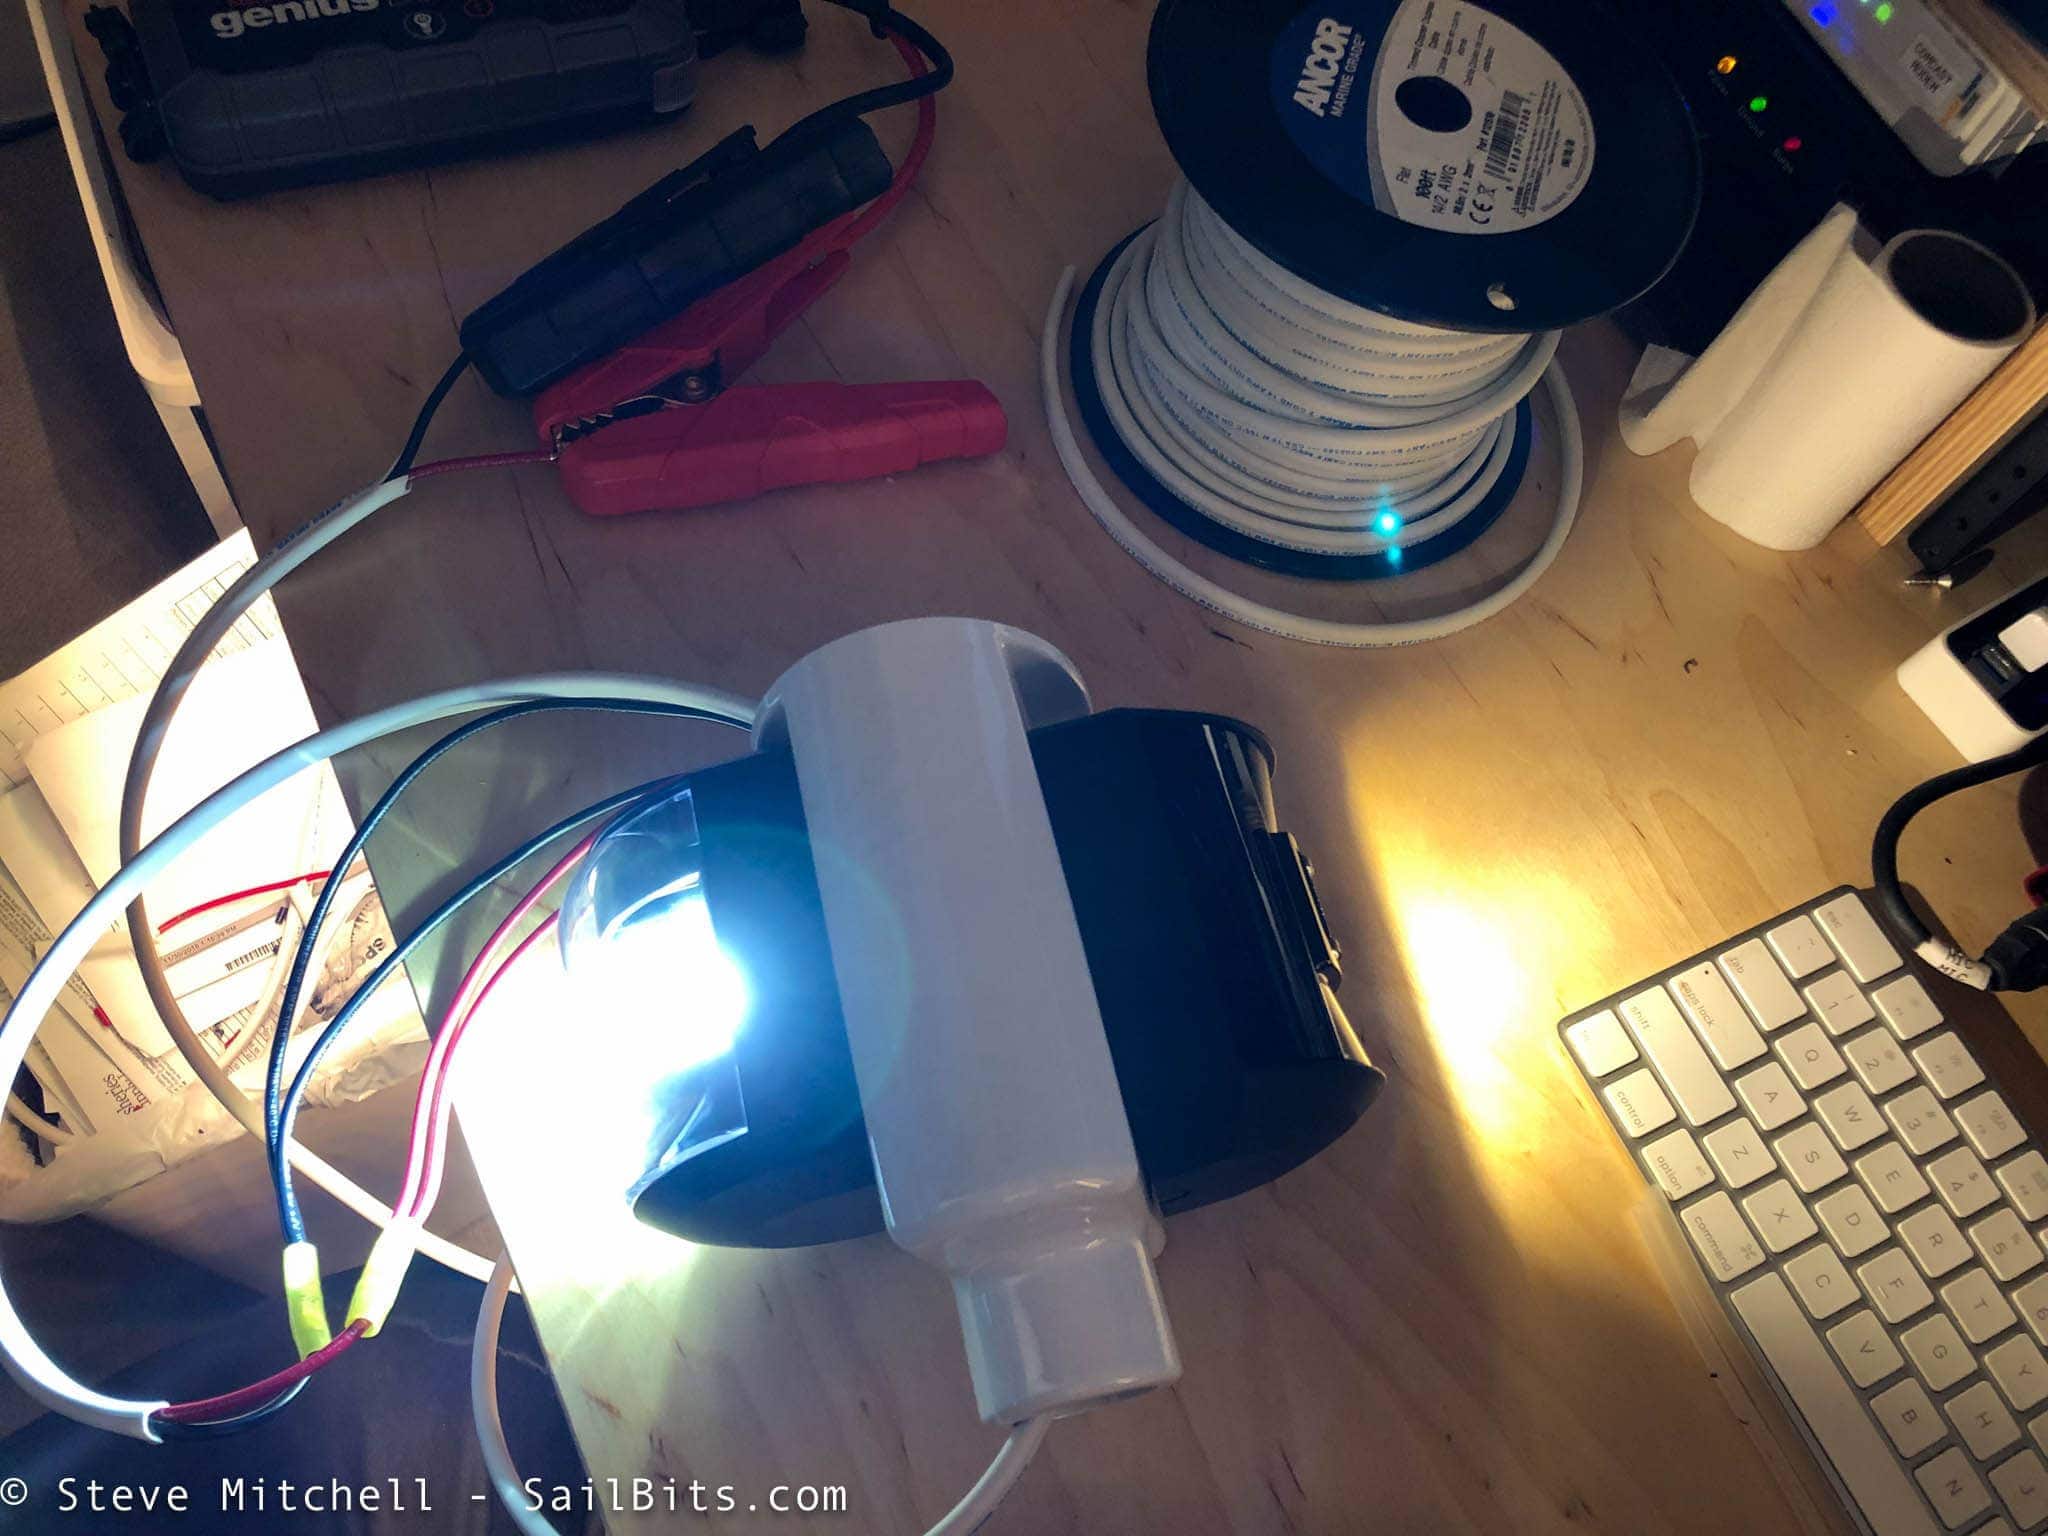
For the forward steaming light, an Aqua Signal Series 43 in black. For the stern light, I chose an Aqua Signal Series 44 in black as well. For the anchor light, I chose the same wonderful light I used on Grace when I did major mast work, the LunaSea anchor light – this thing is a like a mini-sun at night, and has a sensor to turn the light on and off at dusk and dawn respectively, plus a nice bird spike to keep things clean.
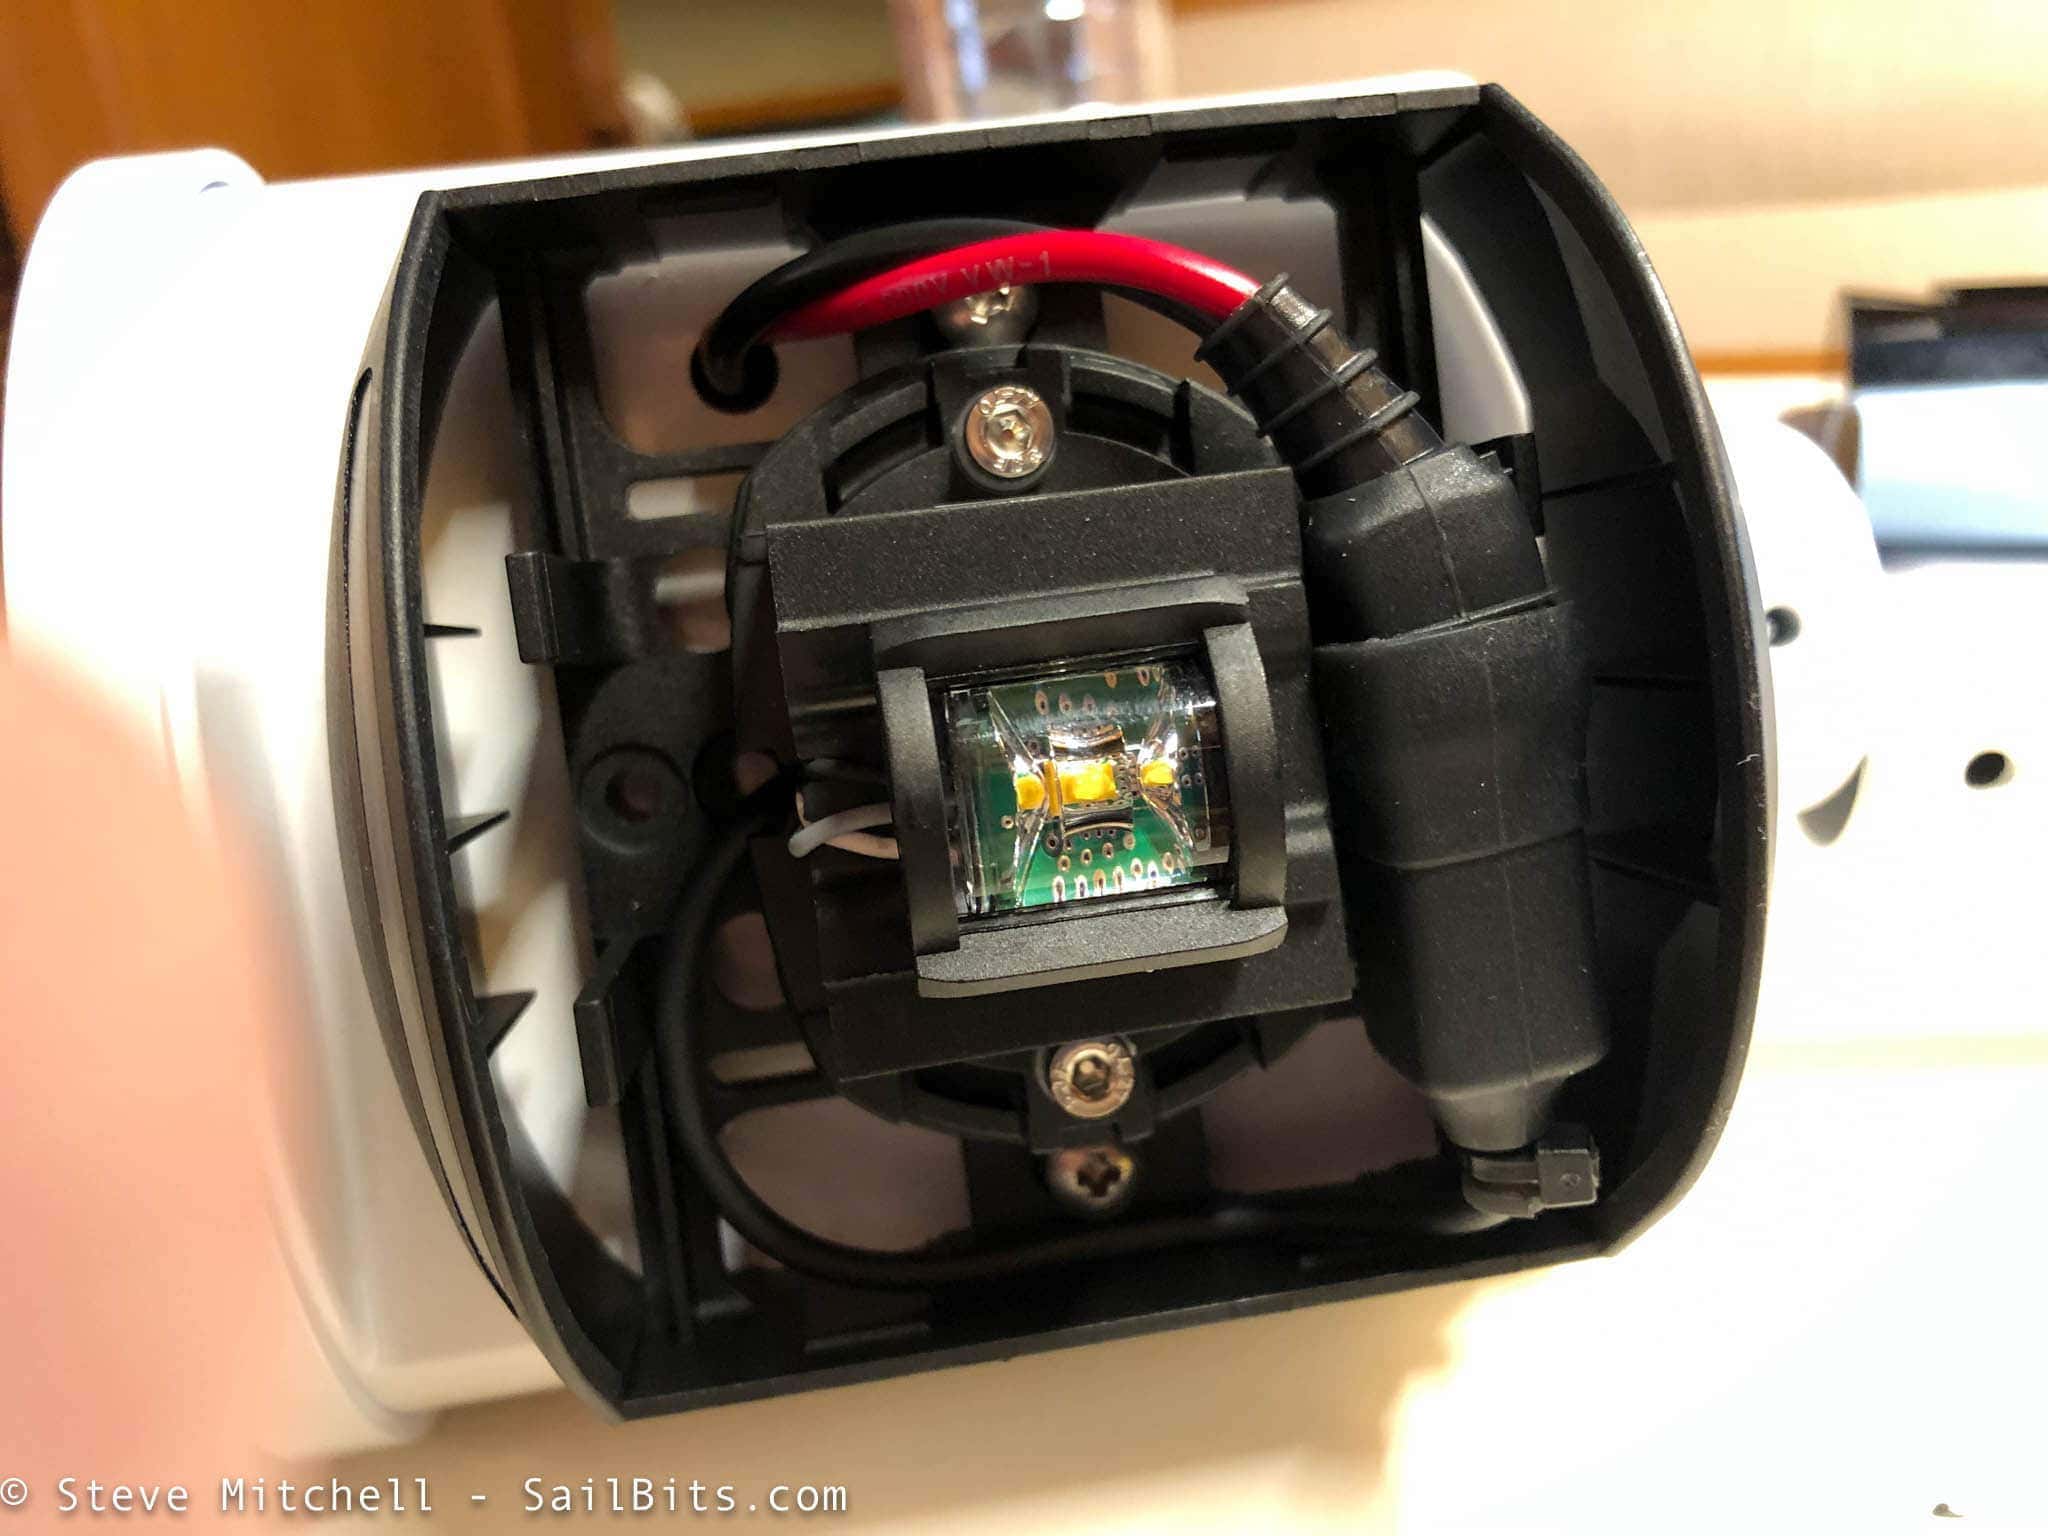
I will say that the Aqua Signal Series 43 is my least favorite navigation light to wire in recent memory. The connections on the back of it were designed by someone who wants to torture the installer, and I have concerns about long term viability as a result of that wiring. Conversely, the Aqua Signal Series 44 stern light (pictured above) was very well designed, with a waterproof connector to attach wires to, and an easy way to disconnect things if you need to service or clean the light.
Mounting the two Aqua Signal lights on the Seaview light box was pretty straightforwards – the box is easy to drill into, and the lights had plenty of mounting choices hole-wise.
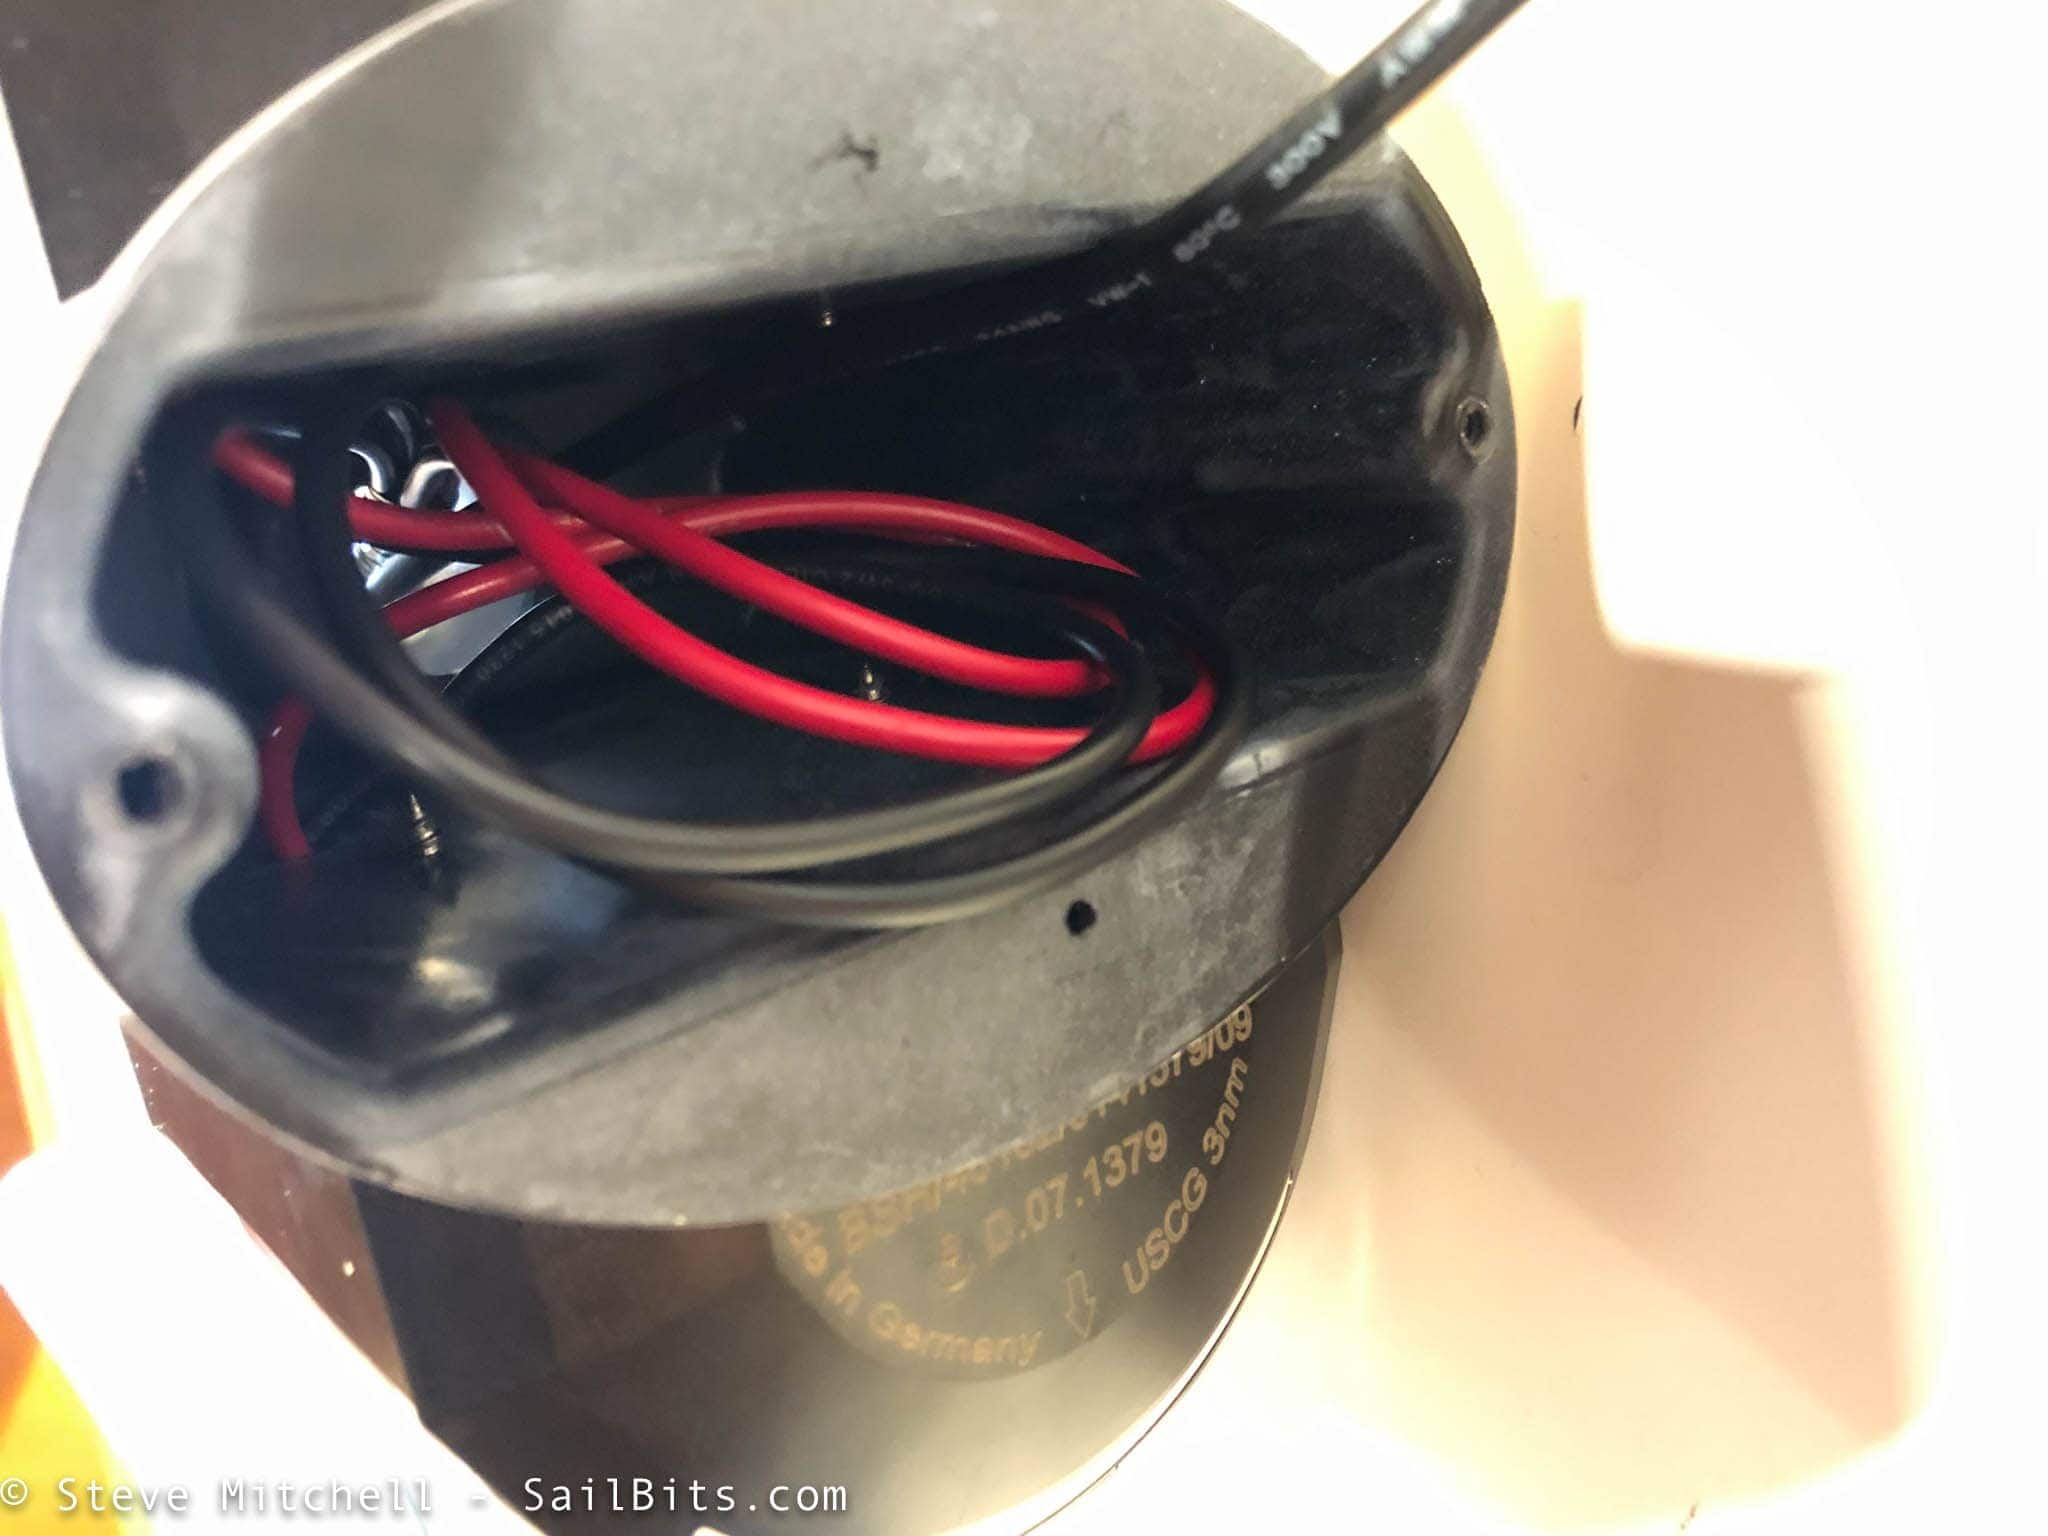
There’s also a decent amount of room inside the box to work with the wires once you have things mounted.
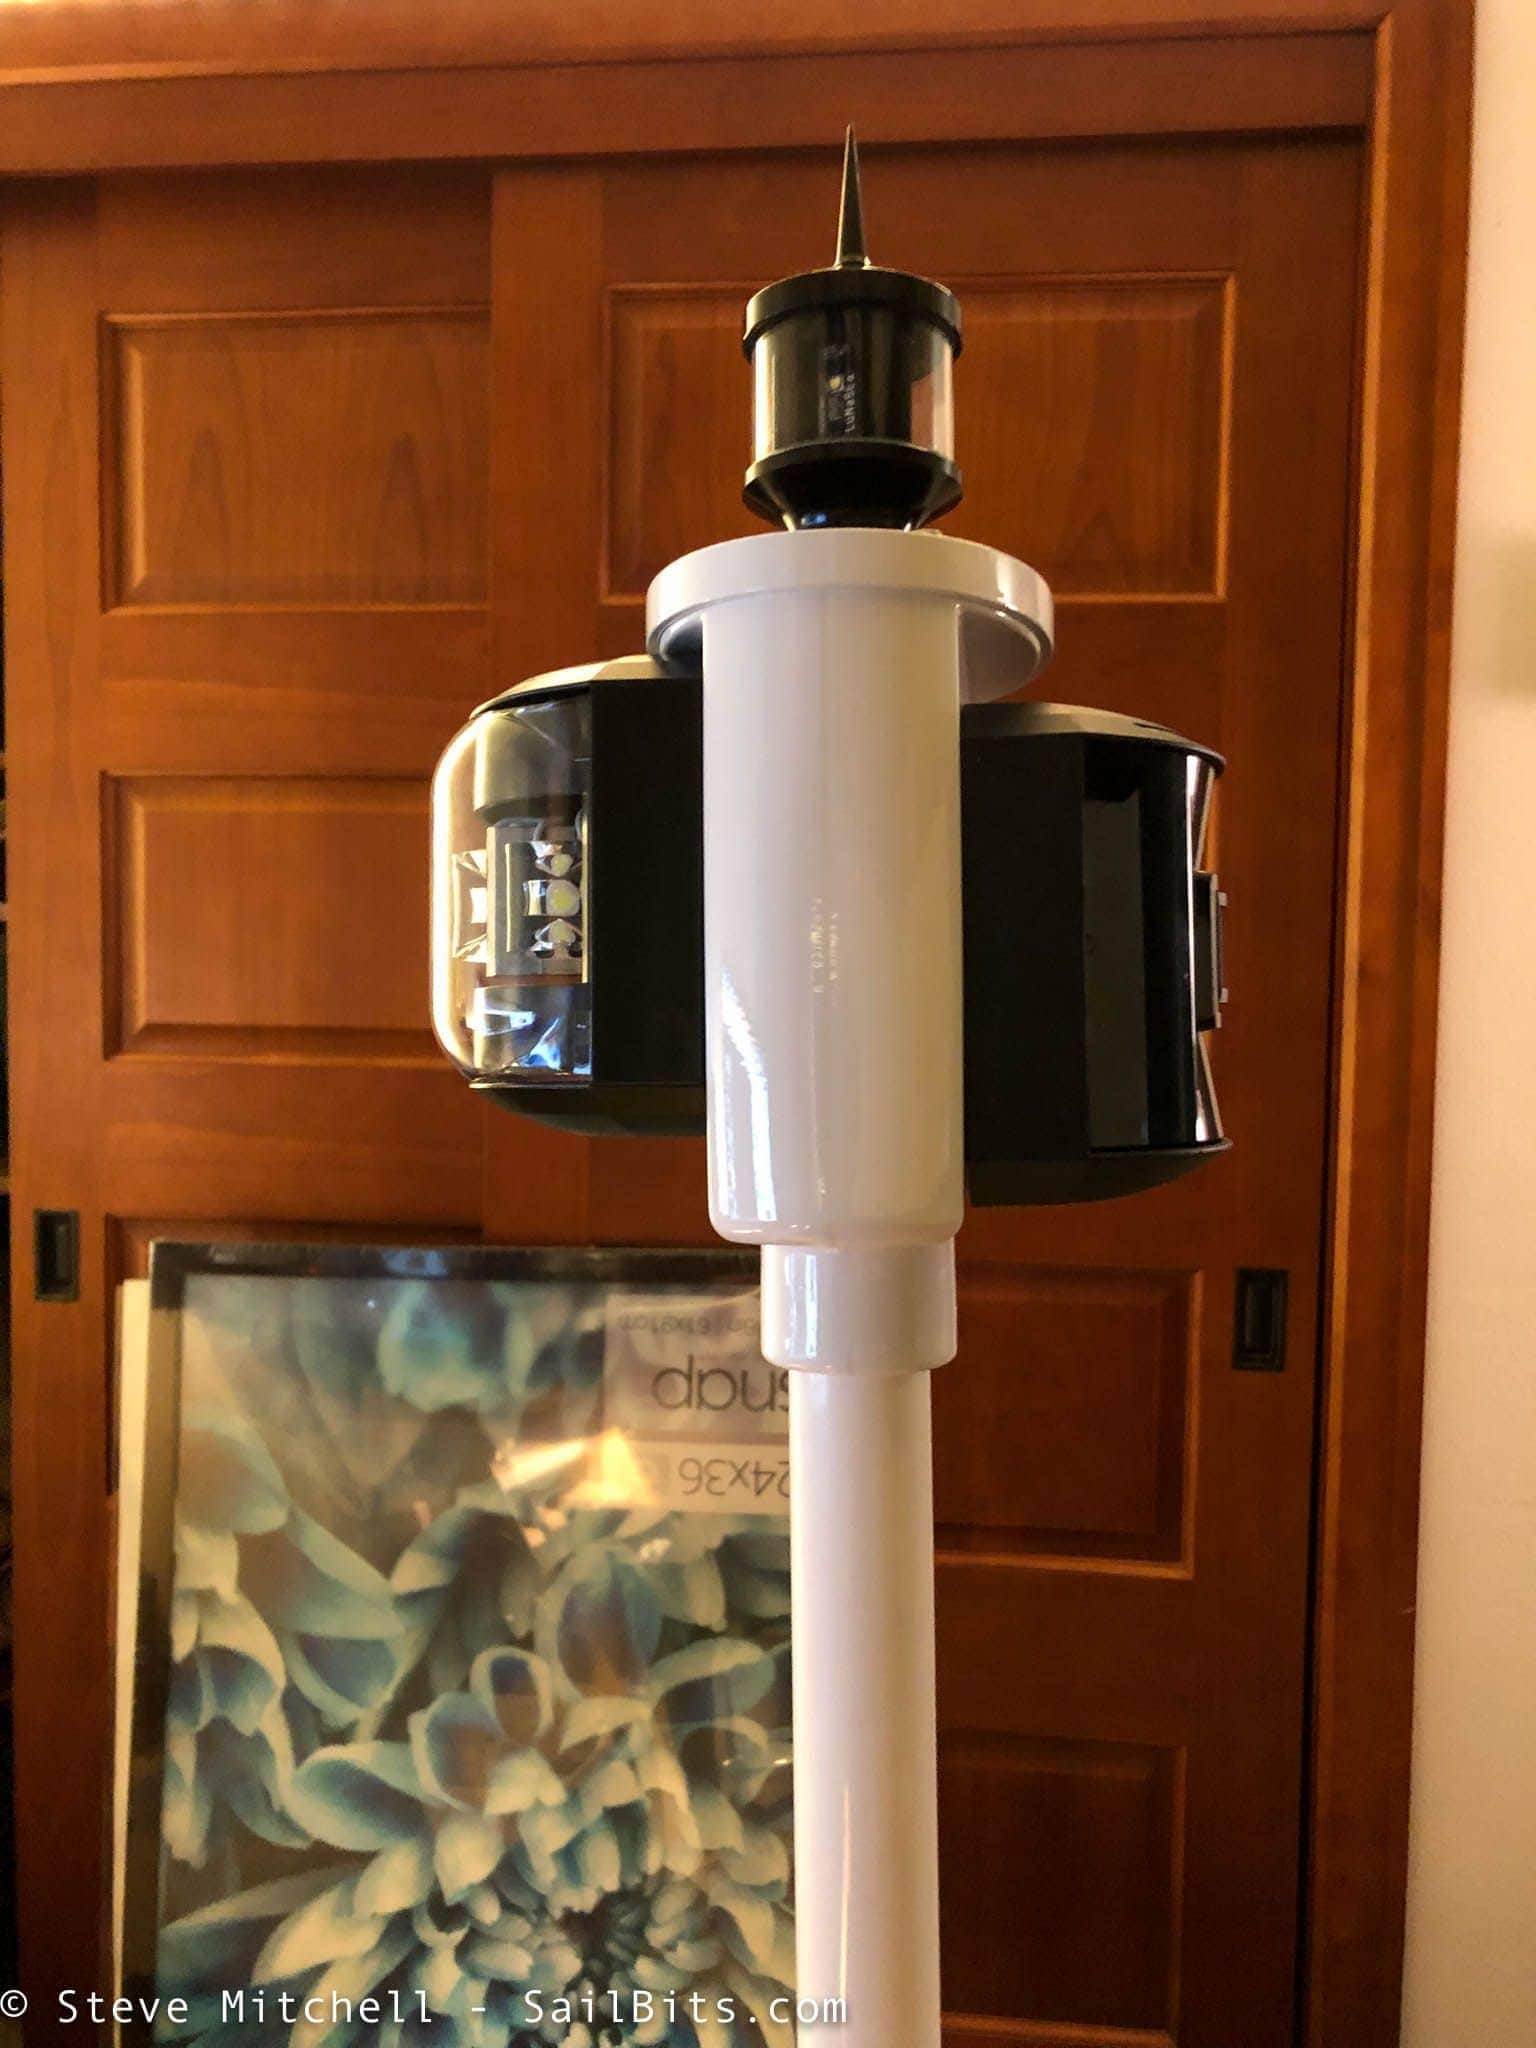
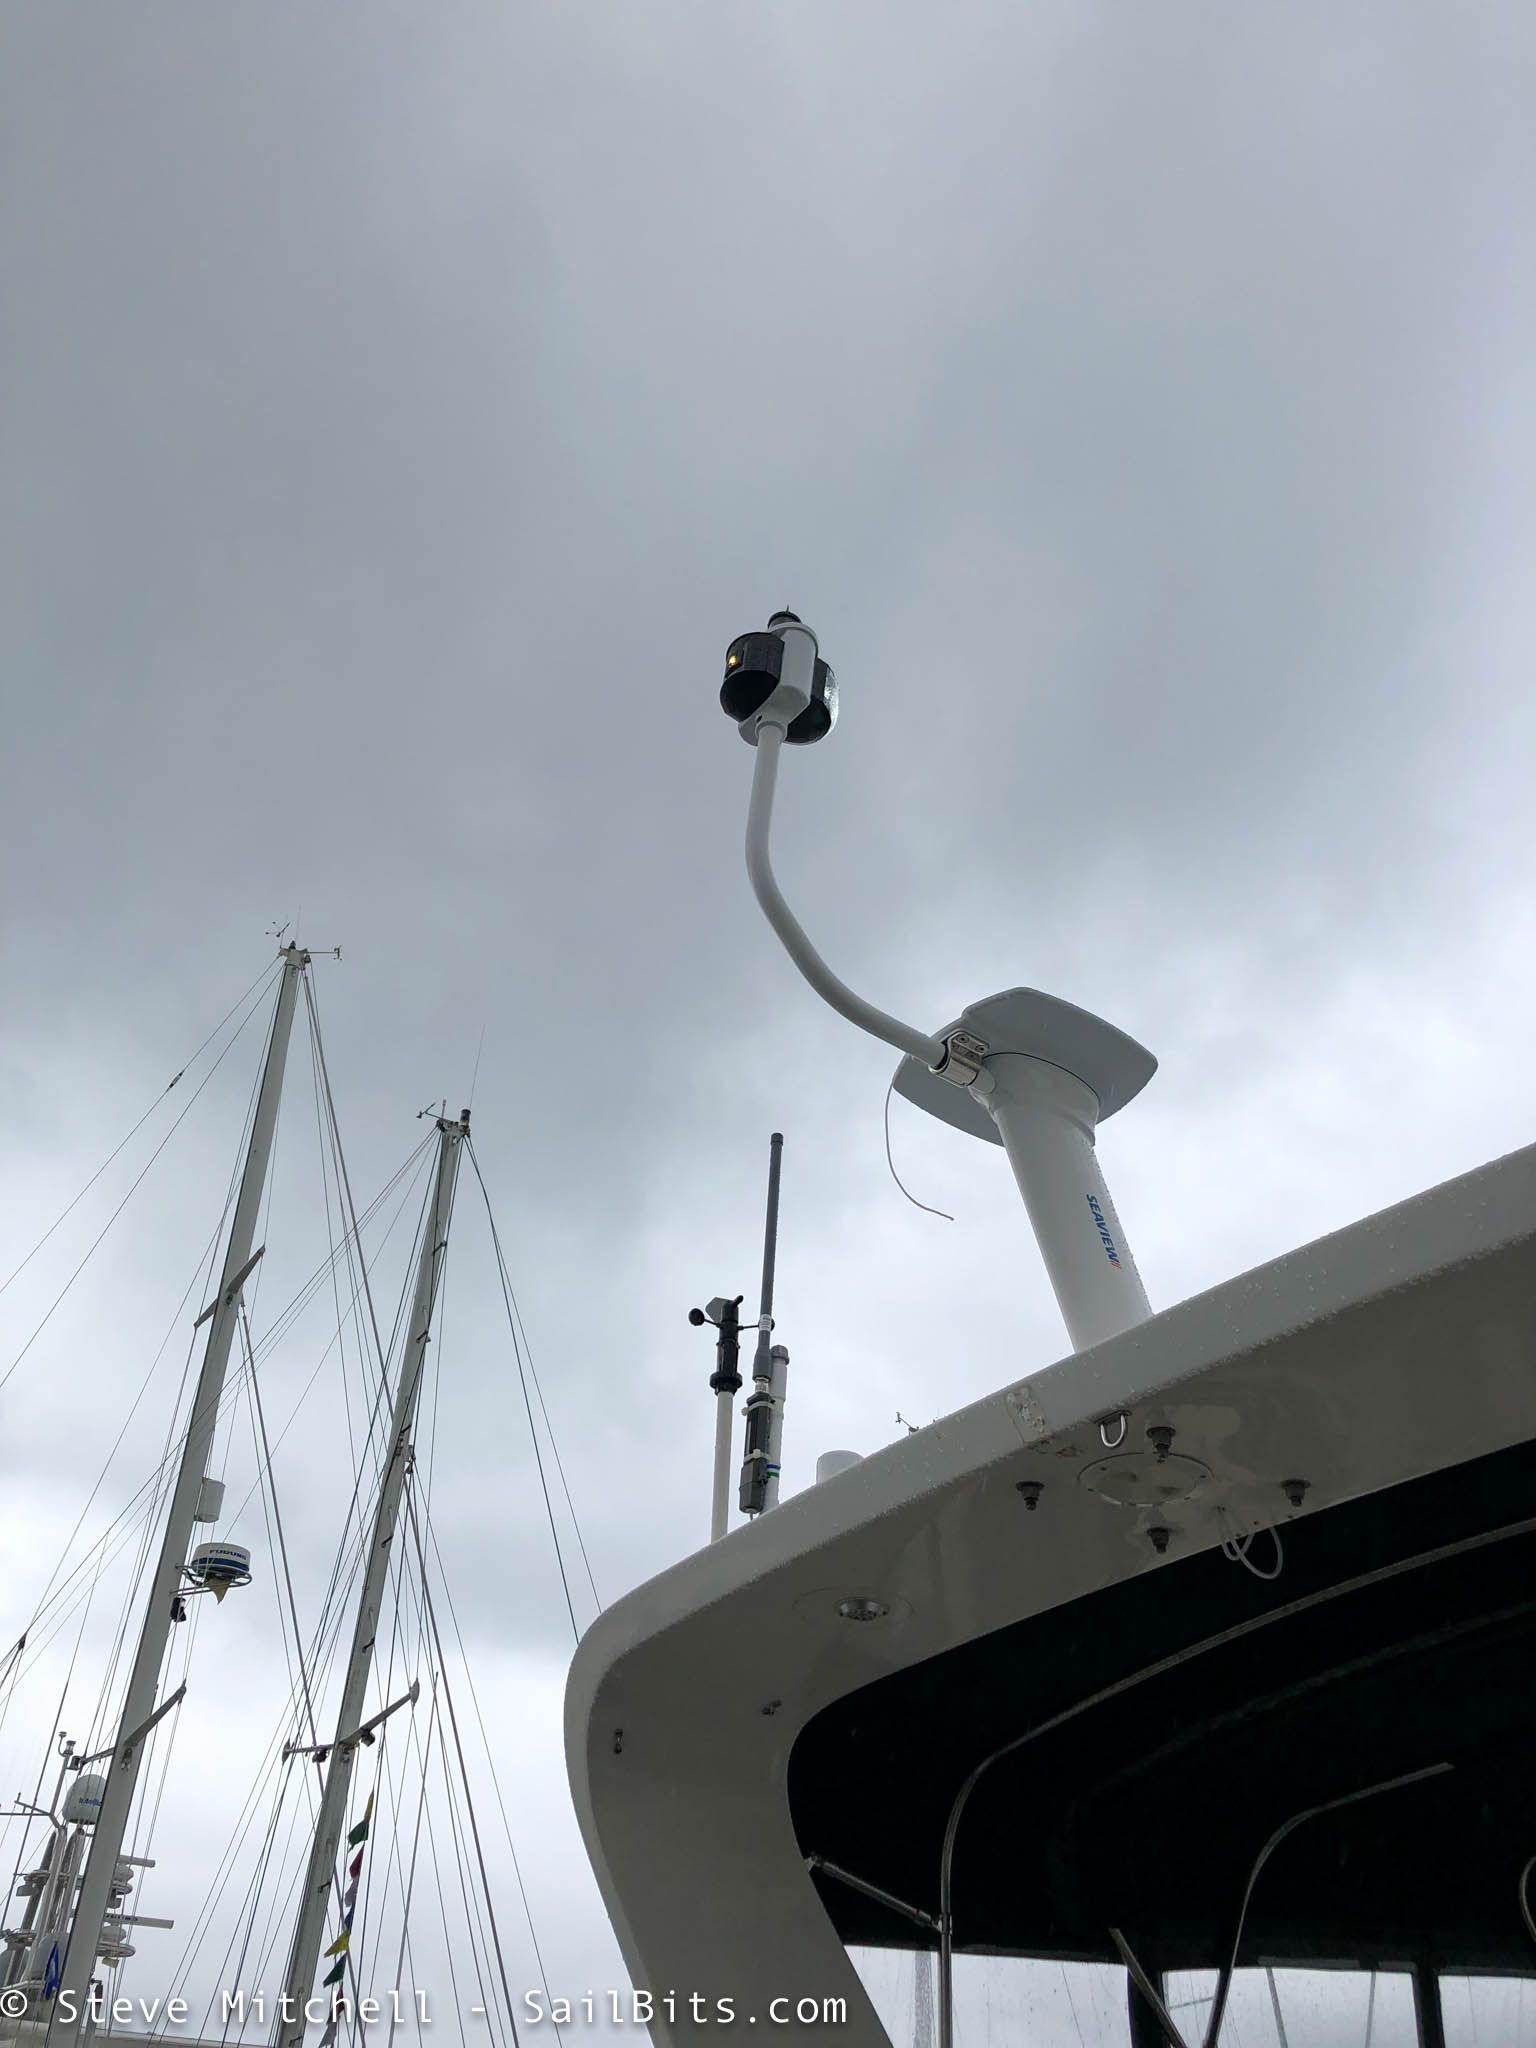
I chose to offset the mounting of the steaming light, seen here on the left, and the stern light, seen on the right, so that the stern one was as low as I could get it on the box. This is as close as I could get to other solutions I’ve seen on factory boats, and as close to regulations as possible.
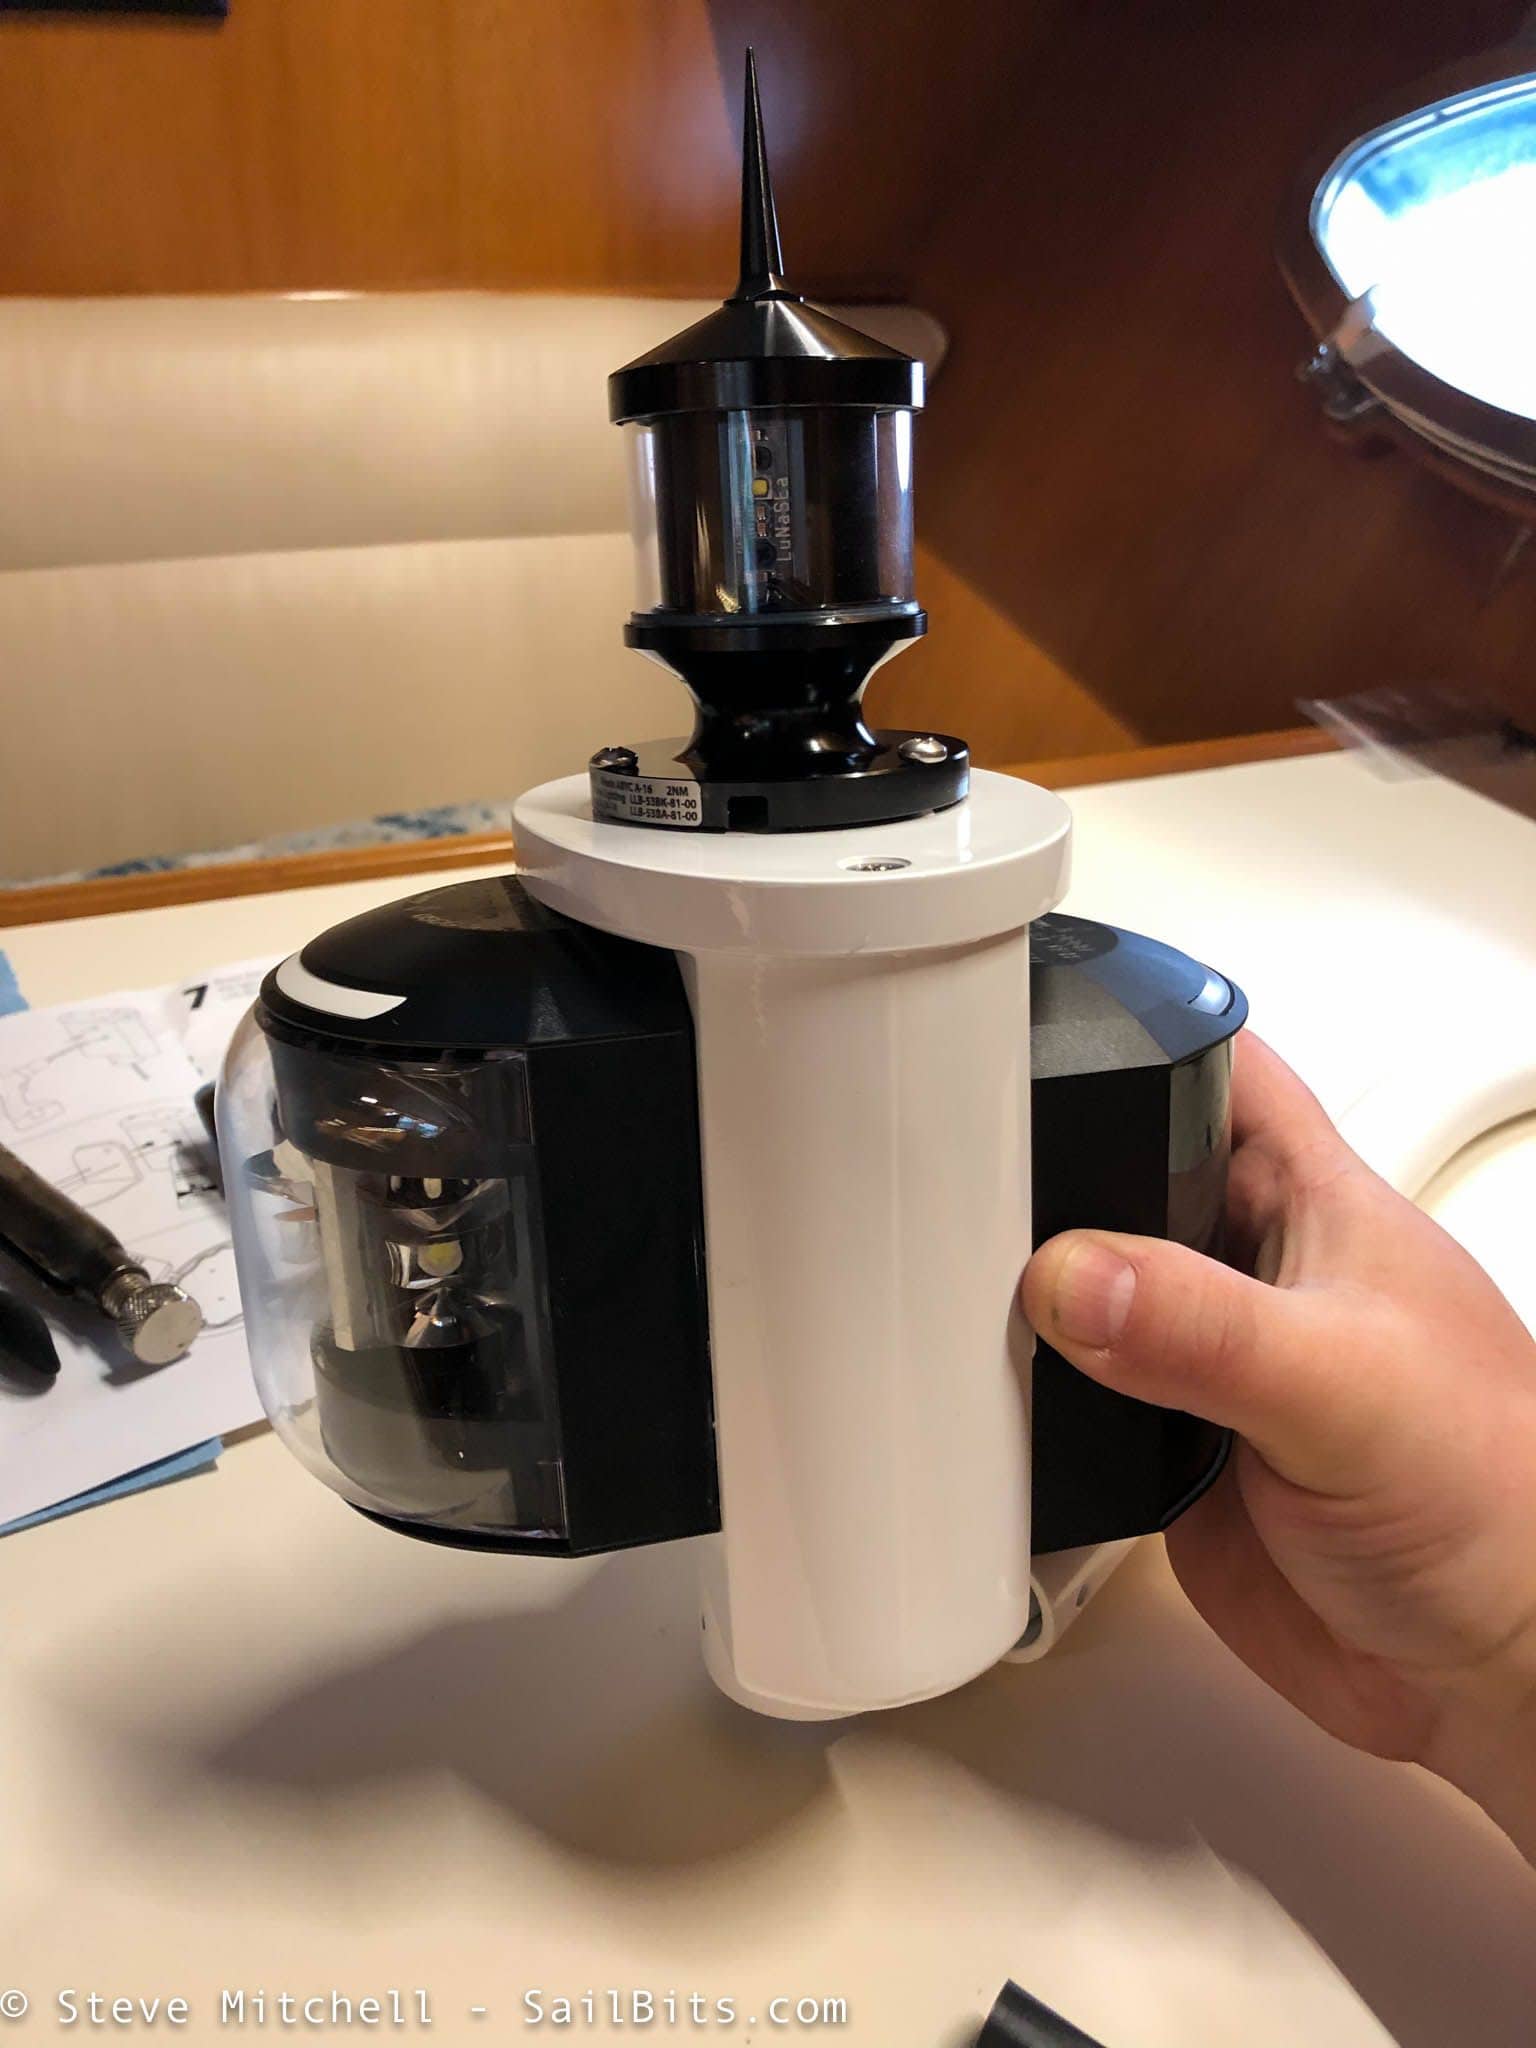
Overall I am very happy with how my light box navigation cluster came out. Everything is mounted very well, all LED, and well above anything and everything else on the boat so that I should be very visible while on the water.
Installing the mount

The first step was to get the mount attached to the arch in a secure way. I didn’t take a picture during this phase, so the photo is a bit out of order, already showing the radar mounted. Nevertheless, I ended up mounting a nice thick piece of star board using the existing large bolts from the previous, and much heavier, radar. Then I mounted the provided seal, wedge base, and then the base of the mount itself using large bolts up from the bottom of the star board, inset tightly.
With the way my arch tips over, it was pretty easy to continue working on the mount without having to pre-assemble more of it on the ground, which was nice. Using the template, I drilled four holes that matched the Furuno radar mounting points.
You can also see the four bolts showing in the back of the mount where the light pole was connected. This was a bit tricky, as I had already built the light box, and it had some weight to it, along with wiring. Getting the pole into the socket and the brackets and rubber seal along with the bolts in place was a bit of a balancing act alone.
Before I mounted the radar, I tested the navigation lights and ensured the new wiring worked. As part of this, I removed the old anchor light mount from the back of the arch, which I think looks a lot better – that big mount stuck out over the sun deck, while this one is up and away from that living space, including the lights themselves.
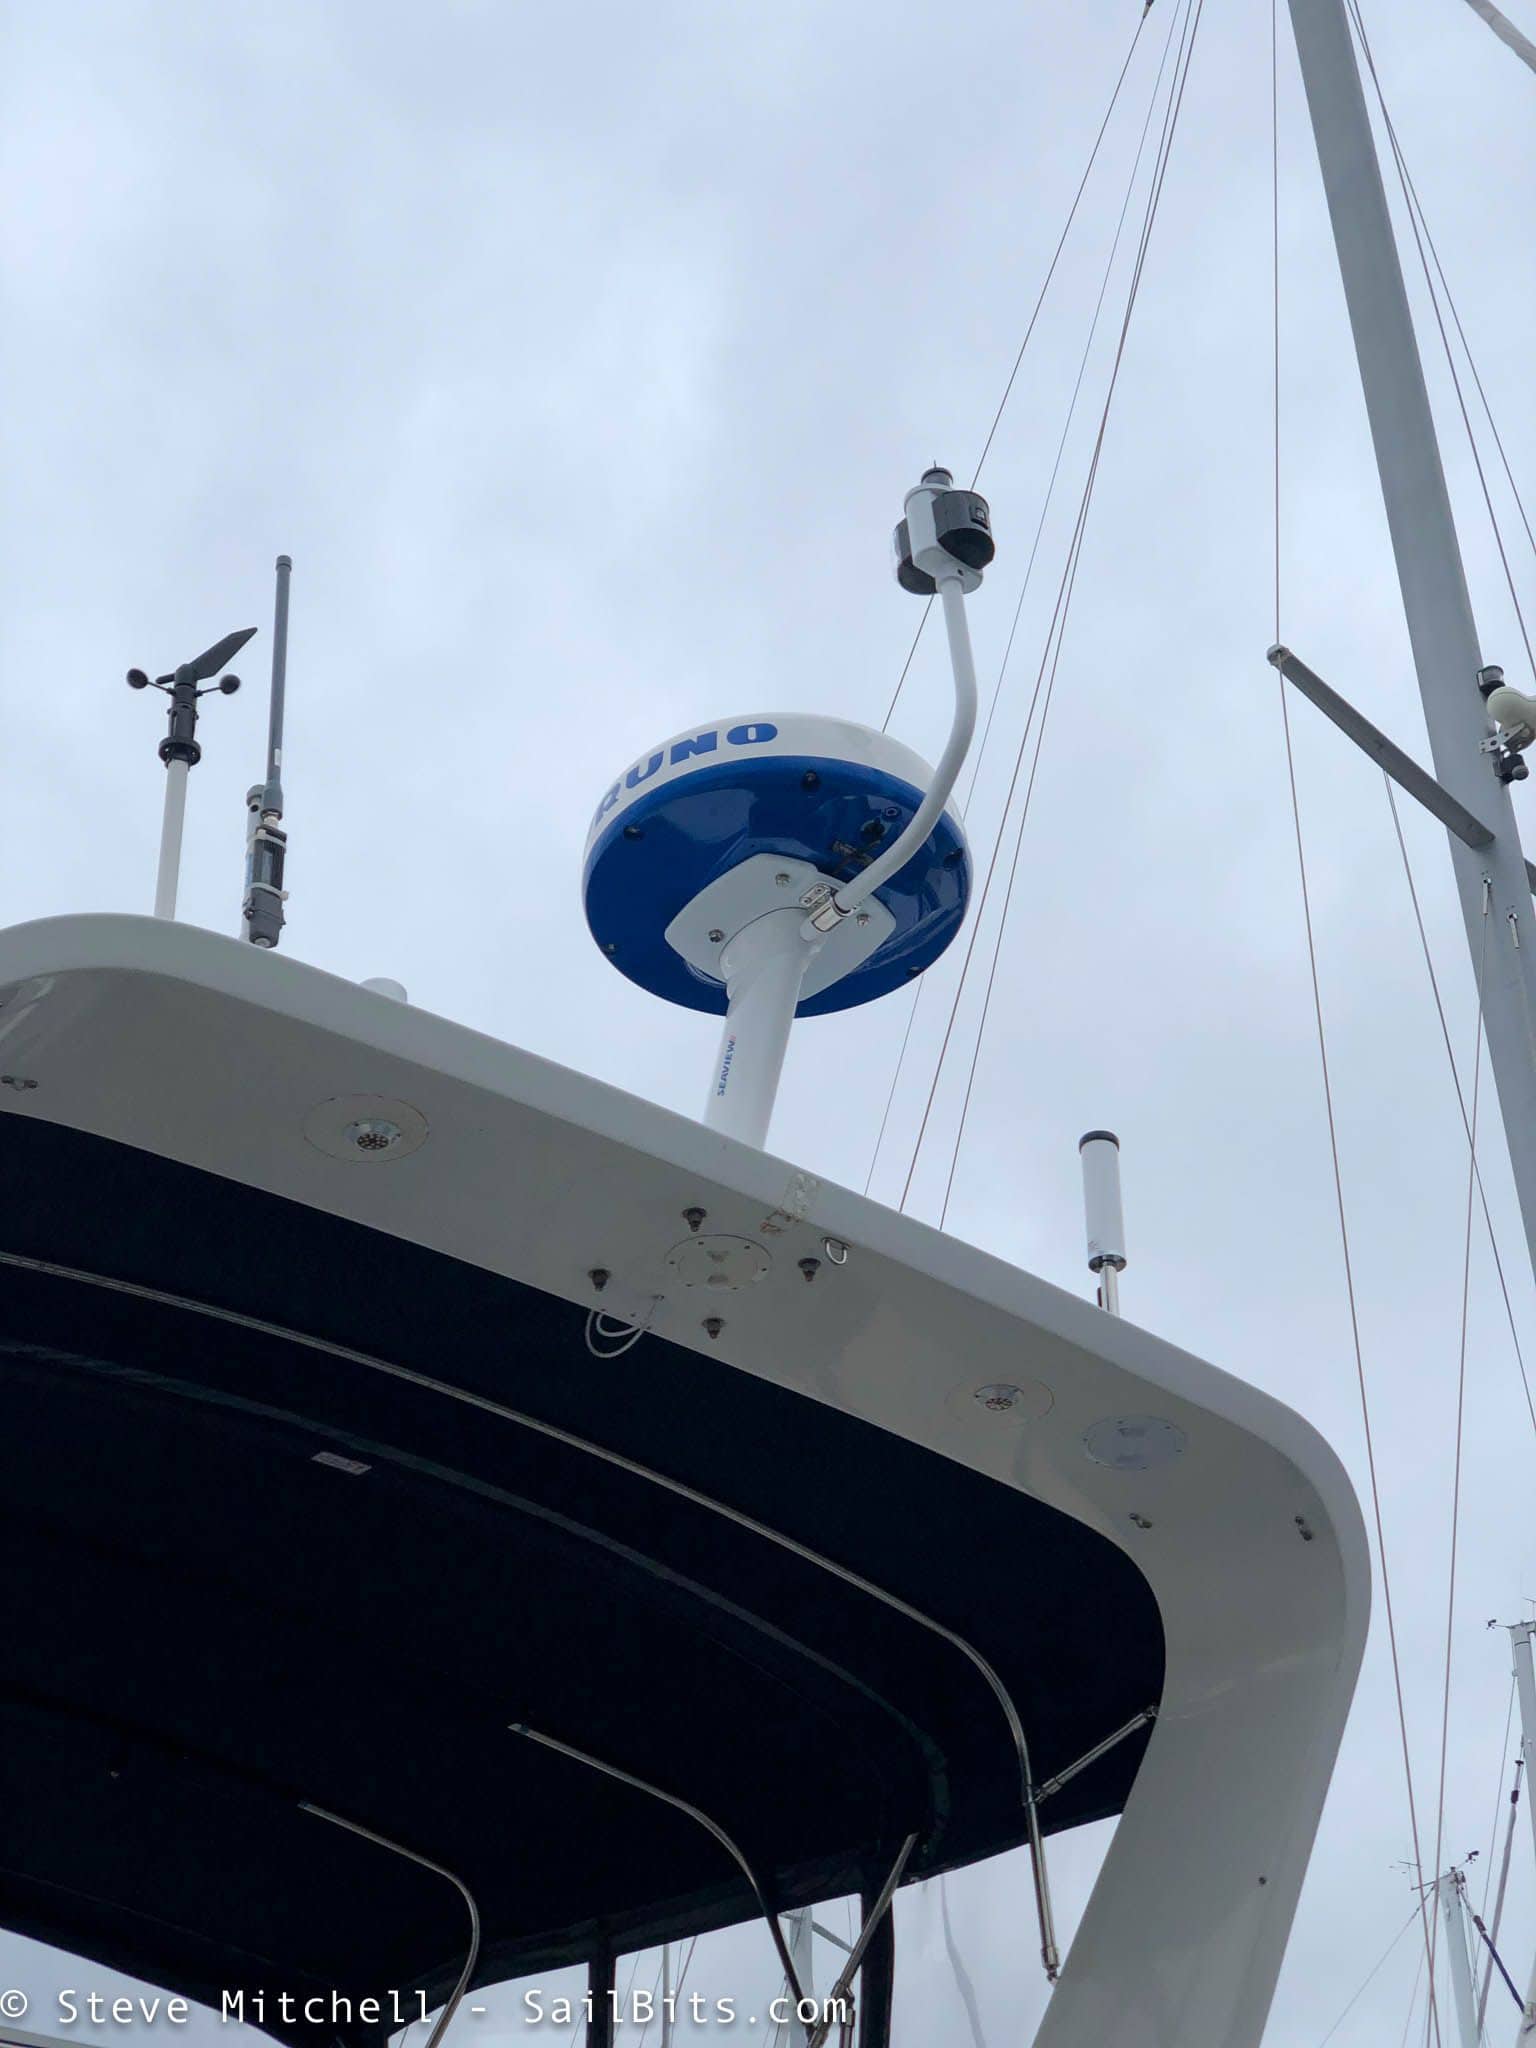
Mounting the radar was really easy – the four bolts provided by Furuno fit perfectly, and locked the radar in tight. Routing the cable down through the rubber grommet provided by the Seaview mount was pretty easy. The hardest part was getting sealant into the grooves of that rubber grommet to keep things dry.
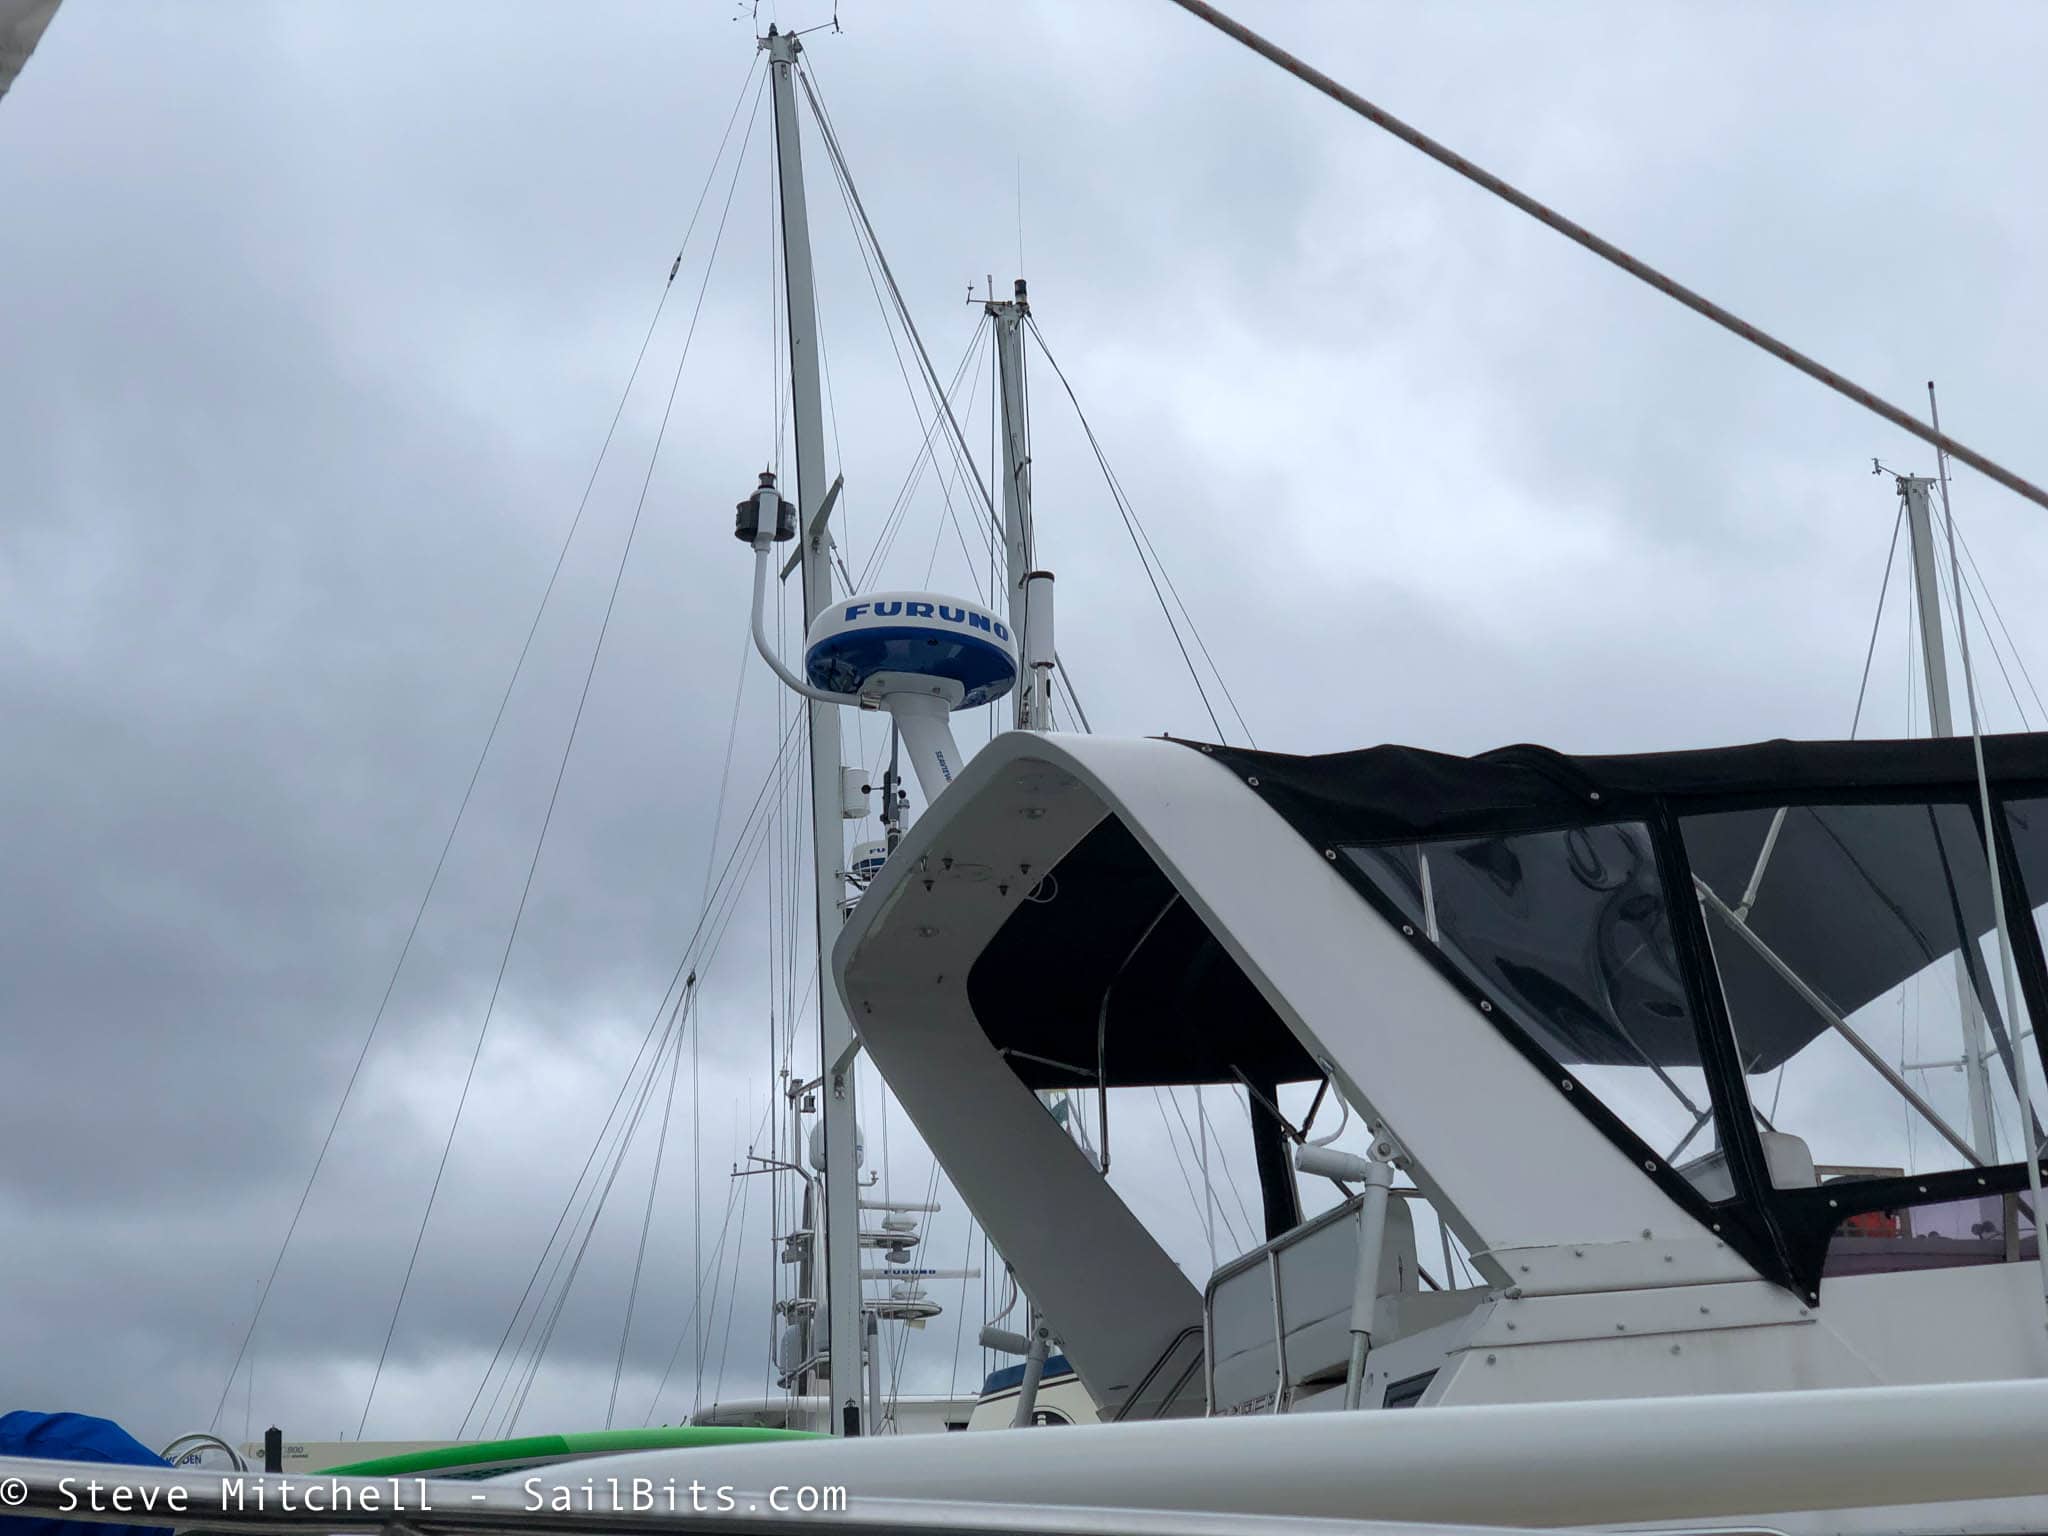
I think the end result looks very professional, and matches the angle and color of my arch more than the previous setup. I also now have fully functional navigation lights that should last a very long time, and of course, a beautiful new NXT radar which I will discuss in a future post.
I highly recommend Seaview if you are looking for a mount of any kind for your radar, GPS, VHF, or navigation lights. Their products are well built, cost effective, and the people are super nice to deal with!
Archived Comments
These are read only comments from the old system. Scroll down to participate in SeaBits Discussions, our new interactive forum attached to each article.
Good post, as always. Wouldn’t a single unit like https://www.amazon.com/Seaview-Attwood-Combination-Round-LTBA-7800/dp/B00HT8VFP0 have served you just as well and have been much easier to install, with a smaller profile? That’s what I have, sitting atop my Seaview modular mount.
- Steve Mitchell
March 12, 2019 at 6:06 am
According to the regulations, a boat over 40′ must have separate steaming and stern lights, and you can’t use a single all around light. I did look at that light, and many others, as an option, but the regulations are clear – I need a forward facing, 270 degree arc steaming light, and a separate stern facing light.